This post contains affiliate links. If you purchase through one of these links, I may earn a small commission at no additional cost to you.
If you love those sculptural decorative boxes that look like they came straight from a high-end home decor shop, this DIY is surprisingly easy to recreate. Starting with a simple unfinished wooden box and wooden half beads, you can create a textured DIY jewelry box that looks much more expensive than the basic supplies used to make it.
The secret is getting the beaded design evenly spaced and carrying one paint color across the entire piece. Once everything is painted, the individual wooden beads blend into the box and create that chunky, dimensional look. Use it for jewelry, keepsakes, or simply as a DIY decorative box on a dresser, vanity, or bookshelf.
What You’ll Need
Gather everything before you begin so you can plan the entire beaded design before any glue touches the box.
- Unfinished Wooden Box
- Wooden Half Beads
- Wood Glue
- Fine-Grit Sandpaper
- Wood Filler, optional
- Wood Primer
- Acrylic Craft Paint
- Small Foam Paint Roller
- Small Craft Paintbrushes
- Ruler
- Painter’s Tape
- Clear Protective Topcoat
- Adhesive Felt, optional for lining the interior
1. Choose the Right Wooden Box
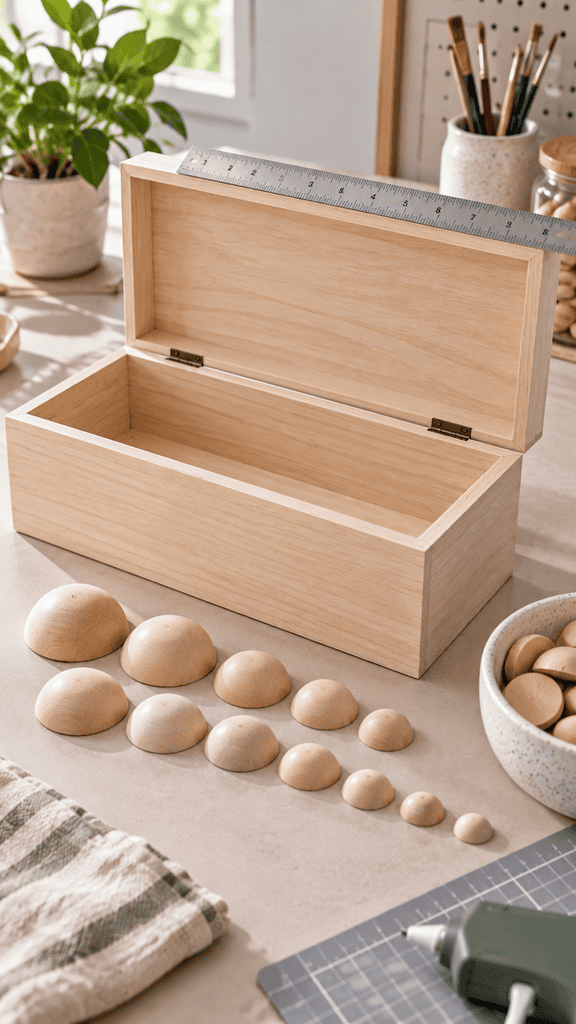
Start with an unfinished wooden box with a flat lid and straight sides. This gives you enough smooth surface area to create even rows of wooden beads while still allowing the lid to open properly.
Choose medium or large wooden half beads for the chunky, sculptural look of the inspiration box. Before purchasing them, measure your box and compare its dimensions with the bead diameter so you can estimate how many you’ll need.
Before You Buy Your Beads
The beads don’t have to fit the box perfectly edge to edge. Small gaps can be adjusted when you plan the layout. What matters most is creating balanced, evenly spaced rows that look intentional from every angle.
2. Plan Your Wooden Bead Design

Before gluing anything, arrange the wooden half beads across the lid while they’re still loose. Start near the center and work outward, creating straight rows with consistent spacing.
Use a ruler and pencil to lightly mark guidelines if needed. Once the lid looks balanced, repeat the layout on the sides of the box, keeping the spacing as consistent as possible.
For the sculptural look of the inspiration box, keep the beads fairly close together. A little space between them is fine, especially since painting everything one color will help the finished beaded design look cohesive.
3. Prep and Sand the Wooden Box

Lightly sand the lid, sides, and edges of the wooden box with fine-grit sandpaper. You only need to smooth rough spots and imperfections so the beads, primer, and paint have a clean surface to adhere to.
If the box has noticeable dents or gaps, fill them with a small amount of wood filler and sand smooth once dry. Wipe away all sanding dust before moving on to the beads.
Keep the hinges and hardware free of dust, filler, and paint buildup so the box continues to open and close smoothly.
4. Attach the Wooden Half Beads
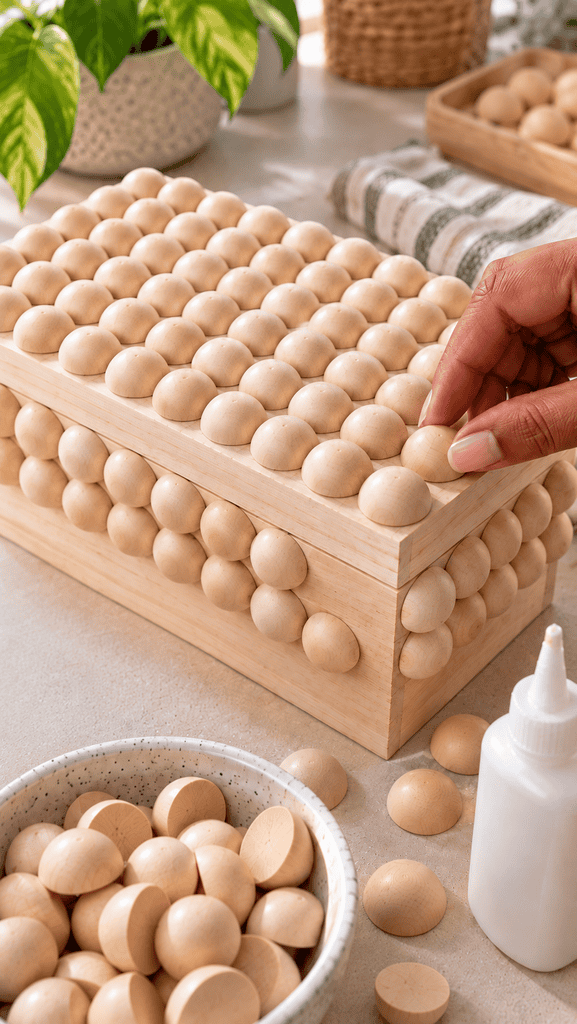
Once you’re happy with the layout, begin gluing the wooden half beads in place. Apply a small amount of wood glue to the flat back of each bead, then press it firmly onto the box.
Work one row at a time, using your guidelines to keep the spacing straight and consistent. Complete the lid first, then continue the same beaded design around the sides.
Leave a little clearance around the hinges, lid opening, and any hardware. The beads should add texture without preventing your DIY jewelry box from opening and closing properly.
5. Let the Beaded Box Dry Completely
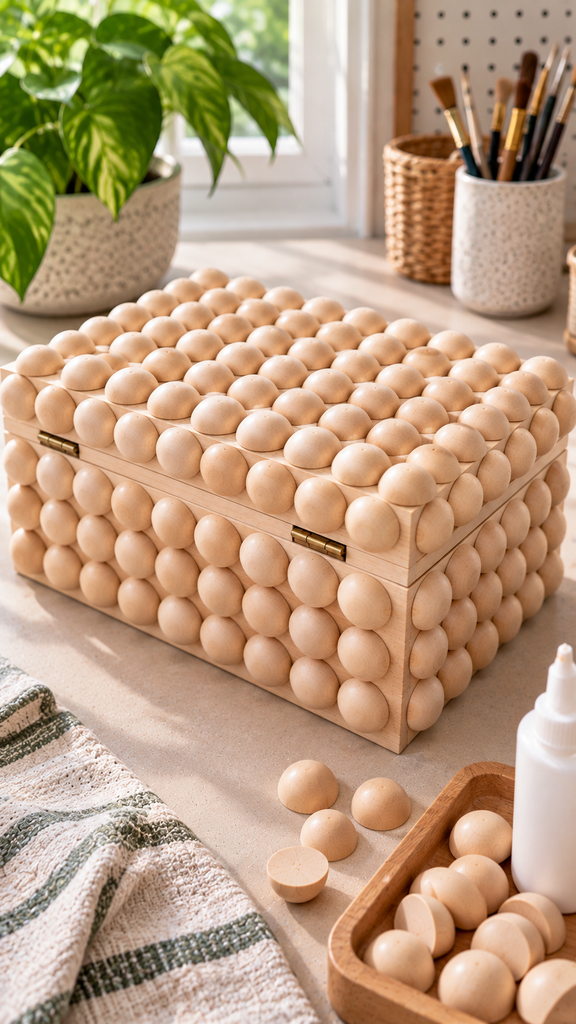
Set the box on a flat surface and allow the glue to dry completely before painting. Follow the drying time recommended for your adhesive, and avoid moving the box while the beads are setting.
Once dry, gently check the wooden beads to make sure none feel loose. Reglue any that shift and let them set before moving on to primer.
This extra drying time is important because the beads need to stay securely attached while you’re brushing and rolling paint over the textured surface.
6. Prime the Entire Box
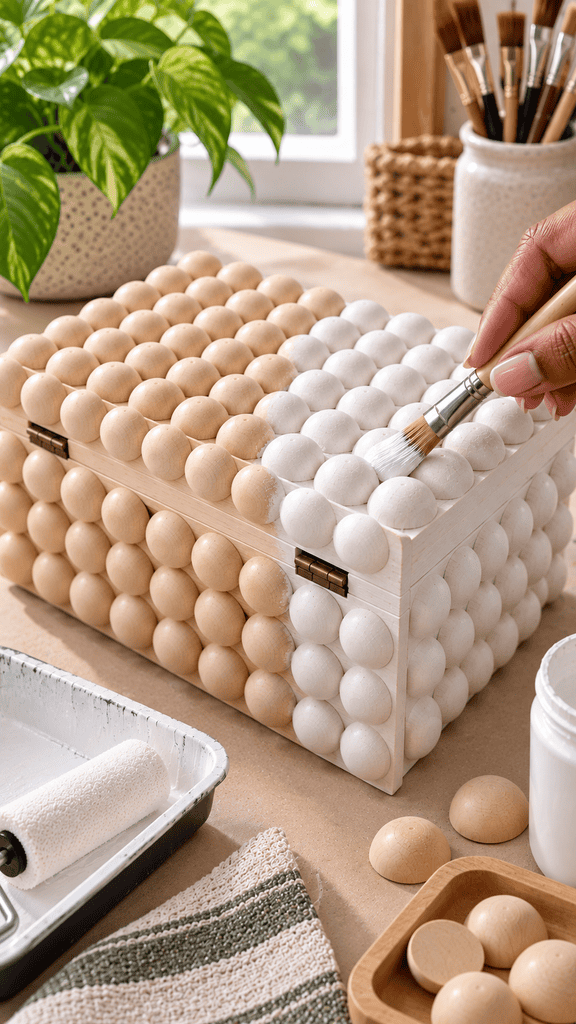
Once the beads are secure, apply a thin coat of primer over the entire exterior, including between and around each wooden bead. Use a small brush for tight spaces and a foam roller for larger flat areas.
Primer helps the unfinished wood and wooden beads absorb paint evenly, giving your DIY decorative box a smoother, more cohesive finish.
Allow the primer to dry completely before painting.
7. Paint the Box for a High-End Finish
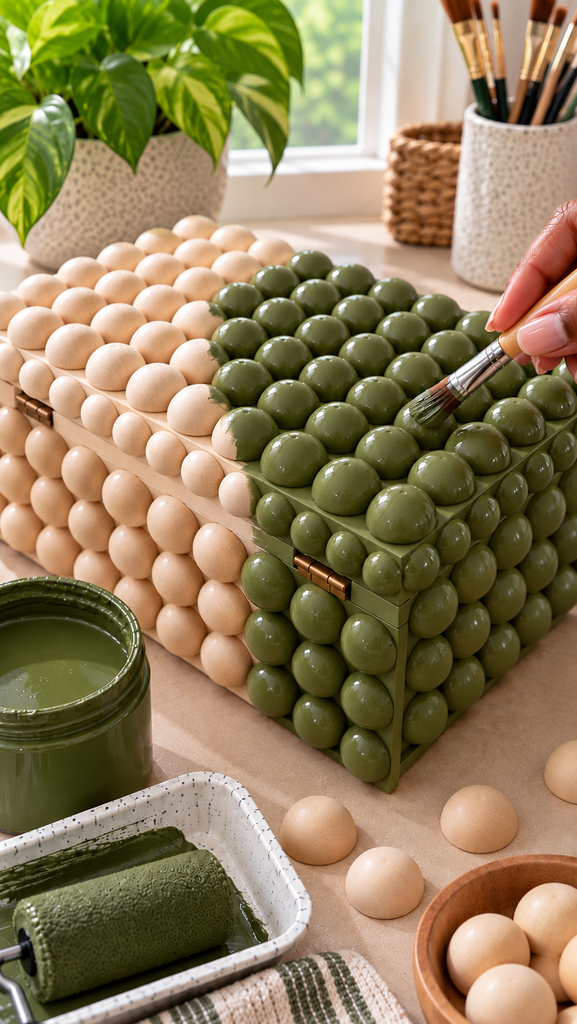
Once the primer is dry, apply your chosen paint color over the entire exterior. Use a small brush to work paint between and around the wooden beads, then smooth larger areas with a foam roller.
For the inspiration look, try a warm blush or dusty pink. You could also use cream, sage green, terracotta, chocolate brown, or matte black for a completely different style.
Apply two thin coats rather than one heavy coat, allowing each layer to dry fully. Keeping the box and beads the same color is what gives this DIY jewelry box its seamless, sculptural finish.
8. Add a Protective Finish
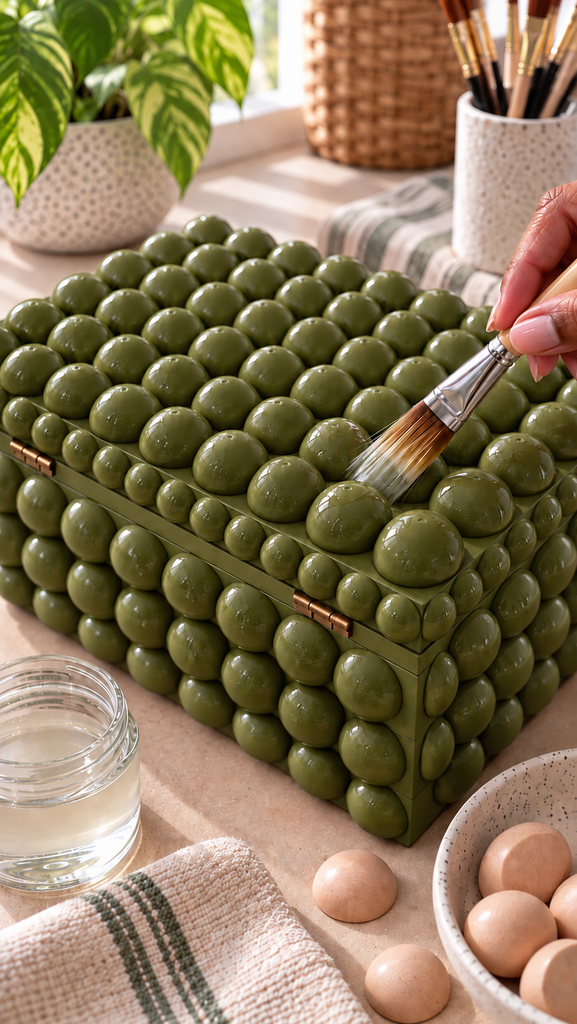
After the paint has dried completely, seal the exterior with a clear protective topcoat. A matte or satin finish works especially well because it protects the paint without taking away from the sculptural look of the wooden beads.
Apply a thin, even coat and make sure the finish reaches between the beads. Let it cure completely before using the box for jewelry or storage.
This final layer helps protect your DIY decorative box from scratches, fingerprints, and everyday handling.
9. Finish the Inside of Your DIY Jewelry Box
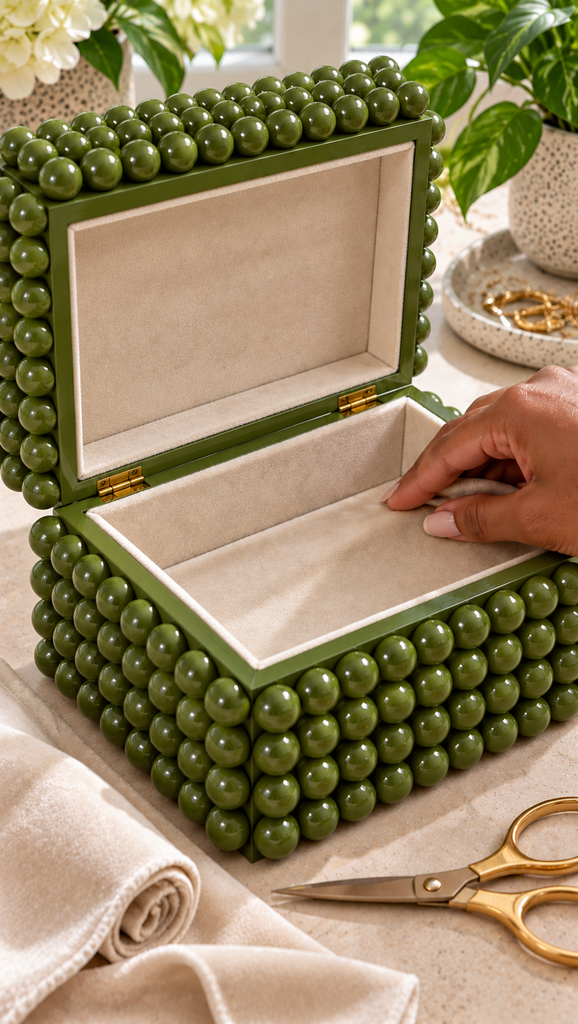
For a simple finish, leave the inside as natural wood or paint it to match the exterior. If you want the box to feel more like a finished DIY jewelry box, line the bottom with adhesive felt or velvet.
Measure the interior, cut the material to size, and press it smoothly into place. A soft lining adds a polished finishing touch while helping protect jewelry and other small keepsakes from scratches.
10. Style and Use Your Finished Wooden Bead Box
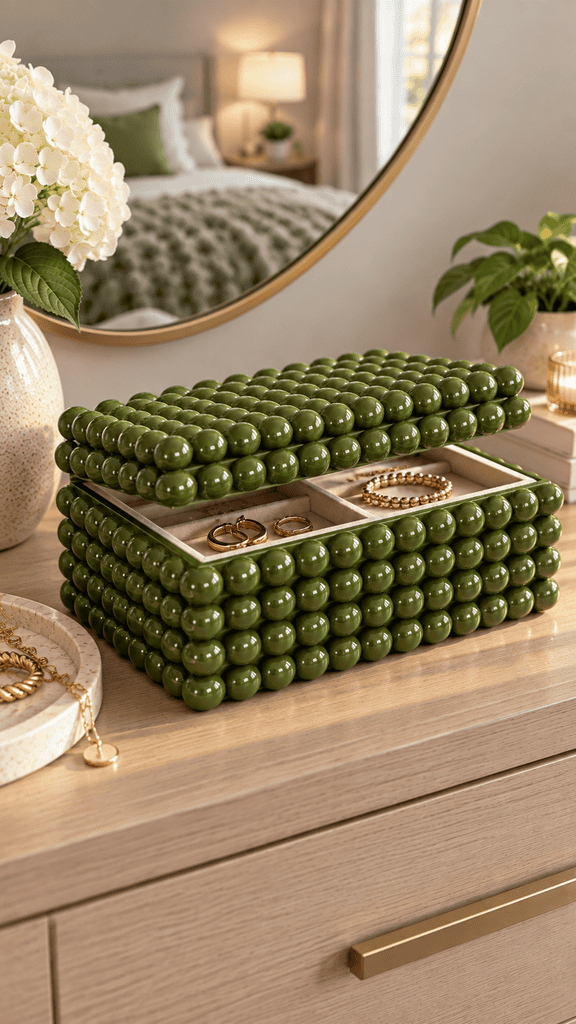
Once everything is completely dry, your wooden bead box is ready to style. Use it as a DIY jewelry box on a dresser or vanity, or turn it into decorative storage for small items you would rather keep out of sight.
The textured beaded design also looks great styled on a bookshelf, nightstand, coffee table, or console. Pair it with simple decor so the dimensional wooden beads remain the focal point.
Because you can change the box size, bead pattern, and paint color, this same technique can easily be customized to match different rooms and decorating styles.
Turn a Simple Wooden Box Into Statement Decor
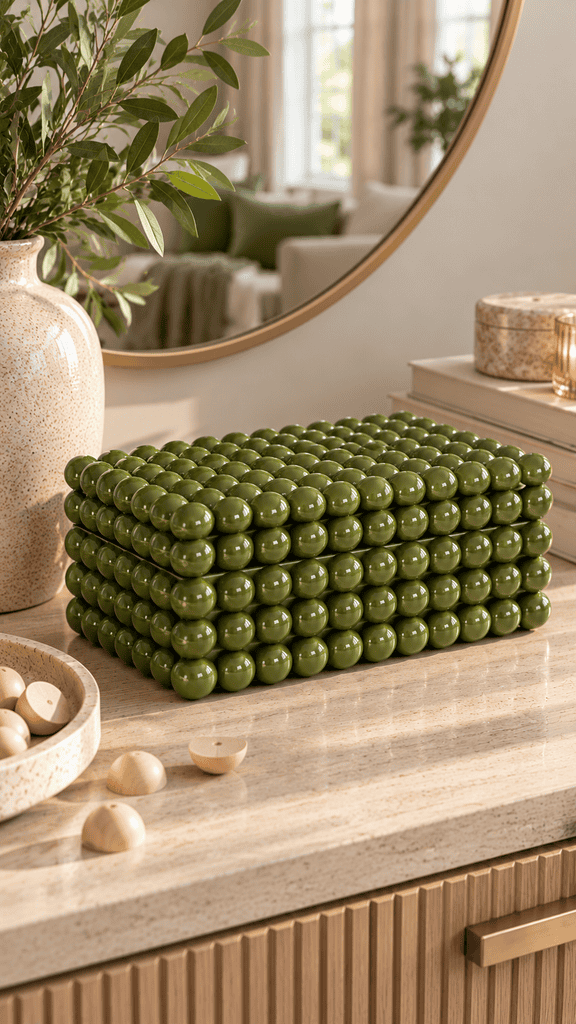
This DIY jewelry box is proof that a basic wooden box and a few wooden beads can create something that looks completely custom. The matching paint finish brings the entire beaded design together, while the raised texture gives the box that sculptural, high-end look.
Once you’ve tried this technique, don’t stop with storage boxes. Leftover half beads can transform picture frames, furniture, mirrors, trays, and other home decor pieces.
For more inspiration, check out 15 Creative Ways to Decorate With Wooden Half Beads and find your next project.