This post contains affiliate links. If you purchase through my links, I may earn a small commission at no extra cost to you. Thank you for supporting Room Revival Studio!
Your living room wall is eleven feet wide and completely empty. The sofa looks small against it. Every print you own looks lost, like a stamp on a postcard. So you buy more, hang everything, and now the wall is loud instead of empty. There is a middle path.
Learning to decorate a large wall comes down to planning, scale, and restraint. This guide walks you through eight steps, one layer at a time. Difficulty: easy. Time: about three to four hours, so one afternoon covers it. By the end, your wall feels finished instead of filled.
What You Need to Decorate a Large Wall
Gather the basics before you hang a single thing. Most of these tools you may own already, and each one makes the job cleaner.
- Kraft Paper Roll for templates
- Painter’s Tape for mapping the layout
- Laser Level for straight lines
- Picture Hanging Kit
- Stud Finder for heavy pieces
- Laser Distance Measure
Step 1: Measure and Map the Wall

Measure the wall width and height, plus the width of the sofa or console below it. Cut kraft paper to the size of each piece you plan to hang. Tape the templates to the wall and step back across the room.
Hot tip: leave 6 to 8 inches between the furniture and the lowest piece. Honest caveat: this step takes thirty minutes you will want to skip. Skipping it is how extra nail holes happen. (Ask anyone with a wall full of them.) You finish with a plan instead of a guess.
Shop the Look
Step 2: Pick One Oversized Anchor Piece

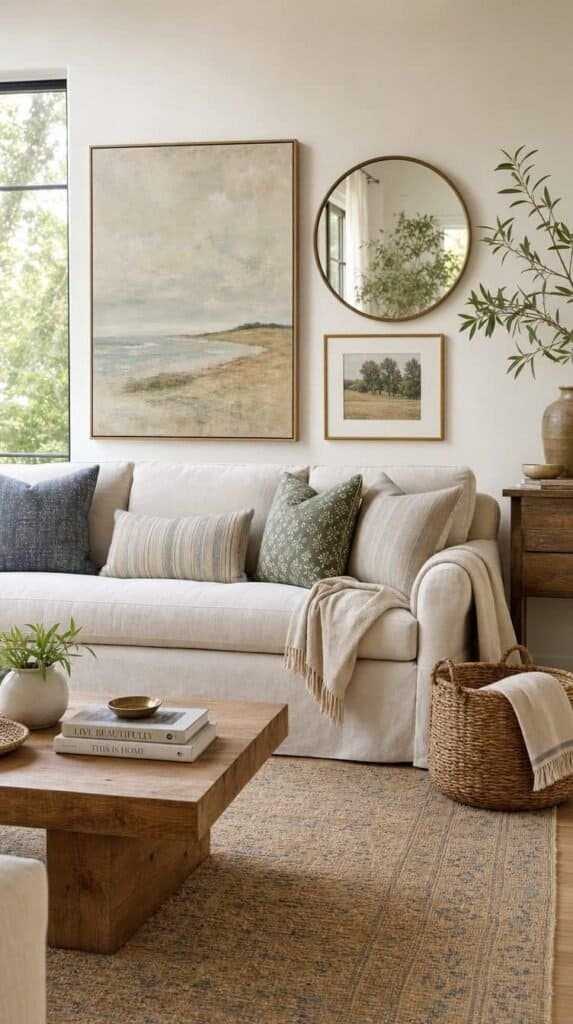
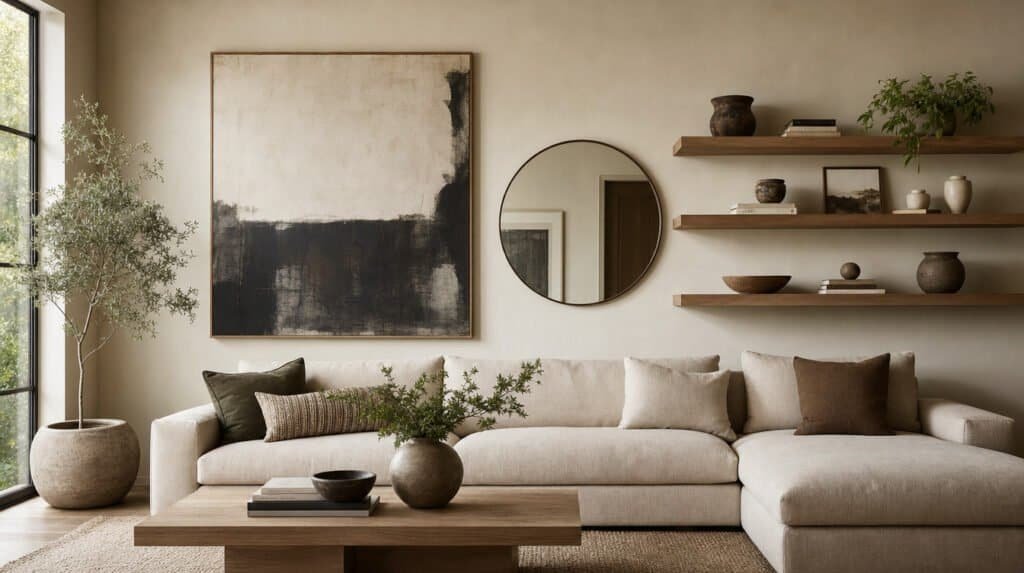
Choose one oversized piece as the anchor. Aim for it to cover about two thirds of the width of your sofa. Center it so the middle sits about 57 inches from the floor.
Honest note: one large piece beats five small ones on a big wall. Hot tip: if big art hurts the budget, frame a fabric remnant or print a large digital file at a copy shop. The room gains a focal point and your eye finally knows where to land.
Shop the Look
- Oversized Neutral Abstract Canvas
- Large Wood Poster Frame
- Large Framed Landscape Art
- Natural Linen Fabric
Step 3: Add One Large Mirror

A big mirror bounces light and adds weight. Lean an arched floor mirror against the wall, or hang a round one beside the anchor piece. Keep it 4 to 6 inches away from any other piece.
Honest caveat: mirrors reflect clutter, so check what sits across the room first. Hot tip: place it opposite a window for the most light. The wall opens up and the whole room looks brighter.
Shop the Look
- Arched Full Length Floor Mirror
- Round Wood Frame Wall Mirror
- Rattan Frame Mirror
- Anti-Tip Mirror Straps
Step 4: Float Long Shelves Beside the Art

Mount one or two long floating shelves beside or beneath the anchor piece. Style them with a stack of books, a vase, and one small frame. Leave a third of each shelf empty.
Hot tip: group objects in odd numbers for an easy, relaxed look. Honest note: shelves collect dust and stray items, so edit them monthly. (It always starts with one little candle.) The wall gains depth without another frame.
Shop the Look
- 48 Inch Wood Floating Shelves
- Matte Neutral Ceramic Vase Set
- Decorative Books for Styling
- Small Picture Frames
Step 5: Hang a Grid Gallery on One Section

If you love frames, build a tidy grid on one section of the wall, not the entire thing. Use matching frames and white mats for order. Space each frame two inches apart.
Here is what nobody tells you: matching frames keep a gallery calm, while mixed frames add energy and risk. Use a level and your paper templates from Step 1. The grid reads as intentional, never messy.
Shop the Look
Step 6: Layer in a Woven Textile

Add a woven wall hanging, a macrame piece, or a framed fabric above a chair or console. Texture softens all that flat paint. Choose colors from your pillows or rug.
Honest caveat: heavy textiles need a sturdy rod or two hooks, so check the weight first. Hot tip: hang it a little lower than you think, since fabric looks best near furniture. The wall feels warm and handmade.
Shop the Look
Step 7: Light the Wall

Add a picture light above the anchor piece, or a pair of plug-in sconces on either side. Warm bulbs make art glow. Hide the cord in a paintable cover.
Hot tip: a dimmer or smart bulb lets you set the mood at night. Honest note: plug-in lights need an outlet nearby, so plan the position first. After dark, the wall becomes the star of the room.
Shop the Look
- Brass Plug-In Picture Light
- Dimmable Plug-In Wall Sconces
- Paintable Cord Cover
- Warm Dimmable Smart Bulbs
Step 8: Edit and Leave Breathing Room

Step back and remove one item. Empty space is part of the design, so leave at least a third of the wall bare. Live with the new look for a week before you add anything.
Honest note: this step feels backward after you spent money on pieces. (Your wall still thanks you.) A calm wall looks richer than a crowded one.
Shop the Look
- Large Neutral Framed Print
- Slim Wood Picture Ledge
- Large Picture Hanging Strips
- Washable Microfiber Dusting Cloths
3 Pro Tips for a Large Wall
- Pro Tip 1: Hang art at eye level. The center of each piece belongs about 57 inches from the floor. Art hung too high floats away from the furniture.
- Pro Tip 2: Repeat each color three times. Pull one shade from the art into a pillow, a vase, and a throw. The repeat ties the wall to the rest of the room.
- Pro Tip 3: Test with tape first. Outline each frame with painter’s tape and live with it for a day. A tape outline fixes mistakes for free.
What You’ll End Up With
You finish with a living room wall with one clear focal point, balanced layers, soft light, and room to breathe. It looks planned and feels welcoming, and it needed no extra nail holes along the way.
Hang It. Step Back. Enjoy It.
Fall is the perfect time to refresh your walls before guests fill the house for the holidays. From a single oversized print to mirrors, shelves, textiles, and lighting, each step builds on the last so the wall never feels crowded. Start with the paper templates, hang the anchor piece, and add one layer each weekend until the wall feels right. If you are ready for even more wall ideas, be sure to check out 17 Empty Bedroom Wall Ideas That Fix Blank Walls Fast for even more ways to fill a blank space.