This post contains affiliate links. If you purchase through my links, I may earn a small commission at no extra cost to you. Thank you for supporting Room Revival Studio!
You stand in the craft aisle holding two packages. One says air dry. One says oven bake. A third says kiln fire. They all look like clay, and none of them tells you which to buy. Pick wrong and your project cracks, crumbles, or never hardens.
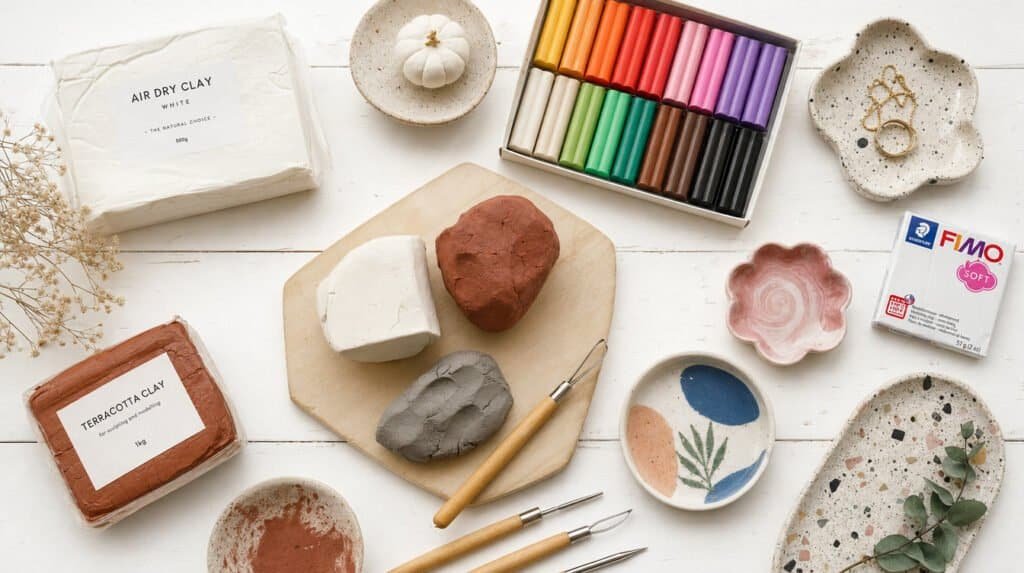
This guide breaks down the best clay for crafts by type, with uses, benefits, and honest trade-offs. Difficulty: easy. Time: about 15 minutes of reading before you shop. By the end, you know exactly which block belongs in your cart.
What You Need Before You Start
These basics work with almost every clay on this list, so stock them once and you are set.
- Silicone Craft Mat
- Clay Sculpting Tool Set
- Acrylic Clay Rolling Pin
- Acrylic Paint Set
- Water-Based Craft Sealer
- Airtight Storage Containers
1. Air-Dry Clay: The Easiest Place to Start
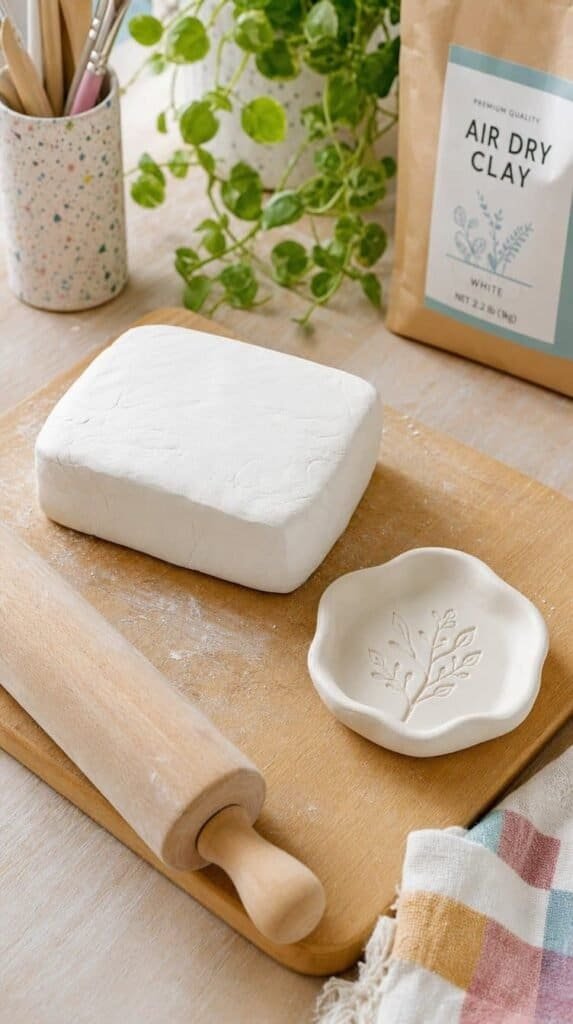
Air-dry clay hardens at room temperature in 24 to 72 hours, with no oven needed. It is perfect for trinket dishes, ornaments, and wall art. Paint and seal it once it is dry.
Honest caveat: it shrinks a little and cracks if it dries too fast, so keep it out of direct sun. Hot tip: smooth the edges with a damp fingertip before drying. It is the friendliest clay for crafts for any first project.
Shop the Look
2. Polymer Clay: Best for Jewelry and Tiny Details

Polymer clay bakes hard in a home oven, usually around 275 degrees for 15 minutes per quarter inch. It comes in dozens of colors, so it suits earrings, charms, and tiny figures. The color stays put without paint.
Honest note: it stays soft until baked, so dust and lint cling to it. Hot tip: always check the package for the exact temperature. It gives you jewelry-level detail right at your kitchen counter.
Shop the Look
3. Paper Clay: Light, Strong, and Easy to Repair

Paper clay blends clay with paper fibers, so it dries light and strong. It suits lightweight sculpture, masks, and ornaments. Joins heal easily with a touch of water.
Honest caveat: it dries a little rough, so plan to sand it. Hot tip: use a damp sponge instead of sandpaper for a smoother finish. Pieces feel light enough to hang without worry.
Shop the Look
4. Cold Porcelain: Delicate Flowers and Fine Detail

Cold porcelain is a fine, smooth clay used for delicate flowers and petal-thin details. It air dries to a glossy, almost translucent finish. It suits wedding decor and jewelry.
Honest note: it shrinks as it dries, and it takes practice to roll thin. (Cold porcelain forgives nobody on day one.) Hot tip: keep a little hand cream nearby to stop sticking. The petals look like real flowers.
Shop the Look
5. Stoneware: Strong Enough for Mugs and Bowls

Stoneware is fired in a kiln, which makes it strong enough for mugs, bowls, and plates. It comes in speckled and smooth finishes. Pair it with a food safe glaze and you have real dinnerware.
Honest caveat: it needs kiln access, so plan on a studio class or a pottery shop for firing. Hot tip: many studios fire pieces for a small fee. Your bowl ends up heavy enough to feel like it matters.
Shop the Look
6. Terracotta: Warm, Rustic, and Earthy

Terracotta is earthenware clay fired at lower temperatures. It suits planters, garden pieces, and rustic bowls. The warm orange color needs no paint.
Honest note: it stays porous, so it soaks up water unless you glaze or seal it. Hot tip: choose a sealer rated for outdoor use if the pot lives on a porch. The look is warm, earthy, and timeless.
Shop the Look
7. Oil-Based Modeling Clay: Reusable and Never Hardens

Oil-based modeling clay never hardens, which makes it a favorite of artists who test shapes. It suits stop motion, small models, and kid play. You reuse it again and again.
Honest caveat: it stays soft, so it is not right for pieces you want to keep. Hot tip: use it to practice a design before you move to air-dry or polymer clay. It is the best draft clay on the shelf.
Shop the Look
8. Foam Clay: Soft, Bright, and Kid Friendly

Lightweight foam clay is soft, squishy, and bright. It air dries into a springy, light finish, so it suits kid projects, flowers, and cake toppers. Little hands shape it without tools.
Honest note: it does not hold fine detail the way polymer does. Hot tip: mix two colors for custom shades. Finished pieces feel like soft, cheerful candy.
Shop the Look
3 Pro Tips for Choosing Clay
- Pro Tip 1: Start small. Buy one small pack before you commit to a big block. A test project tells you what you need to know.
- Pro Tip 2: Match the clay to the finish. Want paint and shine at home? Choose air-dry. Want built-in color and detail? Choose polymer. Want food safe dishes? Choose stoneware.
- Pro Tip 3: Wrap it tight. Seal opened clay in plastic wrap and an airtight container. Dry clay is wasted money.
What You’ll End Up With
You finish with a clear plan for which clay belongs in your cart, plus the confidence to start a project without fear of cracking, crumbling, or wasted money.
Pick Your Clay. Start Making.
Winter is the perfect season to settle in with a craft table and a fresh block of clay. From air-dry trinket dishes and polymer jewelry to terracotta planters and stoneware mugs, every type here suits a different goal. Start with a small pack of air-dry clay, make one dish, and build from there. If you are ready for even more clay help, be sure to check out Polymer Clay for Beginners: Easy Step-by-Step Guide to Your First Project for even more beginner-friendly steps.