This post contains affiliate links. If you purchase through my links, I may earn a small commission at no extra cost to you. Thank you for supporting Room Revival Studio!
Polymer clay looks intimidating until the first time you pull a tiny pair of earrings out of the oven. Then you are hooked. It is soft, forgiving, and comes in every color you can imagine. You do not need a kiln, a studio, or any art training.
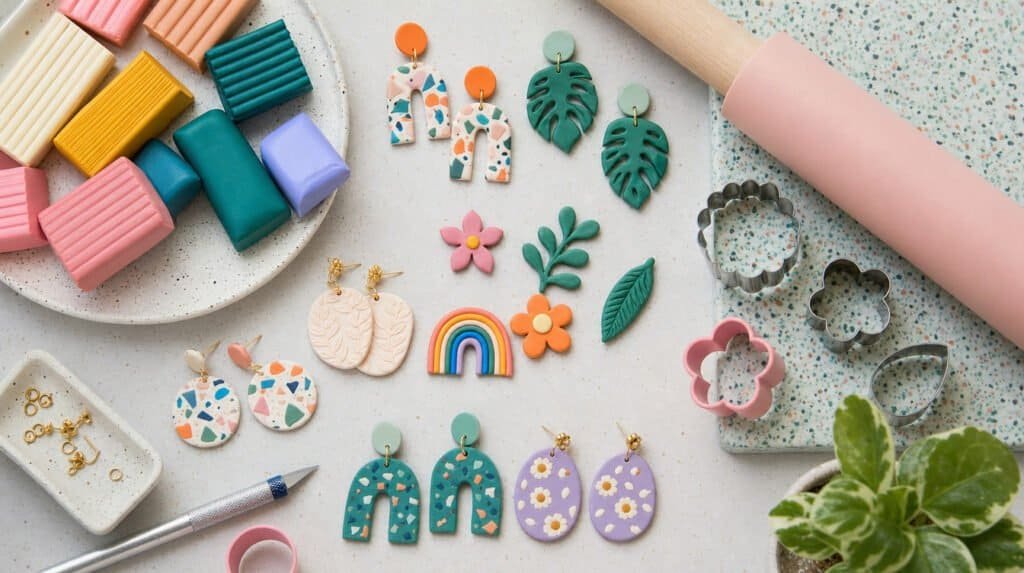
This polymer clay for beginners guide walks you through the whole process in eight simple steps. You will learn what to buy, how to soften the clay, how to bake it safely, and how to finish it so it lasts. Our first project is a pair of simple clay earrings, but the same steps work for charms, dishes, and ornaments.
Step 1: Gather Your Polymer Clay Supplies

You need less than you think. Start with a few blocks of clay, an acrylic roller, a set of cutters, a craft blade, and a sheet of parchment paper for baking. A needle tool helps with holes and details.
Honest caveat: do not use your kitchen rolling pin or cutters for food after using them with clay. Keep a dedicated craft set so everything stays food safe.
Shop the Starter Kit
Step 2: Choose Your Clay and Colors
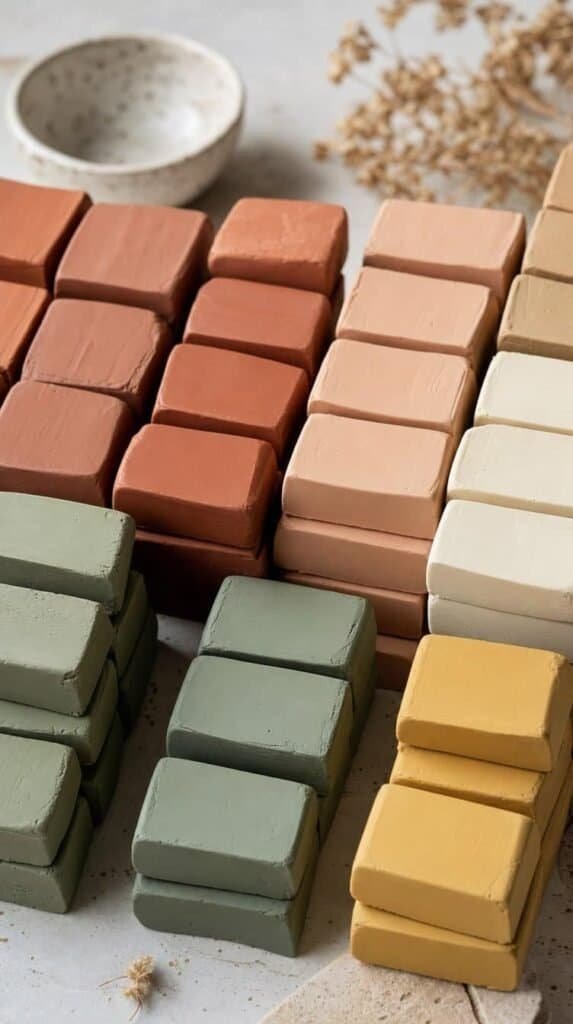
Brands feel different. Some clays are soft and easy to condition, others are firmer and hold fine detail. For beginners, a soft, brittle-resistant clay is the least frustrating choice.
Hot tip: start with four colors in a tight palette, such as terracotta, sage, cream, and mustard. They mix beautifully and always look good together.
Shop the Look
Step 3: Condition the Clay
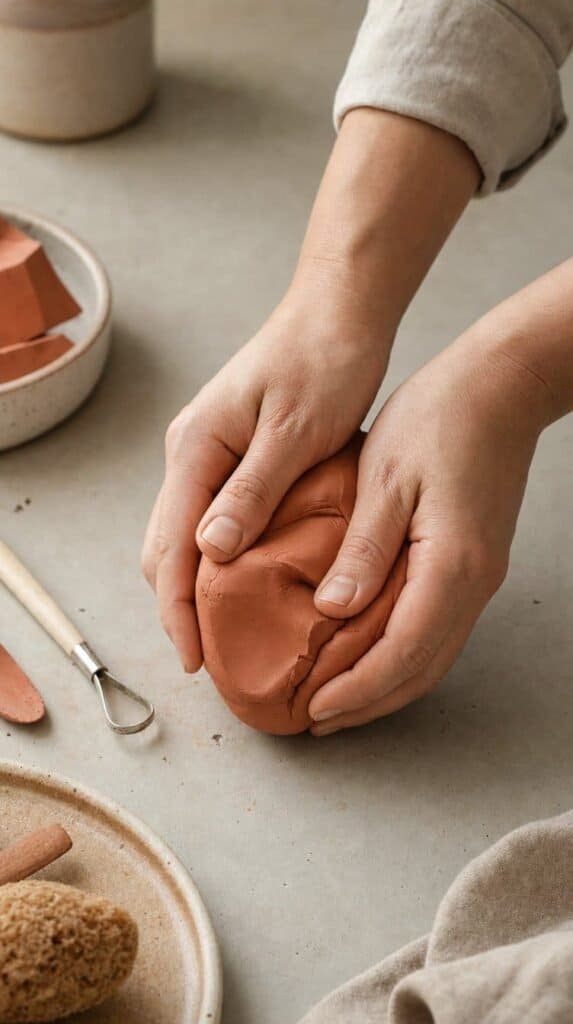
Conditioning is the step beginners skip, and it causes most cracks. Roll, fold, and knead the clay in your hands until it feels warm, smooth, and bendy. A cold, stiff block will snap when you shape it.
Honest caveat: it can take a few minutes of kneading for firm brands. Be patient, because this step saves the whole project.
Shop the Look
Step 4: Mix Your Own Colors
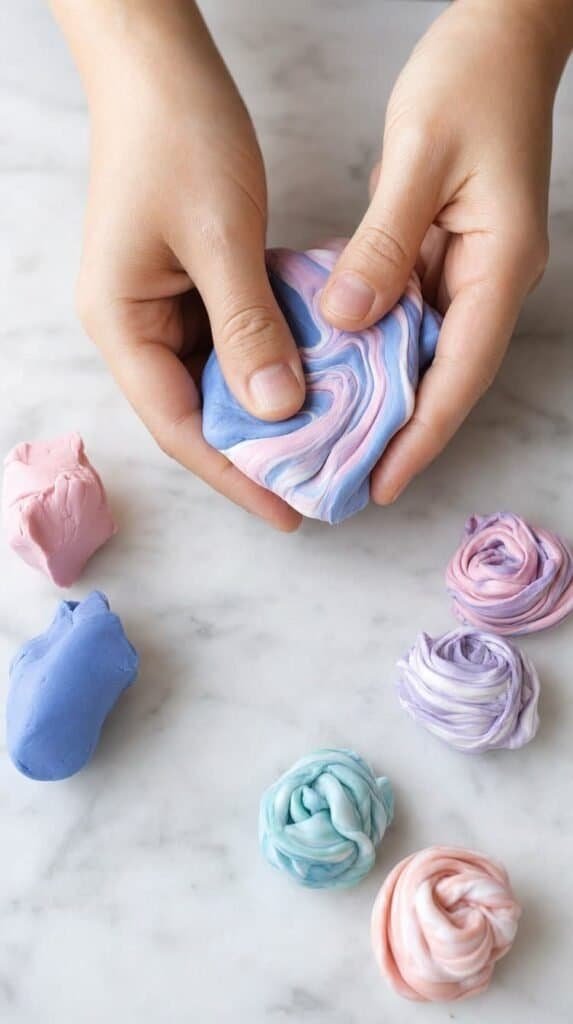
Twist two colors together for a marbled swirl, or knead them fully for a brand new shade. Add a tiny bit of white to any color to get a soft pastel. Keep a small scrap of every mix as a color record.
Hot tip: wash your hands between colors. Dark clay leaves stains that dirty light shades.
Shop the Look
Step 5: Roll and Cut Your Shapes
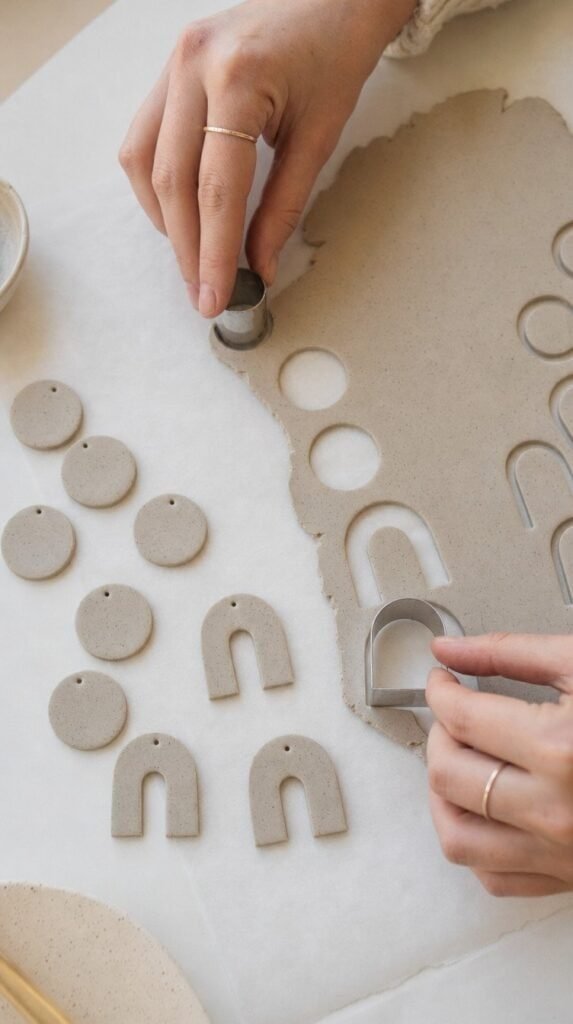
Roll the clay to about one eighth of an inch. Press a cutter straight down, wiggle it slightly, and lift. Smooth any rough edge with a fingertip. Arches and circles are the easiest shapes for a first pair of earrings.
Honest caveat: thick pieces bake unevenly and feel heavy in your ears. Keep earrings thin and light.
Shop the Look
Step 6: Add Texture and Holes

Press a texture sheet, lace, or a piece of fabric into the clay before cutting. This takes plain shapes to boutique level. Use the needle tool to poke the hole for the earring hardware, leaving room from the edge.
Hot tip: dust the texture with a tiny bit of cornstarch so the clay does not stick.
Shop the Look
Step 7: Bake Your Polymer Clay
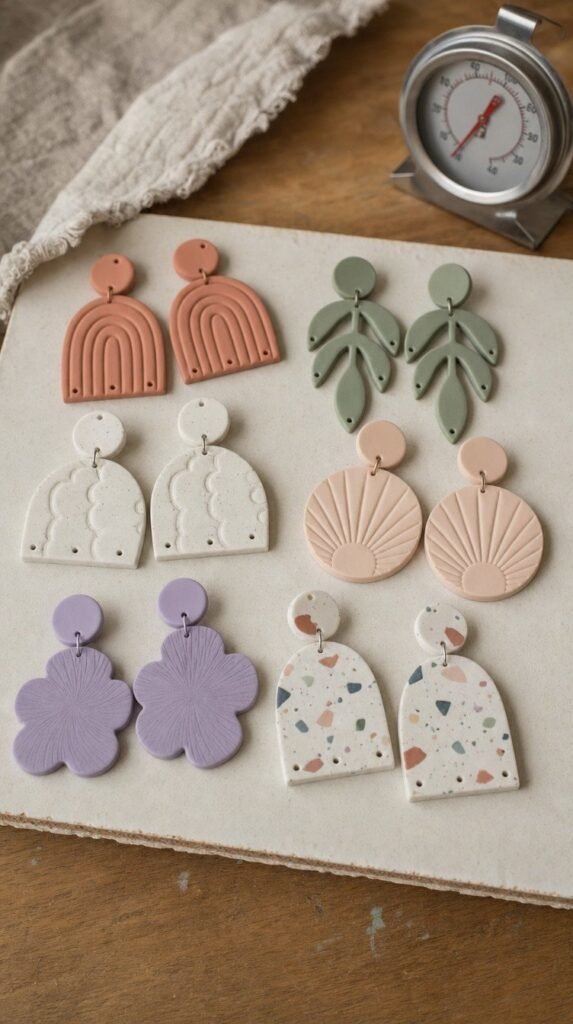
Check the package for the exact temperature and time, because every brand is different. Most bake around 275 degrees Fahrenheit for about 15 minutes per quarter inch of thickness. Place the pieces on parchment over a ceramic tile for even heat.
Honest caveat: home ovens run hot or cold, so use an oven thermometer. Scorched clay turns brown and can smell. Let pieces cool fully before touching them, since they harden as they cool.
Shop the Look
Step 8: Sand, Seal, and Finish
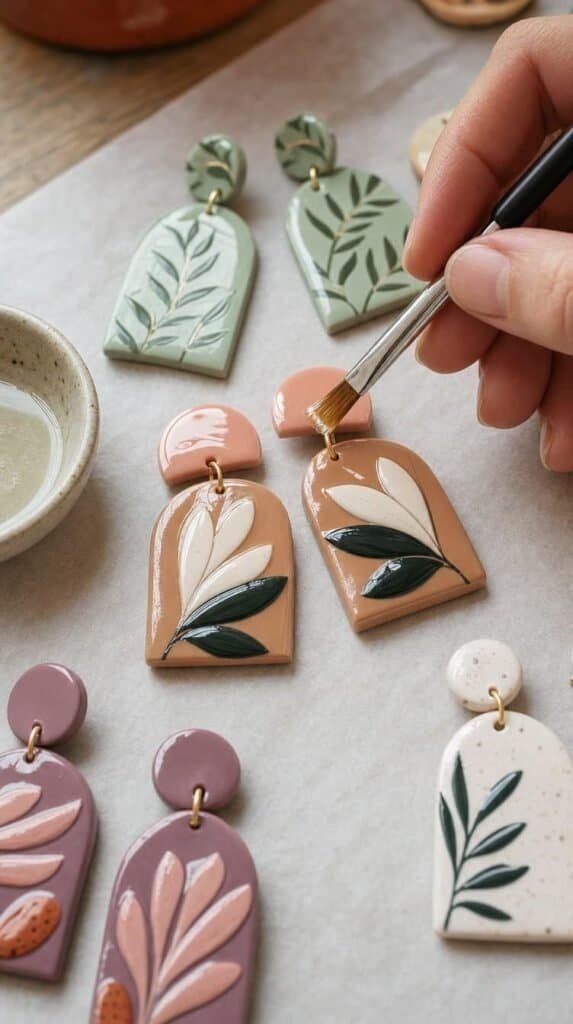
Sand any rough edges with wet fine sandpaper, then wipe the pieces clean. Brush on a thin coat of water-based glaze for shine, or leave them matte for a modern look. Add the hooks with jump rings and pliers.
Hot tip: let the glaze dry fully before wearing or gifting. Two thin coats beat one thick, sticky one.
Shop the Look
Your Polymer Clay Journey Starts Here
That is the whole process. Condition, shape, bake, and finish. Your first pair may look a little wobbly, and that is normal. The second pair looks better, and by the fifth you will be making gifts. If you want project ideas once you have the basics down, be sure to check out 17 Polymer Clay Ideas for Beginners (No Fails) for even more things to make.