
This post contains affiliate links. If you purchase through my links, I may earn a small commission at no extra cost to you. Thank you for supporting Room Revival Studio!
Your yarn lives in a laundry basket. The paint pens hide under the couch, and glitter has claimed a kitchen drawer. You sit down to make something, then spend twenty minutes hunting for the scissors. Skip the hunt this time. A small apartment does not need a spare room, only a smart plan.
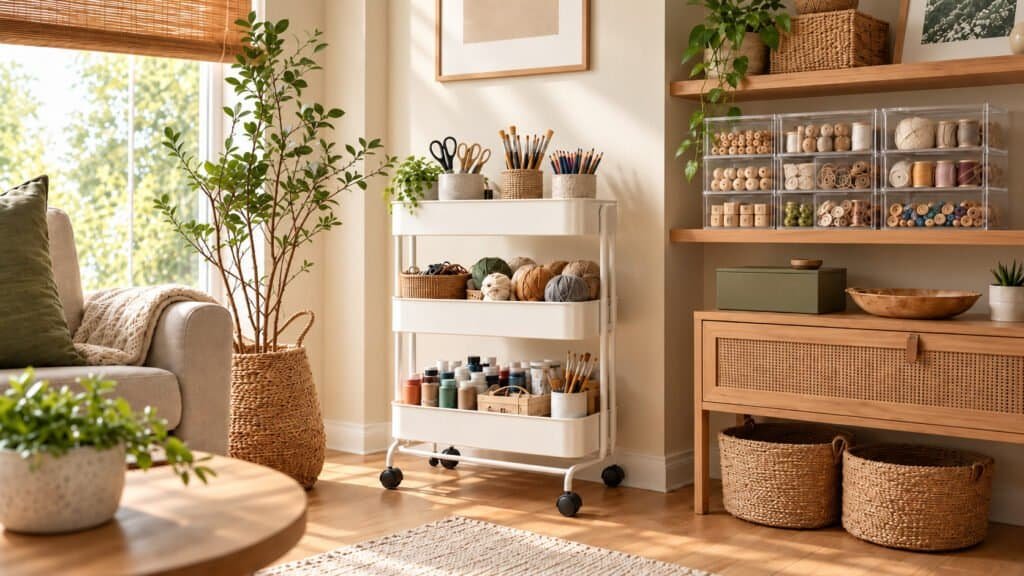
This guide shows you how to organize craft supplies in five clear steps using a closet shelf, one wall and a rolling cart. Difficulty is easy, the project takes about three hours, and nothing needs a drill or your landlord’s permission. Grab a bin and let’s go.
What You Need to Organize Craft Supplies in a Small Space
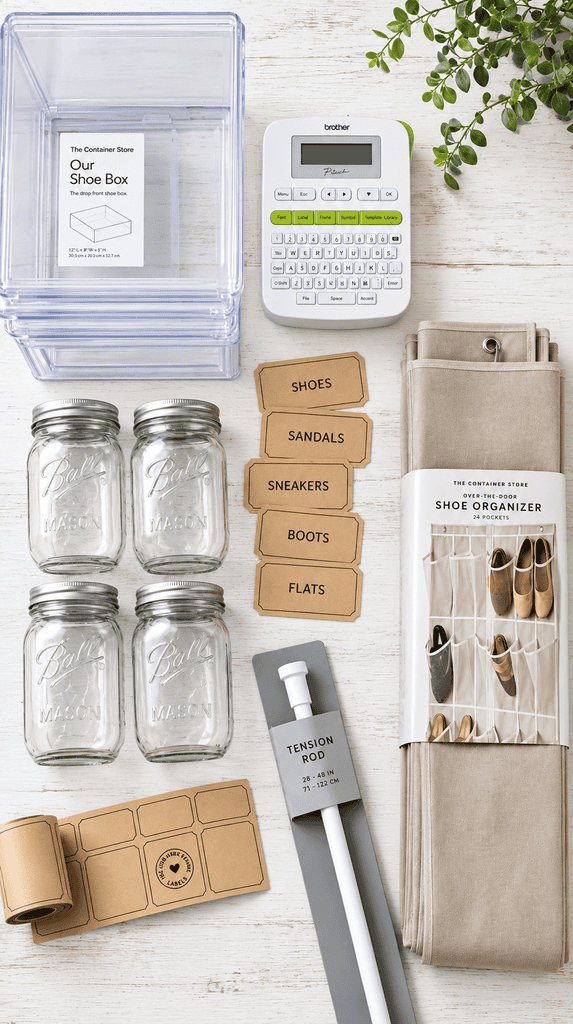
Gather your tools before you touch a single skein of yarn, because a short supply list keeps the project fast and the budget low. Most items cost under twenty dollars each. Order everything at once and you will skip a second shopping trip.
Hot tip: buy clear bins from one size family so they stack without wobbling or wasting shelf space. Mixed sizes and printed patterns look cute in the store and messy in your closet.
The honest catch: a label maker feels like a splurge until the end of week one. After that, you will wonder how you ever lived without it. Your cart is full and your plan is ready.
Shop the Look
- Clear stackable storage bins
- Label maker with tape refills
- Over the door clear pocket organizer
- Slim 3 tier rolling utility cart
Step 1: Pull Everything Out and Sort Into Piles

Empty every drawer, bag and basket onto a bed or the floor. Yes, it will look worse before it looks better. Seeing the full pile shows you exactly how much you own.
Sort by project type instead of color, with groups like yarn, paper, paint, fabric and tools. Anything broken, dried out or untouched for a year goes into a donate bag or the trash. (Be honest about the glitter.)
Here is what nobody tells you: a good purge frees up serious space before you buy a single bin. The pile shrinks, your shoulders drop and the whole room feels lighter.
Shop the Look
- Stackable sorting trays for small supplies
- Zippered mesh pouches for patterns and tools
- Divided organizer box for beads and buttons
- Reusable donation tote bags
Step 2: Pick Bins Sized for Your Closet Shelf

Measure your shelf depth and height before you shop, then save the numbers in your phone. Bins that overhang the edge or leave a wide gap waste your best storage space. A tape measure takes two minutes and saves a return trip.
Use one bin per project type, and keep each bin light enough to lift with one hand. Heavy bins stay on the floor and never get opened, while light bins get used every week. Stack no more than two high.
Pro Tip: put lidded bins on the top shelf and open baskets on the bottom, where you grab supplies daily. Your closet now works like a tidy craft room storage wall.
Shop the Look
- Clear lidded storage bins with latches
- Fabric storage cubes with handles
- Stackable closet shelf risers
- Wire baskets for open shelves
Step 3: Go Vertical to Organize Craft Supplies on Walls and Doors

Floor space is gone, so use your vertical space instead. A pegboard, an over-the-door pocket organizer and a tension rod add storage without a single nail. Renters, this step is for you.
Hang scissors, tape and rulers on pegboard hooks where you see them every day. Slide a tension rod through ribbon spools and mount it inside a closet. Tuck paint pens and glue sticks into the clear door pockets.
Pro Tip: use removable adhesive hooks rated for the weight, and test one before you load the full board. Your walls now hold your tools and your deposit stays safe.
Shop the Look
- Freestanding pegboard organizer with hooks
- Hanging wall pocket organizer
- Tension rod for ribbon spools
- Removable heavy duty adhesive hooks
Step 4: Build a Rolling Cart Station
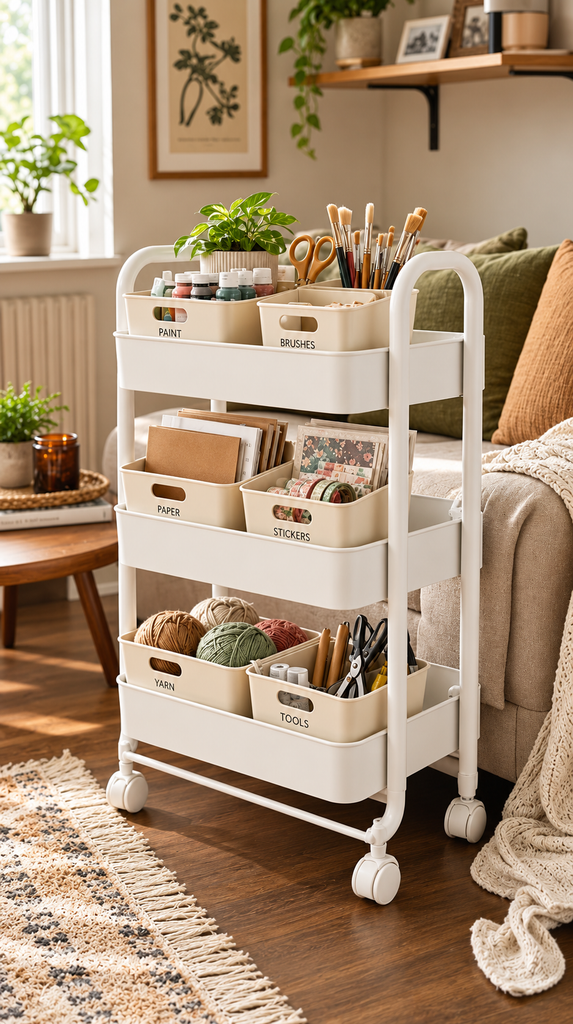
A rolling cart turns your supplies into a portable studio. Wheel it out when you want to make something, then tuck it beside the sofa or inside a closet when you finish. Rolling it away feels like closing a tiny studio door.
Put daily tools on the top tier, active projects in the middle and bulk supplies on the bottom. Add side hooks for scissors and a small bin for scraps. The cart becomes a full workspace in one move.
The honest catch: carts collect clutter fast when you skip the reset. Spend five minutes after each session returning every tool to its tier.
Shop the Look
- Rolling cart with locking wheels and side hooks
- Hanging cart baskets and S hooks
- Mini tabletop trash bin for scraps
- Acrylic tool holder for scissors and pens
Step 5: Label Every Bin
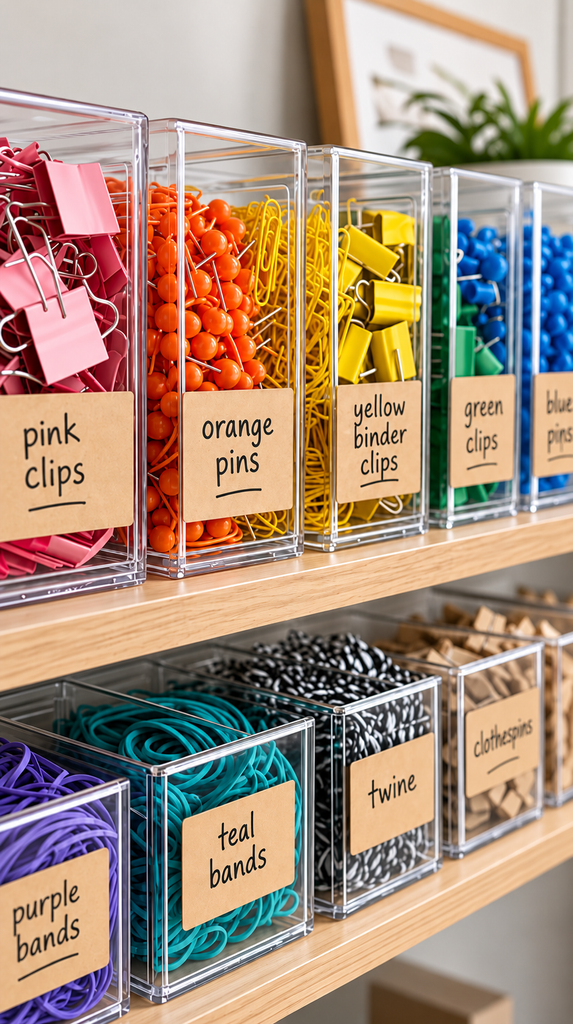
Labels keep the system alive in a small home. Without them, supplies drift back into piles within a month. Spend twenty minutes labeling now and the work holds for good.
Label the front of each bin and the shelf edge below it. Use short plain words like Yarn, Paint or Fabric Scraps. If you share the space, add a color dot for each person.
Pro Tip: snap one photo of each open bin and save them in a phone album, so you know what you own before you buy more. The shelf now looks like a tidy little shop.
Shop the Look
- Kraft paper adhesive labels
- Chalkboard label stickers with chalk marker
- Color coded dot stickers
- Waterproof label tape cartridges
What You’ll End Up With
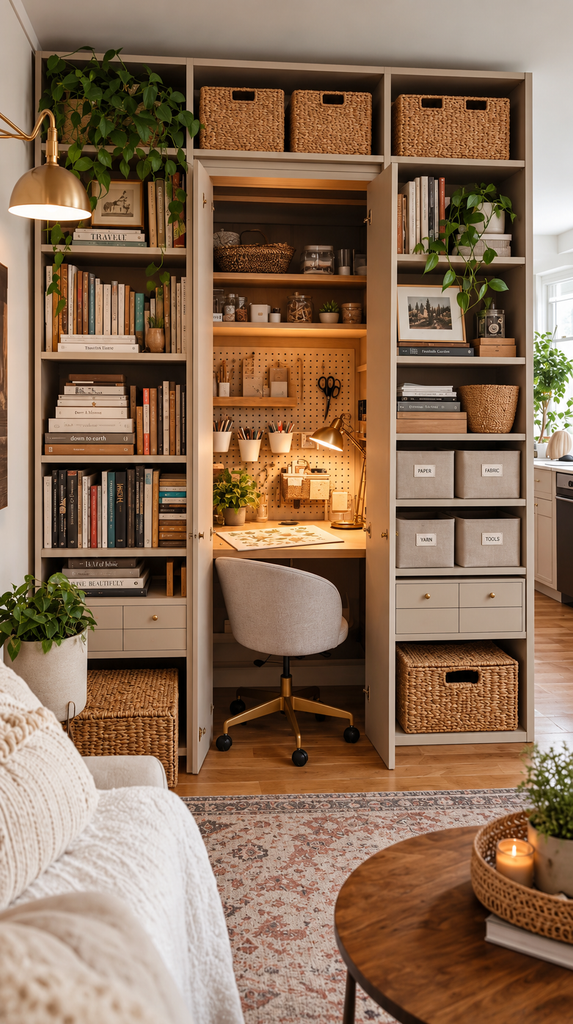
You end up with every supply sorted by project and stored in a closet, on a door and on one rolling cart. Setup takes an afternoon. Cleanup takes five minutes.
Your living room stays a living room, and your supplies stay within easy reach. Starting a project takes two minutes instead of twenty. That is the real payoff of small space organization.
The honest catch: the system needs a quick reset after each project, so treat it like washing a mug. The room finally looks like it meant to be there.
Shop the Look
- Storage ottoman with lid
- Cube bookshelf with fabric bins
- White floating wall shelves
- Woven baskets with lids
Pick One Shelf. Start Today.
Fall is the perfect season to clear the clutter before holiday gifting season takes over. Between the closet bins, the pegboard wall and the rolling cart, every supply finally gets a home. Start with one pile, sort it by project and tuck it into a labeled bin before dinner. If you are ready for even more storage ideas, be sure to check out 12 DIY Storage Ideas for People Who Don’t Have a Craft Room for even more space-saving solutions.


