This post contains affiliate links. If you purchase through my links, I may earn a small commission at no extra cost to you. Thank you for supporting Room Revival Studio!
The venue quote came back and your stomach dropped. Four figures for decor you could make in a weekend with a machine that’s already sitting in your closet. Every “custom” sign, every place card, every gold-foil detail you pinned to your wedding board has a price tag built for someone else’s budget, not yours. Here’s the good news: your Cricut can build every piece of that luxury look for a fraction of the cost, and nobody at the reception will know the difference.
These 15 Cricut wedding decorations cover everything from the welcome table to the last favor handed out at the door. Pick the pieces that fit your day, mix and match the finishes, and build a coordinated look that reads high end from the first sign your guests see.
1. An Acrylic Welcome Sign That Sets the Tone
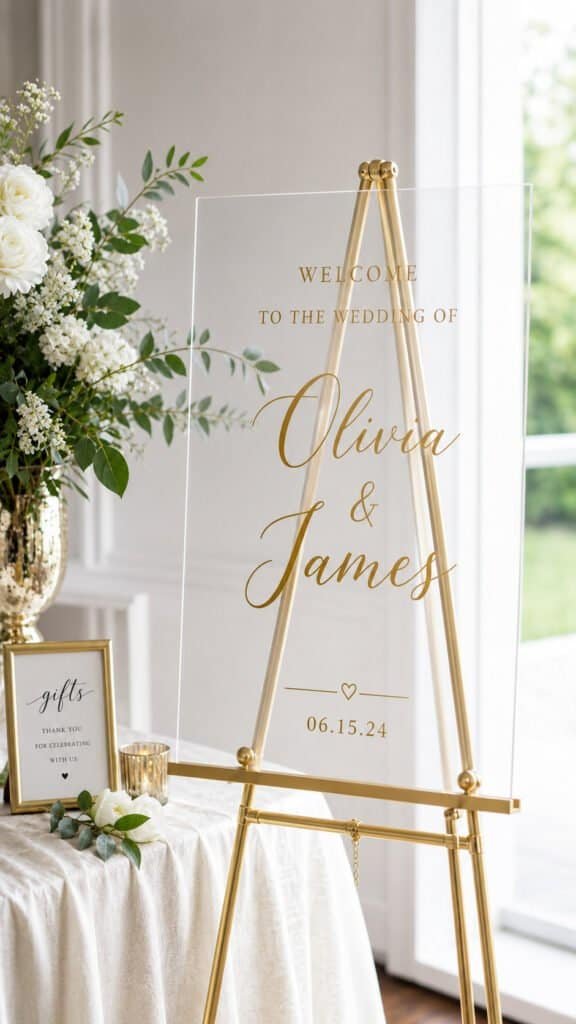
Cut your welcome message in gold or white vinyl and apply it straight to a clear acrylic sheet. The see-through base makes it look like a custom order from a stationery boutique. Pair a script font for names with a clean sans serif for the date.
Hot tip: mirror the text before you weed it if you’re applying to the back of the acrylic. It keeps the front glass smooth with zero vinyl edges showing.
Shop the Look
2. Table Numbers With a Boutique Hotel Feel
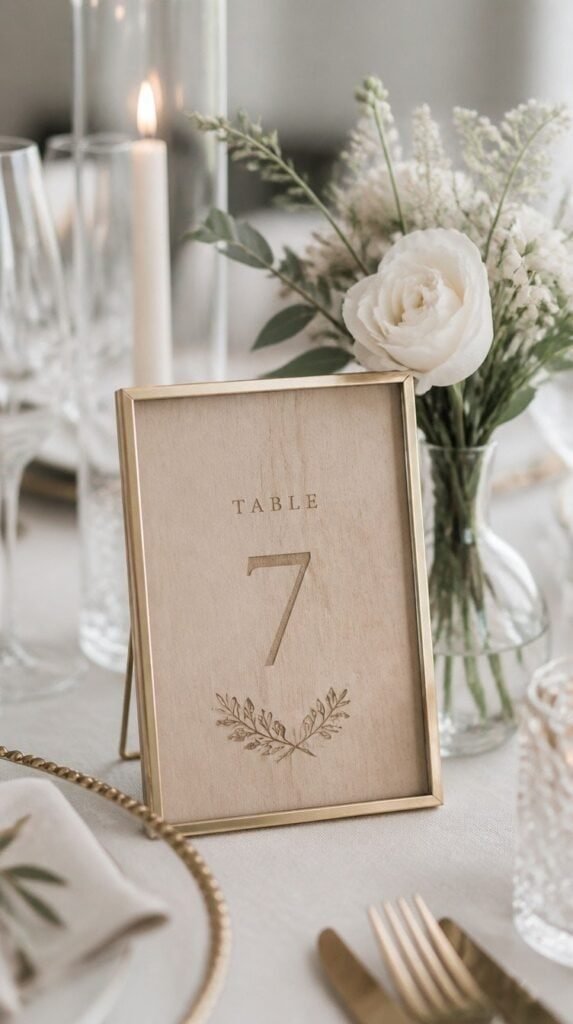
Cut oversized numbers from chipboard or wood veneer sheets, then layer a smaller vinyl number on top in a contrasting tone. Set each one in a mini frame or stand it against a bud vase. The layered effect reads custom without a custom price.
The trick here: cut your numbers a size larger than you think you need. Table numbers almost always look smaller once they’re sitting under centerpieces and candles.
Shop the Look
3. Place Cards That Double as Favors
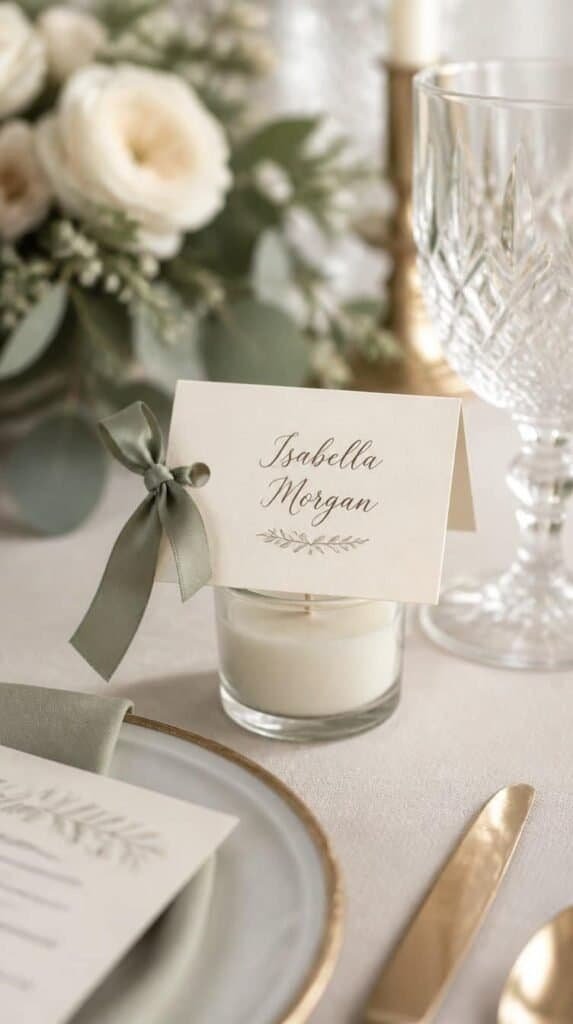
Cut guest names in a fine script onto cardstock tented cards, then punch a small slit and slide the card onto a mini candle, jar, or bottle. Every seat gets a name and a gift at the same time.
(It’s always the seating chart that causes the most stress, isn’t it. This one at least solves the place card half of it.)
Shop the Look
4. A Reception Banner That Feels Custom Ordered
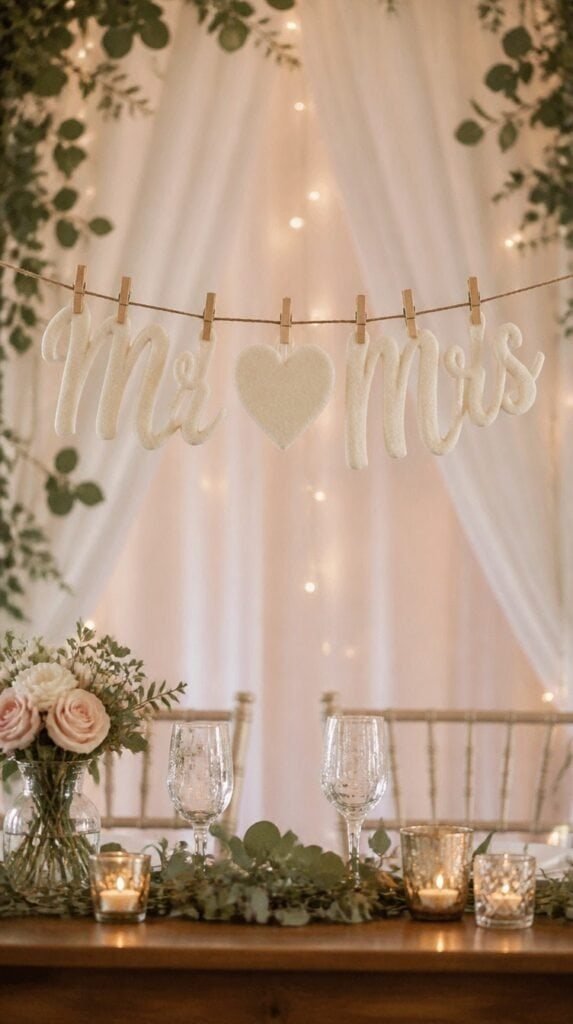
Cut felt or cardstock letters for “Mr & Mrs” or your new last name and string them on twine or ribbon. Vary the letter sizes slightly for a hand-set look instead of a uniform printed one.
Honest caveat: felt takes longer to weed than vinyl or cardstock, so budget extra time if you go that route. It’s worth it for the texture.
Shop the Look
5. A Cake Topper With a Custom Monogram
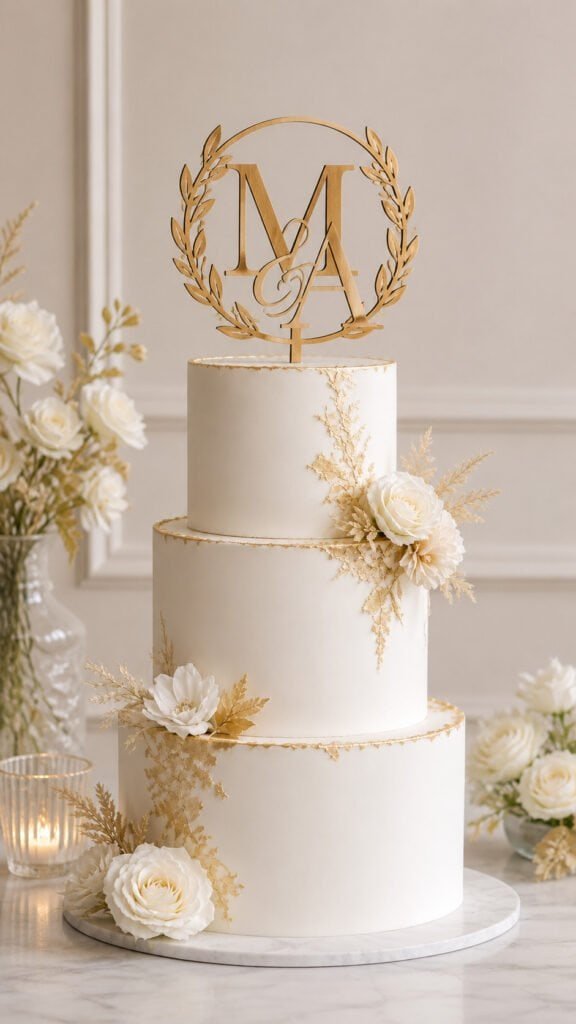
Cut your monogram or last name from wood veneer or acrylic, then mount it on a thin cake pick. A monogram topper reads more expensive than a printed name and holds up better against fondant and frosting.
Celebrate the payoff: the cake table photo where the topper actually looks like it belongs there, not like it was added at the last minute.
Shop the Look
6. Favor Tags That Feel Personal
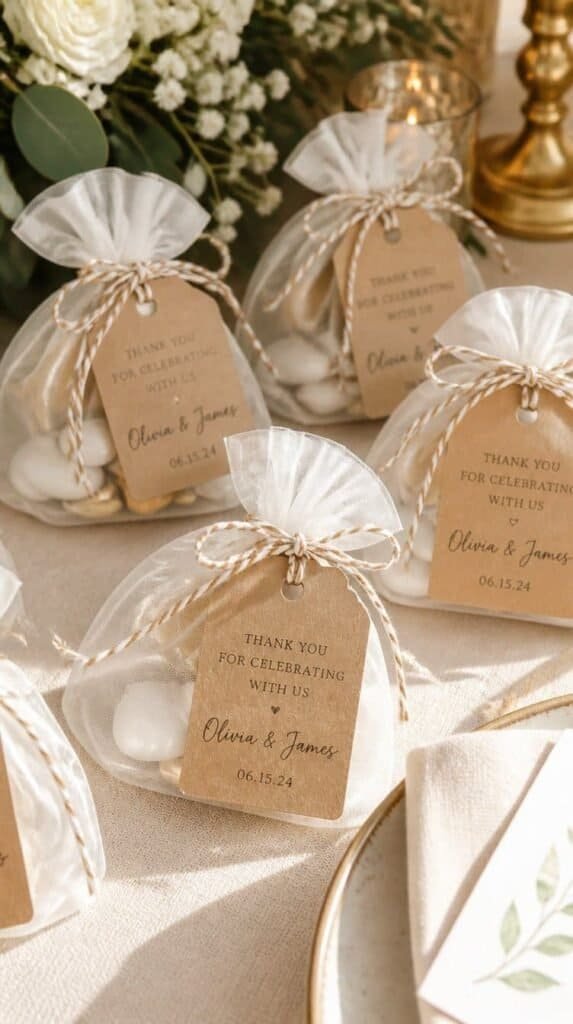
Cut small tags with a short thank you line and your wedding date, then punch a hole and tie them onto favor bags with baker’s twine. Rotate two or three phrases so the table doesn’t feel repetitive.
You can batch these in an afternoon while you catch up on a show. Cut, punch, tie, done.
Shop the Look
7. Wine Bottle Labels for the Bar Cart
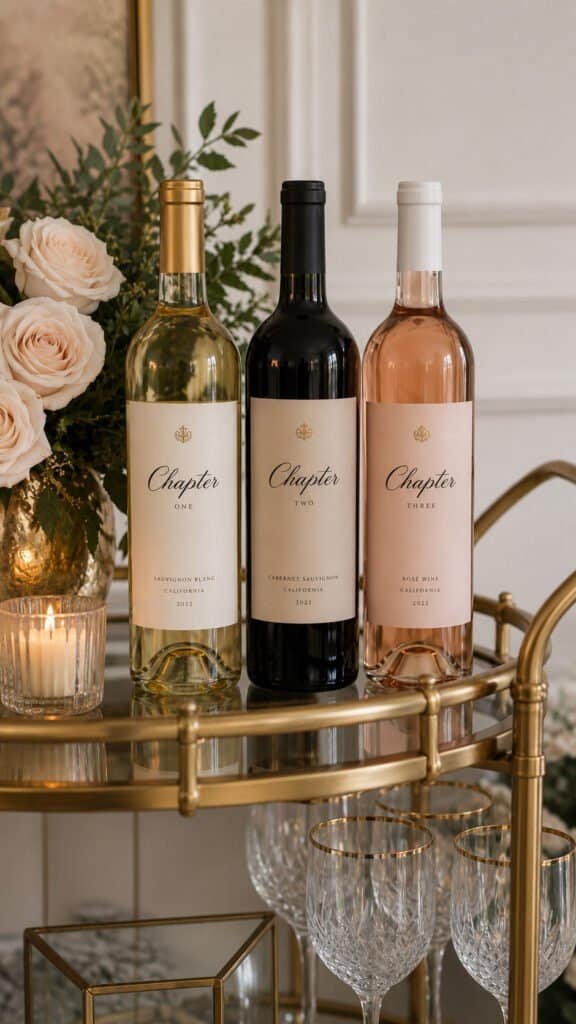
Cut custom labels with your names and wedding date in waterproof vinyl and apply them over the original bottle labels. Use a matte white or gold vinyl so it reads like a labeled house wine, not a sticker.
The room finally looks like it meant to be there, bar cart included.
Shop the Look
8. A Seating Chart That Looks Museum-Made
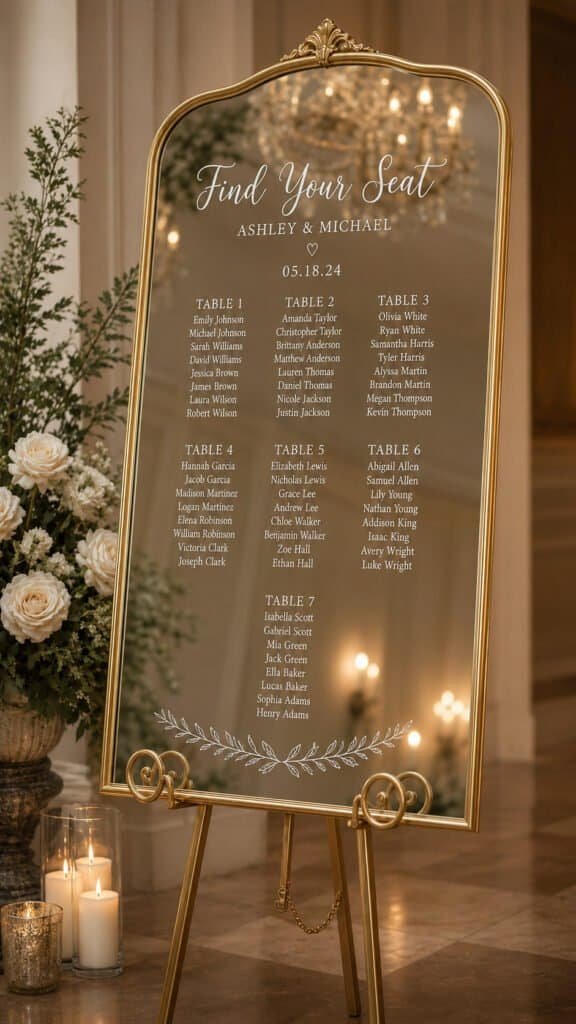
Cut guest names onto individual cards or directly onto a large mirror or acrylic board using vinyl. A full-board seating chart with clean cut lettering looks like it came from a stationery studio, not a printer at home.
Hot tip: lay out names in a spreadsheet first, then use Cricut’s print then cut or text-to-vinyl workflow in batches by table, not one at a time.
Shop the Look
9. Ceremony Programs That Double as Fans
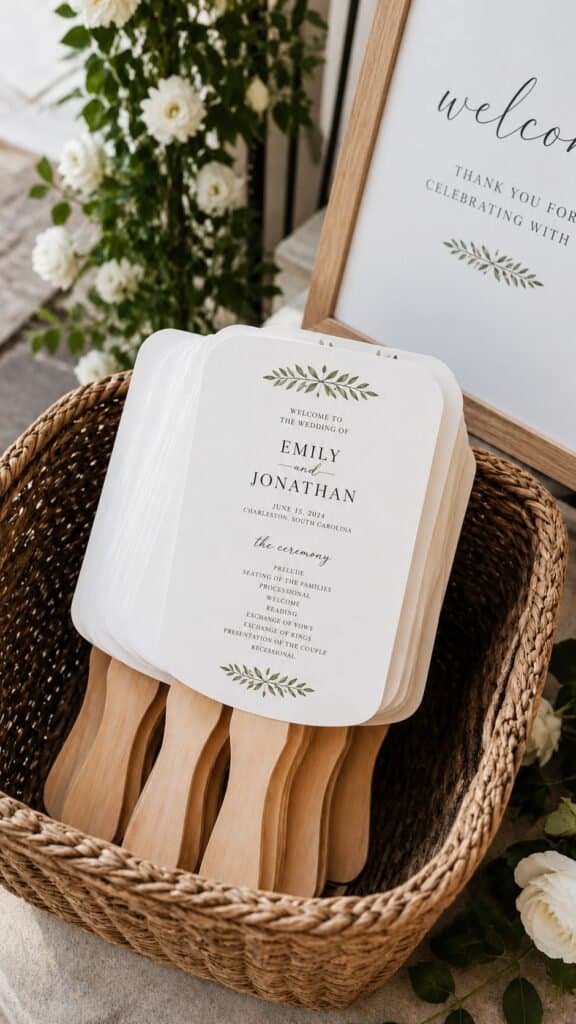
Cut the ceremony order onto cardstock, mount it to a paddle or fan shape, and attach a small wood handle. Guests get the program and a way to stay cool during an outdoor ceremony.
Honest caveat: this one takes more assembly time than most on this list. Start it two weeks out, not two days.
Shop the Look
10. Menu Cards With a Restaurant-Quality Finish
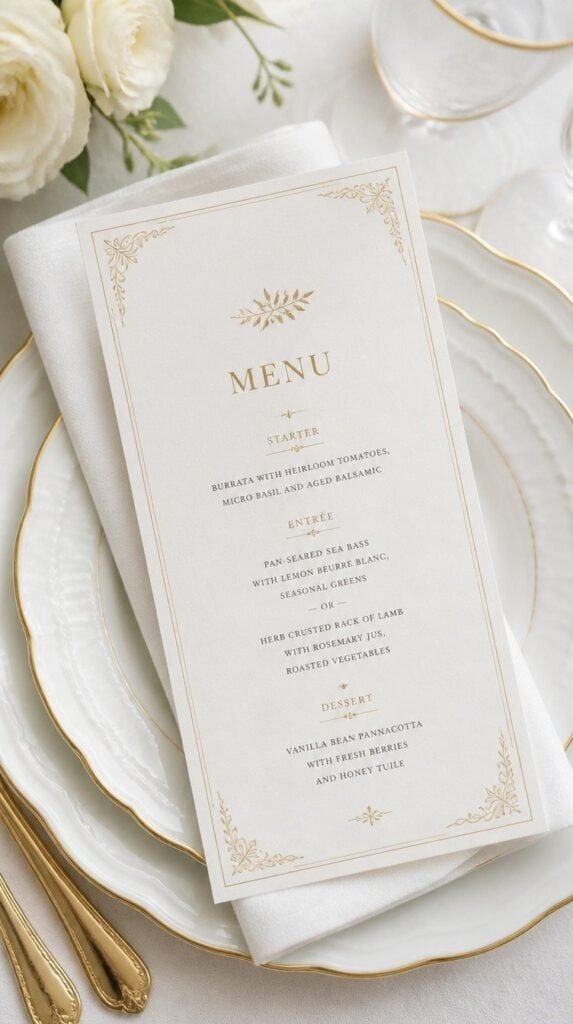
Cut a simple border or corner detail in gold foil vinyl and layer it onto a printed menu card. The foil edge is what makes a plain card look plated instead of printed at home.
The trick here: less is more. One foil detail per card reads elegant. Three or four starts to look busy.
Shop the Look
11. Directional Signs That Guide Guests in Style
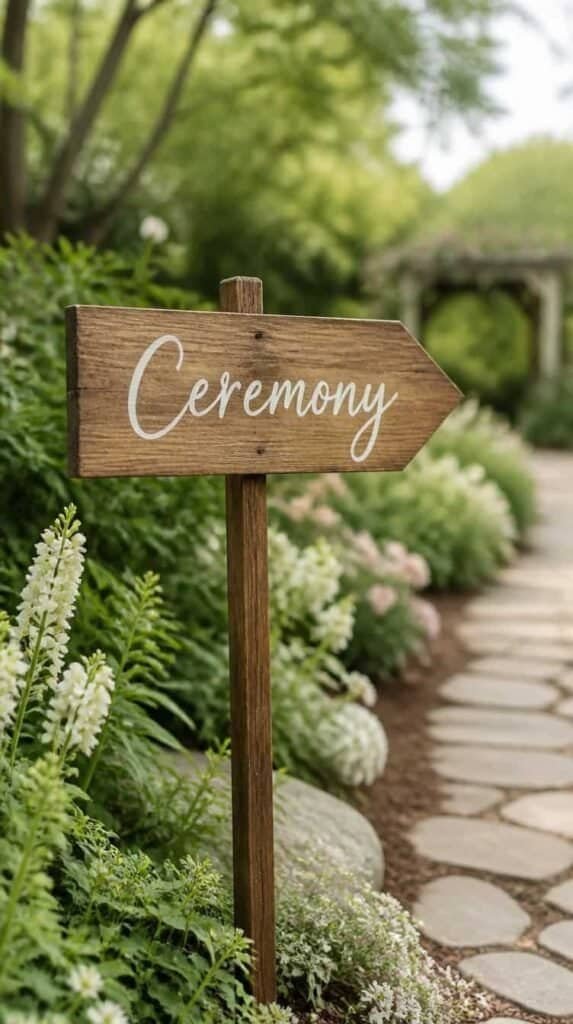
Cut arrows and simple words like “Ceremony” or “Reception” onto wood or acrylic signs mounted on stakes. Set them along the path so guests move through the day without asking anyone for directions.
You need fewer of these than you’d think. Three or four well-placed signs cover most venues.
Shop the Look
12. A Guest Book Alternative Sign

Cut instructions onto a small standing sign next to a drop-top box, a wine bottle for opening later, or a set of cards guests fill in. The sign is what tells guests what to do without an awkward explanation from the wedding party.
Keep the wording short. Five words guests can read while walking past beats a paragraph nobody stops for.
Shop the Look
13. Cocktail Stir Sticks With a Custom Monogram

Cut tiny monograms or a single initial from cardstock and glue them to the top of wood stir sticks. It’s a small detail that shows up in almost every candid bar photo of the night.
Batch cut fifty at a time on your mat before you start gluing. It’s faster than stopping and starting.
Shop the Look
14. Photo Booth Props That Actually Match Your Colors
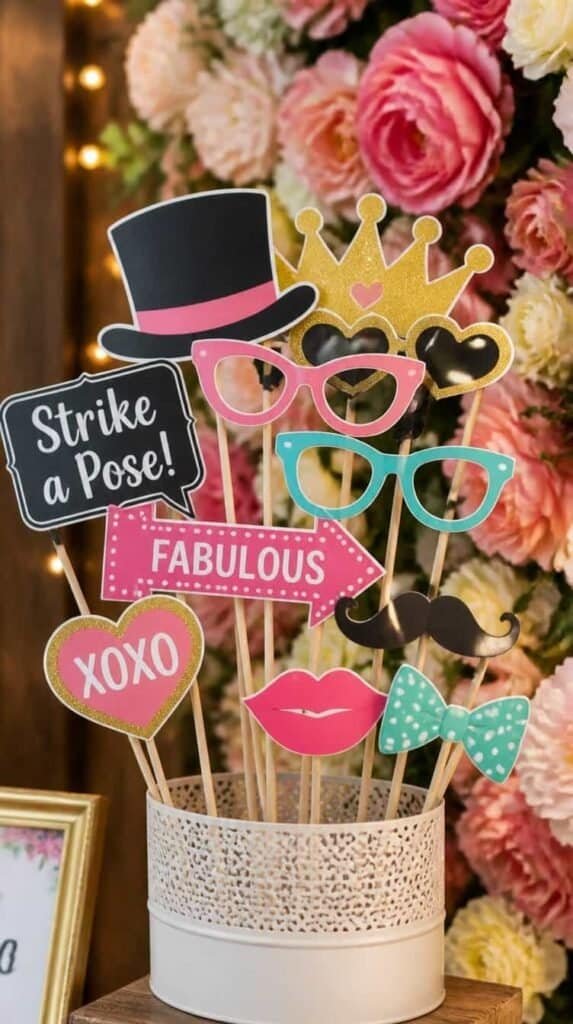
Cut fun phrases and shapes from cardstock in your exact wedding palette and mount them on wood dowels. Store-bought prop kits never match your colors. Cutting your own means every prop coordinates with the rest of the decor.
Guests remember the props in every photo strip long after the cake is gone.
Shop the Look
15. A Card Box Sign for the Gift Table

Cut a short label like “Cards” onto a small stand next to your card box, so gift table traffic flows without anyone hovering near the presents wondering where to leave things.
Match the sign finish to your welcome sign from the start of this list. That’s the detail that ties the whole day together.
Shop the Look
Pick a Few. Start Cutting Tonight.
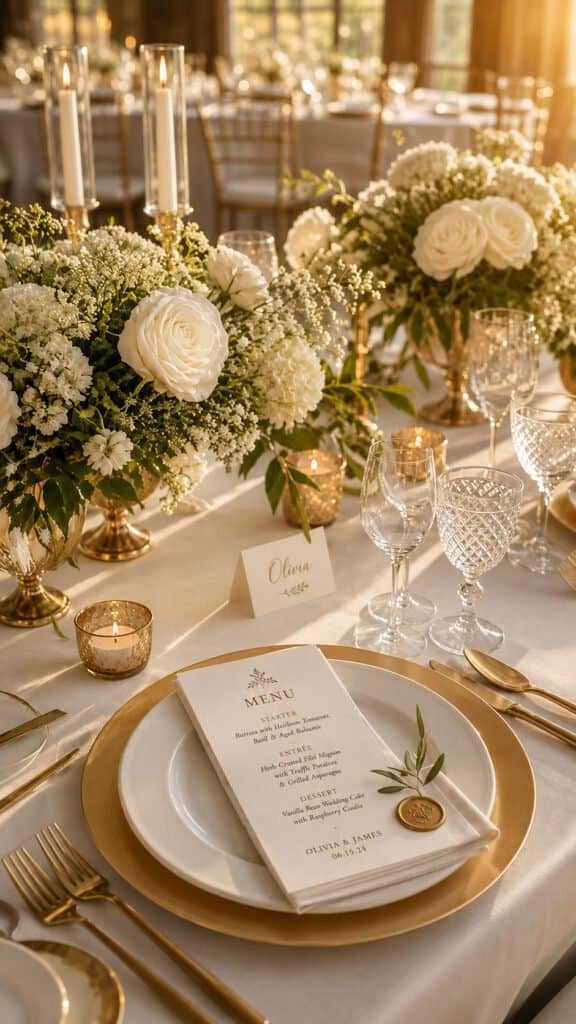
Wedding season is the perfect time to put your Cricut to work on something that actually saves you money instead of costing you more. This list covers signage, table details, and favors, so you can build a full coordinated look without hiring a stationery designer. Start with your welcome sign and table numbers, cut your place cards next, then work through favors and small details as your timeline allows. If you are ready for even more Cricut wedding decorations, be sure to check out 18 Wedding Cricut Projects That Guests Will Remember for even more ideas your guests will talk about after the last dance.