This post contains affiliate links. If you purchase through my links, I may earn a small commission at no extra cost to you. Thank you for supporting Room Revival Studio!
Your booth looked incredible at home. Then you got to the venue, unfolded your six-foot table, and watched your whole display flatten into one crowded strip nobody stopped to browse. Space at a craft fair is never enough, and a flat table reads like a garage sale no matter how good your products are. The fix isn’t a bigger booth. It’s a smarter one.
These 13 craft fair table setups turn a single flat surface into a full shopping experience, using height, grouping, and a few smart props instead of extra square footage. Pick a few that fit your product line, and watch shoppers actually stop.
1. Tiered Risers for Instant Height
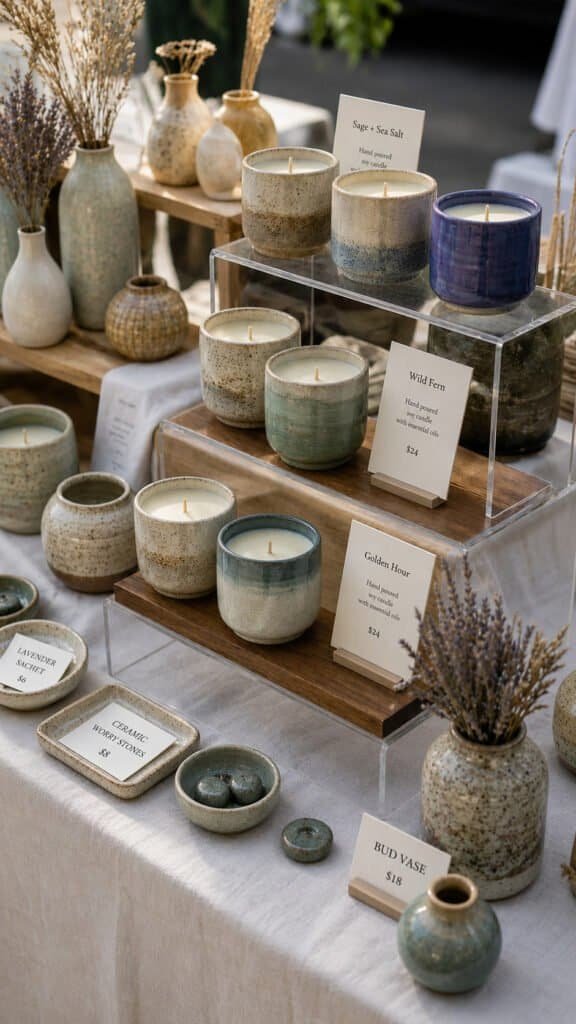
Stack acrylic or wood risers at the back of your table and put your best sellers on top. Height draws the eye first, so your top pieces get seen before shoppers even reach your table.
Hot tip: put your most photogenic item on the tallest riser. It becomes the thing people photograph and tag you in later.
Shop the Look
2. A Ladder Shelf for Vertical Real Estate
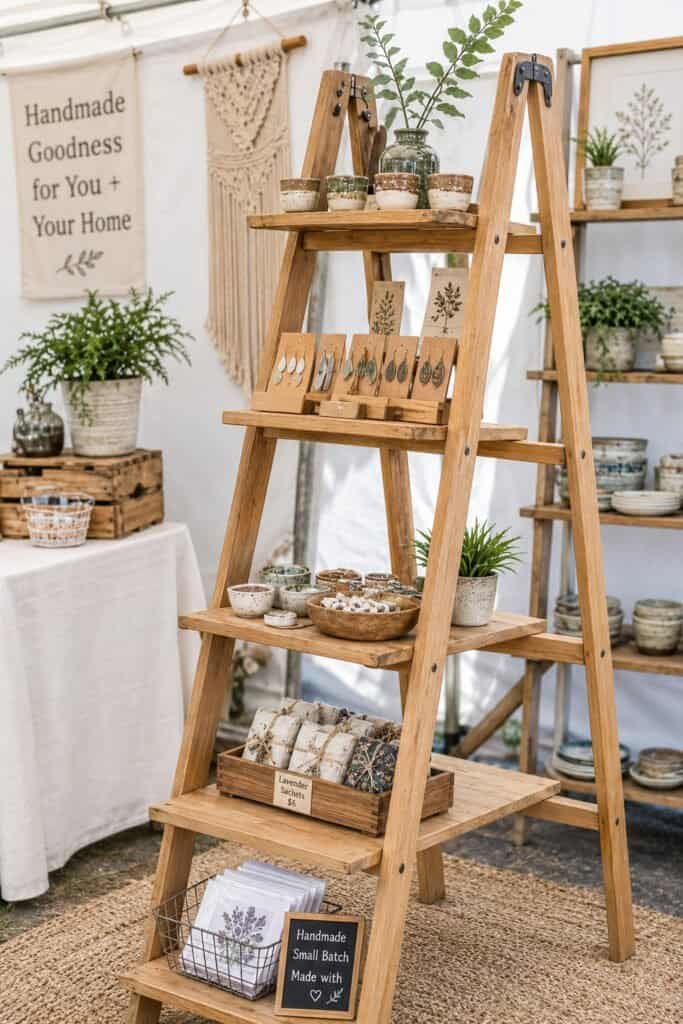
Set a wood ladder shelf at one end of your table to add an entire extra tier without taking up floor space. Fold-flat versions travel easily and give you three or four new display surfaces.
The trick here: use the ladder shelf for products that need a story, like a small sign explaining what makes your item handmade.
Shop the Look
3. A Pegboard Wall Behind Your Table

Prop a pegboard panel behind your setup and hang smaller items like earrings, keychains, or ornaments at eye level. It turns dead vertical space into a second selling surface.
Honest caveat: pegboard needs a stand or a way to lean against something sturdy. Check your venue’s rules on freestanding backdrops before you build one.
Shop the Look
4. Stacked Crates for a Rustic Tier

Stack wood crates at staggered heights and nestle products inside and on top. It’s an easy way to build levels for a farmhouse or cottagecore booth aesthetic without buying acrylic risers.
(It’s always the crates that end up doubling as your transport boxes on the way home, isn’t it. Might as well let them work double duty.)
Shop the Look
5. A Rotating Spinner Rack for Small Goods

A tabletop spinner rack holds stickers, keychains, or small prints in a compact footprint that shoppers can browse hands-on. The spinning motion itself draws people in.
Celebrate the payoff: watching a stranger spin the rack twice before they’ve even said hello to you.
Shop the Look
6. A Table Skirt That Hides Your Stock
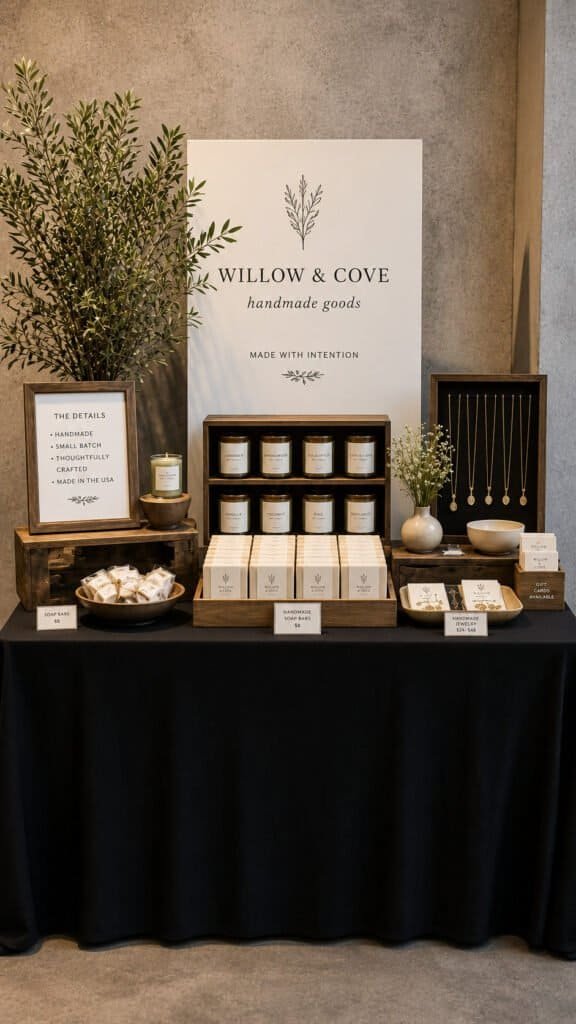
Drape a fitted table skirt to the floor and store backup inventory, bags, and your lunch underneath. A clean skirted table looks twice as polished as one with boxes peeking out below.
The room finally looks like it meant to be there, boxes and all, just hidden where they belong.
Shop the Look
7. Acrylic Risers for Jewelry and Small Items
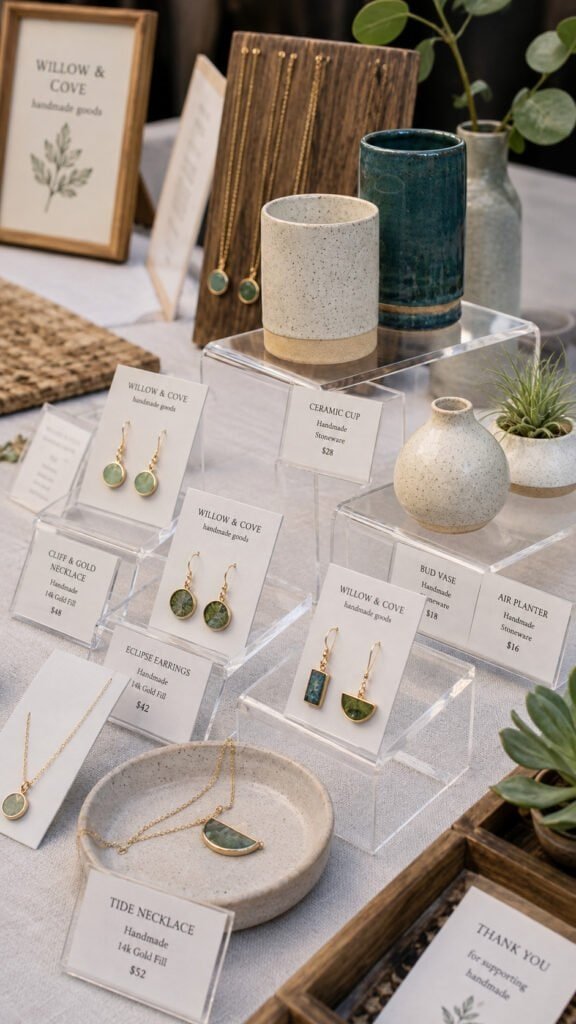
Small acrylic risers and stands lift jewelry, pins, and mini pottery pieces above the table surface so each one gets seen individually instead of blending into a pile.
Hot tip: never lay small items flat in a group. Shoppers skim flat displays and stop for raised ones.
Shop the Look
8. Basket Groupings for Grab-and-Go Items

Group lower-priced, impulse-buy items in labeled woven baskets. Shoppers browsing a basket feel less pressure than picking single items off a bare table, which usually means more items sold.
Keep one basket priced at a clear flat rate, like five dollars each. It removes the need for shoppers to ask.
Shop the Look
9. A Grid Wall With Clips for Flat Goods

A wire grid panel with clips displays prints, cards, or stickers vertically, so flat items that would otherwise disappear on a table become their own visual wall.
The trick here: group by color, not by collection. A rainbow of prints stops more foot traffic than items sorted by series.
Shop the Look
10. A Two-Tier Folding Table Layout

Set a small folding table in front of your main table at a lower height. It creates a natural two-level layout that fits more product without crowding either surface.
Honest caveat: this setup needs more booth depth than a single table, so measure your space before you commit to it.
Shop the Look
11. A Corner Shelf Unit for Awkward Booth Ends

A small corner shelf tucked at one end of your booth uses space that usually goes empty. It’s the perfect spot for a slower-moving product line that still deserves visibility.
You need fewer shelves than you’d think. One well-placed corner unit does more work than a second full table.
Shop the Look
12. A Vintage Suitcase as a Display Prop

Prop open a vintage-style suitcase at an angle and fill it with folded goods, soaps, or small packaged items. It reads as intentional styling instead of just another flat surface.
Guests remember the booth with the suitcase long after they’ve walked past a dozen plain tables.
Shop the Look
13. A Ladder-Back Chair as a Display Stand

Set an old ladder-back chair beside your table and drape or hang goods like tote bags, scarves, or wreaths across the back and seat. It’s an unexpected display surface that costs nothing extra to bring.
Match the chair’s finish to your table skirt so it reads as part of the display, not a random piece of furniture.
Shop the Look
Build Your Booth Before Your Next Show
Craft fair season rewards vendors who use height, grouping, and a few smart props to turn one flat table into a full experience. This list covers vertical displays, grab-and-go groupings, and unexpected props that fill dead space without adding a second table. Start with one riser set and a grid wall, add a basket grouping for your lower-priced items, then layer in a prop like the suitcase or chair as your booth grows. If you are ready for even more craft fair booth ideas, be sure to check out 12 Craft Booth Display Ideas That Make Shoppers Stop in Their Tracks for even more ways to boost your next show’s sales.