This post contains affiliate links. If you purchase through my links, I may earn a small commission at no extra cost to you. Thank you for supporting Room Revival Studio!
You set up your booth, arrange everything, and watch shoppers walk past without stopping. Then the vendor two tables down with half the inventory has a line. The difference is almost never the product. It is the display. How your booth looks in the first three seconds determines whether someone slows down or keeps moving, and that is the whole game at a craft fair.
These 12 craft booth display ideas are the ones that actually stop traffic. Not cute-but-generic setups you have seen a hundred times. Specific, strategic moves that make your table look like a destination instead of just another vendor spot. Whether you sell handmade jewelry, candles, ceramics, or textiles, these ideas translate. Pick the ones that fit your product and your next craft fair is going to feel completely different.
1. Use Vertical Height to Pull Eyes Up and In
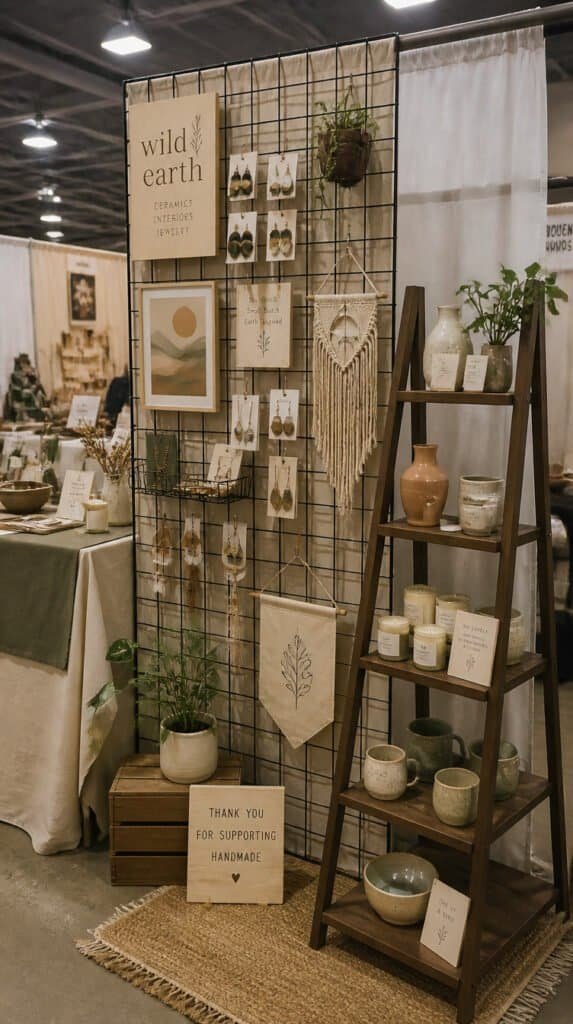
A flat table is the fastest way to become invisible at a craft fair. When every vendor has a flat surface covered in products, the booths all blur together from across the room. Vertical height breaks that pattern instantly. A tall pegboard backdrop, a ladder shelf, or a set of stacked crates lifts your display into the sightline of someone twenty feet away who is still deciding whether to walk your direction.
The trick here: height should taper as it moves away from center. Think of your display like a mountain, tallest in the middle or at the back, stepping down toward the edges. This draws the eye to the peak and then naturally travels outward across your products. Hot tip: hang your best piece or most eye-catching item at the very top. It works like a billboard from a distance and pulls shoppers in who were not planning to stop.
Tension rod systems, gridwall panels, and folding ladder shelves all pack flat and set up fast. None of them require tools or assembly beyond unfolding. (Choose a display system you can set up alone in under fifteen minutes. Craft fairs have tight setup windows and complicated structures eat that time fast.) Anchor tall backdrops to the table with clamps or sandbags if you are in an outdoor venue with any wind.
Shop the Look
- Gridwall Panel Display for Craft Fair
- Folding Ladder Shelf Vendor Display
- Pegboard Display Panel for Craft Booth
- Display Riser Set for Vendor Table
2. Layer Your Table With Risers and Levels
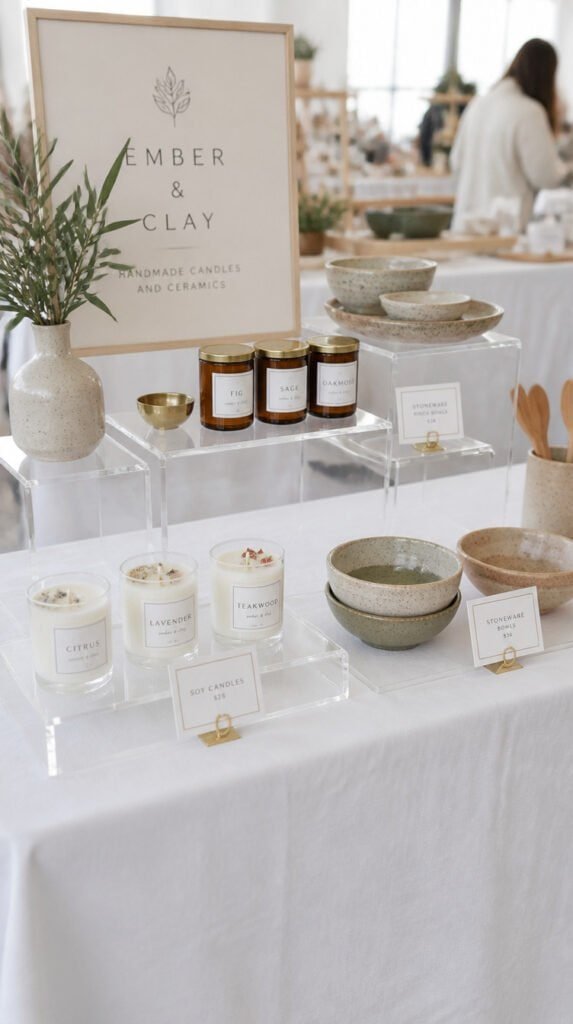
A flat table covered in products is the hardest thing for a shopper to process quickly. When everything sits at the same height, the eye does not know where to land and nothing stands out. Risers break the surface into levels and create a visual hierarchy that tells shoppers exactly where to look first, second, and third. Three different heights on one table turn a crowded display into a curated one.
The trick here: use odd numbers of levels. Three tiers, five groupings. The asymmetry reads as intentional and editorial rather than chaotic. Cover your risers in the same fabric as your table skirt or a complementary texture so they disappear into the display rather than reading as packing boxes. Hot tip: group products by height on each riser rather than mixing sizes. Tall candles on the back riser, medium ones in the middle, votives at the front. The consistency is calming and makes the display feel organized even when it is full.
Wood crates, acrylic risers, fabric-covered boxes, and stacked books all work. Acrylic is sleek and modern and lets product color show through without competition. Wood crates read warm and artisan. Match your riser material to your brand aesthetic. (If your product is minimal and clean, go acrylic. If it is handmade and cozy, go wood. The material you choose does brand communication work without you saying a word.) Keep risers stable and secure so nothing wobbles when a shopper reaches across the table.
Shop the Look
- Acrylic Display Riser Set Retail
- Wood Crate Display Set Craft Show
- Tiered Display Stand Jewelry Craft
- Table Riser Wooden Display Vendor
3. Make Your Signage Work Like a Salesperson
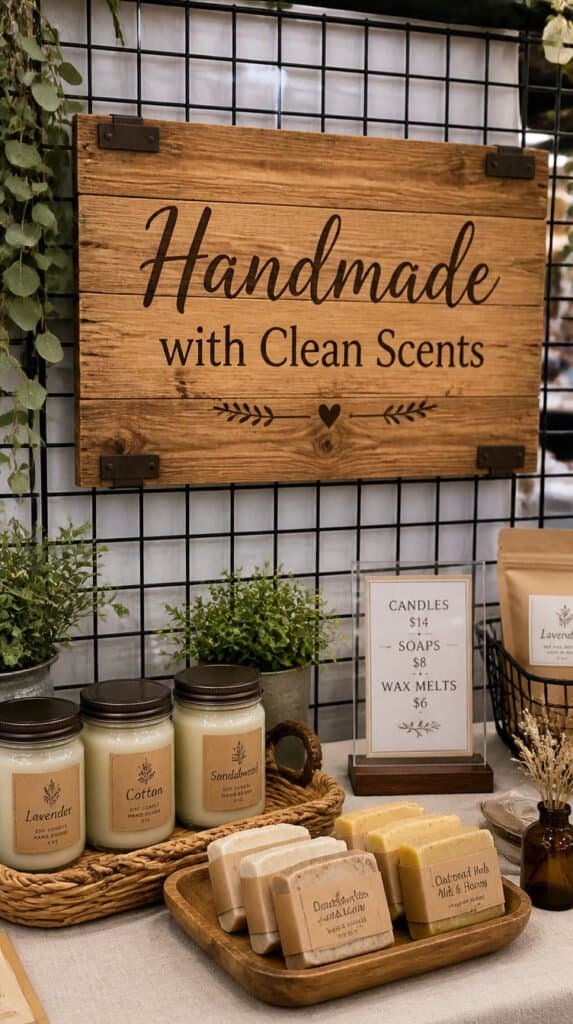
Your sign is doing a job even when you are busy helping another customer. A well-designed sign tells shoppers your brand name, what you make, and why they should care, before they even reach your table. At a busy craft fair where vendors are shoulder to shoulder, clear signage is the difference between someone walking past and someone stopping because they finally understand what you sell.
The trick here: your business name is not enough on its own. Add a tagline that tells shoppers what you make and who it is for. “Handmade soy candles. Clean scents. No fuss.” “Cotton kitchen linens you will actually use every day.” One sentence. The more specific it is, the faster shoppers self-select in or out, and the shoppers who stop are the ones who actually want what you have. Hot tip: put your prices on a secondary sign so shoppers can browse without hunting for tags. Nothing slows a sale faster than someone putting something down because they cannot find the price and do not want to ask.
Handmade wooden signs, printed foam board, chalkboard signs, and acrylic printed panels all work well as main signage. The material should match your brand: chalkboard for artisan and cozy, acrylic for modern and minimal, wood for handmade warmth. (Whatever you choose, make the font readable from ten feet away. Elegant script that cannot be decoded from a distance is a lost opportunity every time someone walks past.) Size matters: go larger than feels comfortable. Signs that seem too big in your living room look exactly right at a fair.
Shop the Look
- Chalkboard Sign Vendor Booth Display
- Acrylic Sign Holder Display Stand
- Wooden Business Sign Craft Show
- Price Tag Display Sign Holder Small
4. Create a Hero Display Piece That Does the Stopping

Every great booth has one piece that does the work of stopping traffic. It is the thing people point at from across the aisle, the item that makes someone walk toward your booth even when they were headed somewhere else. This hero piece does not have to be your best seller or your most expensive item, it just has to be visually arresting. Big, unexpected, colorful, or beautifully styled. Something that earns a second look from fifteen feet away.
The trick here: your hero piece should be displayed at or near eye level, never on the table surface. If it sits flat on the table, only people who are already at your booth can appreciate it. Mounted on a backdrop, hanging from a gridwall panel, or positioned on a tall stand, it reads from a distance and does its job all day long. Hot tip: change your hero piece each fair. If you attend the same market regularly, regulars will notice what is new and that gives you a built-in reason for them to stop and look again.
A large macrame wall hanging, a full wreath, an oversized framed print, a statement ceramic piece, or a set of coordinating items displayed together as a collection all work as hero pieces. (The key is “large relative to the table.” Something that seems oversized in isolation reads as exactly right when it needs to compete with twenty other booths for attention.) Build the rest of your display around and below the hero so everything draws the eye toward it and then cascades outward.
Shop the Look
- Display Stand Tall Adjustable Vendor
- Gridwall Hook Set Display Panel
- Macrame Wall Hanging Large Display
- Picture Frame Display Stand Large
5. Use Consistent Color to Brand Your Booth Instantly
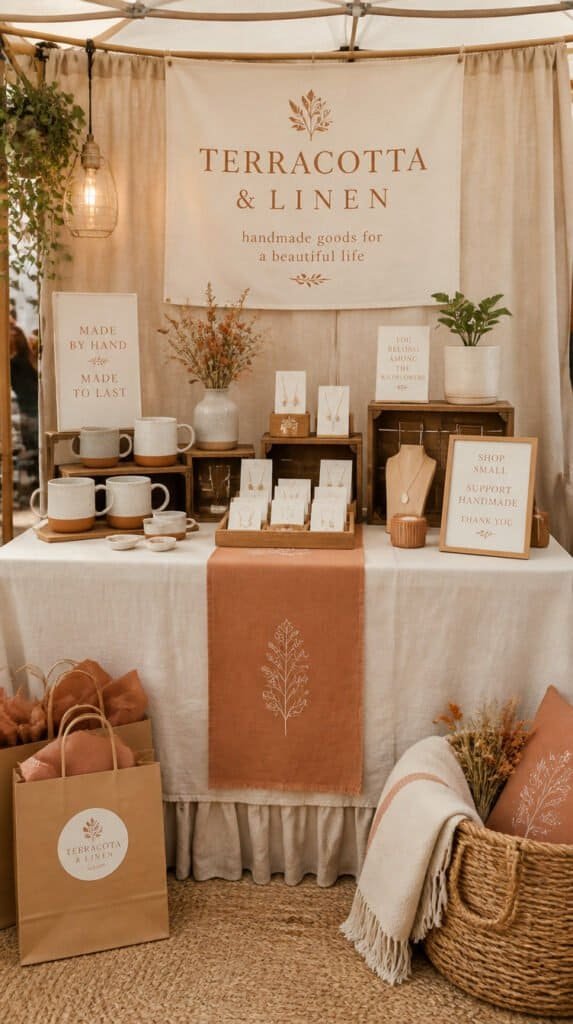
The booths that get remembered at craft fairs have a color story. Not necessarily a matching set or a theme kit, but a palette that runs through every element, the table skirt, the risers, the signage, the tissue paper in the bags, the price tags. When someone looks at your booth and everything feels cohesive, the unconscious message is that you are professional, intentional, and trustworthy. That feeling translates into sales.
The trick here: pick two main colors and one accent. Two neutrals and one pop is the formula that feels clean without being boring. Cream and natural wood with a terracotta accent. White and slate with a deep green accent. Black and white with gold. These combinations read as designed rather than assembled. Hot tip: carry your brand colors into your packaging. A shopper who leaves with a bag in your colors becomes a walking advertisement through the rest of the fair, and other shoppers will ask where they got it.
You do not need to repurchase everything to create a color story. Fabric can be draped over risers, spray paint transforms wooden display pieces, and coordinating tissue and ribbon in your signature colors cost very little. (Sometimes the biggest impact comes from the simplest change: replacing a mismatched tablecloth with one that matches your brand palette changes the entire feel of the booth.) Commit to the palette and apply it consistently across every touchpoint a shopper interacts with.
Shop the Look
- Table Runner Craft Booth Neutral
- Tissue Paper Pack Coordinating Colors
- Kraft Paper Bag with Handle Small
- Tablecloth Vendor Booth Linen White
6. Light Your Booth Like a Retail Window Display
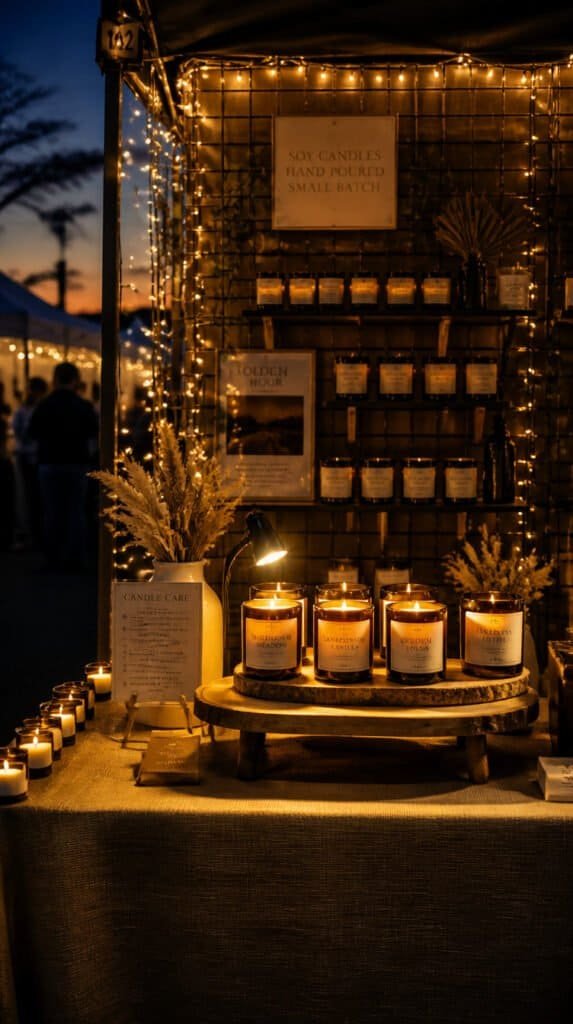
Most craft fair venues are underlit. Gym lighting, fluorescent overheads, or outdoor tent shade all flatten color, dull textures, and make even beautiful products look mediocre. A vendor who adds their own light source immediately upgrades the look of every single item on their table. Shoppers are drawn to warm light the way they are drawn to a lit shop window, it signals that something worth looking at is inside.
The trick here: warm white LED string lights draped behind or around your display add a glow that photographs beautifully and feels welcoming in person. Small battery-powered spotlights aimed at your hero piece or top-selling items direct attention without requiring any wiring. Hot tip: test your lighting at home before the fair. Set up your booth in a dim room and see where the light falls and what it does to your product colors. Adjust before the event, not during setup when time is short.
Battery-operated puck lights under glass items create a backlit glow effect that makes candles, glass, and translucent materials look extraordinary. Clip-on book lights angled at key pieces are inexpensive and precise. (Whatever lighting you use, make sure it runs on batteries or a portable power bank. Outlet access at craft fairs is rare and never guaranteed.) Bring extra batteries and check them the morning of the fair. Dim lighting on setup day means no lighting by hour three.
Shop the Look
- Battery Operated LED String Lights Warm
- Small Spotlight Display Battery Powered
- Puck Light LED Battery Display
- Portable Power Bank High Capacity
7. Display Items at Touch Height to Invite Engagement

People buy what they touch. That is not a theory, it is retail science backed by decades of store design research. When a shopper picks up your candle, feels the texture of your fabric, or holds your mug, the sale probability increases dramatically. A display that keeps products at an arm’s reach invites touching. A display that requires bending down, reaching across, or asking permission creates friction that ends with them moving on.
The trick here: your most tactile products belong at the front of the table, at a natural reaching height. Things people want to pick up, squeeze, smell, or feel should be easy to access without disrupting anything else. Behind and above those items, you can place things that are more fragile or decorative. Hot tip: put a small “Please Touch” sign near sensory products like candles, textiles, or skincare. It removes the uncertainty shoppers feel about whether touching is acceptable and removes a barrier between browsing and buying.
Table height matters here too. A standard six-foot table puts the surface at about thirty inches comfortable for touching but low for display height. Adding an eight-inch riser set to the back of the table and keeping the front clear gives you a natural touch zone at the front and display height at the back. (This layout works for almost every product category and makes your table feel both accessible and visually interesting at the same time.) Build from this structure and add display elements from there.
Shop the Look
- Folding Table Six Foot Portable Vendor
- Please Touch Small Sign Display
- Riser Set 8 Inch Display Table
- Small Basket Display Product Organizer
8. Use Negative Space to Make Your Display Breathe
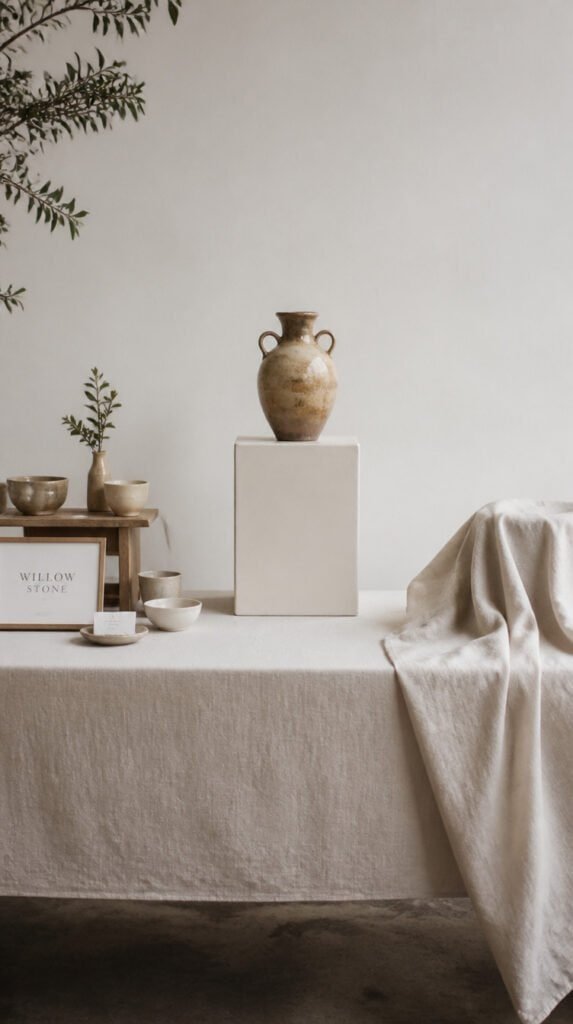
The most common craft booth mistake is putting everything out. Every item, every size, every color, all at once. The result is a table that overwhelms shoppers rather than inviting them. A crowded display reads as discount or yard sale regardless of how beautiful the individual products are. Negative space, intentional empty areas between and around items is what makes a display look curated, premium, and worth stopping for.
The trick here: display fewer items than you think you need to. If you have fifty products, show twenty-five. Put the rest in organized storage under the table and restock as things sell. The psychological effect on shoppers is the opposite of what most vendors expect: less product on display signals more value, not less inventory. Hot tip: use negative space strategically by leaving breathing room around your most expensive items. Isolation signals importance. A single statement piece on a riser with open space around it reads as premium. The same piece crowded among other items reads as one of many.
Fabric draping helps create negative space without leaving areas looking empty. A piece of linen draped softly over an unused section of riser fills the space visually while making it clear that area is intentionally blank. (Intentional emptiness and accidental emptiness read very differently to shoppers. The linen drape signals intention.) Refresh your display throughout the day, as items sell, consolidate and restyle rather than leaving gaps that make the table look picked over.
Shop the Look
- Linen Fabric Yard Natural Draping
- Storage Bin Collapsible Under Table
- Display Tray Wood Product Showcase
- Shelf Liner Fabric Display Neutral
9. Make Your Table Skirt Part of the Display
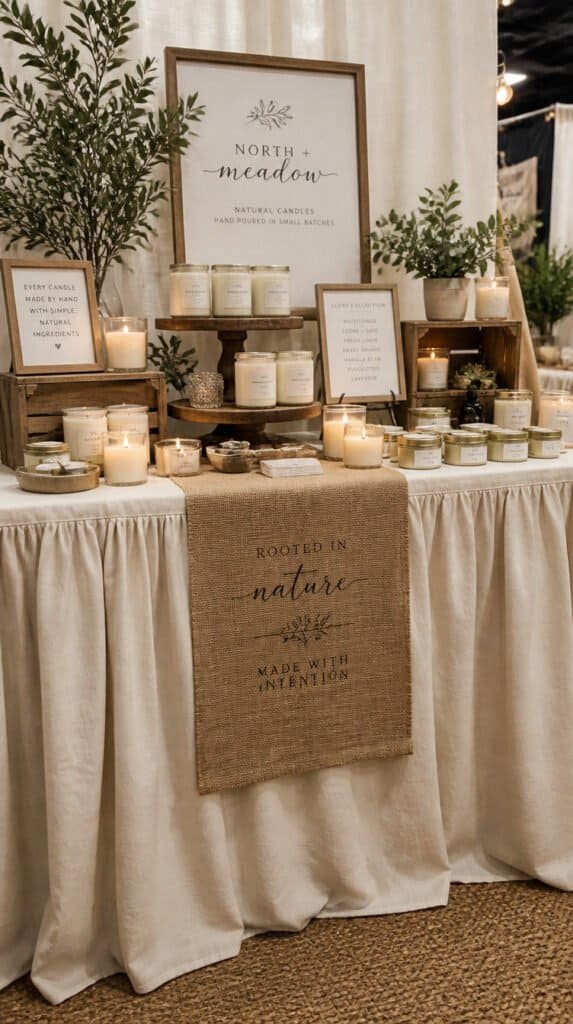
The table skirt is the largest single surface area in your booth and most vendors treat it as an afterthought. A flat polyester tablecloth in basic black or white disappears into the background. But a skirt that is textured, draped, or made from a material that complements your brand becomes part of the display itself. It grounds the whole setup and adds the kind of polish that makes your table look like a styled retail space.
The trick here: use fabric that has visual texture linen, burlap, cotton gauze, velvet, or a patterned canvas. These materials hang better than polyester and add depth and warmth to the overall display. Layer two fabrics for a more finished look: a solid base layer that reaches the floor, topped with a textured runner that hangs over the front edge. Hot tip: bring clamps or double-sided tape for the fair. No matter how carefully you drape at home, tables are rarely perfectly level and fabric slides. Clamps keep everything in place through a full day of customers reaching over the table.
The space under the table is valuable storage, organized bins of backup inventory, your bag of supplies, your cash box, and a folding chair for breaks. A skirt that reaches the floor hides all of that and keeps the booth looking clean. (Nothing breaks the illusion of a styled booth faster than visible plastic bags and cardboard boxes under a short tablecloth.) Keep under-table storage organized so you can restock quickly without creating chaos during busy periods.
Shop the Look
- Linen Tablecloth Vendor Market Floor Length
- Burlap Table Runner Craft Show
- Binder Clips Large Tablecloth Hold
- Collapsible Storage Cube Under Table
10. Set Up a Best Sellers Zone That Closes Sales
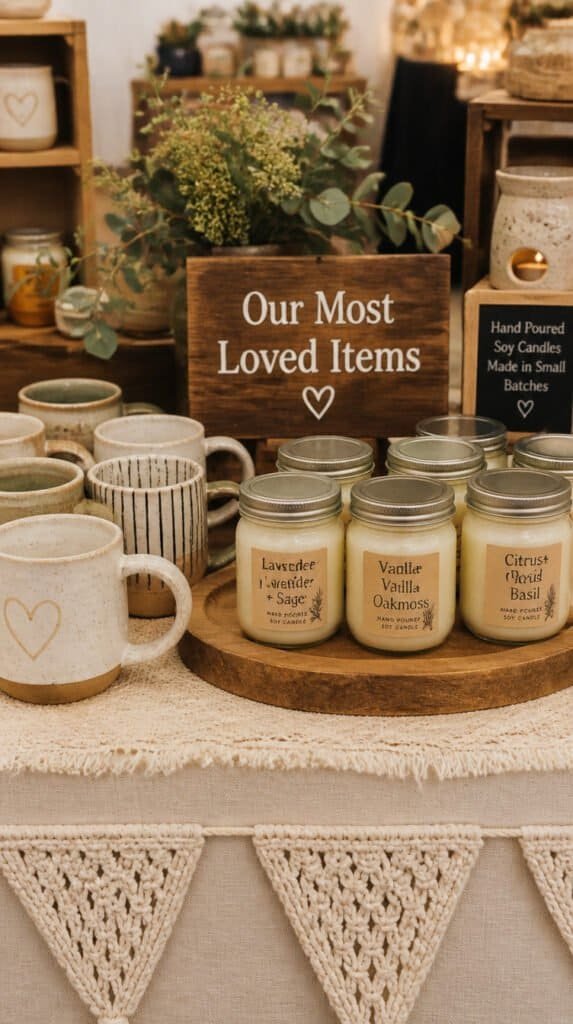
Shoppers at craft fairs often do not know what to buy first, especially when a booth has a wide range of products. A clearly labeled “Best Sellers” or “Most Loved” section removes that decision paralysis. It tells someone who likes your products but cannot decide where to start: start here. Social proof, the idea that other people have already chosen these, is one of the most powerful drivers of purchase decisions, and a best sellers display creates that signal without you having to say a word.
The trick here: your best sellers zone should be front and center, at easy reaching height, and well-stocked throughout the day. Restock it before it empties. An empty best sellers section looks like everything good is already gone. Hot tip: use a small sign with a phrase beyond just “Best Sellers.” “Everyone loves this one.” “Our most gifted item.” “Customers come back for this every year.” Specificity adds warmth and personality and makes the recommendation feel personal rather than generic.
You do not need to stick strictly to your literal best-selling SKU. Include items you want to move, items with high margin, or items that complement each other so a shopper who picks up one is naturally drawn to add another. (Think in terms of gift sets or combinations: a candle and a match striker. A pouch and a card. A mug and a bag of coffee. Pairing suggestions increase average order value without any hard selling on your part.) Group them together physically so the combination is obvious.
Shop the Look
- Best Seller Small Display Sign
- Small Tray Display Product Grouping
- Sign Holder Small Tabletop Display
- Product Label Sticker Roll Custom Kraft
11. Build a Mini Vignette That Tells a Story
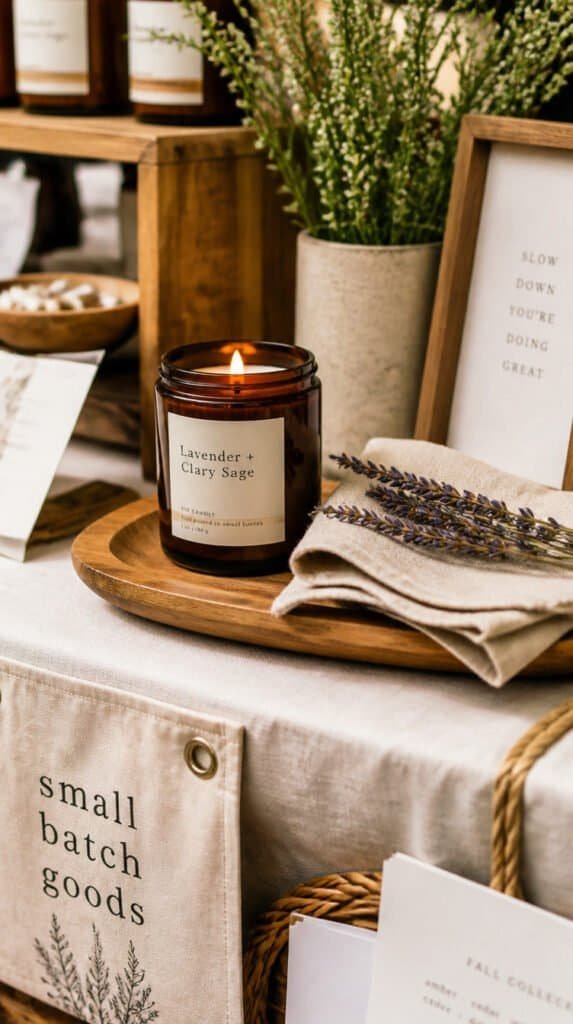
The best craft booth displays do not just show products, they show a life. A styled corner of your table that looks like a moment from a real home or a real occasion gives shoppers something to aspire to. A candle on a small wooden tray beside a folded linen napkin and a sprig of dried lavender is not just a candle display. It is a suggestion: this is what your kitchen counter could feel like. That emotional resonance is what turns browsers into buyers.
The trick here: your vignette should feature your product as the clear hero with supporting props that complement without competing. The props exist to create context, not to be noticed on their own. Keep them neutral, small, and in your brand palette. Hot tip: change your vignette styling for different seasons and fairs. A summer fair vignette uses dried citrus, linen, and light colors. A fall fair vignette uses dried leaves, warm neutrals, and a candle. The same products read differently in different contexts and that seasonal freshness keeps your booth looking intentional rather than static.
One well-styled vignette on your table is enough. You do not need the whole table to look like a styled shoot — just one section that photographs beautifully and catches the eye of a shopper who might otherwise walk past. (Shoppers photograph beautiful vignettes and post them. That organic content is marketing you did not have to pay for.) Put your social media handle on a small sign near the vignette so anyone who photographs it knows where to find you.
Shop the Look
- Small Wooden Tray Display Decor
- Dried Lavender Bunch Decor Display
- Linen Napkin Set Small Display Neutral
- Social Media Handle Sign Small Display
12. Make Checkout Frictionless and On-Brand
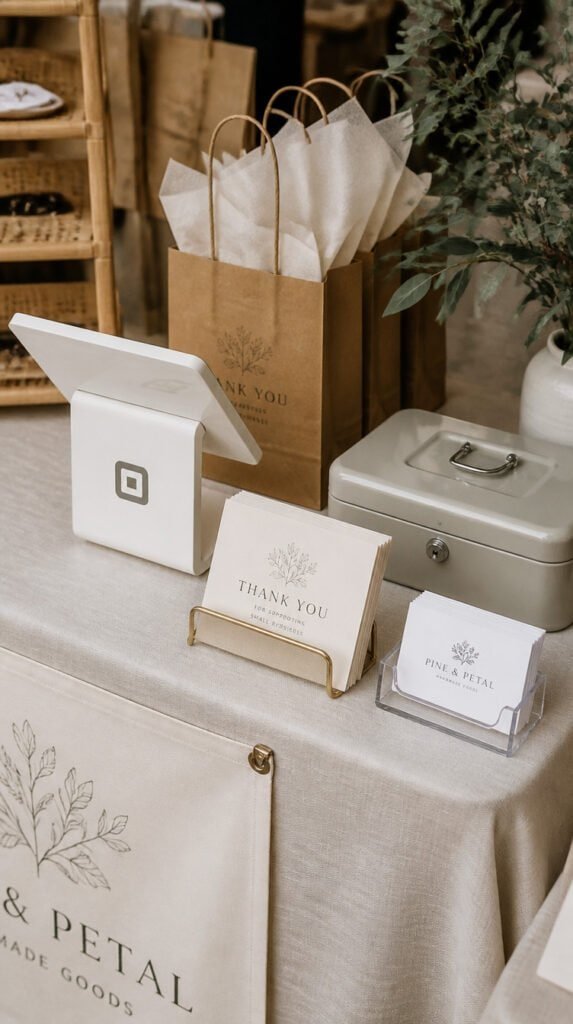
The moment of purchase is the moment everything you worked for in your display either converts or falls apart. A checkout experience that is slow, disorganized, or visually inconsistent with the rest of your booth breaks the spell your display created. A smooth, branded checkout keeps the experience elevated through the transaction and leaves the shopper with a good feeling that makes them recommend you and come back.
The trick here: accept digital payments and have your reader visible and ready before the fair opens. Most shoppers carry little or no cash and a “cash only” sign will cost you sales from buyers who are otherwise holding your product and ready to purchase. Keep a small, tidy cash box for those who do pay cash and make change quickly. Hot tip: have bags, tissue, and a small thank-you card ready at the checkout corner so wrapping and bagging a purchase is a thirty-second ritual rather than a scramble. The packaging is part of the experience and part of what shoppers remember.
Set up a dedicated checkout corner, even if it is just one end of the table, so the rest of the display stays undisturbed during transactions. Keep your card reader, bags, tissue, receipts, and business cards all in one place so you can complete a sale without walking away from a customer. (A card reader stand keeps the device upright and visible so customers know you take digital payment before they have to ask.) End every transaction with a card and an invitation to follow you online. That is how a one-time buyer becomes a long-term customer.
Shop the Look
- Square Card Reader Stand Holder
- Small Cash Box with Lock Portable
- Thank You Card Small Business Pack
- Business Card Holder Display Tabletop
Your Booth Is Your Storefront — Make It One
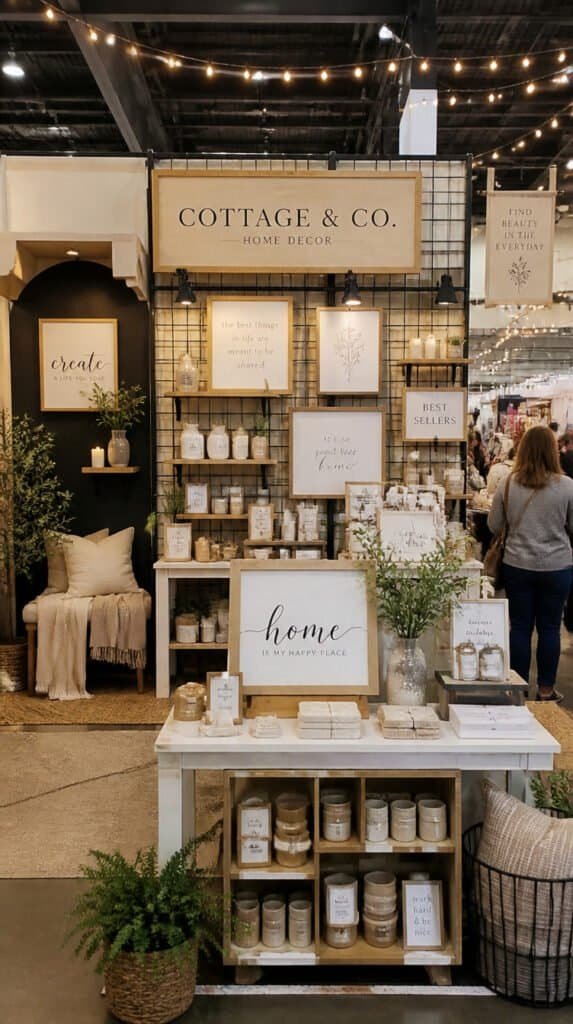
Every one of these ideas comes down to the same principle: treat your craft booth like a real retail space, not a folding table at a fair. The vendors who build a following, sell out early, and get invited back to the best markets are the ones who took the display as seriously as the product. Your products are already good. The display is what gets people close enough to realize it.
Pick two or three of these ideas and implement them before your next fair. Start with height, signage, and lighting, those three changes alone will transform how your booth reads from across the room. Then add the vignette and the best sellers zone and watch how differently people interact with your table. Your next craft fair does not have to feel like a gamble. It can feel like a plan.