This post contains affiliate links. If you purchase through my links, I may earn a small commission at no extra cost to you. Thank you for supporting Room Revival Studio!
The fries taste a little like last week’s chicken. The basket feels sticky, and the coating looks cloudy. Learning how to clean an air fryer basket properly fixes the smell, protects the nonstick surface, and keeps food crisp.
Difficulty: easy. Time: about 20 minutes, plus soak time. Follow these six steps and your basket looks new.
What You Need Before You Start

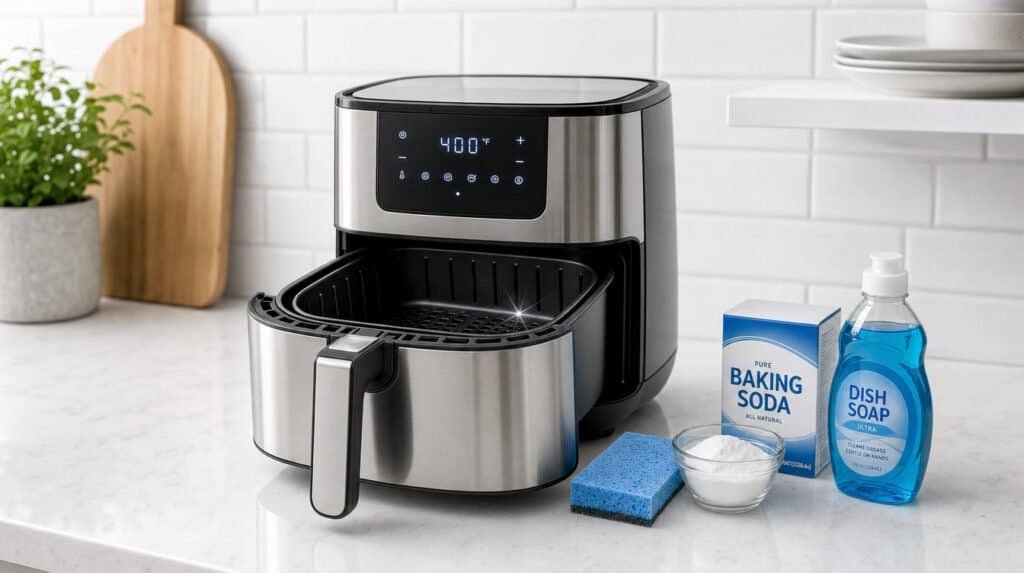
Gather mild dish soap, baking soda, a soft sponge, and a nylon brush. Skip steel wool and harsh scrubbers, since they strip the nonstick coating.
Hot tip: keep a dedicated sponge for the air fryer so grease stays contained. Honest caveat: abrasive pads cause permanent scratches. Gentle tools are all you need.
Shop the Look
Step 1: Unplug and Let the Air Fryer Cool
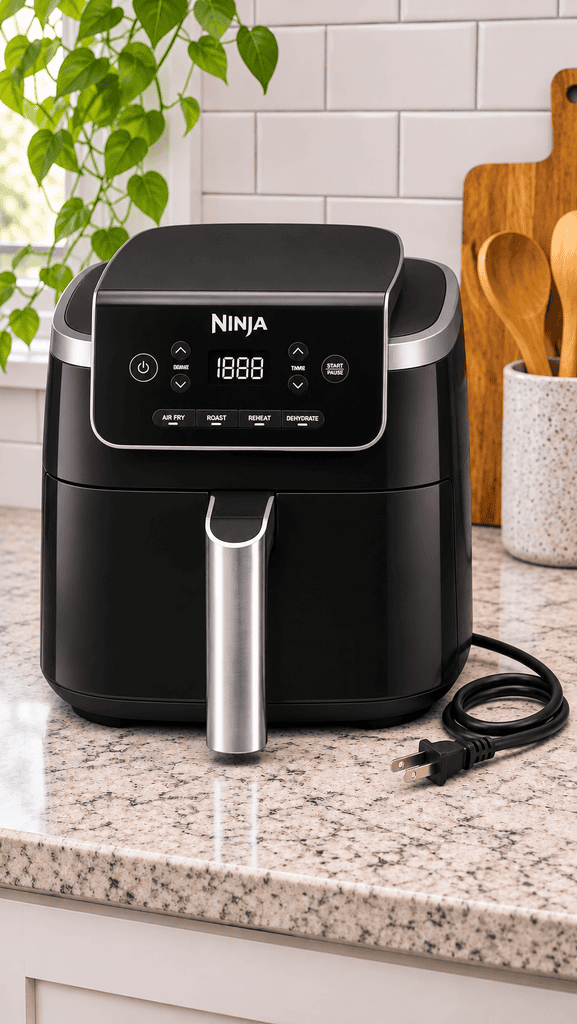
Unplug the unit and wait 30 minutes. A hot basket warps in cold water and burns skin. Use the time to set out your supplies.
The trick here: cool it with the basket slightly open. Honest caveat: skipping the wait cracks nonstick coatings. Patience protects the pan.
Shop the Look
Step 2: Remove the Basket and Tray
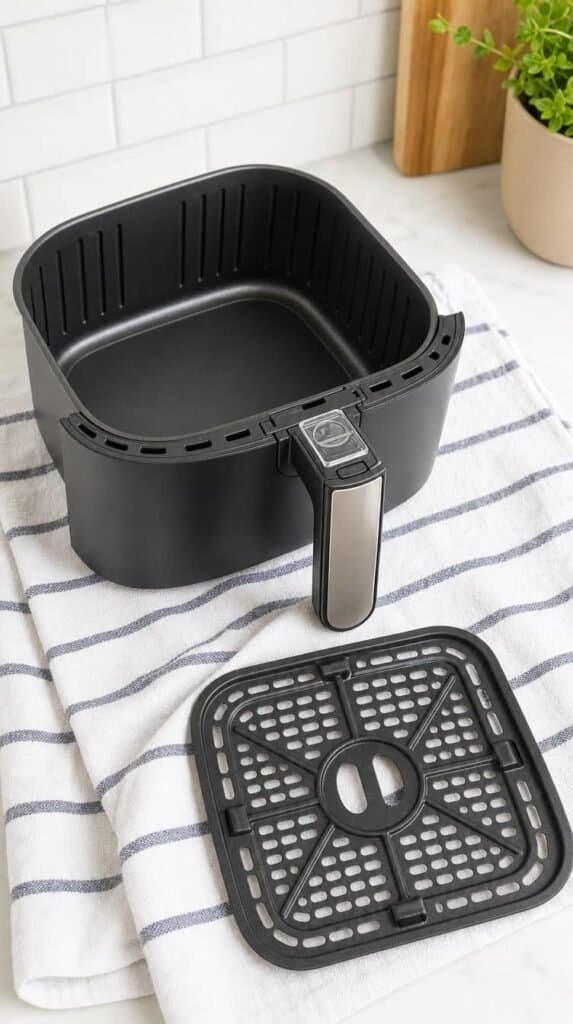
Slide out the basket and lift the crisper plate. Check for stuck food in the corners. Wipe loose crumbs into the trash.
Hot tip: shake the basket over the trash first. Honest caveat: crumbs hide under the plate, so lift it fully. Every piece should sit separately.
Shop the Look
Step 3: Soak in Warm Soapy Water
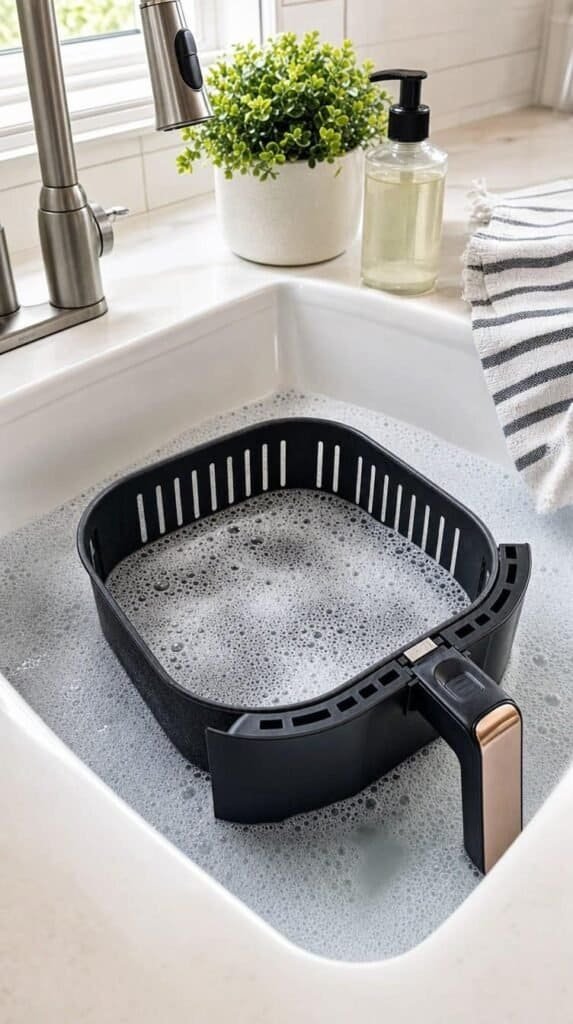
Fill the sink with warm water and a squirt of dish soap. Lay the basket and plate in the suds. Let them soak for 15 minutes.
The trick here: add a spoonful of baking soda for greasy buildup. Honest caveat: soaking longer than an hour dulls some coatings. Fifteen minutes is plenty.
Shop the Look
Step 4: Scrub Away Stuck Grease
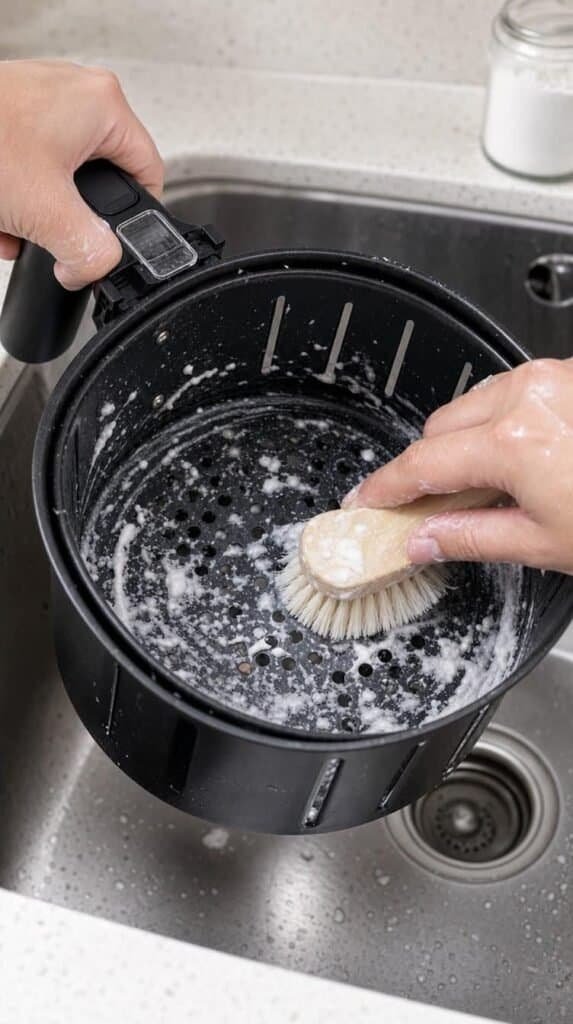
Mix baking soda and water into a paste. Spread it on stubborn spots and scrub gently with a soft brush. Rinse with warm water.
Hot tip: use a toothbrush for corners. Honest caveat: heavy scrubbing scratches the coating, so stay gentle. The grease lifts with patience.
Shop the Look
Step 5: Wipe the Heating Element and Interior
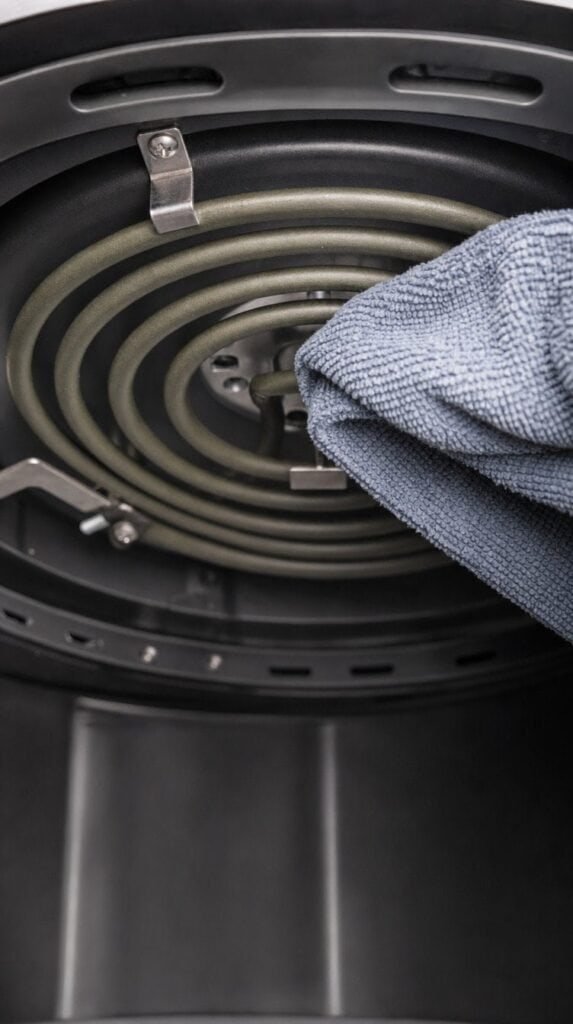
Turn the unit upside down once cool. Wipe the heating element with a damp microfiber cloth. Clean the inside walls the same way.
The trick here: never spray water directly into the unit. Honest caveat: grease on the element creates smoke, so clean it every month. A clean element means no more burnt smells.
Shop the Look
Step 6: Dry and Reassemble
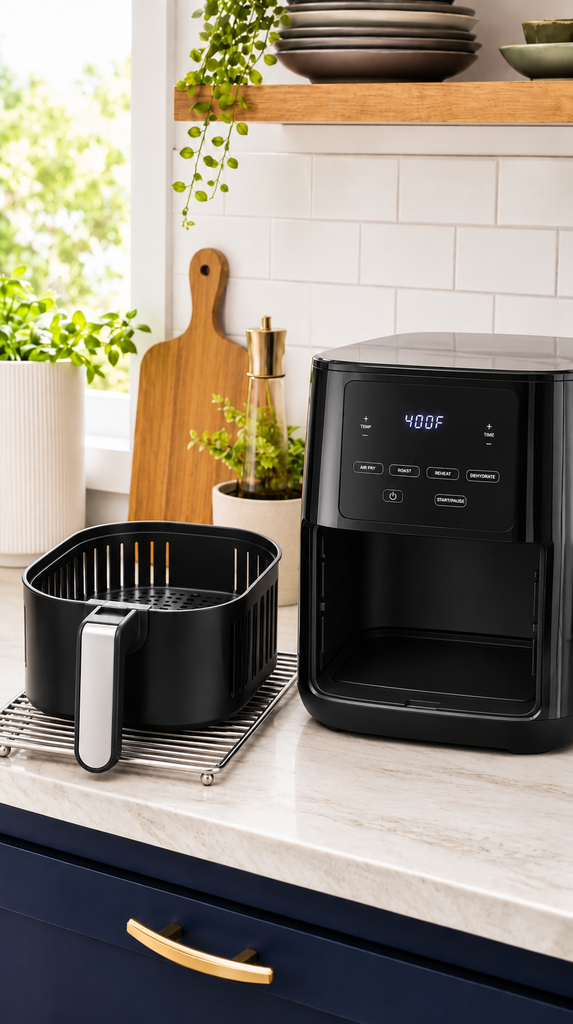
Dry every piece with a towel and let them air dry for ten minutes. Slide the plate and basket back into place. Run the unit empty for two minutes to finish.
Hot tip: store the basket slightly ajar so air circulates. Honest caveat: damp parts breed odors, so dry fully. The air fryer is ready for tonight’s dinner.
Shop the Look
- Compact Dish Drying Rack
- Absorbent Cotton Kitchen Towels
- Perforated Air Fryer Liners
- Silicone Air Fryer Mat
Pro Tips to Keep the Basket Clean Longer
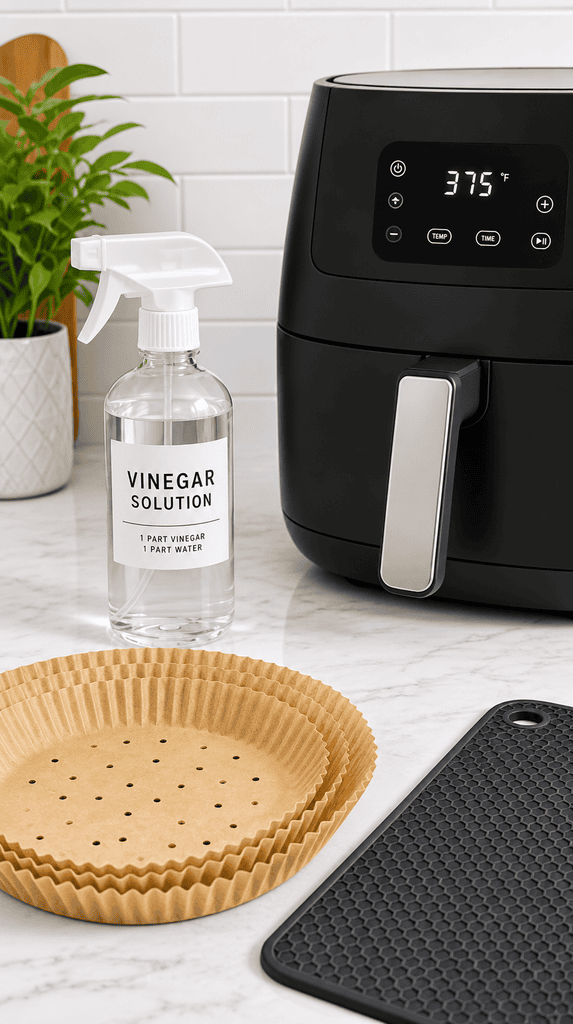
Tip one: use perforated parchment liners to catch grease. Tip two: spritz oil instead of pouring it, so less builds up.
Tip three: wipe the basket after every use while it is warm. Honest caveat: liners block airflow if they cover the whole basket, so cut them to fit. A little habit saves a lot of scrubbing.
Shop the Look
What You’ll End Up With: A Basket That Looks New
Fall is the perfect season to reset your kitchen routines. By now your basket is spotless, the heating element is clean, and the smell is gone. Make a ten-minute wipe-down part of every cook, and schedule a deep clean once a month. If you are ready for even more kitchen cleaning guidance, be sure to check out The No-Fail Guide to Cleaning Your Cast Iron Skillet for even more cleaning steps.