This post contains affiliate links. If you purchase through my links, I may earn a small commission at no extra cost to you. Thank you for supporting Room Revival Studio!
The wood slice sits on your table, smooth and pale and a little plain. You picture a delicate leaf burned into the center, drawn in rich brown lines. Then you remember the pen is hot, the wood is real, and mistakes do not erase. Good news: pyrography is a slow, forgiving hobby once you know the basics.
This guide to wood burning for beginners walks you through eight simple steps, from picking a pen to sealing the finish. Difficulty: easy to medium. Time: about two hours for your first coaster. By the end, you hold a handmade piece you are proud to show off.
What You Need to Start Wood Burning
Gather these basics first. Work in a ventilated space and keep a bowl of water nearby, since this hobby uses real heat.
- Adjustable Temperature Pyrography Pen Kit
- Basswood Coaster Blanks
- Graphite Transfer Paper
- Fine Grit Sandpaper
- Heat Resistant Craft Mat
- Food Safe Wood Wax
Step 1: Choose a Starter Pyrography Pen
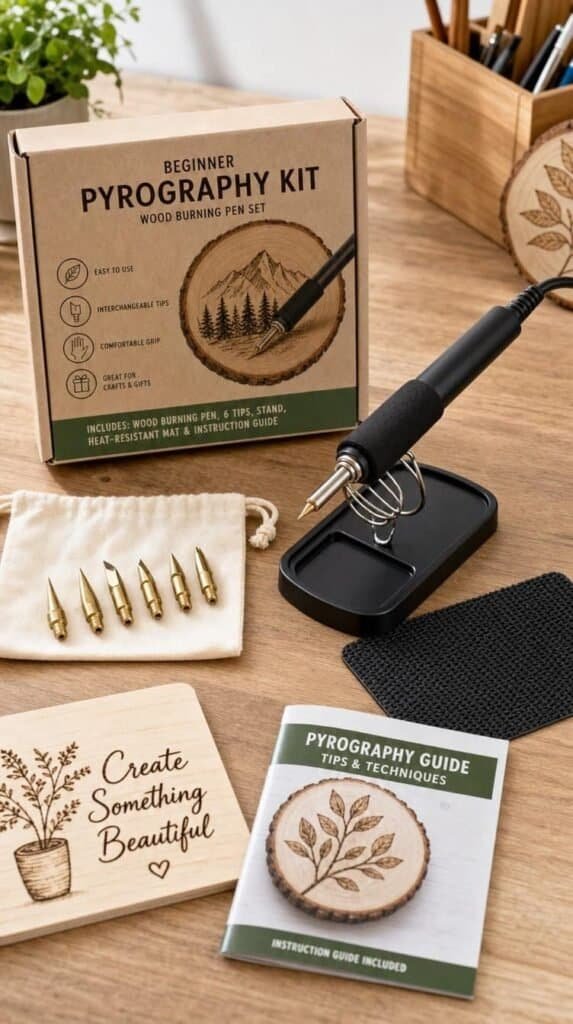
Pick an adjustable temperature pen with a few interchangeable tips. A universal tip and a shader tip cover most beginner designs. Set the pen on its stand whenever you pause.
Honest caveat: cheap fixed-heat pens run hot and make clumsy lines. Hot tip: choose a kit with a stand and a heat guard. A good pen feels like a pencil in your hand.
Shop the Look
- Wood Burning Kit with Temperature Control
- Pyrography Pen Stand
- Replacement Pyrography Tips
- Large Silicone Craft Mat
Step 2: Pick the Right Wood
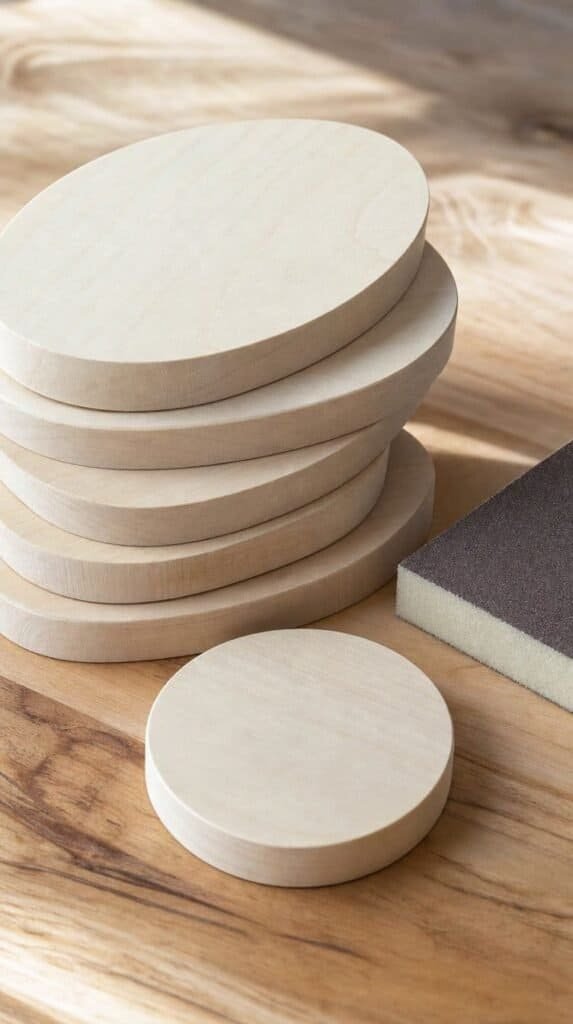
Choose smooth, light wood with a tight, even grain. Basswood and birch plywood burn evenly and forgive mistakes. Avoid resin-heavy woods like pine.
Honest note: wood with knots burns unevenly, so skip it. Hot tip: buy pre-sanded coaster blanks for your first project. Light wood shows every line, which makes learning easier.
Shop the Look
Step 3: Sand the Surface Smooth
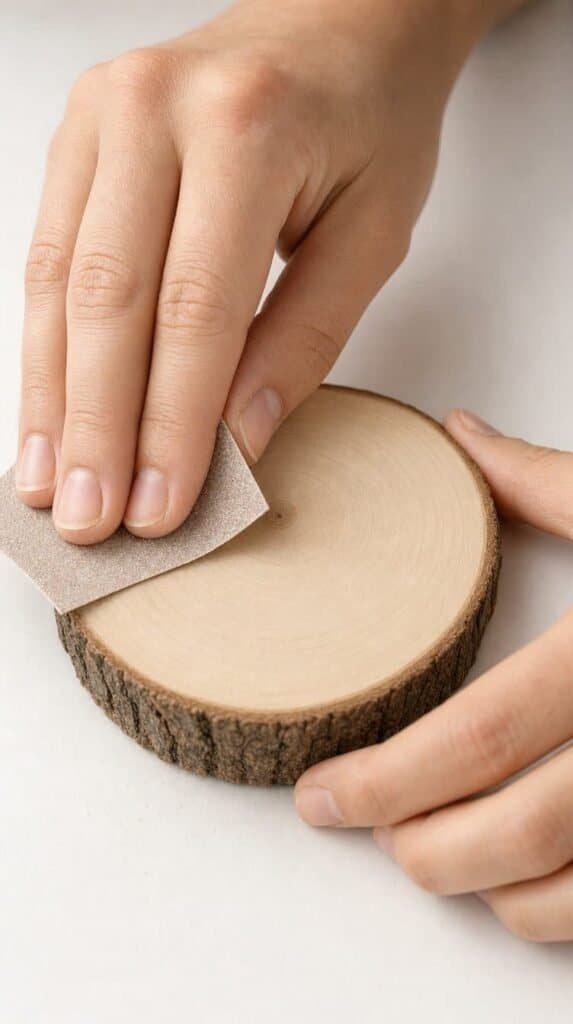
Sand with 220 grit, then 400 grit, moving with the grain. Wipe off the dust with a dry cloth. A smooth surface lets the pen glide.
Hot tip: run your palm across the wood, since your hand finds rough spots your eyes miss. Honest caveat: skipping this step gives wobbly lines. You end with a surface as soft as paper.
Shop the Look
Step 4: Transfer Your Design
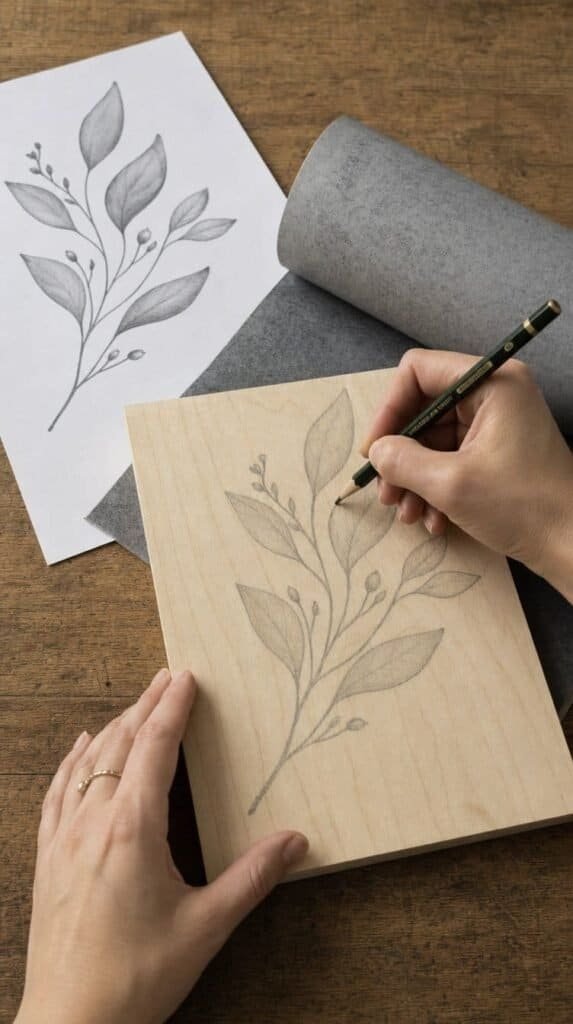
Print a simple leaf or flower design and slip graphite paper beneath it. Trace the lines with a pencil, pressing evenly. Lift the paper to check the transfer.
Honest note: start with simple shapes, not portraits. Hot tip: tape the paper down so it does not slide. Your design sits on the wood like a map.
Shop the Look
Step 5: Test the Heat on Scrap Wood
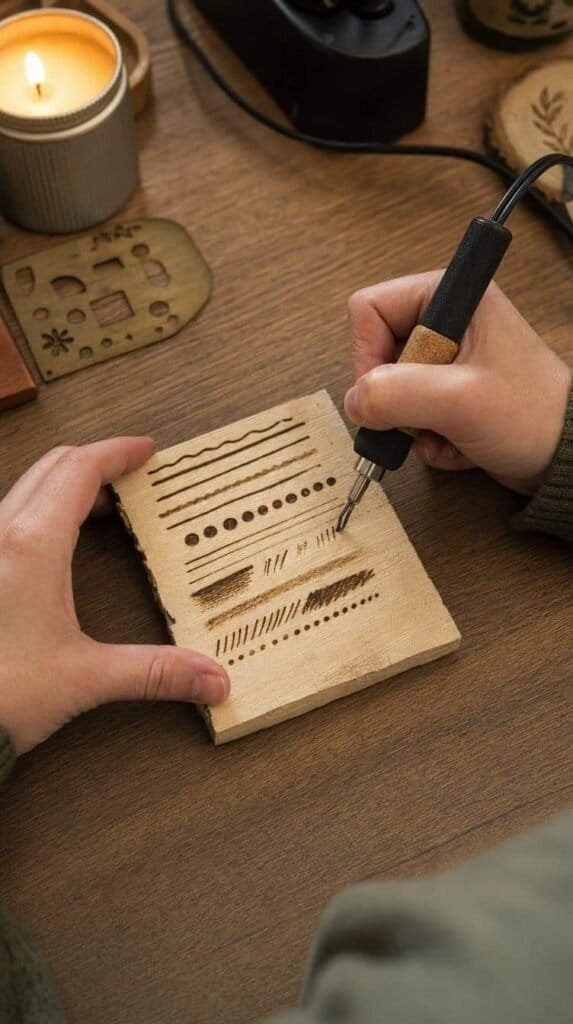
Plug in the pen and let it heat for a few minutes. Practice lines, dots, and light shading on a scrap board. Find the temperature where the line is dark but smooth.
Honest caveat: hold the pen in one spot too long and the burn deepens fast. Hot tip: keep the pen moving, since speed controls darkness. Ten minutes of practice saves the whole project.
Shop the Look
Step 6: Burn the Outlines
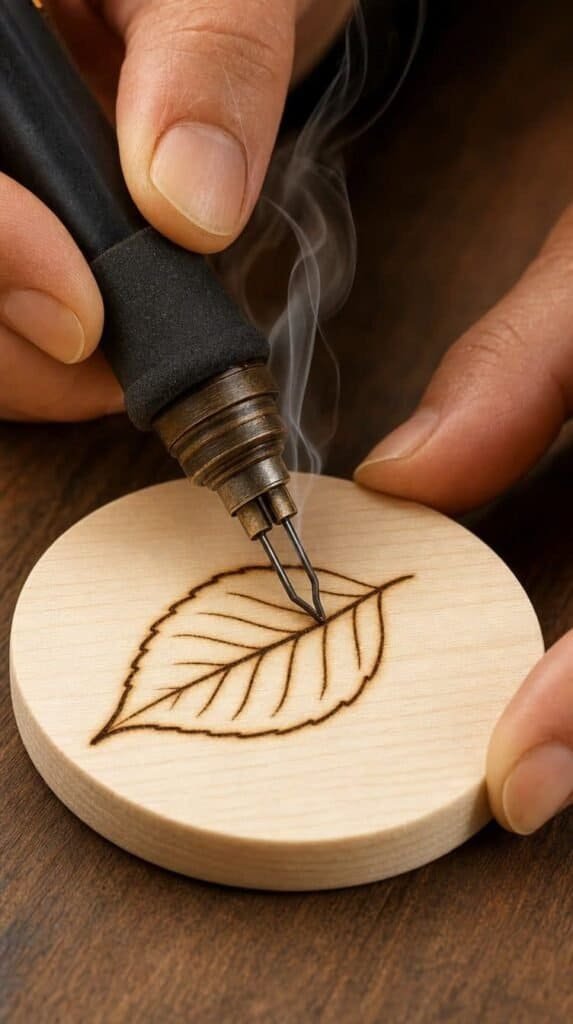
Start with the outer edge of the design. Pull the pen toward you in slow, steady strokes. Rotate the board, not your wrist, for tricky curves.
Hot tip: use a light touch and let the heat do the work. Honest note: mistakes stay, so lift the pen at corners. The leaf takes shape one clean line at a time.
Shop the Look
Step 7: Add Shading and Texture
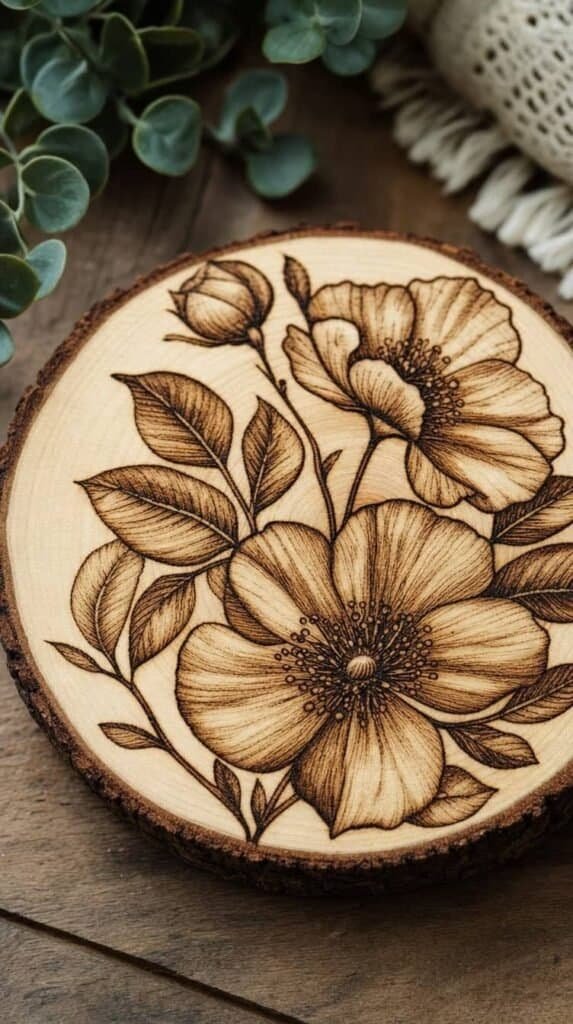
Switch to a shader tip. Add light veins first, then deeper shadows near the edges. Layer thin passes for gradual shades.
Here is what nobody tells you: three light passes beat one heavy press. Honest caveat: shading takes patience, and rushing leaves blotches. The design gains depth and a hand-drawn feel.
Shop the Look
Step 8: Seal and Finish
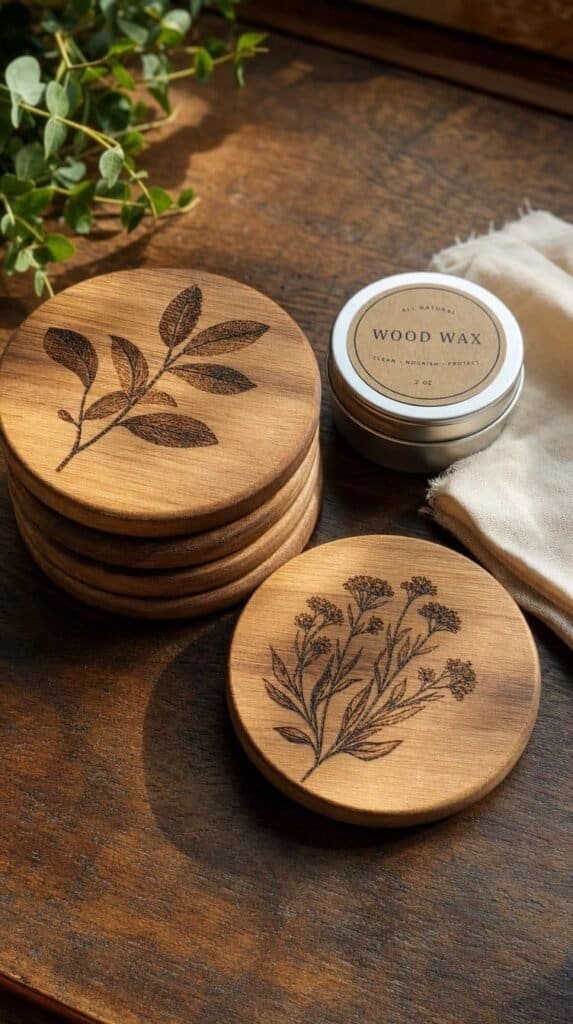
Brush away dust with a soft cloth. Rub on a thin coat of food safe wax or clear sealer. Buff once it dries.
Honest note: skip cleaning sprays on the burned lines, since they smear. Hot tip: wait 24 hours before setting a drink on a coaster. The wood turns warm and glossy, and the lines look rich.
Shop the Look
3 Pro Tips for Wood Burning
Pro Tip 1: Ventilate. Work near an open window and keep a bowl of water nearby. Safe habits make the hobby relaxing.
Pro Tip 2: Rest your hand. Take a short break every twenty minutes. A relaxed hand draws steadier lines.
Pro Tip 3: Practice patterns first. Burn dots, lines, and cross-hatching on scrap before every project. Muscle memory pays off fast.
What You’ll End Up With
You finish with a handmade wood burned coaster, a steady hand for outlines and shading, and a hobby to grow into gifts, signs, and home decor.
Light the Pen. Make Your Mark.
Winter is the perfect season to settle in at a craft table with a warm pen and a pile of wood slices. From picking tools and prepping wood to burning lines, adding shade, and sealing the finish, each step builds a skill you reuse in every project. Start with one coaster, practice a few leaf designs, and move on to signs and ornaments. If you are ready for even more beginner projects, be sure to check out 15 Glass Mosaic Tile Craft Ideas for Beginners for even more ways to start a new hobby.