

This post contains affiliate links. If you purchase through my links, I may earn a small commission at no extra cost to you. Thank you for supporting Room Revival Studio!
Your kitchen table sits buried under handmade ornaments, hand poured candles, and a stack of price stickers you haven’t touched in three days. The fall market season opens in two weeks, and your booth plan still lives inside your head, not on paper. Every year vendors show up with gorgeous products and empty cash boxes because the display fell flat or the pricing scared shoppers off. This season looks different. Grab your hot glue gun and your calculator, because we’re building a booth built to sell.
This guide walks you through picking products people want, pricing them for real profit, and setting up a booth people stop for. No fluff, no guesswork, only the steps working vendors use every fall market season. Difficulty level: beginner friendly. Time estimate: plan for 4 to 6 hours of prep before your first market day.
Step 1: Choose Your Craft Fair Products

Start with what sells fast at fall markets: cozy, seasonal, and giftable. Think fall themed wreaths, hand poured soy candles, and small batch bath products people grab for hostess gifts. Pick 3 to 5 product lines instead of ten, so your booth stays focused and easy to shop.
Test each idea with a small batch before you commit real money to supplies. Post a few photos on your Instagram or Facebook page and watch what gets saved and shared. Hot tip: the product people ask about twice before buying is usually the one worth stocking heavier.
One honest caveat: trendy items move fast then die fast, so don’t build your whole inventory around a single viral idea (looking at you, mushroom lamps). Balance one or two trend pieces with steady sellers people buy year after year.
Shop the Look
Step 2: Price for Profit

Price every item with your full cost in mind: materials, your time, booth fees, and card processing fees. A simple formula works well: materials cost times three, then round up. Round prices to friendly numbers like $12 or $18 instead of odd totals shoppers have to think about.
Here’s what nobody tells you: underpricing hurts your brand more than losing a sale. Shoppers read cheap prices as cheap quality, even when your work is anything but. Bundle smaller items into $20 and $30 gift sets to lift your average sale.
One honest caveat: pricing too high without a track record scares off new customers, so build in a few $10 and under items for easy impulse buys (your gateway drug into their wallet).
Shop the Look
Step 3: Build Your Booth Display

Height and layers sell more than a flat table ever will. Use crates, risers, and a step stool covered in fabric to create three levels shoppers can scan from a distance. A clean sign with your shop name and logo helps people remember you after they walk away.
Hot tip: shoppers touch what’s at eye level and elbow height, so put your best sellers there, not on the ground. Leave breathing room between items so nothing looks crowded or hard to grab.
One honest caveat: a gorgeous display means nothing if wind knocks it over, so anchor every riser and sign with weights or clamps before doors open (ask anyone who’s chased a wreath across a parking lot).
Shop the Look
Step 4: Handle Payments and Packaging

Bring more than one way to get paid. A mobile card reader, a cash box with plenty of small bills, and a QR code for Venmo or PayPal cover almost every shopper who walks up.
Package each sale like a mini gift, even for a five dollar item. Kraft paper bags, a thank you card, and a sticker with your shop name turn a sale into free marketing every time the bag leaves your booth.
The trick here: charge your phone and card reader the night before, not the morning of (nothing kills a Saturday faster than a dead battery at 8am).
Shop the Look
Step 5: Market Before the Event
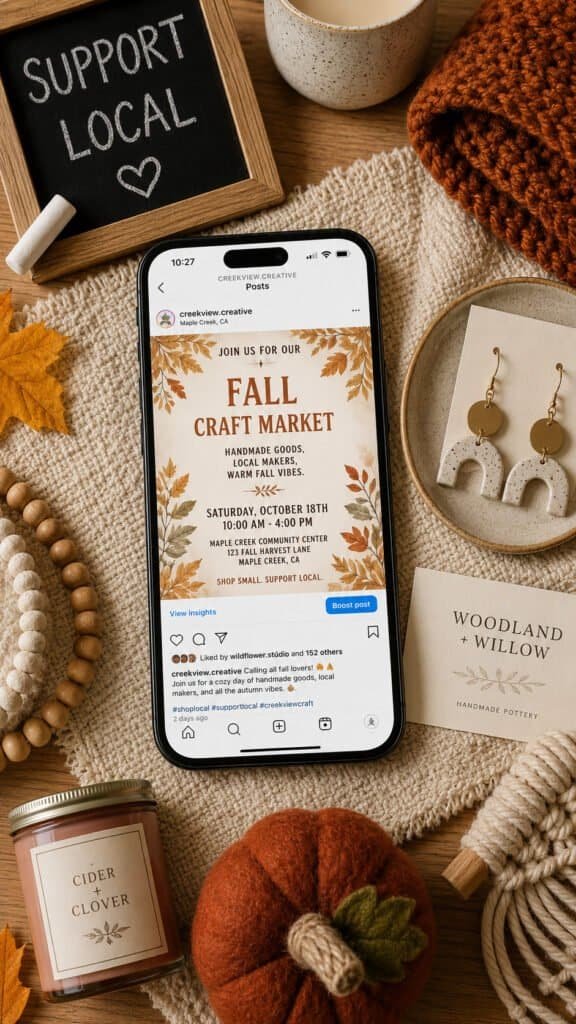
Start posting about the market 2 weeks out, not the morning of. Show your setup process, tease new products, and tag the market’s official page so their followers see you too.
Hot tip: a short video of you making your product gets shared more than any flat lay photo ever will. People buy from makers they feel they already know.
One honest caveat: posting once and hoping for the best won’t fill your booth, so plan 4 to 6 posts across the two weeks leading up to market day.
Shop the Look
Step 6: Work the Day of the Sale
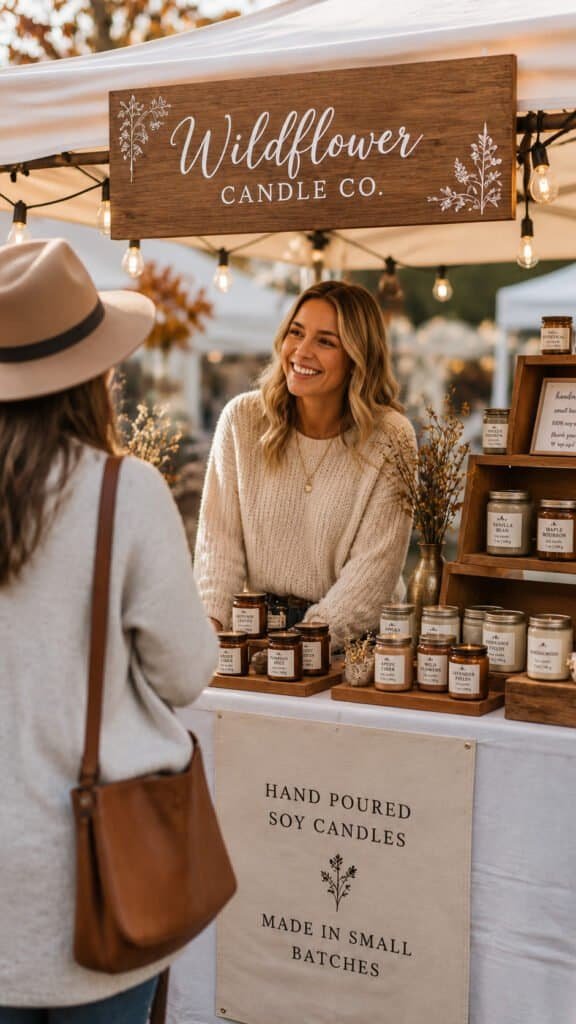
Arrive early enough to set up without rushing, then greet everyone who slows down near your table, even if they don’t buy. A warm hello turns lookers into buyers more often than any sign you’ll ever print.
Keep snacks, water, and a phone charger within reach so you’re not abandoning your booth every hour. Hot tip: standing instead of sitting behind your table makes you look more approachable and ready to chat.
One honest caveat: some hours stay dead no matter how good your booth looks, so use the slow stretches to restock, tidy your display, and chat with neighboring vendors (they’re your best referral source, not your competition).
Shop the Look
Your Booth, Ready For Market Day
Fall market season rewards vendors who show up prepared. You now have a plan for picking products, pricing them right, building a booth people stop at, and packaging every sale to work as free marketing. Pull your product list together this week, price everything before Thursday, and pack your booth bag two days before market day so nothing gets left behind. If you are ready for even more craft fair strategy, be sure to check out 18 Profitable Homemade Items to Sell at Craft Fairs for even more product ideas ready to sell fast this season.

Pingback: The Complete Guide To Starting A Craft Business From Home
Pingback: 14 Crafts You Can Make For Under $10 And Sell For $30+