

This post contains affiliate links. If you purchase through my links, I may earn a small commission at no extra cost to you. Thank you for supporting Room Revival Studio!
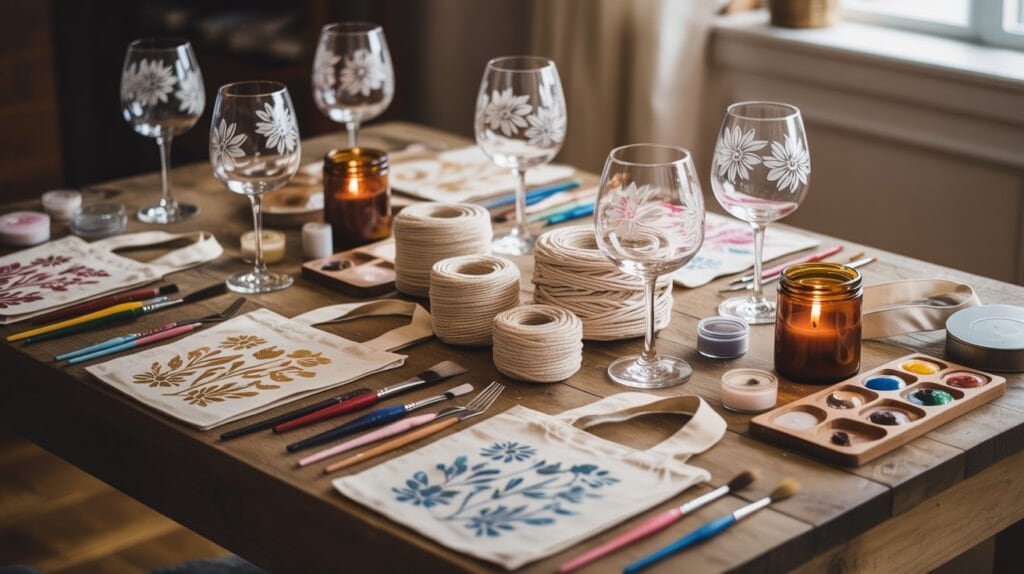
Your kitchen table is covered in yarn scraps, three unfinished tote bags, and a growing pile of orders from friends who keep asking where to buy one. You did not plan to start a business today. You planned to make one pillow cover for your sister’s birthday, and somehow, it turned into a waitlist. The idea sat there for months, quiet and a little nervous, until it stopped being quiet.
Turning a hobby into real income takes more than good photos and a nice logo, so this guide walks through every piece: registering your business, pricing your work, and finding customers who pay full price without blinking. Set aside a weekend, gather a few basics, and expect two to three hours to get the foundation in place. Beginner friendly, budget conscious, and built for anyone selling handmade goods from their kitchen table.
What You’ll Need to Get Started

You do not need a studio or a business degree. You need a dedicated workspace, a way to track money coming in and going out, and a handful of supplies to make your products look finished instead of homemade in the wrong way.
Hot tip: buy your packaging supplies before you need them. Running out mid-order is how a fun Saturday turns into a scramble.
Shop the Look
Step 1: Pick A Product And Prove People Want It

Pick the one item you make fastest and love most, then make five of it before you build anything else. Post it in a local buy-and-sell group or hand it to three people who will give you honest feedback.
The room felt full of ideas but empty of proof. Five sales beats fifty likes every time. (It’s always the friend who says “I’d buy one” who never does.)
Shop the Look
Step 2: Register Your Business The Simple Way

Most home sellers start as a sole proprietorship, which needs zero paperwork to exist. If you want liability protection or plan to grow past a few thousand dollars a year, an LLC through your state’s website usually costs under $150.
Honest caveat: an LLC will not protect you from a bad year. It protects your house and savings if a customer ever sues the business, which is rare but worth the peace of mind.
Shop the Look
Step 3: Price Your Products So You Profit

Add up materials, packaging, and the platform fee, then pay yourself for every hour spent making the item, not a flat number picked because it feels nice. Double this total for your retail price, because wholesale and sale pricing will eat into it later.
The trick here: track your hours for one full week. Most new sellers underprice by half once they see the real math.
Shop the Look
Step 4: Set Up Your Shop (Etsy, Website, Or Both)

Etsy gives you built-in shoppers searching for handmade goods, which makes it the easiest first stop. A simple website comes later, once you have repeat buyers who want to skip the platform fees.
Write product titles the way a buyer would search, not the way you would describe it to a friend. Five clear photos beat one perfect one.
Shop the Look
- Ring Light For Product Photos
- White Photography Backdrop
- Phone Tripod Stand
- Product Photography Light Box
Step 5: Package And Ship Like A Pro
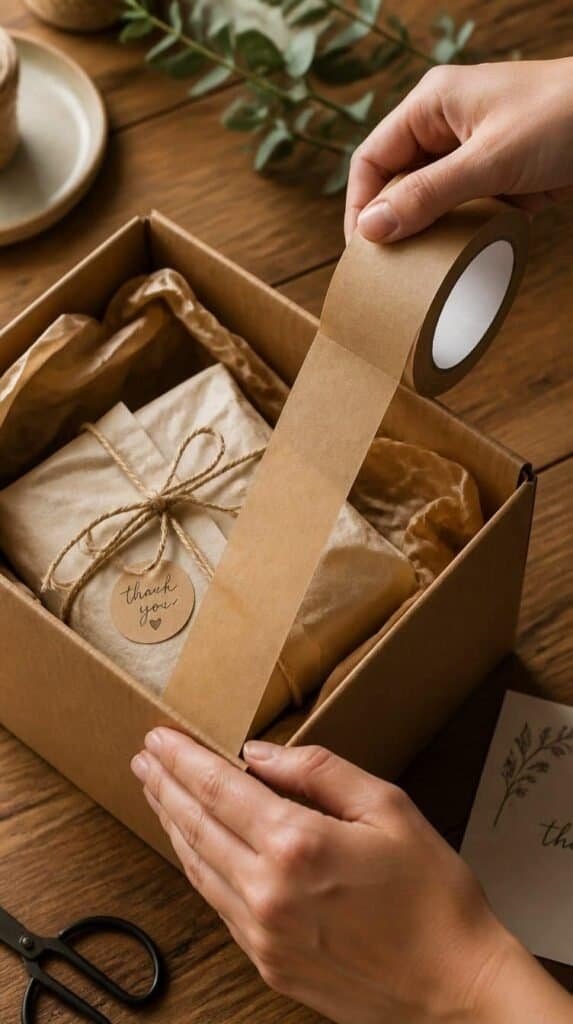
Weigh a finished, packaged item before you list it so your shipping price is not a guess. A short thank-you card inside the box turns a one-time buyer into someone who tells their sister about you.
The box finally looked like it came from a real shop, not a garage sale. This difference is worth the extra two dollars in packaging.
Shop the Look
Step 6: Market Your Shop Without Feeling Salesy

Post your process, not only the finished product. People buy from makers they feel they know, so a thirty-second video of your hands working sells more than a polished flat lay ever will.
Pick two platforms and show up on them weekly. Consistency beats going viral once and disappearing for a month.
Shop the Look
Start Today. You Already Have Enough.
Fall and the holiday season ahead are the busiest buying months for handmade goods, which makes now the moment to get your foundation set. This guide covered registering your business, pricing with real math, and building a shop with professional-feeling photos and shipping. Start with your best-selling item, price it using the hour-by-hour math from step three, and list five pieces this week to see what sells. If you are ready for even more ways to turn your hobby into income, be sure to check out How To Make Money Selling Crafts at Fall Markets for even more ideas on where to sell what you make.


Pingback: DIY Plaster Painting Kits: A Step-by-Step Guide