This post contains affiliate links. If you purchase through my links, I may earn a small commission at no extra cost to you. Thank you for supporting Room Revival Studio!
Nothing sinks a plaster project like a pitted, bubbly surface. You pour, you wait, you flip the mold, and the little star has craters. Fix the process once and every cast after comes out smooth.
This plaster paint kits guide walks through every step for bubble-free molds. Difficulty: beginner. Time: about one hour of hands-on work plus an overnight dry. Cost: around twenty dollars if you already own paint.
What You Need for Plaster Paint Kits
Most kits ship with plaster, molds, and paint. Buying the pieces separately gives you better tools and lets you refill. Here is the full supply list.
- Plaster of Paris
- Silicone Molds for Plaster
- Disposable Mixing Cups
- Wooden Stir Sticks
- Digital Kitchen Scale
- Dust Mask
- Acrylic Paint Set
- Clear Sealer Spray
Step 1: Prep Your Silicone Molds
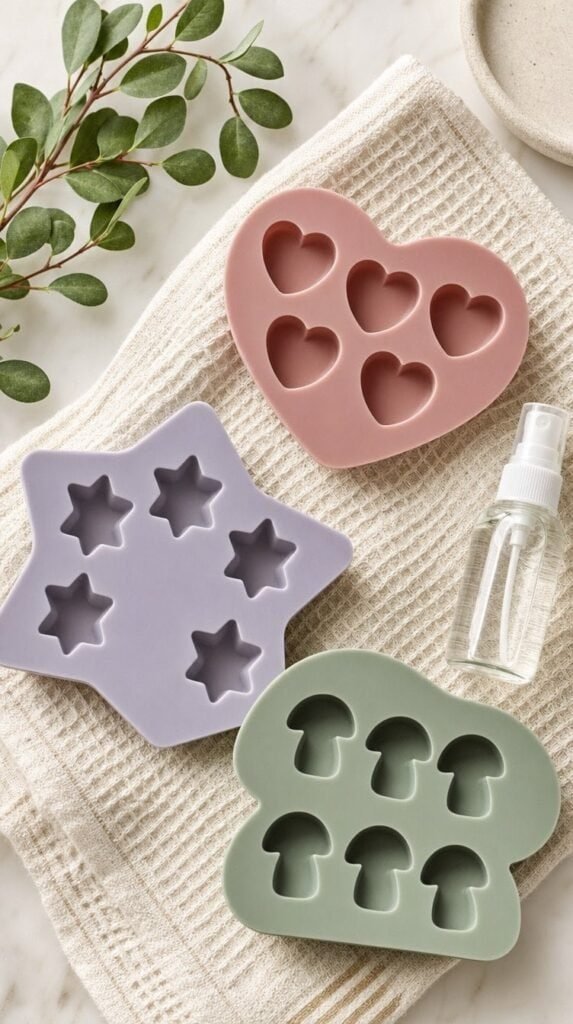
Wash the molds with warm soapy water and dry them fully. Set them on a flat tray so they never tilt. Cover the table with paper or plastic first.
A light mist of mold release helps detailed shapes let go. Wipe off puddles, since extra oil leaves pits. Clean molds are the first step to a smooth cast.
Step 2: Measure Plaster Paint Kits Powder and Water
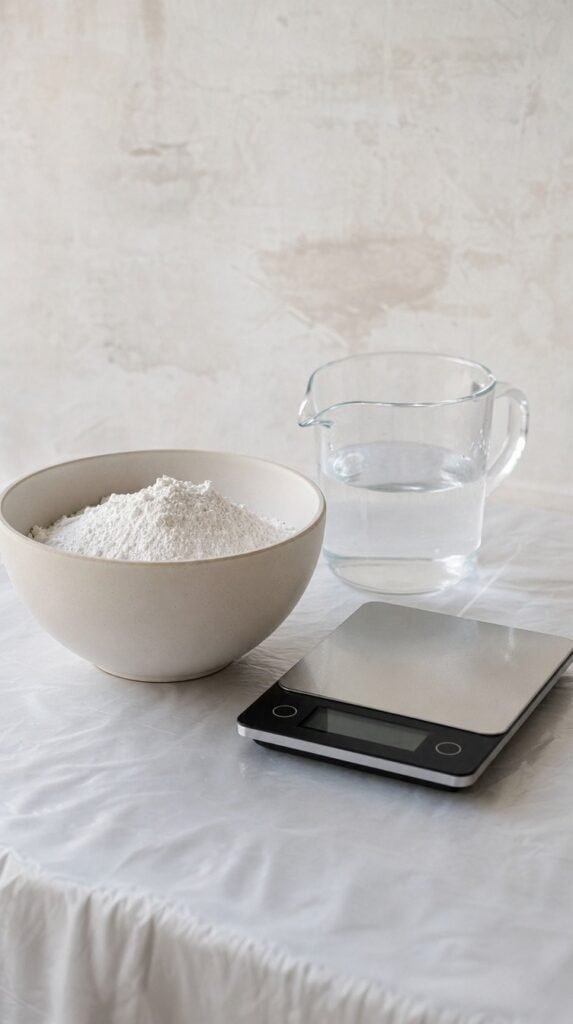
Most kits call for about two parts plaster to one part water, so follow your package. Weigh both on a kitchen scale for repeat results. Guessing gives you chalky casts.
Always add plaster to water, never the other way around. Wear a dust mask, since the powder floats. Precise measuring saves the whole batch.
Step 3: Mix Slowly
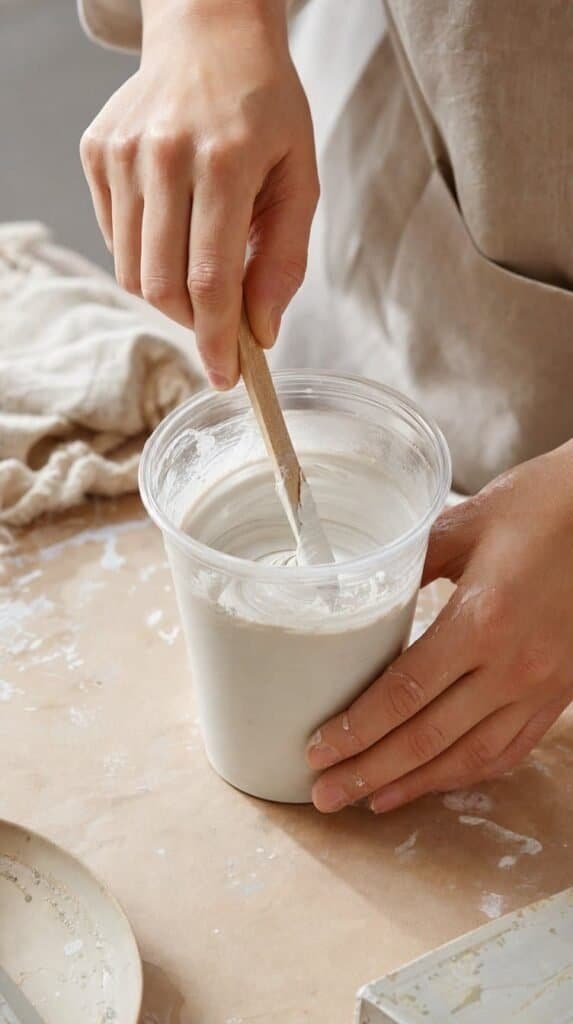
Sift plaster into the water and let it sit for one minute. Stir gently with a stick, pressing lumps against the side of the cup. Stop when the mix looks like thin pancake batter.
Whipping traps air, and air becomes bubbles. Stir slow and low. A calm mix is a smooth mix.
Step 4: Pour in a Thin Stream
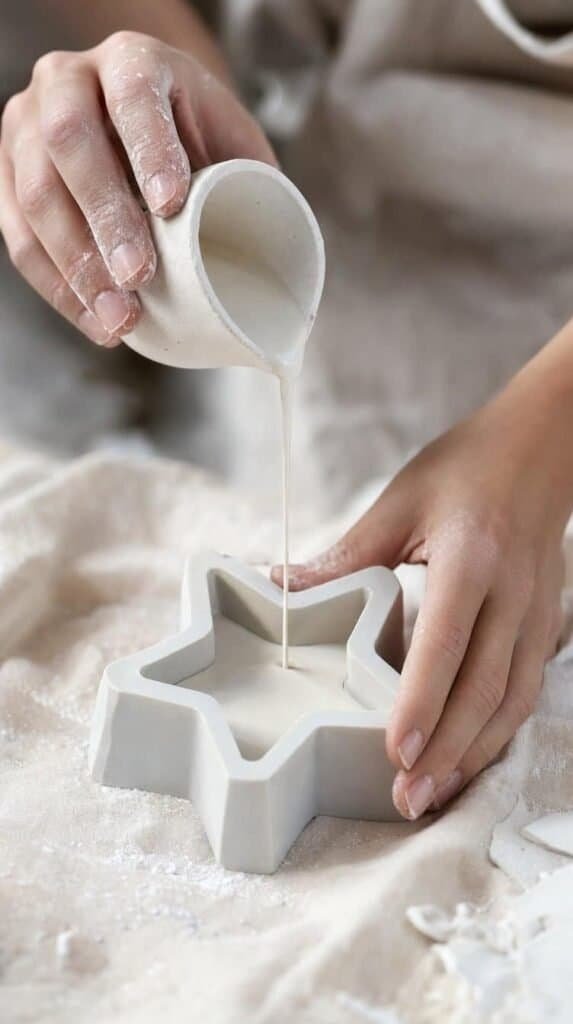
Pour into the deepest corner of the mold in a thin stream. Let the plaster rise and fill the detail on its own. Stop right below the rim.
Pouring from high up splashes air in, so keep the cup close. Honest note: tiny shapes need the slowest pour. Patience here saves fixing later.
Step 5: Tap and Pop Bubbles
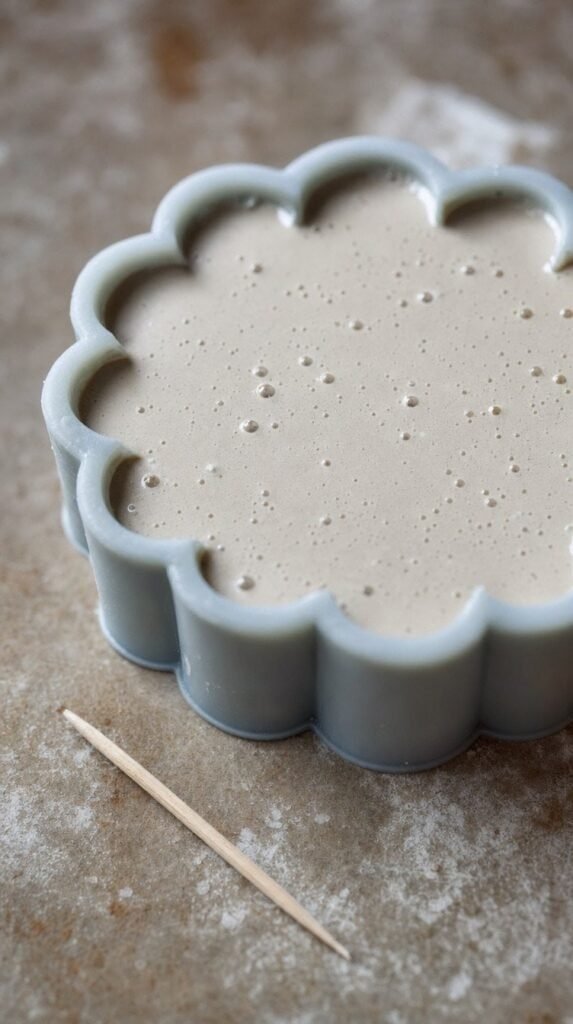
Tap the sides of the mold firmly for thirty seconds. Air pockets rise to the surface. Pop stragglers with a toothpick and swirl the tip through the detail.
Hot tip: gently shake the tray side to side while tapping. Bubbles on top matter less, since the top becomes the back. The face stays smooth.
Step 6: Use a Vibration Plate to Remove Trapped Air Bubbles
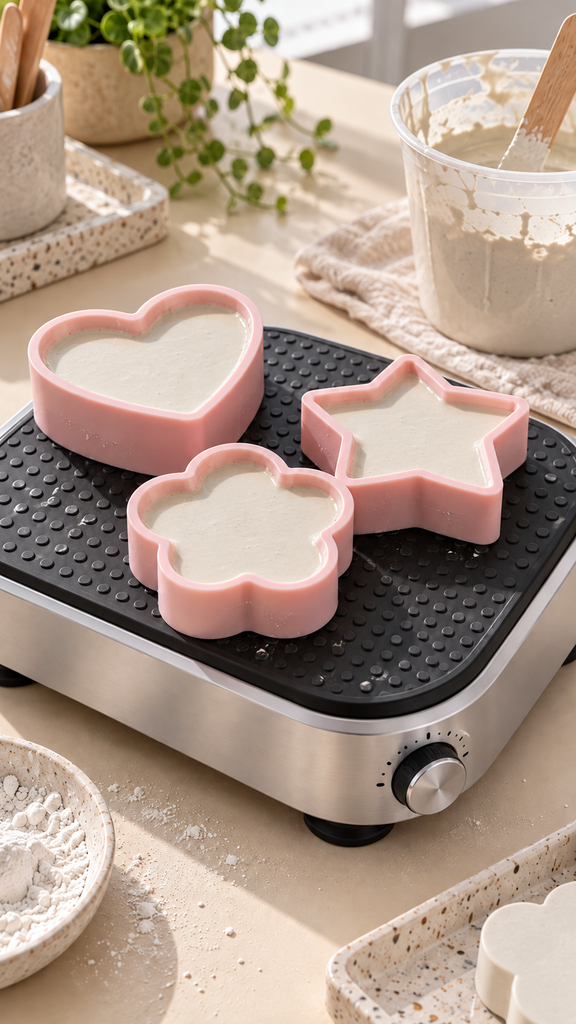
For an extra-smooth finish, place your filled silicone molds on a small vibration plate. The gentle vibrations help trapped air bubbles rise to the surface, especially in molds with tiny details and corners. Start on the lowest setting and let the plate run for 15 to 30 seconds.
Watch for bubbles appearing on top, then pop any remaining ones with a toothpick. Keep the molds level and avoid strong vibrations that could cause the plaster to spill. This optional step is especially helpful when making detailed plaster crafts or multiple pieces at once.
Step 7: Let It Set
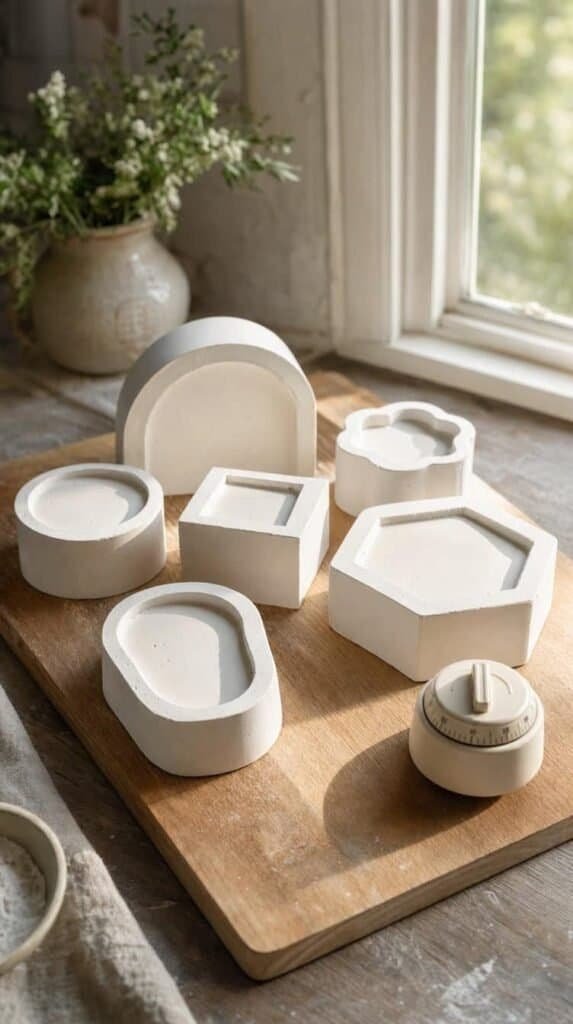
Leave the filled molds on a flat surface for thirty to forty-five minutes. Plaster warms as it sets, then cools. Cool means done.
Moving a mold early makes dents. (Yes, the wait is the hardest part.) Keep pets and kids away from the tray.
Step 8: Demold Gently
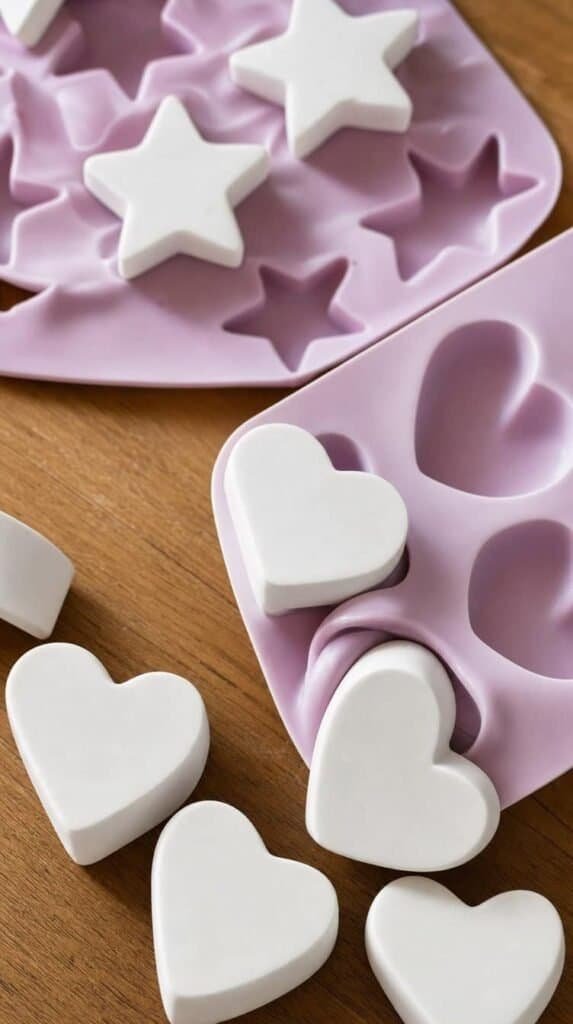
Peel the mold back from the edges, not the center. Push up from the bottom to release the piece. Set each cast on a rack to dry overnight.
Plaster stays fragile while damp, so handle it by the edges. Fresh casts feel cool and slightly soft. They harden fully after a full day.
Step 9: Paint Your Plaster Paint Kits Casts
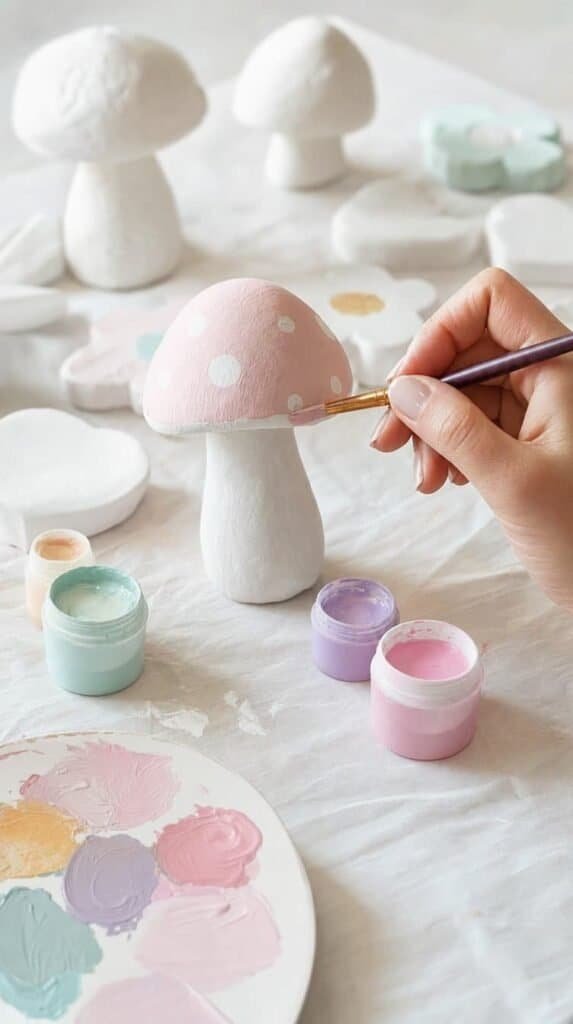
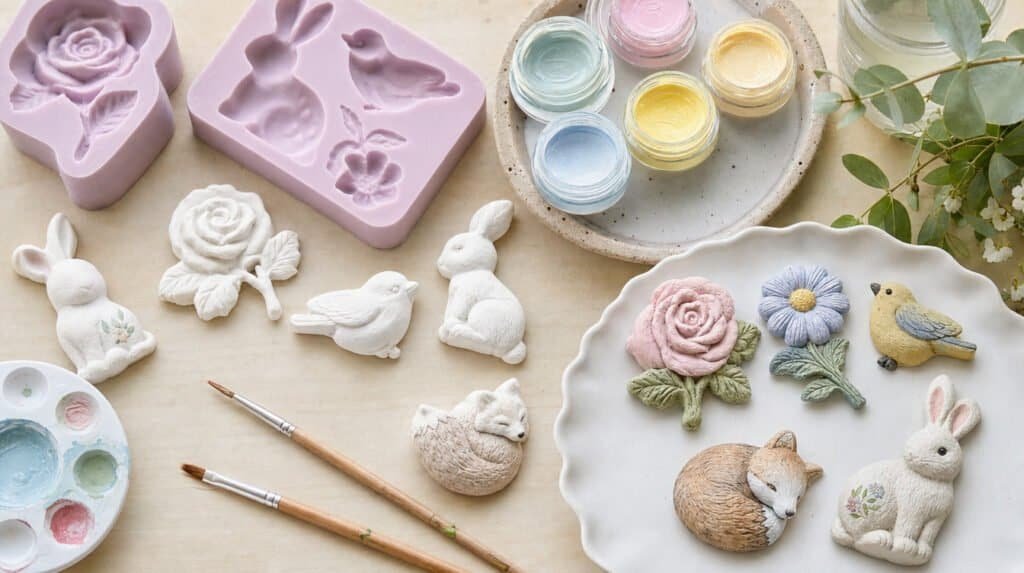
Wait until the casts are bone dry, then base coat with white acrylic. Add color in thin layers and finish details with a fine brush. Spray with clear sealer.
Bare plaster drinks paint, so plan on two coats. Hot tip: dry brush gold onto raised details for shine. The shelf turns into a tiny gallery.
3 Pro Tips for Bubble-Free Plaster Molds
- Use room temperature water. Cold water sets slower and leaves more bubbles.
- Mix small batches. Plaster sets in minutes, so mix only enough for two molds at a time.
- Never rinse leftover plaster down the sink. It hardens in pipes. Let it set in the cup and toss it in the trash.
What You’ll End Up With
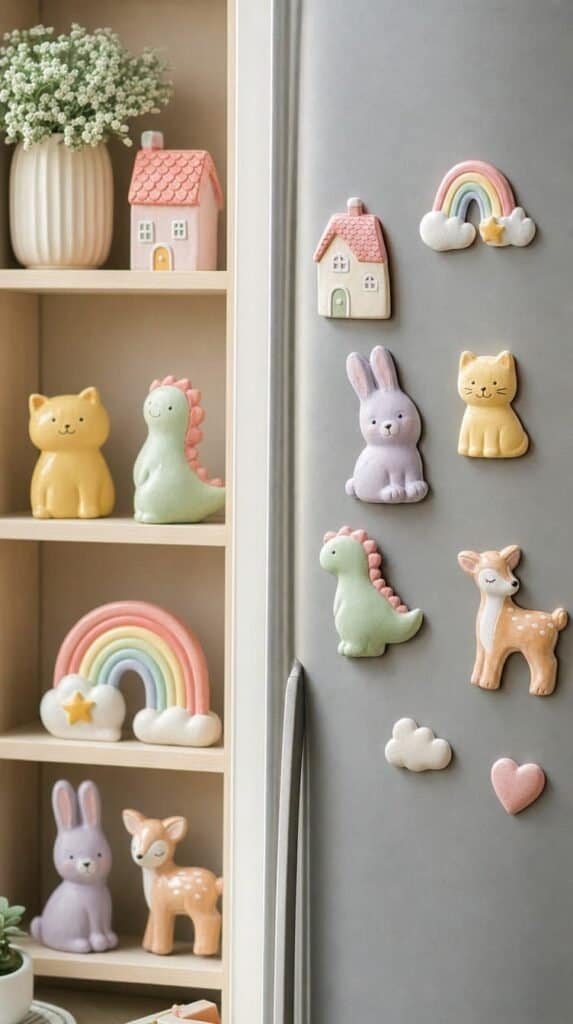
A tray of smooth, crisp plaster pieces ready for paint. Expect magnets, ornaments, or shelf figures with sharp detail and no pitting. Total cost stays low, and every new batch goes faster.
Pour Once. Smooth Forever.
Cozy indoor projects are in season, and plaster fits every mood. This guide covered prepping, mixing, pouring, popping bubbles, and painting, so you are ready for a full first batch. Start with one simple mold, mix a small batch, and build a shelf of painted pieces to gift. If you are ready for even more plaster fun, be sure to check out DIY Plaster Painting Kits: A Step-by-Step Guide for even more painting tips.