This post contains affiliate links. If you purchase through my links, I may earn a small commission at no extra cost to you. Thank you for supporting Room Revival Studio!
You mastered vinyl, and then you saw a coaster with the color baked right into the surface. No peeling, no edges, no cracking after a wash. Cricut Infusible Ink turns a cut sheet of patterned transfer paper into a permanent design, and it looks like a store-bought product.
This beginner guide walks you through five simple steps. Difficulty: easy. Time: about 45 minutes for your first project. Whether you own a Maker, an Explore, or a Joy, you will finish with a gift-worthy piece and a new favorite technique.
What You Need for Cricut Infusible Ink

Gather your materials before you begin. You need a Cricut cutting machine, Infusible Ink transfer sheets, compatible blanks, a heat press or EasyPress, butcher paper, a lint roller, and heat resistant tape.
Here’s the honest catch: a regular iron does not hold steady heat, so plan on a proper press. Set everything on one table so you never hunt for tape mid-project. A tidy setup makes the whole process feel calm.
Shop the Look
Step 1: Pick Compatible Blanks

Infusible Ink bonds only with special polyester coatings. Look for blanks labeled as compatible, like coated ceramic coasters, mugs, and polyester totes.
Regular cotton will not hold the color, so skip your favorite cotton tee. Choose white or light blanks for the brightest results. Starting with coasters keeps your first project small and forgiving.
Shop the Look
- Infusible Ink blank coasters
- Infusible Ink tote bag blank
- Blank sublimation mugs
- White polyester blank tees
Step 2: Design and Mirror Your Project

Open Design Space and size your design to match the blank. Measure the coaster first, then trim the design about an eighth of an inch smaller than the edge. A smaller design prevents ink from bleeding past the border.
Hot tip: always mirror the design before cutting, or any words print backward. Design Space asks about mirroring on the prepare screen. Double check it every time, because forgetting is the classic beginner mistake.
Shop the Look
Step 3: Cut the Transfer Sheet

Place the transfer sheet on a StrongGrip mat and choose the Infusible Ink material setting. Load the mat and press go. The blade cuts the design without slicing through the backing.
Use a fresh blade, because a dull one tears the delicate paper. Peel the sheet from the mat slowly so it lies flat. Clean cuts make the next steps easy.
Shop the Look
Step 4: Weed and Tape the Design

Weed away the extra paper around your design, then lint roll the blank until it shines. Lay the design ink side down on the blank and secure it with heat resistant tape.
Any speck of lint prints as a dot, so take the lint roll seriously. (It’s always a cat hair, isn’t it.) Tape only the edges and skip the middle. A tight, flat fit gives crisp lines.
Shop the Look
Step 5: Press With Heat

Layer butcher paper above and below the project, then press using the time and temperature from the Cricut Heat Guide. Each blank has its own setting, so check the guide every time.
Do not slide or lift the press while it heats, since movement smears the ink. Let the project cool completely before you peel the paper. The color appears like magic underneath.
Shop the Look
Pro Tips for Cricut Infusible Ink

Pro Tip 1: Slip a sheet of white cardstock inside a tote before pressing, so ink never bleeds to the back. Pro Tip 2: Press a small test piece first when you try a new brand of blank.
Pro Tip 3: Pre-press blanks for a few seconds to drive out moisture, which keeps colors crisp. Store unused sheets flat in their packaging. Humidity is the hidden enemy of transfer paper.
Shop the Look
What You’ll End Up With

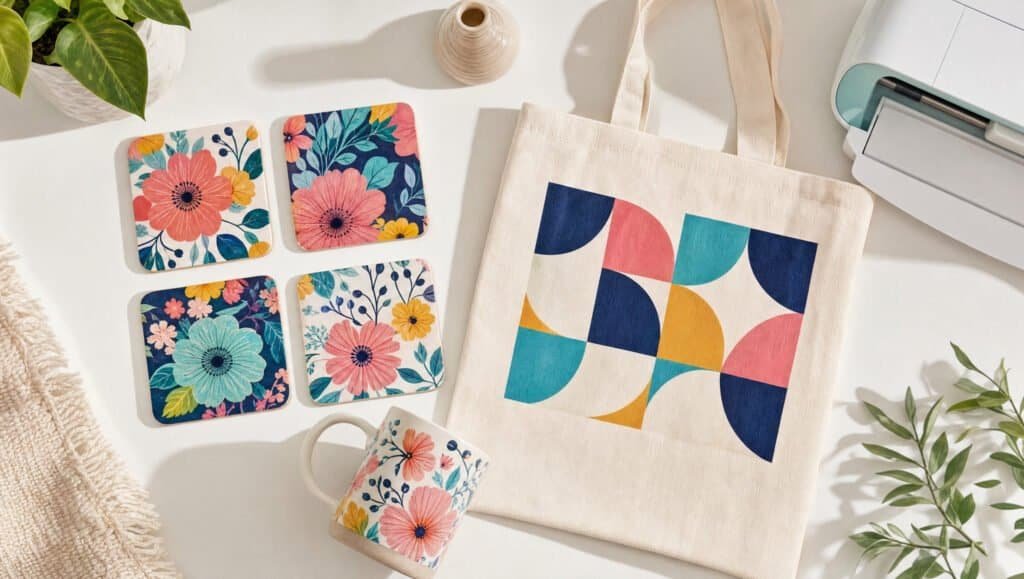
You end up with permanent, edge-to-edge color which will not peel, crack, or fade in the wash. A set of four coasters costs a fraction of a boutique set. Your first tote looks like it came from a shop.
Wrap the coasters with twine for gifts, or list them at a market stall. Expect to reach for the machine again the next weekend. Every finished piece makes the next idea feel easier.
Shop the Look
Start Small. Press Big.
Fall is the perfect season to turn a machine into a gift studio. This technique covers coasters, totes, mugs, and more, all with the same five steps. Start with a set of four coasters, learn your heat settings, and move on to totes and tees. If you are ready for even more Cricut know-how, be sure to check out Which Cricut Machine Should You Buy? (An Honest Breakdown for Beginners) for even more machine advice.