Affiliate Disclosure: This post may contain affiliate links. If you purchase through these links, I may earn a small commission at no extra cost to you.
Have you ever bought wax melts that smelled incredible in the package but seemed to disappear after a single use? You’re definitely not alone. Learning how to make wax melts at home gives you complete control over fragrance strength, ingredients, colors, and designs while often producing better results than store-bought options. Whether you’re interested in creating homemade wax melts for your own home or exploring how to make wax melts to sell, this beginner-friendly guide will walk you through everything you need to know.
Choose the Best Wax for Long-Lasting Wax Melts
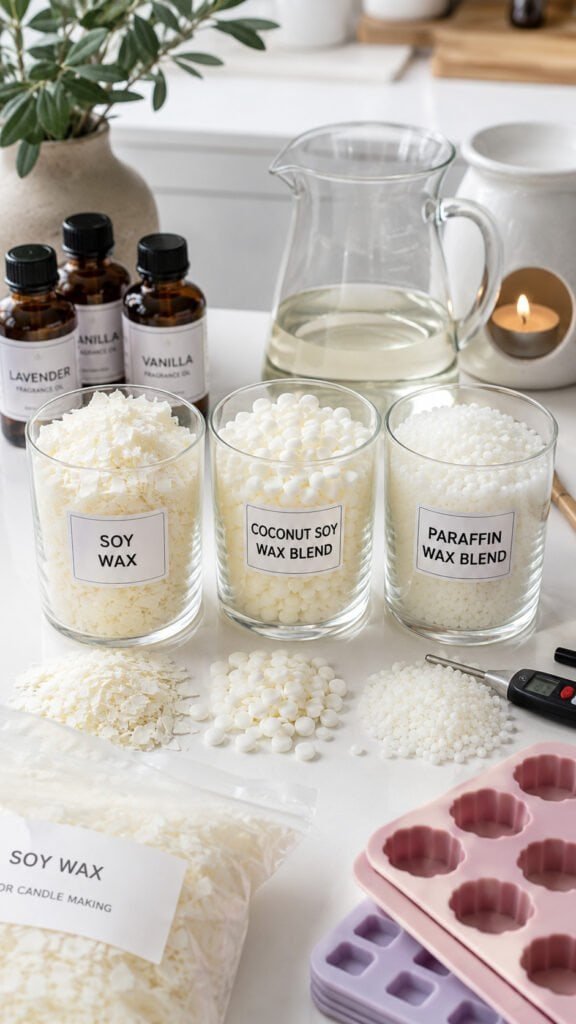
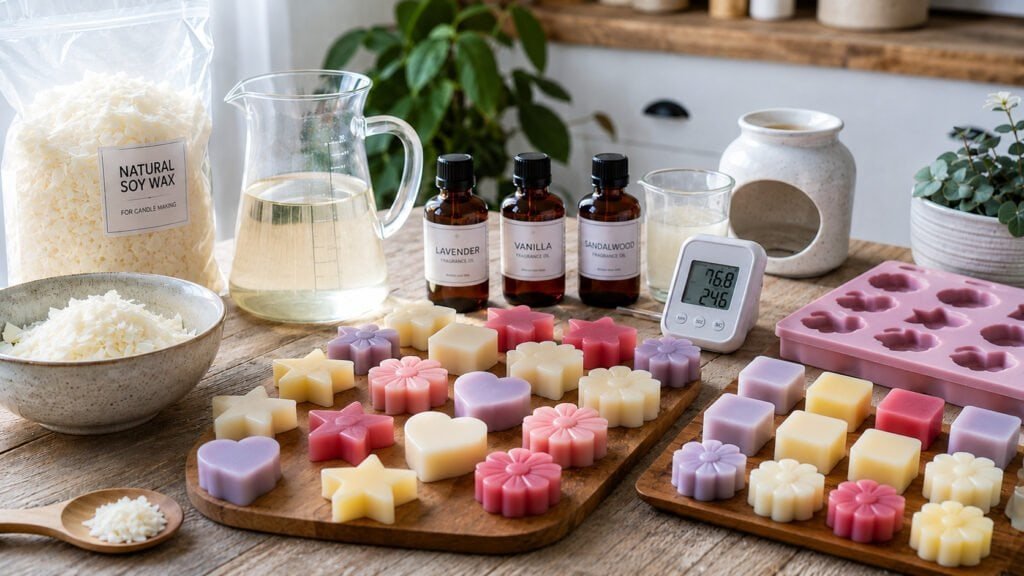
The foundation of every great wax melt starts with the wax itself. While it may be tempting to grab the first bag of wax you see, different wax types produce very different results. Some offer stronger fragrance throw, while others provide cleaner ingredients or a smoother finish. Choosing the right wax from the beginning can make a huge difference in how your finished melts perform.
For beginners, soy wax is often the easiest option because it melts consistently, holds fragrance well, and is widely available. Paraffin blends are known for producing some of the strongest scent throw, while coconut wax blends offer a smooth, premium finish that many handmade makers love. If you’re serious about making wax melts that smell amazing and last longer, testing a few wax types is worth the effort.
Popular Wax Options
| Wax Type | Benefits | Best For |
|---|---|---|
| Soy Wax | Easy to use, clean-burning, beginner-friendly | Everyday homemade wax melts |
| Paraffin Blend | Strong scent throw, excellent fragrance retention | Highly scented wax melts |
| Coconut Blend | Smooth finish, luxury appearance | Premium handmade wax melts |
| Soy-Paraffin Blend | Balance of scent throw and ease of use | Beginners wanting stronger fragrance |
Shop the Look
Understand Fragrance Load Before You Start
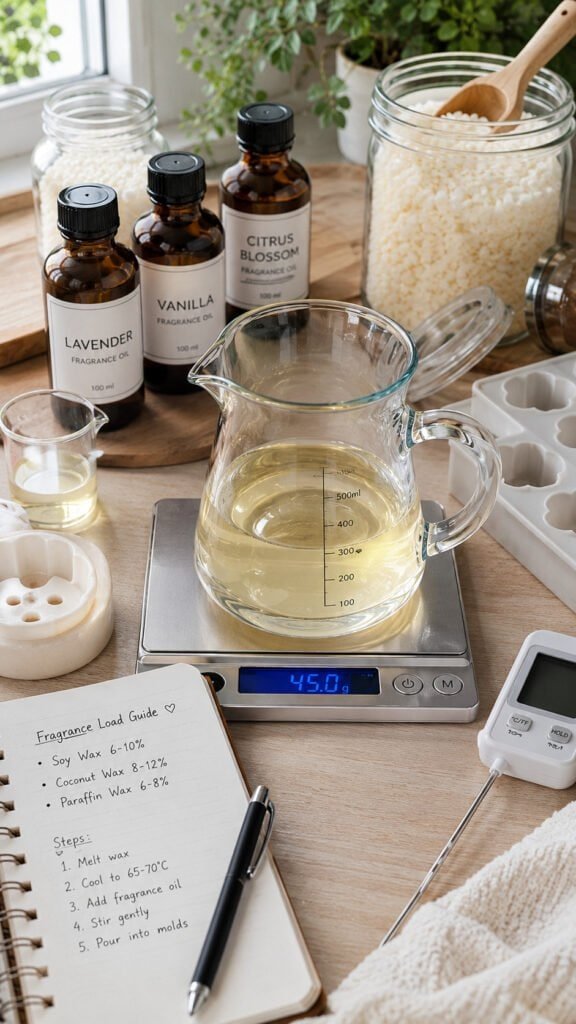
One of the biggest reasons homemade wax melts end up weak or disappointing is improper fragrance load. Many beginners assume that adding more fragrance oil automatically creates a stronger scent, but that’s not how wax works. Every wax has a maximum amount of fragrance it can hold, and exceeding that limit can actually reduce performance.
Most waxes perform best with a fragrance load between 6% and 10%. Staying within the recommended range helps create a strong hot throw while preventing oil separation, sweating, or curing issues. If your goal is making homemade wax melts recipes that smell amazing every time they’re warmed, fragrance load is one of the most important things to learn.
How Much Fragrance Oil Should You Use?
| Wax Amount | 6% Fragrance Load | 8% Fragrance Load | 10% Fragrance Load |
|---|---|---|---|
| 8 oz Wax | 0.48 oz | 0.64 oz | 0.80 oz |
| 16 oz Wax | 0.96 oz | 1.28 oz | 1.60 oz |
| 32 oz Wax | 1.92 oz | 2.56 oz | 3.20 oz |
What Affects Scent Strength?
- Wax type
- Fragrance oil quality
- Pour temperature
- Cure time
- Room size during use
Shop the Look
Fresh Citrus Homemade Wax Melts Recipe
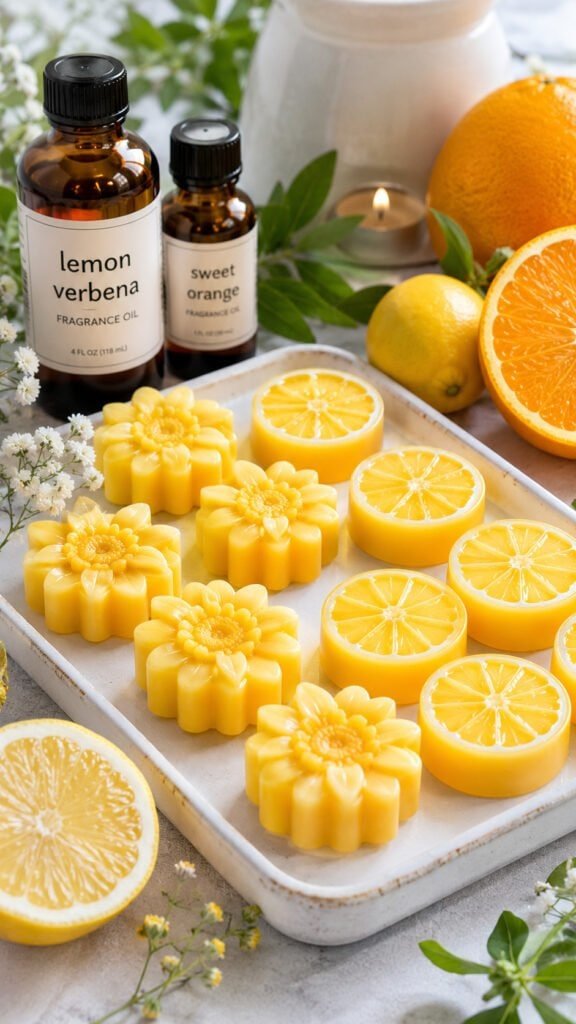
If you love bright, clean fragrances that instantly make a room feel fresh, this citrus blend is a great place to start. The combination of orange and lemon creates an uplifting scent that works beautifully in kitchens, bathrooms, laundry rooms, and entryways. It’s also one of the easiest DIY wax melts recipes how to make because the fragrance combination naturally performs well in soy wax.
Step-by-Step Instructions
- Measure 16 oz soy wax, 0.8 oz sweet orange fragrance oil, and 0.4 oz lemon fragrance oil.
- Melt the soy wax according to the manufacturer’s instructions.
- Allow the wax to cool to the recommended fragrance-addition temperature.
- Stir in the sweet orange and lemon fragrance oils until fully blended.
- Add a few drops of yellow wax dye if desired.
- Pour the mixture into silicone molds.
- Allow the wax melts to cool and harden completely.
- Remove from the molds and cure for 48–72 hours before use.
Shop the Look
Cozy Vanilla Cinnamon Wax Melts Recipe
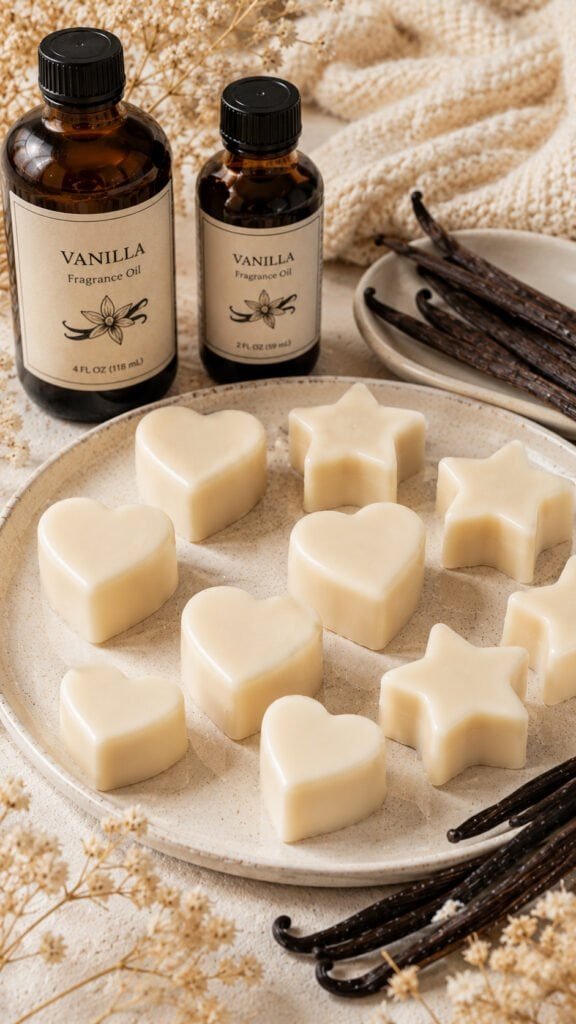
There’s a reason vanilla and cinnamon remain one of the most popular fragrance combinations in candle and wax melt collections. The warm vanilla softens the spice while the cinnamon adds depth and richness. These handmade wax melts create a cozy atmosphere that feels inviting without being overwhelming.
Step-by-Step Instructions
- Measure 16 oz soy blend wax, 0.8 oz vanilla fragrance oil, and 0.4 oz cinnamon fragrance oil.
- Melt the wax completely in a pouring pitcher.
- Allow the wax to cool slightly before adding fragrance oils.
- Stir in the vanilla and cinnamon oils for 1–2 minutes.
- Add a small amount of brown wax dye if desired.
- Pour the wax into silicone molds.
- Allow the melts to harden completely.
- Cure for 3–5 days before using for the strongest scent throw.
Shop the Look
Lavender Spa Wax Melts Recipe
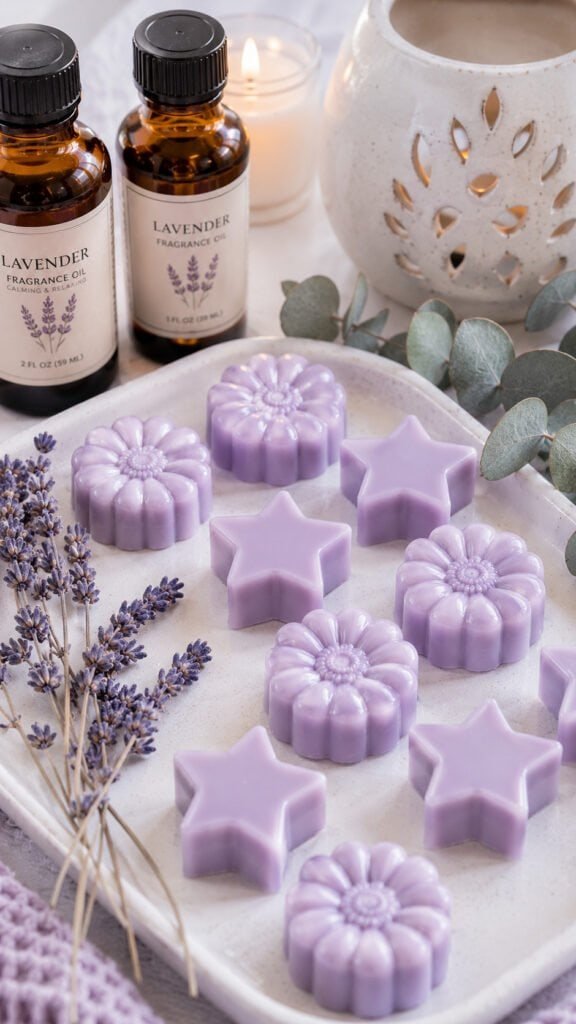
If your goal is creating a relaxing, spa-inspired atmosphere, this fragrance blend is hard to beat. Lavender and eucalyptus complement each other beautifully, creating a clean scent that feels fresh, calming, and luxurious. This is one of those homemade wax melts recipes you’ll find yourself making repeatedly because it works year-round.
Step-by-Step Instructions
- Measure 16 oz soy wax, 0.8 oz lavender fragrance oil, and 0.3 oz eucalyptus fragrance oil.
- Melt the soy wax slowly until fully liquid.
- Remove the wax from heat and allow it to cool slightly.
- Stir in the lavender and eucalyptus fragrance oils thoroughly.
- Add a few drops of purple wax dye if desired.
- Pour the wax into decorative silicone molds.
- Allow the wax melts to cool and harden completely.
- Cure for 3–5 days before using.
Shop the Look
How to Make Wax Melts Smell Stronger and Last Longer
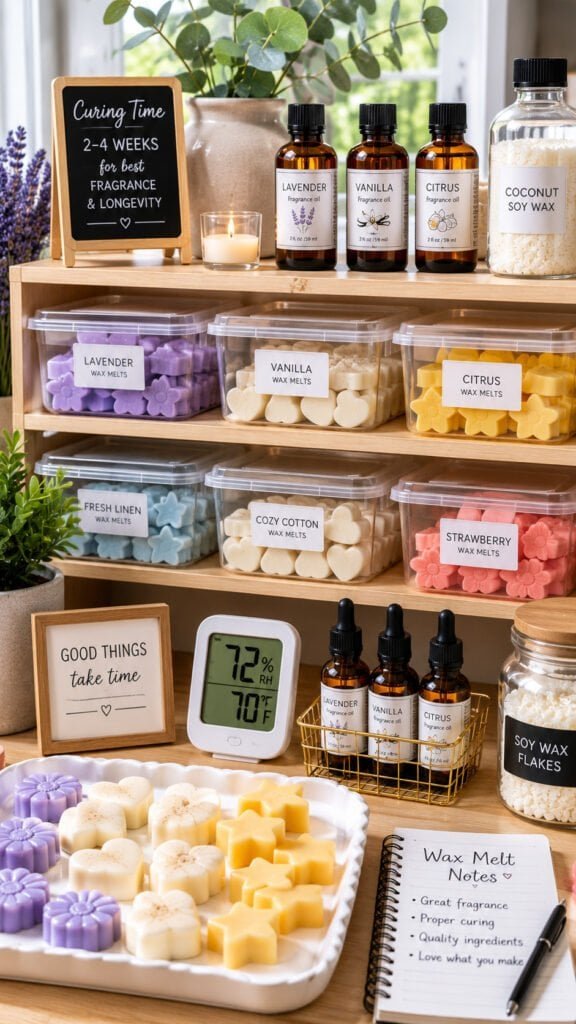
One of the most common frustrations with making wax melts is creating a batch that smells fantastic at first but quickly loses its fragrance. Fortunately, long-lasting wax melts usually come down to a handful of simple techniques. Small adjustments during the process can make a noticeable difference in scent throw and overall performance.
What Makes Wax Melts Last Longer?
- Use high-quality fragrance oils designed for wax products.
- Stay within the recommended fragrance load for your wax.
- Allow wax melts to cure before using them.
- Store finished melts away from heat and direct sunlight.
- Use airtight containers to preserve fragrance.
Recommended Cure Times
| Wax Type | Minimum Cure Time | Best Cure Time |
|---|---|---|
| Soy Wax | 48 Hours | 5–7 Days |
| Paraffin Blend | 24 Hours | 2–3 Days |
| Coconut Blend | 48 Hours | 5–7 Days |
| Soy-Paraffin Blend | 48 Hours | 3–5 Days |
Shop the Look
Packaging and Storing Homemade Wax Melts
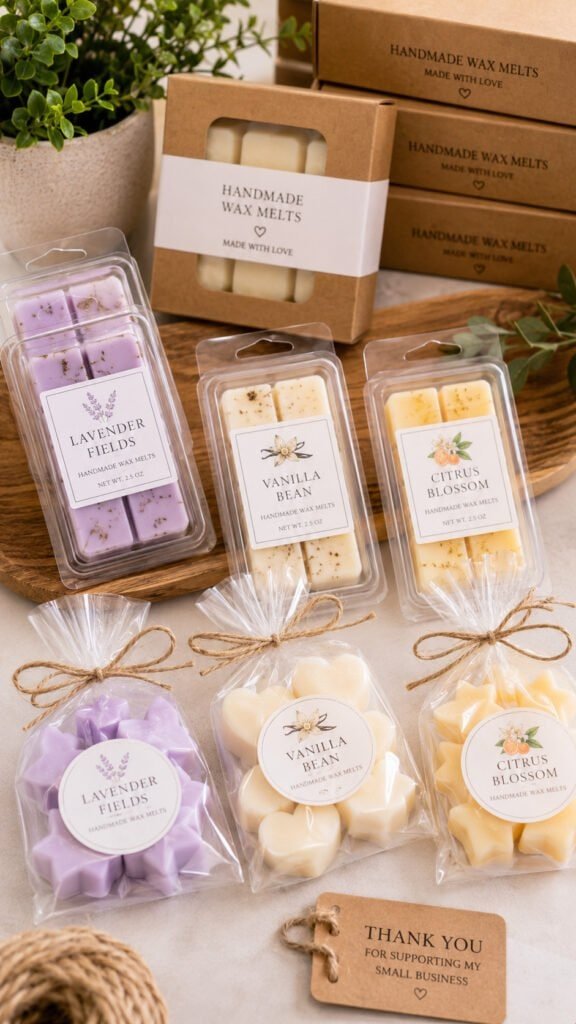
After spending time creating beautiful homemade wax melts, proper storage becomes just as important as the recipe itself. Fragrance oils naturally evaporate over time, which means poor storage can weaken even the strongest scents. Good packaging helps protect both fragrance strength and appearance.
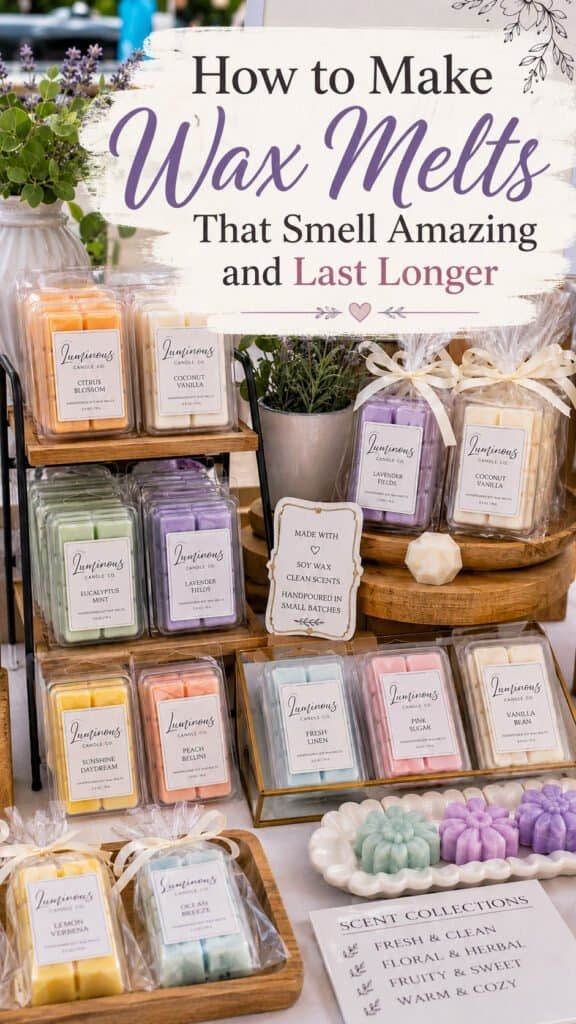
For personal use, airtight containers work well and keep scents fresh between uses. If you’re gifting or selling your wax melts, attractive packaging can also increase their perceived value. Clear clamshells remain one of the most popular options because customers can easily see the product while the fragrance stays protected.
Popular Packaging Options
| Packaging Type | Best For |
|---|---|
| Clamshell Containers | Selling and gifting |
| Kraft Boxes | Premium presentation |
| Cellophane Bags | Budget-friendly packaging |
| Airtight Containers | Personal storage |
| Mason Jars | Small-batch storage |
Shop the Look
How to Make Wax Melts to Sell
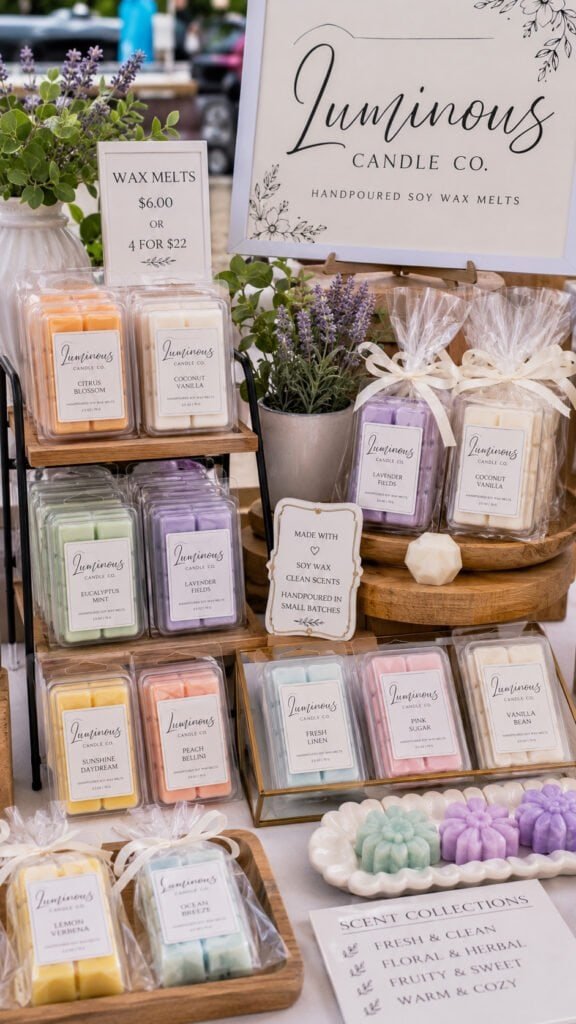
Many people start making wax melts as a hobby and eventually realize they can turn them into a profitable side business. The startup costs are relatively low compared to many handmade products, and wax melts are popular at craft fairs, local markets, gift shops, and online marketplaces. If you’re considering how to make wax melts to sell, consistency matters just as much as creativity.
Customers expect products that look professional, smell strong, and perform the same way every time they buy them. This means testing recipes, tracking fragrance loads, and creating attractive packaging. The good news is that once you find a few reliable scent blends, it’s easy to build a collection around them.
What Sells Best
- Bakery-inspired scents
- Clean and fresh fragrances
- Seasonal collections
- Spa-themed wax melts
- Gift sets and sampler packs
What You’ll Need Before Selling
| Item | Why It Matters |
|---|---|
| Consistent Recipes | Reliable customer experience |
| Product Labels | Professional presentation |
| Packaging | Protects fragrance and appearance |
| Ingredient Records | Easier inventory management |
| Brand Name & Logo | Helps customers remember your business |
Shop the Look
Learning how to make wax melts is one of the easiest ways to create custom home fragrance products that fit your style and scent preferences. Whether you prefer bright citrus blends, cozy bakery fragrances, or relaxing spa-inspired scents, homemade wax melts allow you to control every part of the process. Once you understand wax selection, fragrance load, curing time, and storage, you’ll be able to create wax melts that smell stronger and last longer than many store-bought alternatives.
The best part is that you can keep things simple for personal use or scale up into a small business when you’re ready. Start with a single recipe, experiment with different fragrance combinations, and enjoy creating handmade wax melts that fill your home with incredible scent.
Looking for your next wax crafting project? Check out How to Make Handmade Candles That Burn Evenly for more beginner-friendly candle-making tips and techniques.