This post contains affiliate links. If you purchase through my links, I may earn a small commission at no extra cost to you. Thank you for supporting Room Revival Studio!
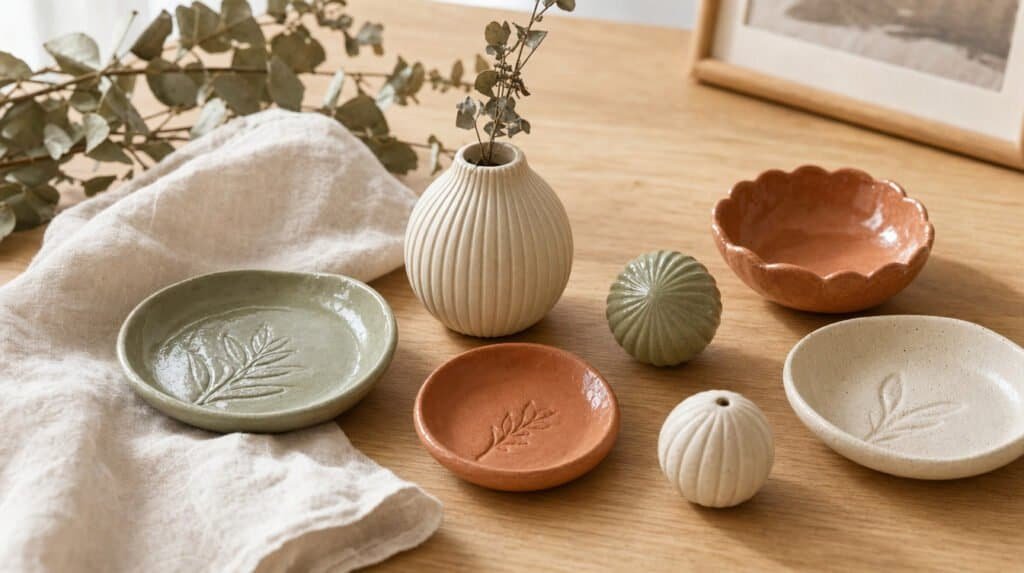
You spent two hours on a little trinket dish. It dried flat and smooth, you brushed on the first sealer in your cabinet, and a week later the surface turned tacky and cloudy. Air-dry clay soaks up moisture like a sponge, so a bad finish ruins good work fast. Pick the right coat and the same dish lasts for years. Start here.
This how-to walks through the best finishes and glazes for air-dry clay, from a quick matte seal to a glossy glass look. You get a full supply list, six finishing steps, and an honest look at what does not work. Difficulty: beginner. Time: about 30 minutes of hands-on work, plus drying time between coats.
Supplies for the Best Finishes and Glazes for Air-Dry Clay
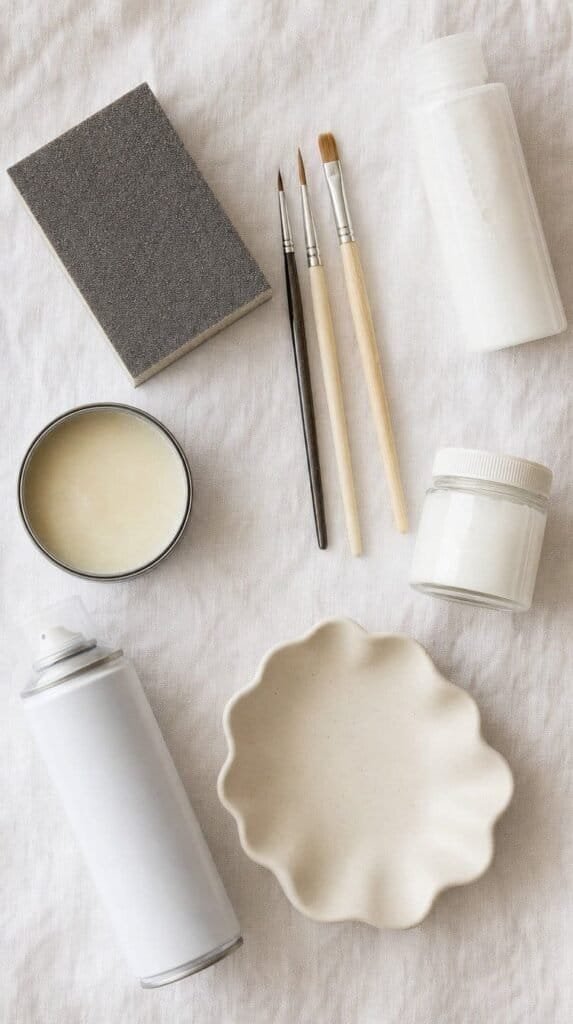
Gather everything before you open a single bottle. Finishing moves fast once the first coat is on, and you will not want to hunt for a brush mid-seal. You need a fine sanding sponge, a few soft brushes, and one finish from the list below.
Pick the finish by the job. Decoupage medium suits ornaments and dishes, while water-based varnish suits anything handled daily. Resin gives a glassy glaze and wax gives a soft stone look.
Honest caveat: no single product does every job, so plan on owning two. A tidy tray of supplies feels like a studio already.
Shop the Look
- Fine Grit Sanding Sponges
- Soft Synthetic Paint Brush Set
- Mod Podge Matte Decoupage Medium
- Water-Based Clear Matte Varnish
Step 1: Dry and Sand Until Smooth
Let your piece dry fully before any finish touches it. Thin pieces need about 24 hours and thick ones need up to 72. Hot tip: hold the piece against your cheek, and if it feels cool, moisture is still inside.
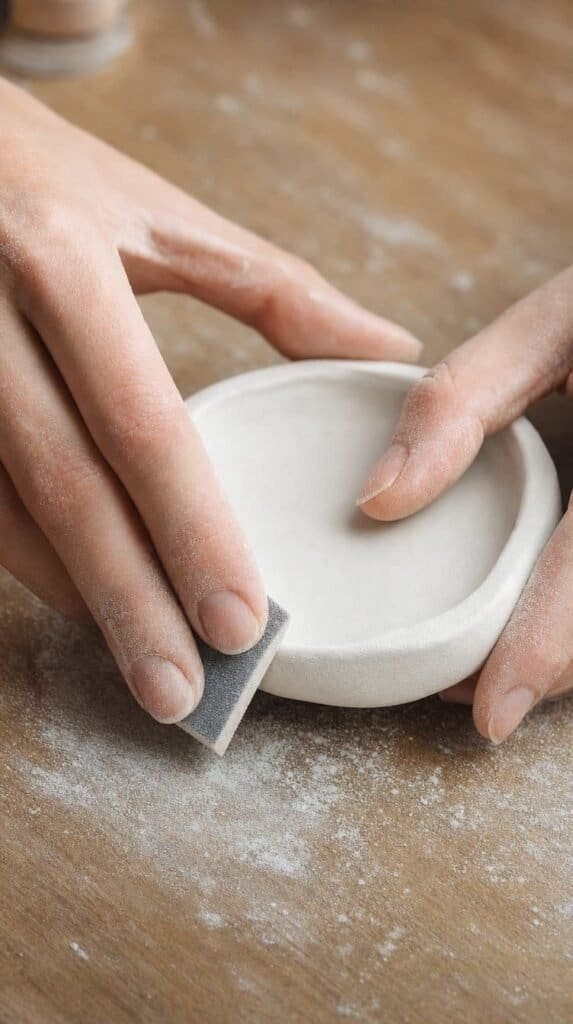
Sand with a fine sponge using light pressure, then wipe away the dust with a soft dry brush. Honest caveat: heavy sanding rounds off sharp details, so go gently around stamped patterns and edges.
A mask is smart here, since clay dust floats. The surface turns silky, like a river stone.
Shop the Look
- Sanding Sticks for Detail Work
- Disposable Dust Masks
- Soft Bristle Dusting Brushes
- Microfiber Cleaning Cloths
Step 2: Seal With Acrylic Paint First
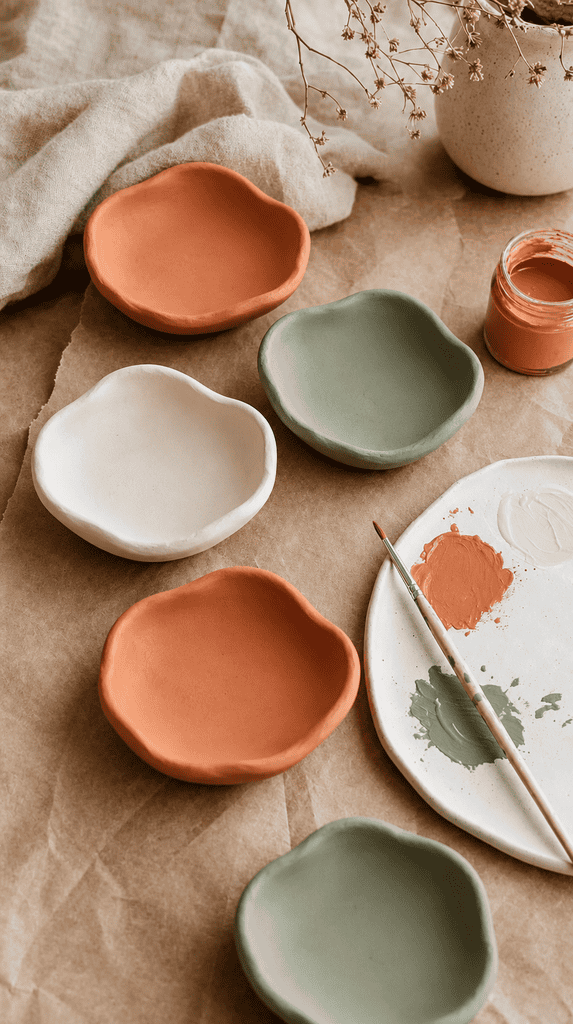
Paint comes before the finish, not after. Acrylic paint adds color and a thin first barrier against moisture. Brush on two thin coats and wait 20 minutes between them.
Honest caveat: thick paint pools in grooves and dries with cracks, so thin coats always win. (Patience is the whole trick, sadly.)
Let the paint cure for a full hour before sealing. The color settles in and the piece already looks finished.
Shop the Look
- Neutral Acrylic Paint Set
- White Acrylic Gesso Primer
- Ceramic Paint Mixing Palette
- Detail Paint Brush Set
Step 3: Mod Podge on Air-Dry Clay for the Easiest Finish
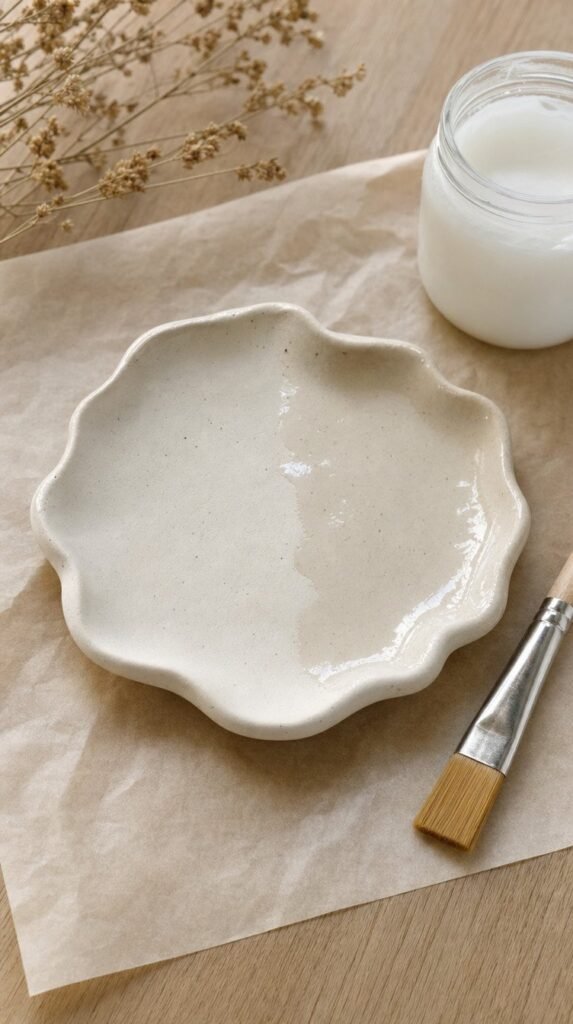
Mod Podge or any decoupage medium is the friendliest finish for beginners. Brush on a thin, even coat, let it dry for 20 minutes, and repeat two more times.
Matte hides brush marks, satin adds a soft glow, and gloss looks shiny and bright. Let the final coat cure for a full 24 hours before stacking or wrapping.
Honest caveat: decoupage medium stays slightly tacky in humid rooms, and it is not waterproof for pieces near water. Keep it for ornaments, wall art, and shelf pieces. The soft satin glow is worth the wait.
Shop the Look
- Mod Podge Satin Decoupage Medium
- Mod Podge Gloss Decoupage Medium
- Flat Foam Brushes
- Parchment Paper Sheets
Step 4: Water-Based Varnish, the Best Everyday Glaze for Air-Dry Clay
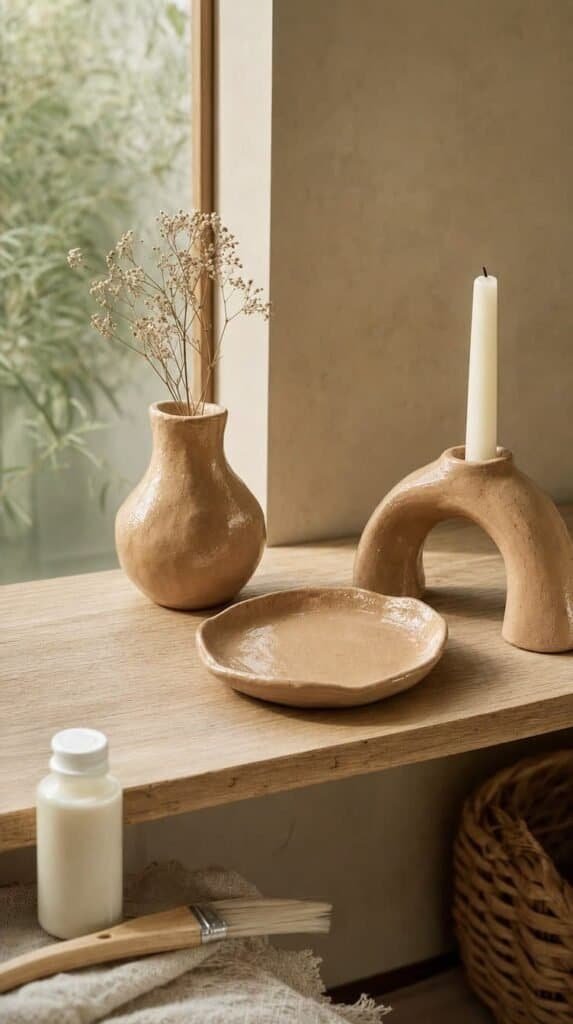
Water-based varnish is the workhorse for pieces you touch daily, like trinket dishes, ring holders, and vases. Brush on a thin coat and let it dry for two hours. Apply two or three coats, lightly sanding between each one with a very fine sponge. Thin coats dry clear and thick coats dry cloudy.
Hot tip: test the finish on a scrap piece first, since matte varnish often dries a bit shinier than the label suggests.
Honest caveat: varnish resists splashes but not soaking, so keep clay dishes away from sinks and wet plant soil. The surface ends up smooth and sturdy under your thumb.
Shop the Look
- Water-Based Polycrylic Clear Satin
- Water-Based Polycrylic Clear Matte
- Wide Flat Varnish Brush
- Extra Fine Grit Sanding Pads
Step 5: Resin for a True Glass Glaze on Air-Dry Clay
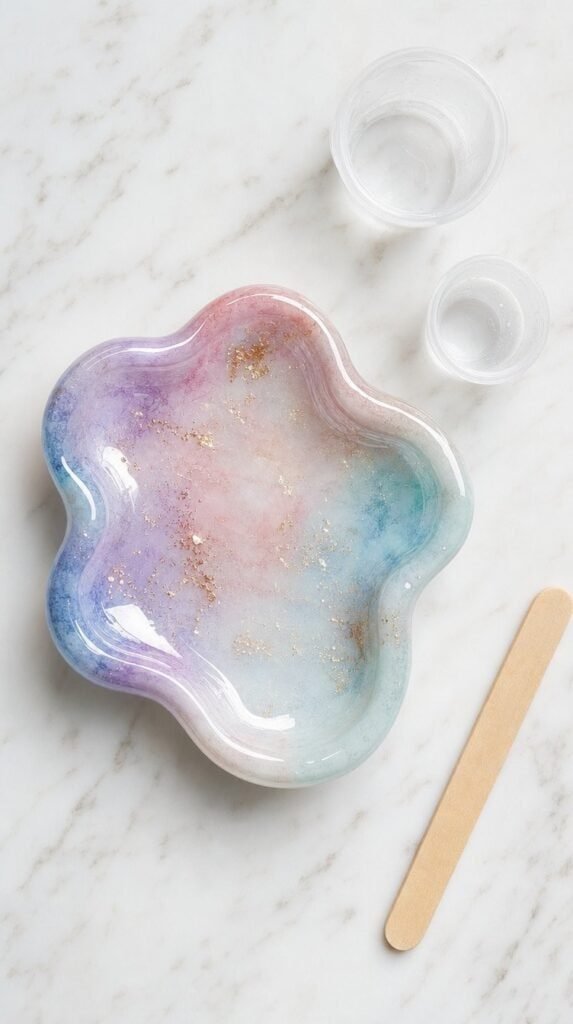
Want a real glaze look? Two-part epoxy resin gives air-dry clay the shine of fired ceramic. Mix equal parts exactly as the bottle says, then brush a thin coat over a fully painted and sealed piece.
Pop bubbles with a quick pass from a heat gun, and keep dust away while the piece cures for 24 hours. Wear gloves and work with a window open.
Honest caveat: resin costs more, and every fingerprint or speck of dust stays forever. Save it for one showpiece dish. The finish looks like wet glass.
Shop the Look
- Two-Part Epoxy Resin Kit
- Nitrile Disposable Gloves
- Silicone Mixing Cups and Stir Sticks
- Mini Heat Gun for Resin
Step 6: Wax and Spray Sealant for a Soft Stone Look
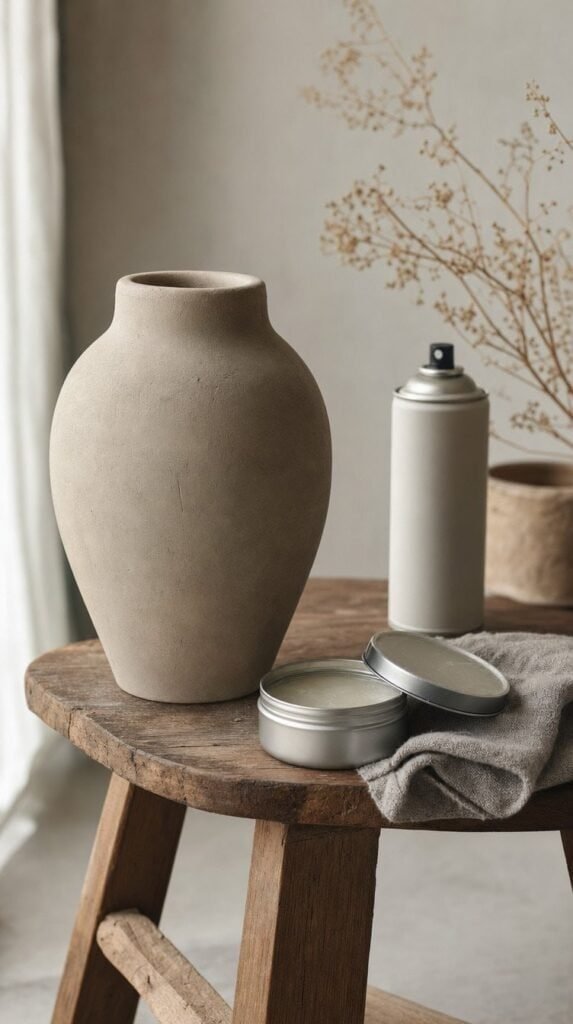
Clear paste wax gives the softest, most natural matte look. Rub a thin layer on with a cloth, wait 15 minutes, and buff until the surface feels like cool stone. Wax works best on pieces left unpainted or painted in flat matte colors.
Spray sealant is the fast route for detailed pieces, since brushes get stuck in tiny grooves. Spray outdoors from 10 to 12 inches away in light passes, and let each coat dry for 15 minutes.
Honest caveat: wax collects dust over time, and spray needs fresh air, so work outside. Your hands will not want to put the piece down.
Shop the Look
- Clear Furniture Paste Wax
- Clear Matte Acrylic Spray Sealer
- Lint-Free Buffing Cloths
- Respirator Mask for Spray Paint
What Does Not Work on Air-Dry Clay
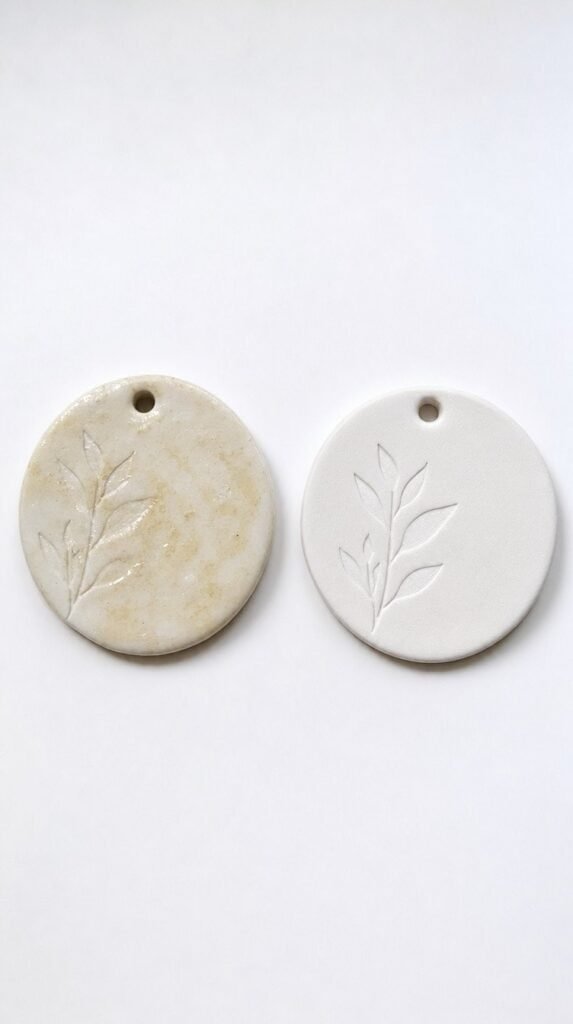
Some finishes look fine on day one and fail by week two. Oil-based polyurethane yellows with age, hairspray turns sticky and wears off fast, and sealing damp clay traps moisture inside.
Thick coats of anything bubble and crack, so every finish above works best in thin layers. If a coat goes wrong, sand it back gently and start the layer again.
Honest caveat: no finish makes air-dry clay fully waterproof, so skip food, drinks, and wet plant pots. Dry pieces stay beautiful for years.
Shop the Look
- Silica Gel Desiccant Packs
- Clear Plastic Storage Bins With Lids
- Acid-Free Tissue Paper
- Plastic Plant Liner Pots
What You’ll End Up With
You end up with clay pieces sealed, sturdy, and styled to look store bought. Matte, satin, glossy, or glass, the finish is your choice, and every option above stays friendly to beginners. Keep these three pro tips close.
Pro tip one: finish on a dry day. Humidity slows drying and leaves coats tacky, so pick a low-humidity afternoon whenever you are able.
Pro tip two: test every product on a scrap piece first. Ten minutes of testing saves a full weekend of work.
Pro tip three: layer with purpose. Acrylic paint first, then one finish on top, and never two different sealers over each other.
Pick One Finish and Start Today
The holiday season is the perfect time to turn simple clay into gifts and decor worth keeping. From glossy ornaments to matte vases and wax-buffed trinket dishes, every finish here fits a different piece. Start with two small test pieces, seal one with decoupage medium and one with varnish, and compare them after a week. If you are ready for even more air-dry clay know-how, be sure to check out How To Seal And Glaze Air Dry Clay Ornaments For Winter for even more finishing ideas.