This post contains affiliate links. If you purchase through my links, I may earn a small commission at no extra cost to you. Thank you for supporting Room Revival Studio!
Your first batch of air dry clay ornaments looked perfect coming out of the mold, then dried into something chalky and dull, nothing like the smooth glazed pieces you see online. The shaping was never the hard part. What happens after the clay dries is where most people give up.
Sealing and glazing turns flat, porous clay into ornaments with real shine and durability, ready to survive a season on the tree or a shelf. Beginner friendly, budget conscious, and set aside about ninety minutes of active time spread across a few days for drying between steps.
What You’ll Need
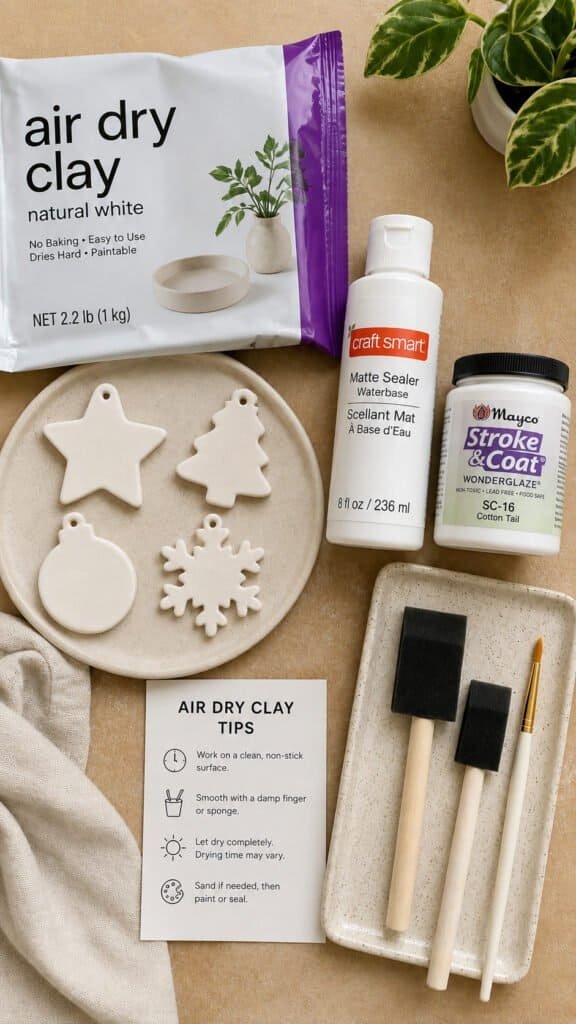
Beyond your air dry clay and cutters, the finishing supplies separate a craft-fair-quality ornament from one looking unfinished. None of this requires a kiln or special equipment.
Shop the Look
Step 1: Shape And Smooth Your Ornaments
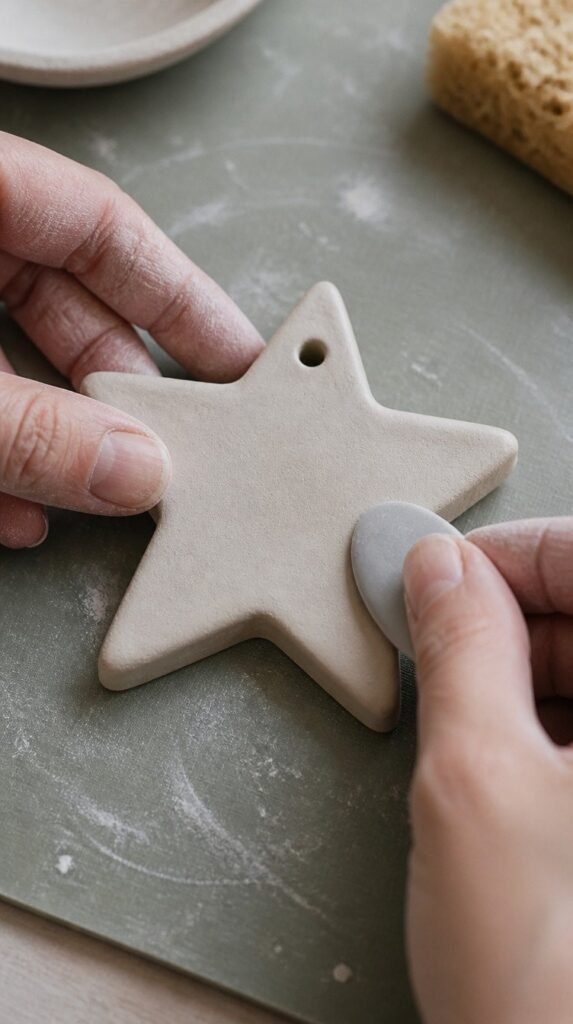
Roll clay to an even quarter-inch thickness before cutting shapes, since uneven thickness dries unevenly and cracks. Smooth every edge with a wet finger while the clay is still soft, since sanding wet clay only makes a mess.
Hot tip: punch your hanging hole now, before drying. Drilling through fully dried clay risks cracking the whole ornament.
Shop the Look
Step 2: Let Them Cure Completely
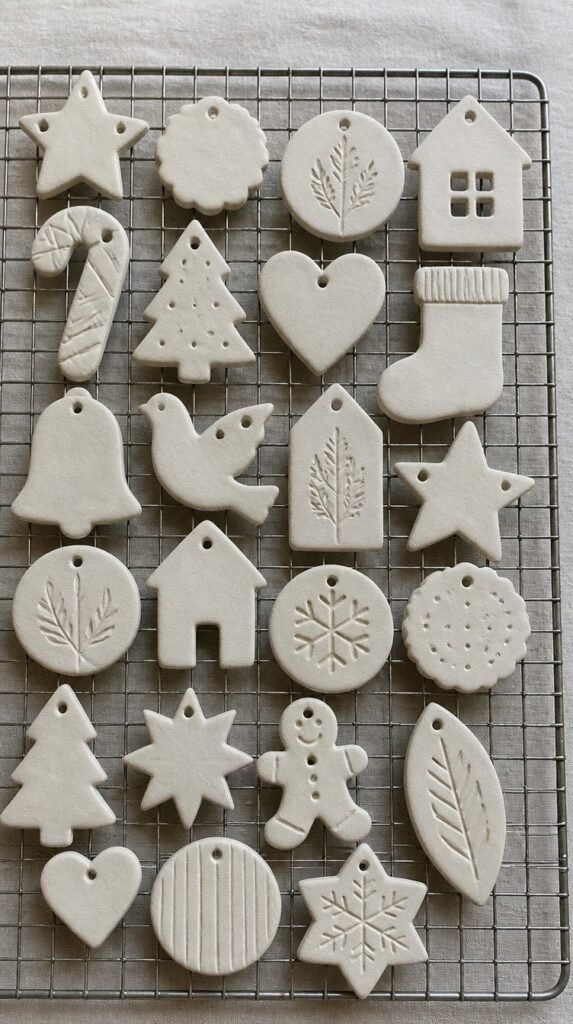
Lay ornaments flat on a wire rack so air reaches both sides, and flip them daily for the first two days. Thin pieces cure in about twenty-four hours, thicker ones need three to four full days.
Honest caveat: rushing this step is the top cause of cracking. Sealing clay while even slightly damp traps moisture and ruins the finish.
Shop the Look
Step 3: Sand Away Rough Edges
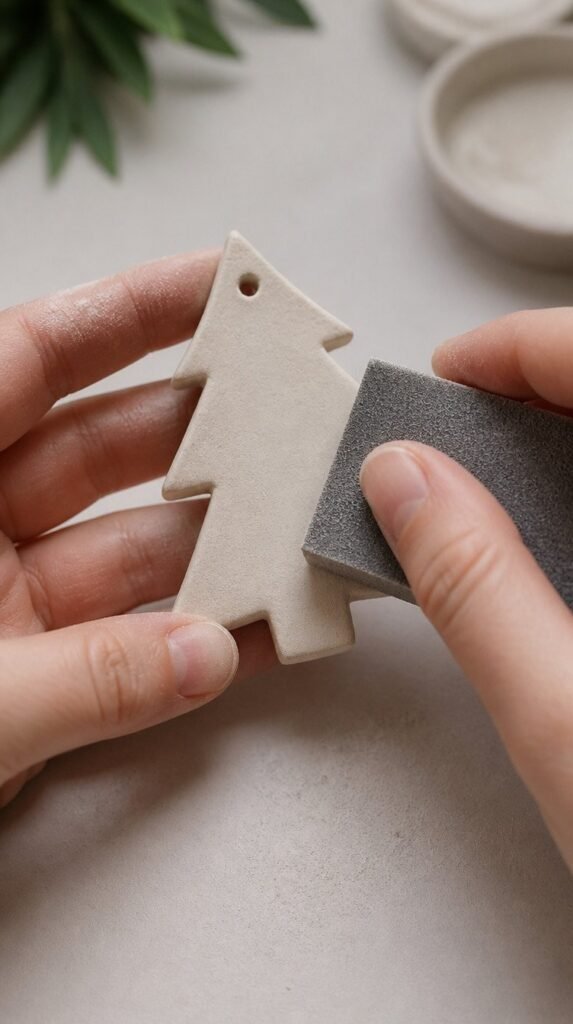
Once fully dry, sand lightly with fine grit paper in small circles, checking edges and any tool marks left from shaping. Wipe away all dust with a dry cloth before moving to sealing.
The trick here: sand outdoors or over a trash bin. Dry clay dust is fine and travels further than expected.
Shop the Look
Step 4: Seal Before You Glaze
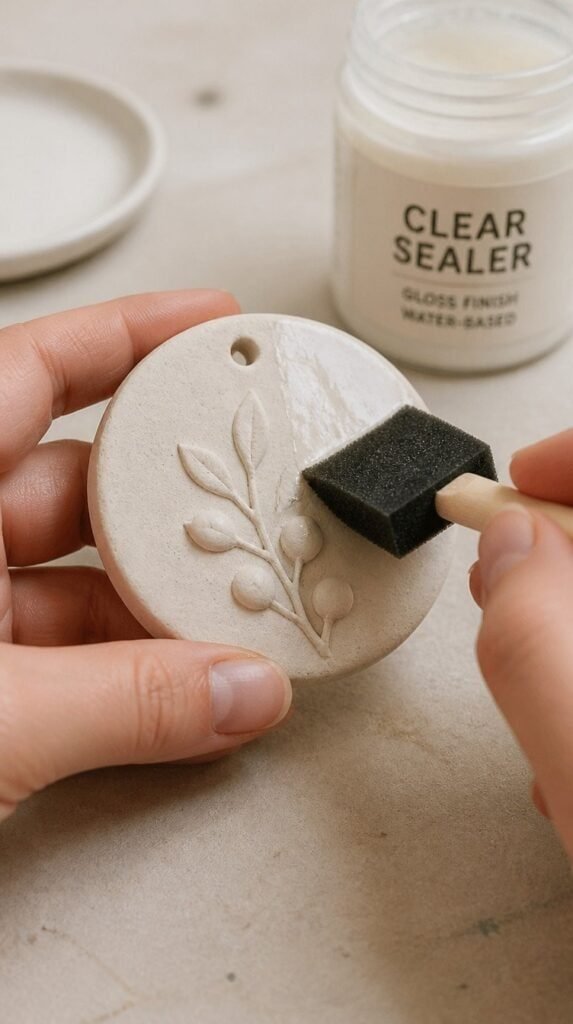
Brush on a thin coat of sealer and let it dry fully before adding any color or glaze on top. This step keeps raw clay from soaking up paint unevenly and gives the glaze something smooth to grip.
Two thin coats beat one thick coat every time. Thick sealer pools in corners and dries cloudy.
Shop the Look
Step 5: Apply The Glaze
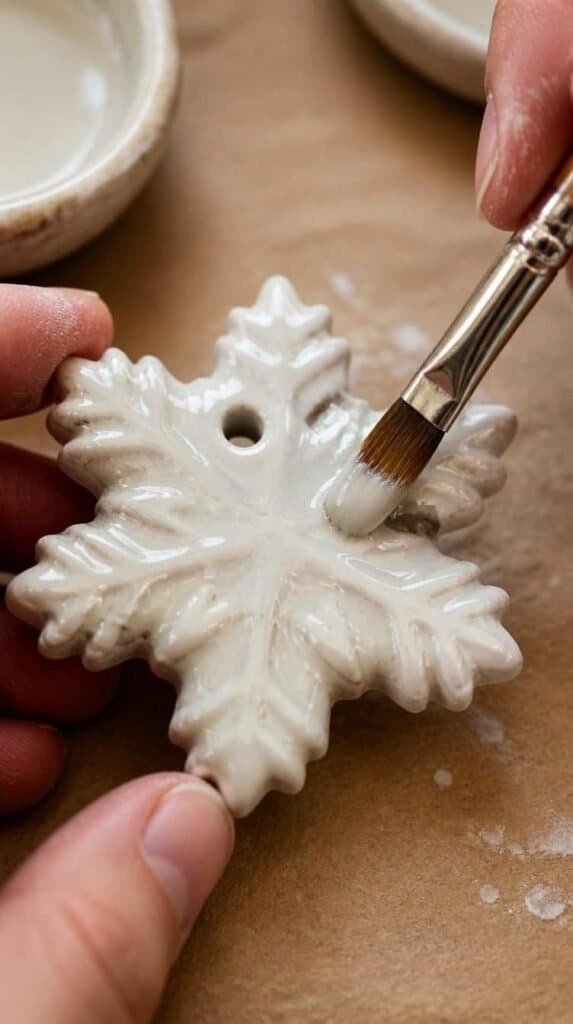
Once the sealer is bone dry, brush glaze on in one direction to avoid streaking, then let the first coat set for an hour before deciding if a second coat is needed. A glossy ceramic-look glaze gives ornaments the polished finish people assume came from a kiln.
Work in a well ventilated space and lay pieces on parchment paper so they never stick while curing.
Shop the Look
Step 6: Add A Hanging Loop And Finish
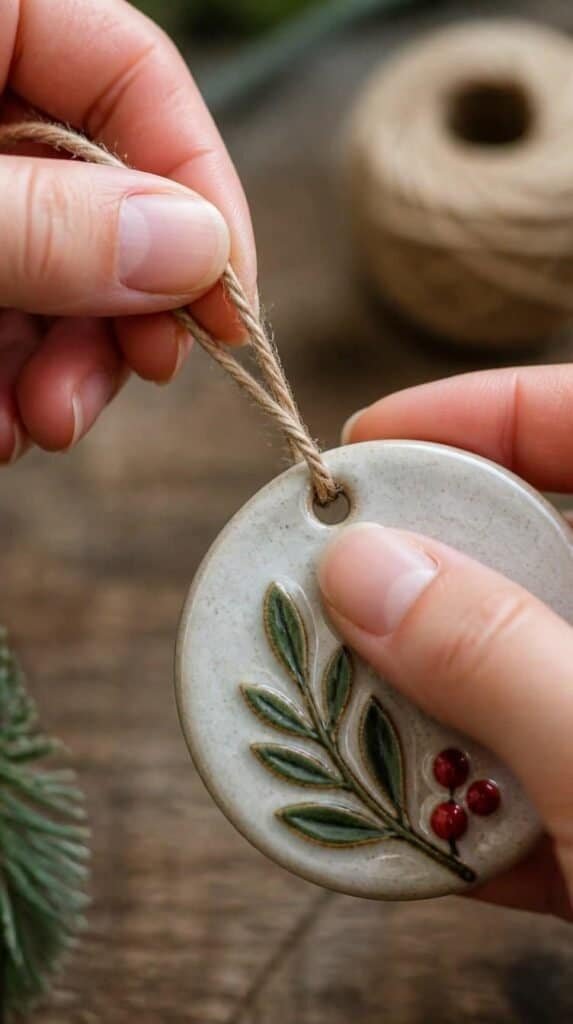
Thread ribbon, twine, or a small metal jump ring through the hole you punched earlier, sizing the loop to how the ornament sits when it hangs. Give the glaze a full twenty-four hours before boxing anything up.
What you will end up with: a glossy, ceramic-look ornament sturdy enough for years of holiday seasons, not a chalky craft-table experiment.
Shop the Look
Now Go Make A Whole Set.
Winter is the season these ornaments get the most use, whether on a tree, tied to a gift, or displayed on a mantel. This guide covered shaping, curing, sanding, sealing, and glazing, the full path from raw clay to a finished piece worth keeping. Start with one simple shape, seal it properly, and glaze it once before committing to a full batch for the holidays. If you are ready for even more air dry clay ideas, be sure to check out Everything You Need to Know About Air-Dry Clay for even more projects to try next.