This post contains affiliate links. If you purchase through my links, I may earn a small commission at no extra cost to you. Thank you for supporting Room Revival Studio!
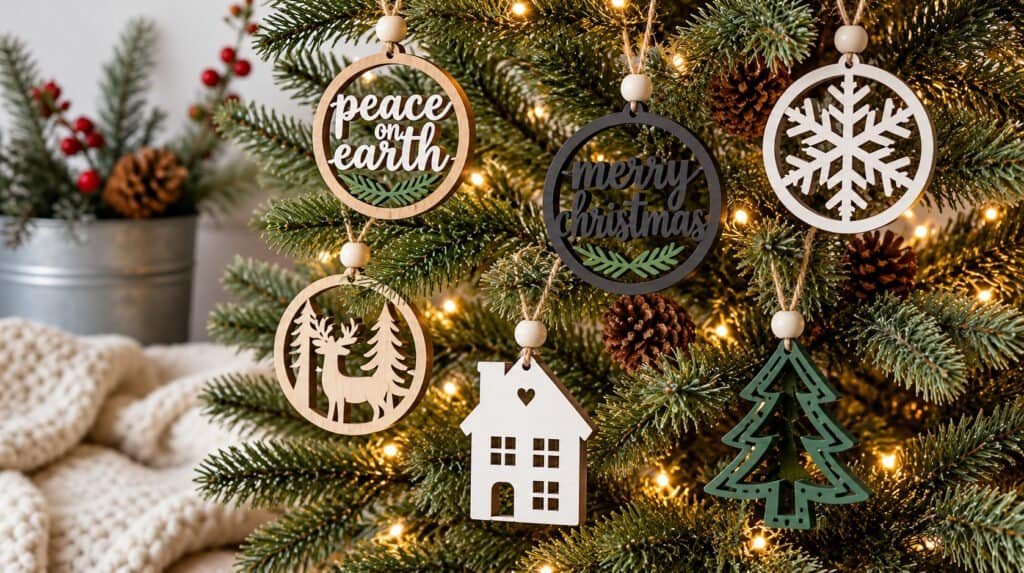
Store bought ornaments all start to look the same after a few Christmases. Your Cricut fixes that problem in one afternoon. A few sheets of vinyl, a handful of blanks, and you have a tree full of ornaments nobody else on the block owns. Whether you own a Cricut Joy, a Maker, or an Explore, every project below works with basic tools most crafters already own. No fancy add-ons required, just a machine, some blanks, and an evening to spare.
These 14 Cricut ornament designs cover every skill level, from a five-minute vinyl decal to a layered wood design worth gifting. Pick a few, set aside an evening, and build a set that actually looks handmade instead of mass produced.
1. Vinyl Name Ornaments
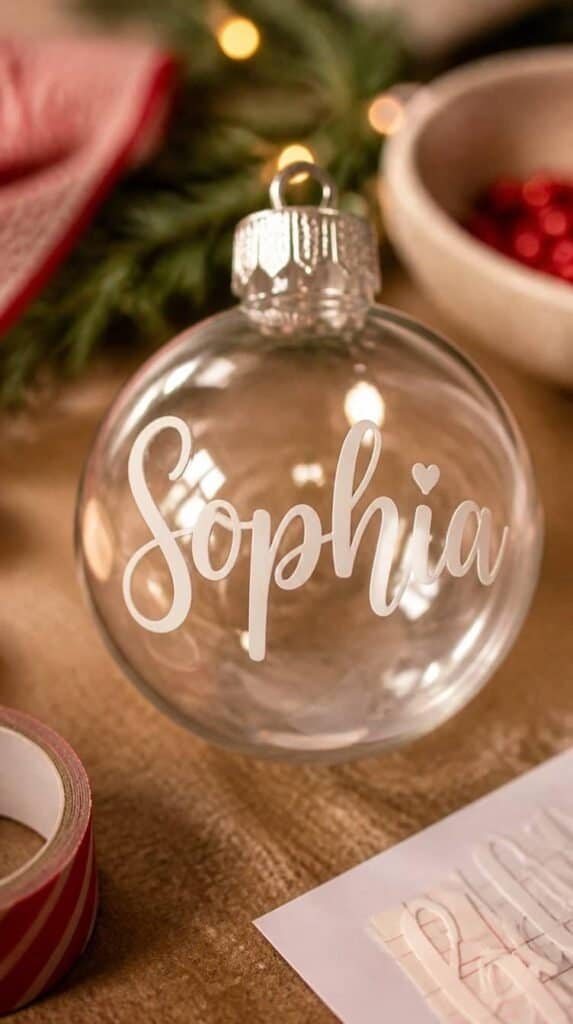
Cut a name or initial from permanent vinyl and apply it to a clear plastic ball ornament. This is the fastest project on the list and the easiest one to personalize for every stocking on the mantel.
A transfer tape sheet makes the lettering line up straight the first try.
Shop the Look
2. Layered Wood Snowflakes

Cut thin basswood sheets into layered snowflake shapes and stack them for depth. This one takes longer than the vinyl projects but reads as a real handmade keepsake once it is finished.
Use the deep point blade for basswood. The standard fine point blade struggles with wood thicker than cardstock.
Shop the Look
3. Infusible Ink Photo Ornaments
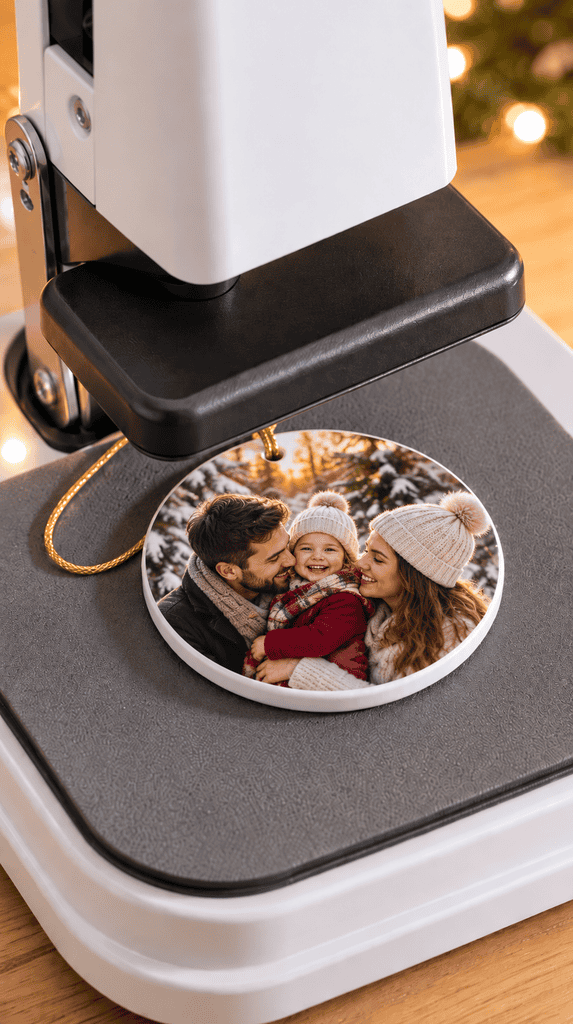
Print a photo design onto infusible ink transfer sheets, then press it onto a blank ceramic ornament with a mini heat press. The color bonds permanently, so it never peels or cracks like vinyl can over time.
Keep the press time exact. A few seconds too long scorches the design.
Shop the Look
4. Glitter Vinyl Gingerbread Men

Cut a gingerbread shape from acrylic blanks and layer glitter vinyl details on top for icing. It is a playful project that kids can help decorate once the base pieces are cut.
Glitter vinyl sheds more than standard vinyl during weeding, so keep a lint roller nearby.
Shop the Look
5. Faux Leather Reindeer Tags
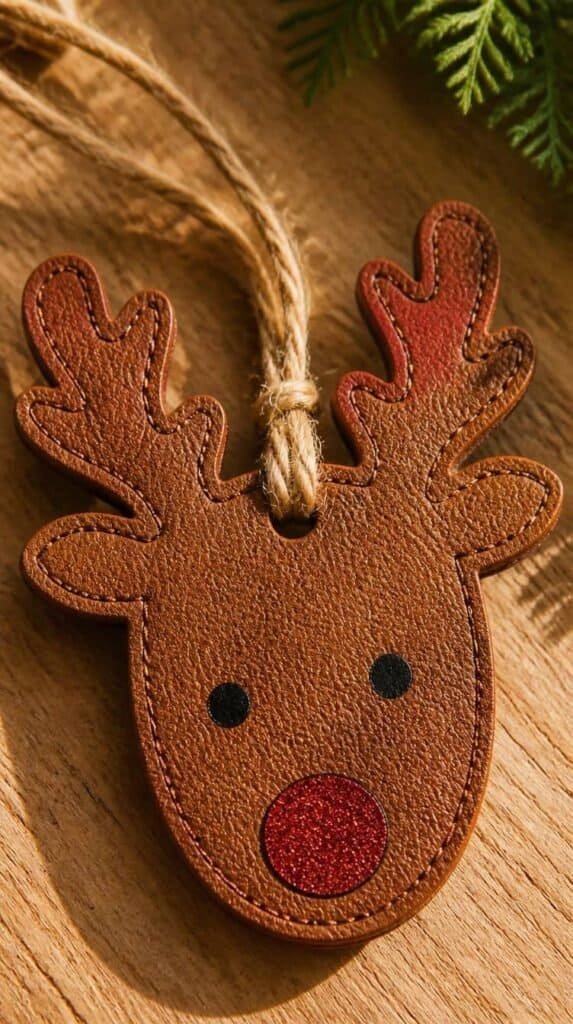
Cut a simple reindeer silhouette from faux leather and punch a hole for twine. This one doubles as a gift tag if you skip the ornament hook and tie it straight onto a wrapped present.
Faux leather cuts cleaner with a fresh blade, so swap yours before starting this batch.
Shop the Look
6. Acrylic Monogram Ornaments

Cut a single letter from clear acrylic and add a metallic vinyl overlay for shine. Hang a full set spelling out a family name across the tree for a coordinated look.
Peel the acrylic’s protective film only after cutting to keep the surface scratch free.
Shop the Look
7. Felt Christmas Tree Garland Ornaments

Cut a stack of small felt tree shapes and string them together for a garland instead of individual ornaments. This project scales up fast, so it works well when you need to decorate a whole staircase in one sitting.
Layer two shades of green felt for a dimensional look that reads as store bought.
Shop the Look
8. Shrink Plastic Kid Art Ornaments
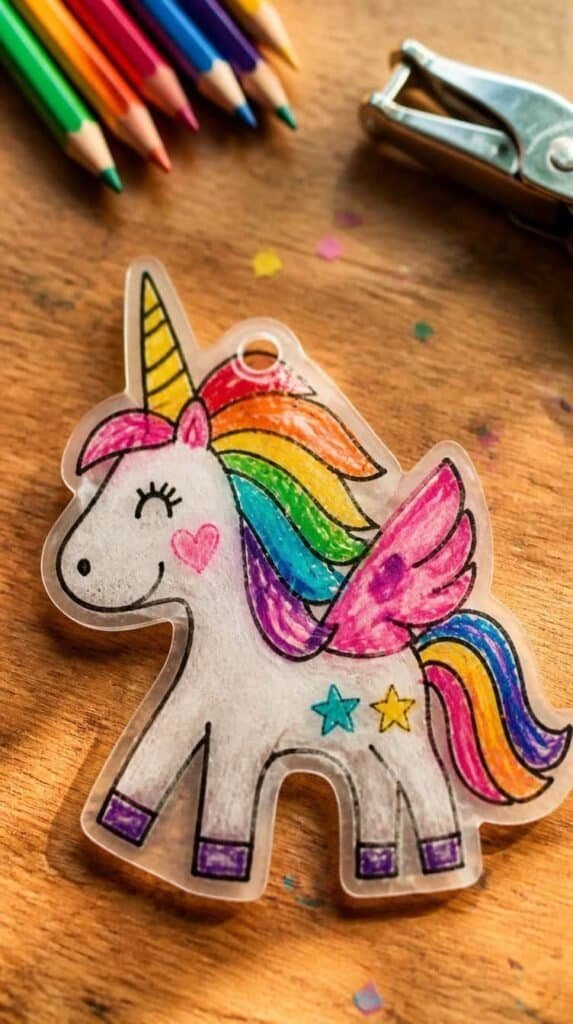
Scan a kid’s drawing, print it onto shrink plastic sheets, and cut the outline with your Cricut before baking it down to a hard mini ornament. It turns a fridge drawing into a keepsake that lasts far longer than paper.
Punch the hanging hole before baking. Shrink plastic gets too hard to punch cleanly once it cools.
Shop the Look
- Printable Shrink Plastic Sheets
- Standard Grip Cutting Mat
- Small Craft Hole Punch
- Colored Pencils For Shrink Plastic
9. Wood Slice Photo Ornaments

Print a photo onto printable vinyl and apply it to a natural wood slice blank for a rustic keepsake ornament. Grandparents tend to request this one every single year once they see the first set.
Seal the finished piece with a matte spray sealant so the print holds up through storage each season.
Shop the Look
10. Iron-On Stocking Name Tags
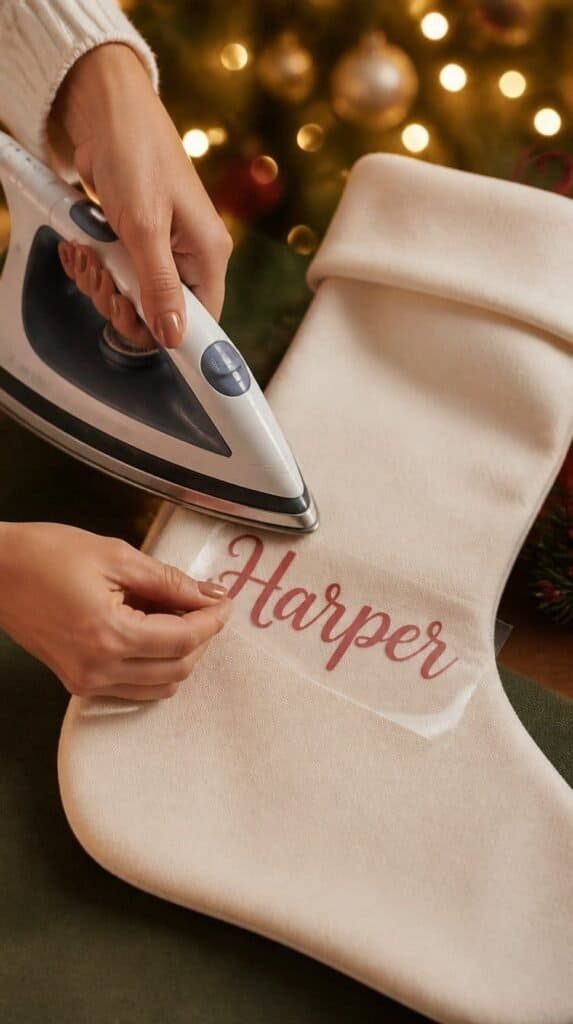
Cut names from heat transfer vinyl and press them onto plain stockings for an instant custom set. Pair the leftover vinyl scraps with the vinyl name ornaments earlier on this list so nothing goes to waste.
Mirror the design before cutting. This step gets skipped constantly and ruins the whole press.
Shop the Look
11. Glass Ball Vinyl Silhouettes
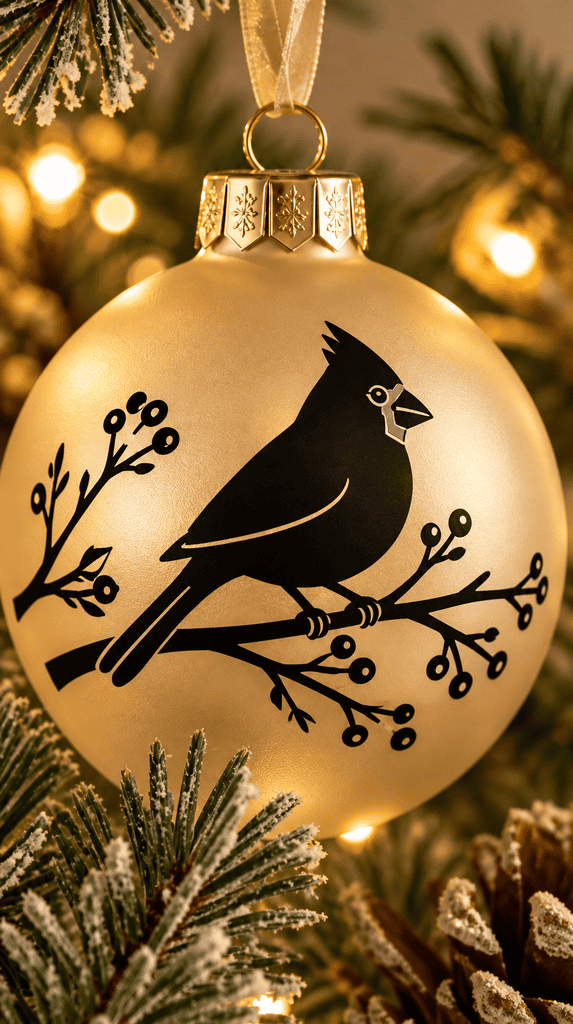
Cut a simple silhouette, like a cardinal or a pine branch, from black vinyl and apply it to a plain glass ball. The contrast against clear or frosted glass looks far more expensive than the actual project cost.
Frosted glass hides fingerprints better than clear if this is a project you plan to hand off to kids.
Shop the Look
12. Chipboard Popup Ornaments
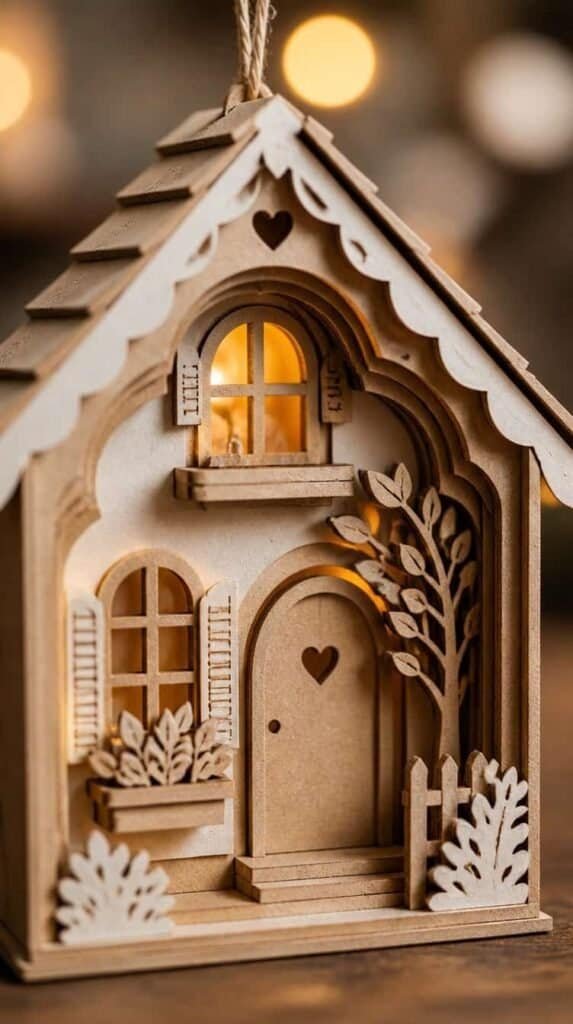
Cut layered chipboard pieces that stack into a dimensional popup design, like a tiny house or a bell. This project has the most steps on the list but ends with the most impressive result on the tree.
Dry fit every layer before gluing anything down. Chipboard does not forgive misaligned pieces once the glue sets.
Shop the Look
13. Holographic Vinyl Star Ornaments

Layer holographic vinyl over an acrylic star blank for an ornament that catches every bit of tree light. This is the project that gets the most compliments when guests walk by the tree.
Holographic vinyl scratches easier than standard finishes, so handle the surface by the edges while applying.
Shop the Look
14. Custom Cricut Joy Card Ornaments

Cricut Joy owners can cut mini cardstock ornaments with a printed message for an easy last-minute gift tag alternative. Pick heavyweight cardstock so the shape holds up through wrapping and shipping.
Add a light coat of clear sealant spray if the ornament will hang outdoors on a porch or wreath.
Shop the Look
Fire Up The Machine Tonight
Christmas is the season your Cricut earns its spot on the counter, and ornaments are the fastest way to see a return on that investment. This list covers vinyl, wood, acrylic, and fabric so you never run out of new textures to try each season, and half of these projects double as gift tags or stocking stuffers if you run short on time. Start with the vinyl name ornaments for a quick win, work up to the layered wood or chipboard designs once you feel confident, and build a full custom set one project at a time. If you are ready for even more handmade holiday ideas, be sure to check out 18 Winter Craft Night Themes For Girls Night In for even more ways to fill your season with projects worth keeping.