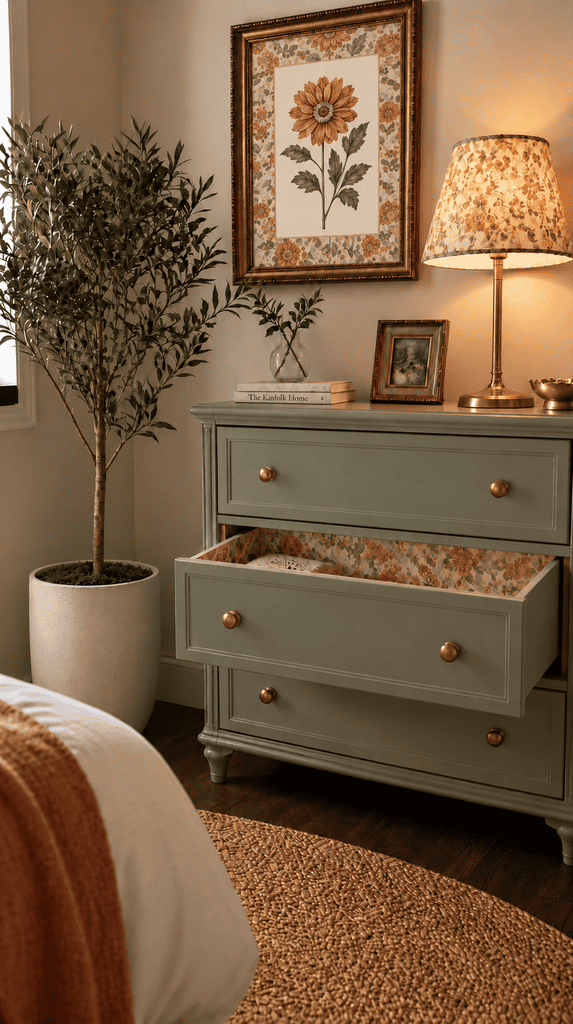
This post contains affiliate links. If you purchase through my links, I may earn a small commission at no extra cost to you. Thank you for supporting Room Revival Studio!
The accent wall looks amazing. Now there is a half roll of leftover wallpaper leaning in the hall closet, too pretty to toss and too small for another wall. You keep moving it around like a guilty secret. Time to put it to work.
These 10 ways to use leftover wallpaper turn scraps into custom decor for drawers, shelves, lamps, and more. I have tested every project with real remnants from my own walls, and most take an afternoon or less. Whether you have a full roll or a few feet, there is a project here for your stash.
What Leftover Wallpaper Works Best for Small Projects
Not every remnant behaves the same way, so check the back of the roll before you start. Peel-and-stick wallpaper is the easiest for beginners since it needs no paste and repositions if you slip. Traditional unpasted paper pairs best with Mod Podge or spray adhesive for small surfaces.
Vinyl-coated papers hold up in high-touch spots like stair risers and switch plates. Thin, delicate papers look gorgeous framed but tear under heavy handling. Grasscloth and textured papers are the trickiest to wrap around corners, so save those for flat panels.
Hot tip: keep a small scrap from every roll you hang. Those pieces become patches for future repairs, and the rest turns into the projects below.
1. Line Your Dresser Drawers
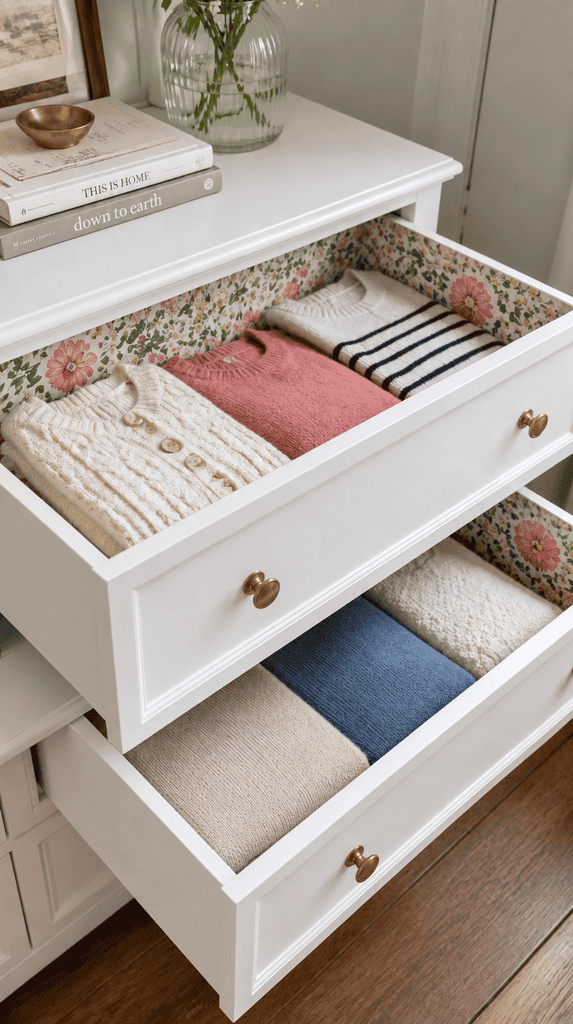
Opening a drawer to a pop of pattern feels like a tiny luxury. Cut leftover wallpaper to the drawer base, then lay it flat or secure it with a few dots of removable adhesive. Traditional paste wallpaper works too, as long as you skip the paste. A spritz of lavender spray on the paper makes every drawer smell like a boutique.
Measure each drawer on its own, since older dressers are rarely square. (Every drawer is a special snowflake.)
Your socks never looked so stylish.
Shop the Look
2. Wallpaper the Back of a Bookcase
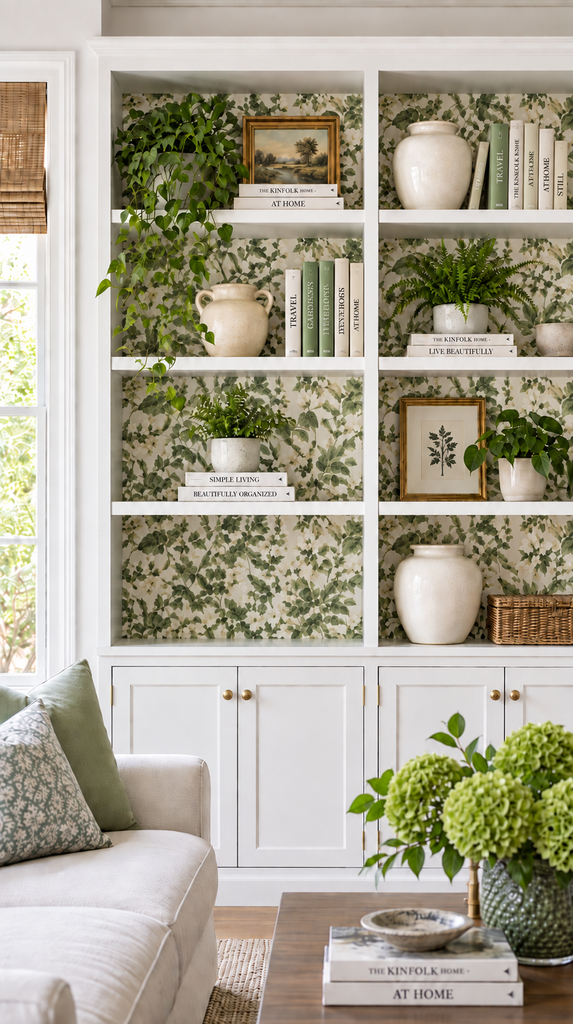
A wallpapered bookcase back turns basic shelving into a custom built-in. Remove the shelves if possible, measure the back panel, and apply wallpaper in one or two long strips. Bold botanicals and graphic stripes both work beautifully. Peel-and-stick paper is the smart pick for renters since it comes off clean.
Hot tip: use a smoothing tool and a fresh blade for crisp corners. Styled shelves cover part of the pattern, so pick a print with large motifs.
The bookcase stops being furniture and starts being a feature.
Shop the Look
3. Frame Wallpaper Panels as Art
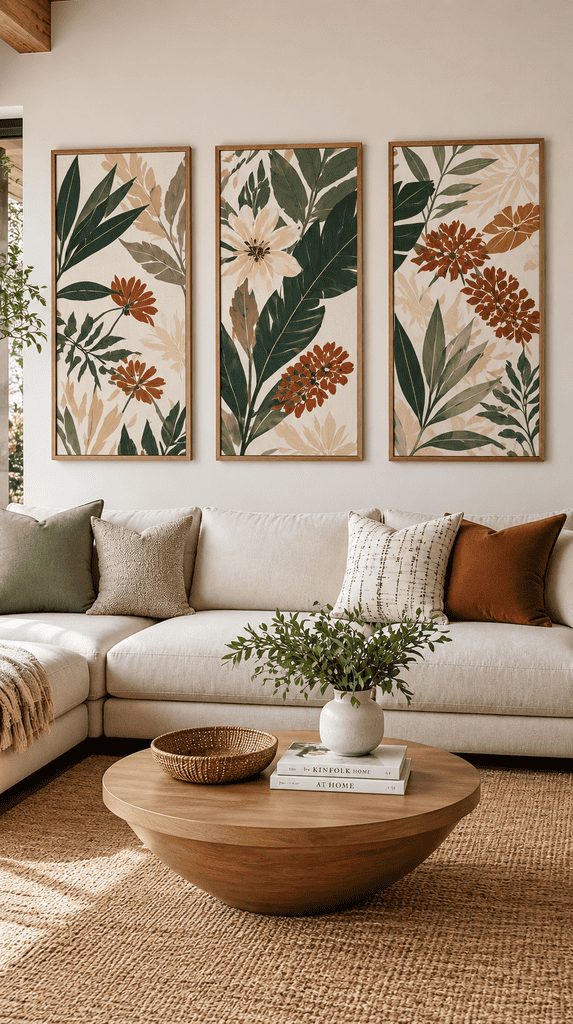
Some wallpaper prints are too beautiful to hide in a drawer. Cut the best part of the pattern and frame it in matching frames for an instant gallery wall. A set of three looks polished and costs a fraction of original art. Mix one bold print with two quieter ones for a balanced look.
Center the motif carefully before you cut, since off-balance crops look accidental. Add a white mat for a gallery finish.
Guests ask where you bought the art every single time.
Shop the Look
4. Dress Up Your Stair Risers
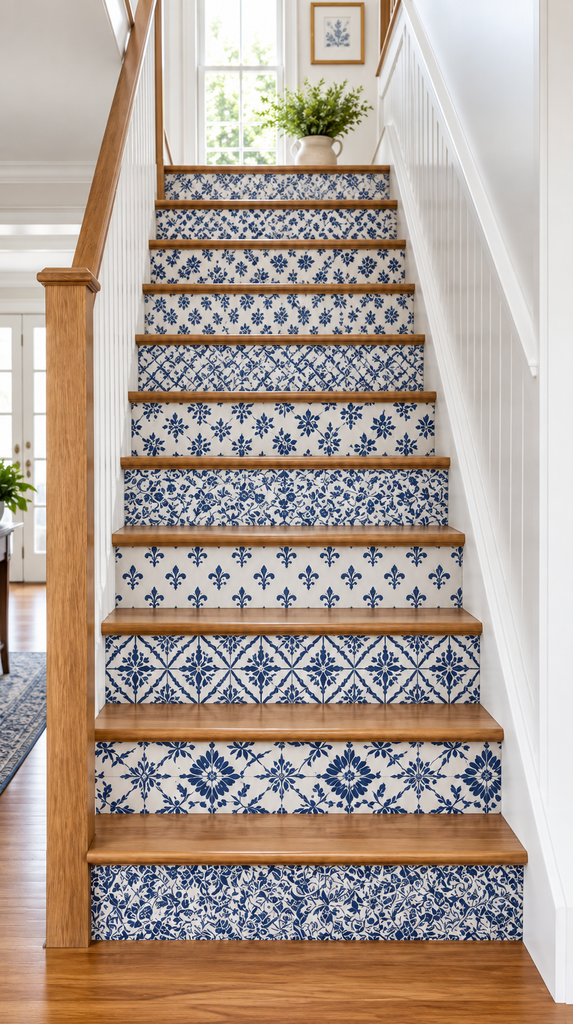
Stair risers are the most overlooked surface in a home. Wallpaper strips on each riser add a surprise pattern every time you climb. Use a scrubbable vinyl paper since shoes scuff them daily. Measure every riser since older stairs vary by a quarter inch or more.
Seal the paper with a clear matte topcoat for extra durability. The trick here: cut every strip at once so the pattern lines up.
Every trip upstairs feels like walking into a boutique hotel.
Shop the Look
5. Cover a Plain Lampshade
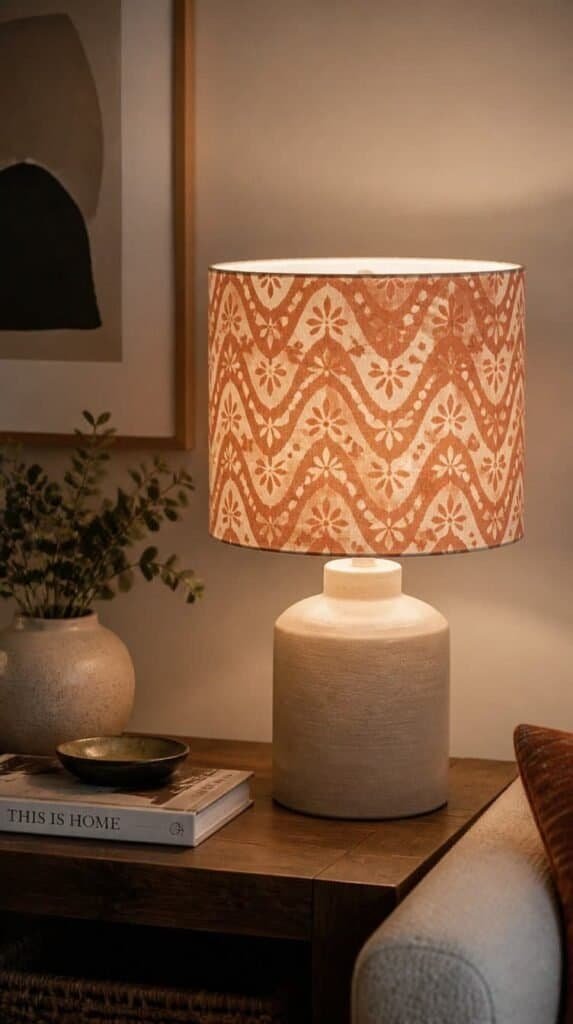
A plain drum shade becomes a designer lamp with a single wallpaper panel. Trace the shade by rolling it across the back of the wallpaper, cut the curved template, and attach it with spray adhesive. Fold the edges inside for a clean finish. Add a thin trim along the top and bottom edges to hide any uneven cuts.
Thick wallpaper blocks more light, so the lamp will glow softer. Keep bulbs LED to stay cool against the paper.
Switch it on and the pattern glows from within.
Shop the Look
6. Decoupage a Serving Tray
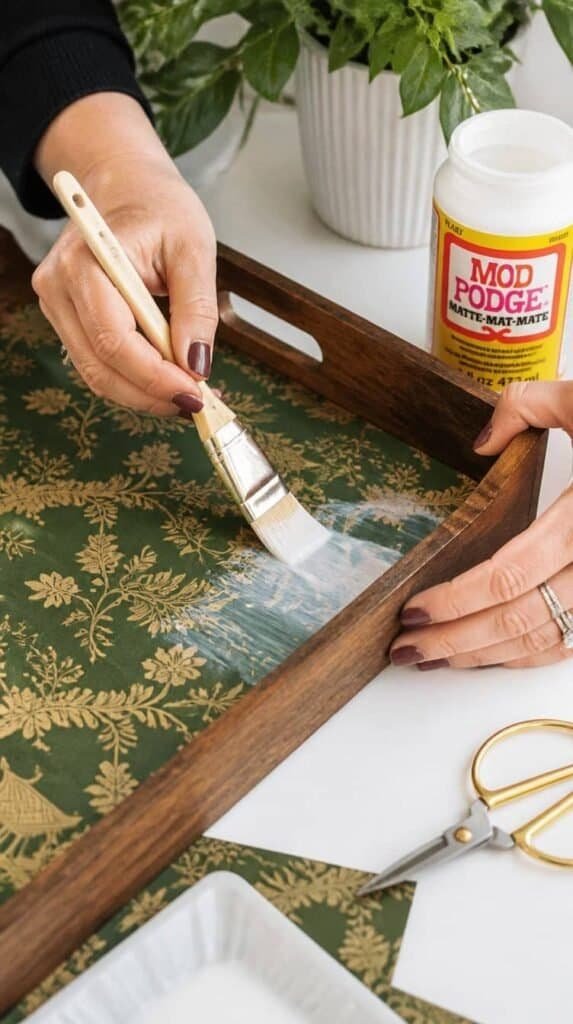
A thrifted wooden tray gets a second life under a layer of wallpaper and Mod Podge. Cut the paper to fit the tray base, brush on the glue, smooth it flat, and seal with two top coats. Use it on the coffee table or as a vanity catchall. Add leather handles or brass drawer pulls to the ends for an upgrade.
Decoupage is not food-safe or waterproof, so keep drinks on coasters. Let each coat dry fully to avoid a tacky finish.
A two-dollar thrift find now looks like a boutique piece.
Shop the Look
7. Wrap Plain Storage Boxes

Cardboard storage boxes and file boxes look instantly elevated in a wallpaper wrap. Glue the paper on like a gift, fold the corners crisp, and add a label holder on the front. Stack them on open shelves for hidden storage in plain sight. Label each box with its contents so the whole family knows where things go.
Pick sturdy boxes, since flimsy cardboard buckles under wet paste. Spray adhesive keeps things dry and neat.
Clutter hides behind the prettiest boxes on the block.
Shop the Look
8. Accent the Back Wall of a Closet or Pantry
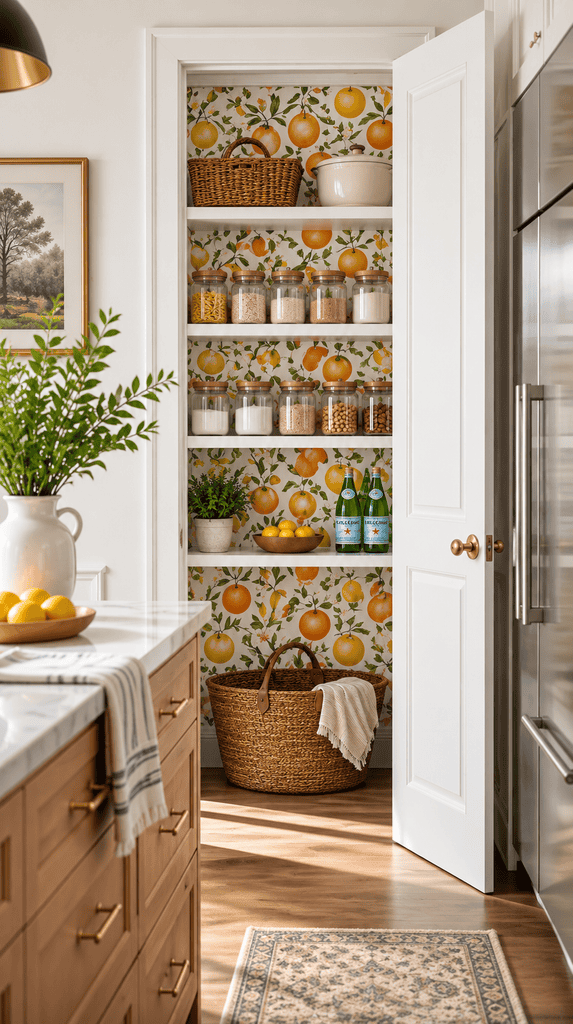
Small closets and pantries need only a few feet of paper, which makes them perfect for remnants. Wallpaper the back wall so every time you open the door, you get a hit of color. It turns a utilitarian space into a joy. A bold print works best here since the space is small and seen in short glimpses.
Moisture builds up in closets, so prime the wall and use proper paste. Renters should stick to peel-and-stick paper here.
Grabbing a jacket or a snack becomes the best part of the day.
Shop the Look
9. Wrap Terracotta Planters
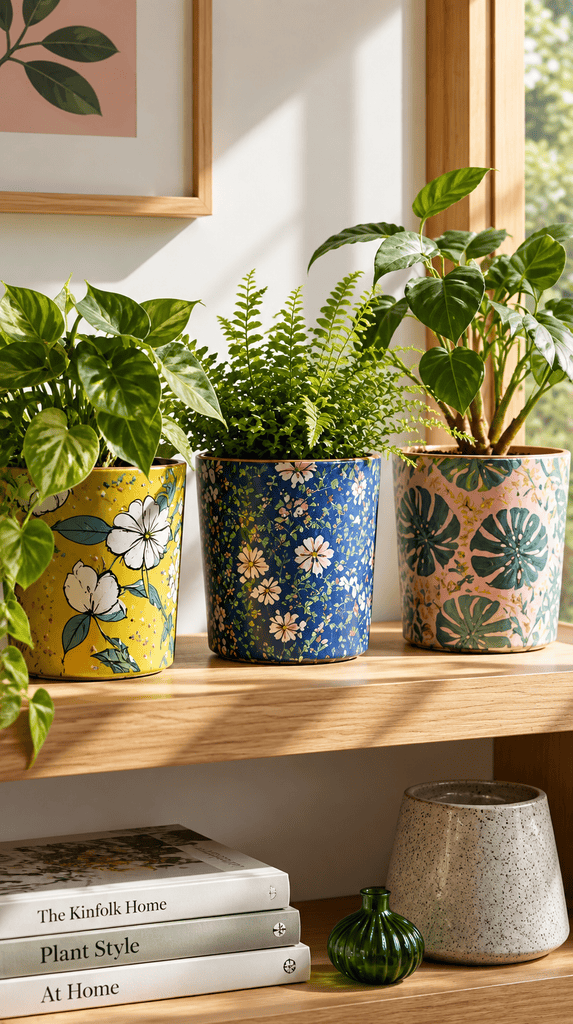
Basic terracotta pots get a custom look with a wallpaper wrap. Cut a curved band to fit the pot, adhere it with Mod Podge, and seal the outside. Group three different prints together for a curated plant shelf. Paint the rim of the pot in a coordinating color to tie the look together.
Keep the wrap on the upper band and away from drainage, since constant water ruins the paper. Use a plastic liner inside the pot.
Your plants finally have pots as fun as they are.
Shop the Look
10. Cover Light Switch Plates
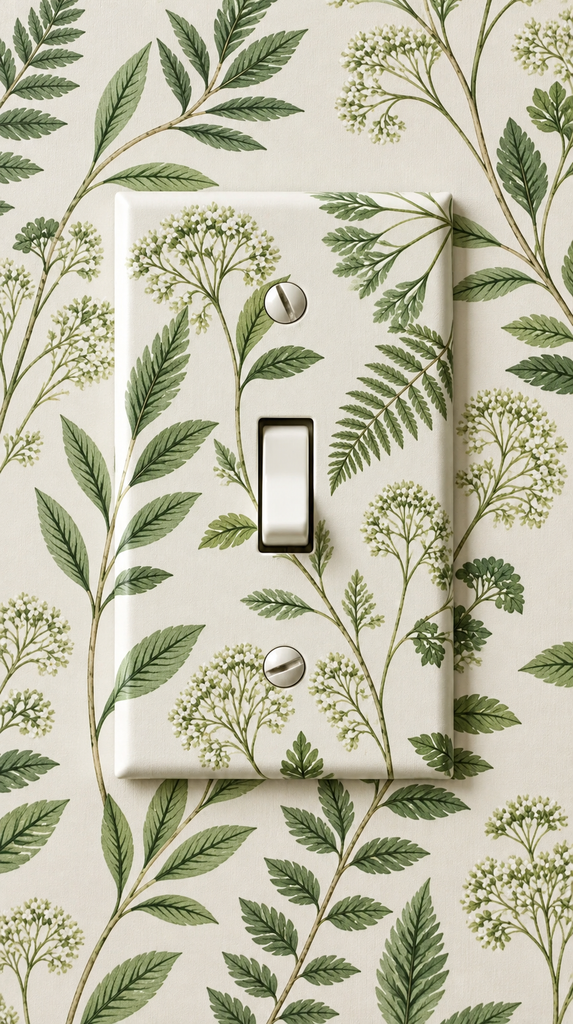
Switch plates are the smallest project on this list and the fastest win. Unscrew the plate, cover it with a wallpaper scrap using Mod Podge, trim the openings with a hobby knife, and reattach. Match the plate to the wallpapered wall for a seamless look. Do outlet covers at the same time for a fully matched wall.
Always turn off the breaker before removing any plate. Seal with a clear coat, since switch plates get touched constantly.
The tiniest detail makes the whole room look finished.
Shop the Look
Use Every Last Inch
Fall is the perfect season to raid the closet and turn forgotten remnants into fresh decor before the holidays. From drawer liners and bookcase backs to lampshades and switch plates, these leftover wallpaper projects cover furniture, lighting, and storage with almost no new spending. Start with one small scrap project, move up to a bookcase or closet wall, and build a home where every pattern feels intentional. If you are ready for even more wallpaper inspiration, be sure to check out 13 Wallpaper Ideas for Living Rooms That Add Character for even more pattern-packed ideas.