This post contains affiliate links. If you purchase through my links, I may earn a small commission at no extra cost to you. Thank you for supporting Room Revival Studio!
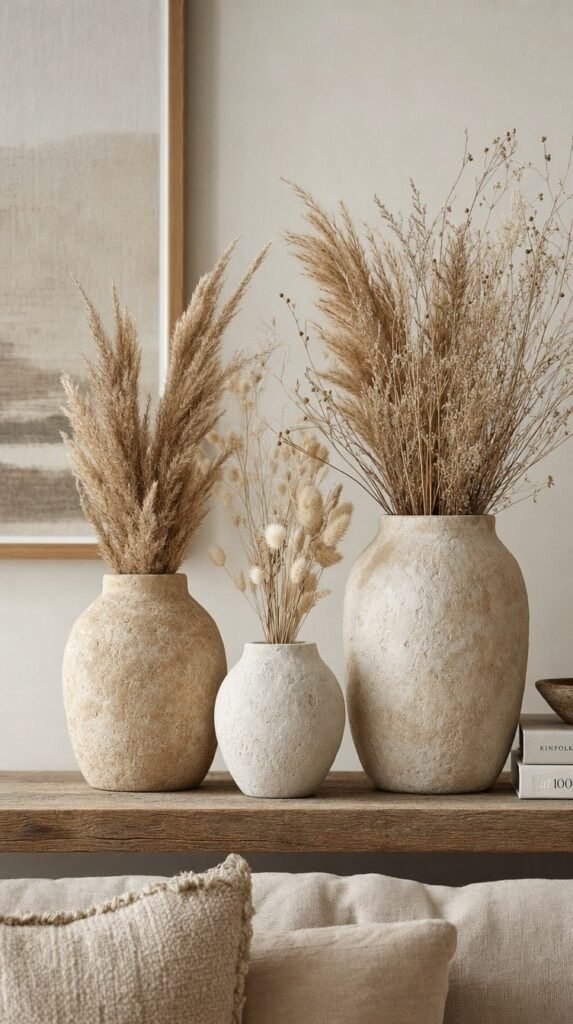
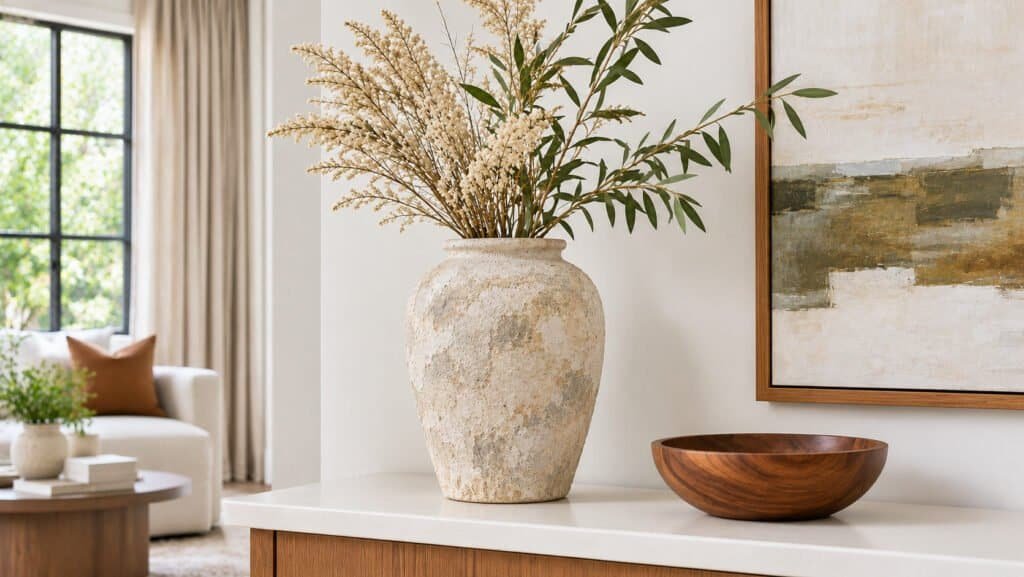
A basic dollar store vase might not look like much, but a little paint and baking soda can turn it into something that looks like expensive stone pottery. This DIY faux stone vase tutorial shows you how to transform an ordinary plastic or glass vase into beautiful, textured home decor without spending a fortune.
With just a few affordable supplies, you can create a matte, stone-like finish that looks right at home in an organic modern, minimalist, or rustic space.
Difficulty: Easy
Time: About one hour of hands-on work, plus drying and overnight curing
Cost: Approximately $5 if you already have basic painting supplies
Follow these six simple steps to make your own faux stone vase using paint and baking soda.
What You Need for a Faux Stone Vase
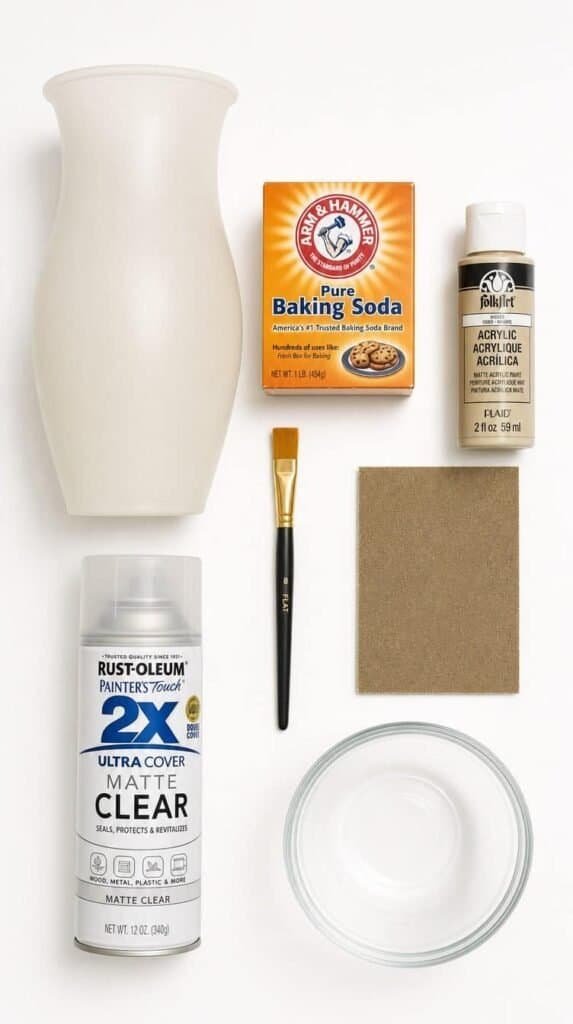
Gather one plastic or glass vase, a cup of beige acrylic paint, three tablespoons of baking soda, a stiff brush, a sponge, fine sandpaper, and matte sealer spray. A mixing bowl and a stir stick finish the list. Everything fits in one grocery bag.
Shop the Look
Step 1: Prep the Vase
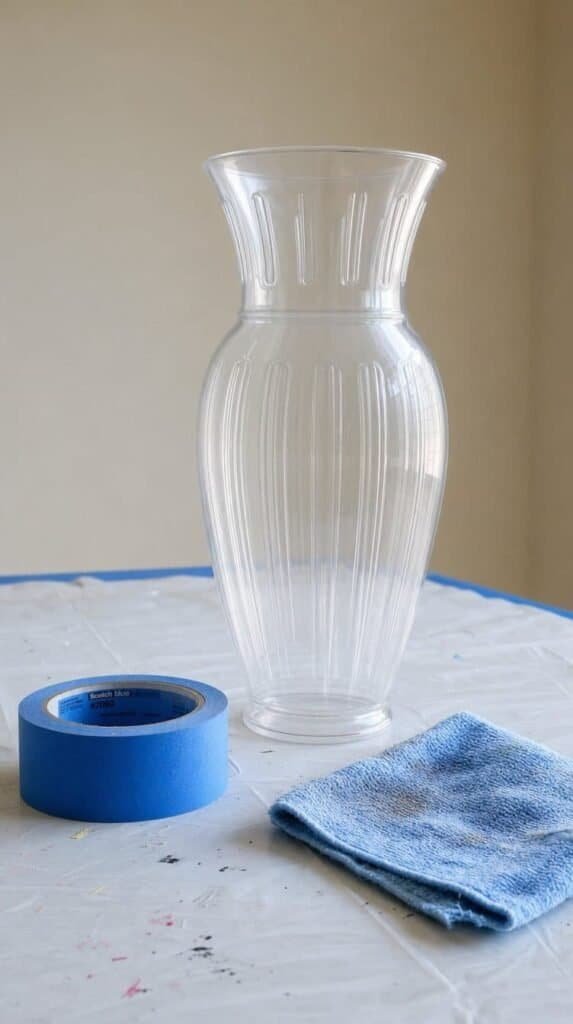
Wash the vase with dish soap and dry it fully. Scuff the shine lightly with sandpaper so paint grips. Tape off the inside rim if you plan to add water later. Set it on a covered table.
Step 2: Mix the Stone Paste
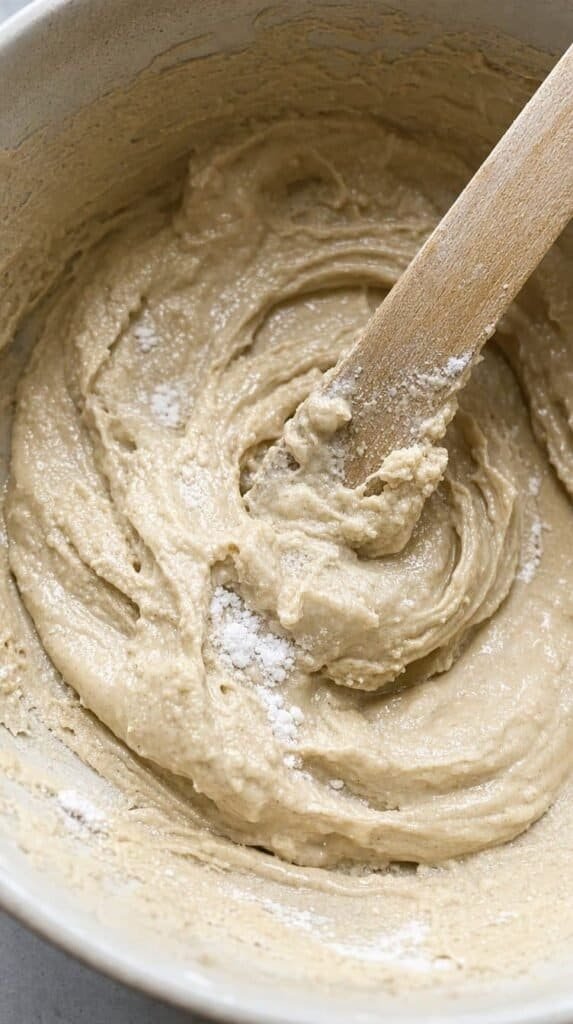
Pour a cup of beige paint into a bowl. Stir in three tablespoons of baking soda a little at a time. The mix should look like thick frosting. Add more paint if it turns crumbly.
Step 3: Brush On the First Coat
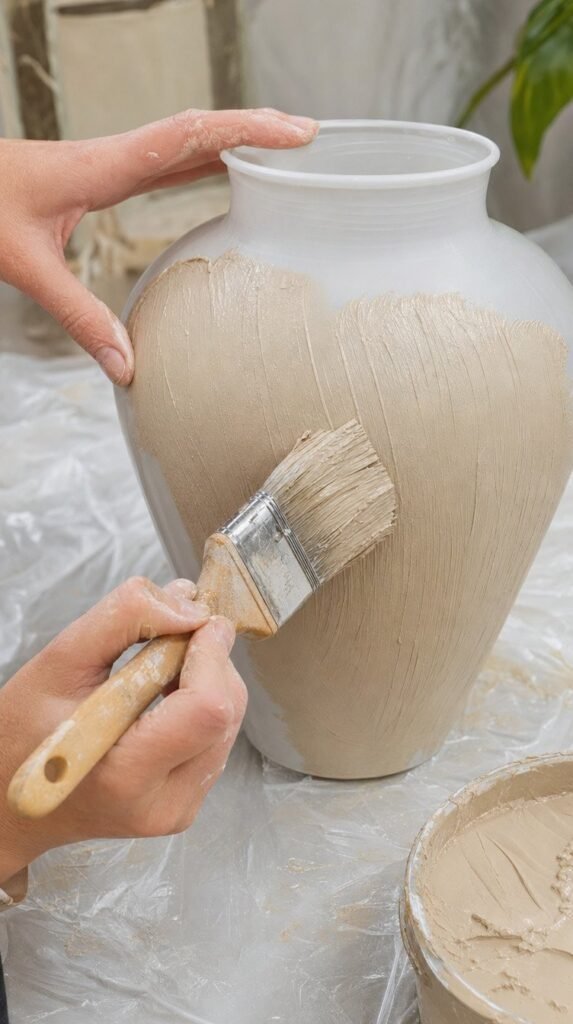
Brush the paste on in thick, uneven strokes. Cover one side, then turn the vase. Do not smooth it out. Texture is the whole point. Let the coat dry for 30 minutes.
Step 4: Dab On the Stone Texture
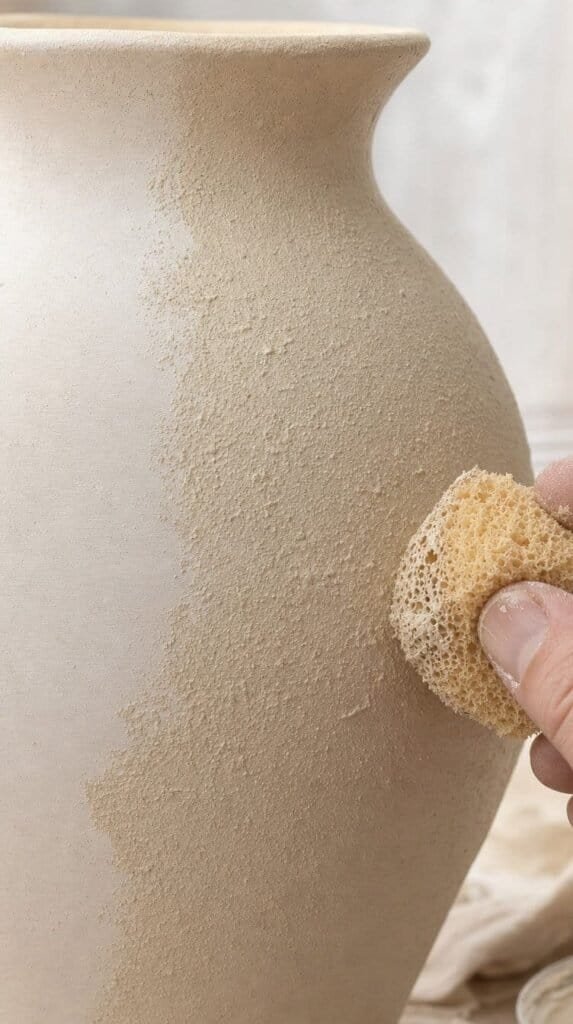
Dab a sponge over the surface for a pitted look. Add a second coat where the first looks thin. Mix a little gray into the leftover paste for color variation. Let it dry for at least four hours.
Step 5: Sand for a Soft Finish
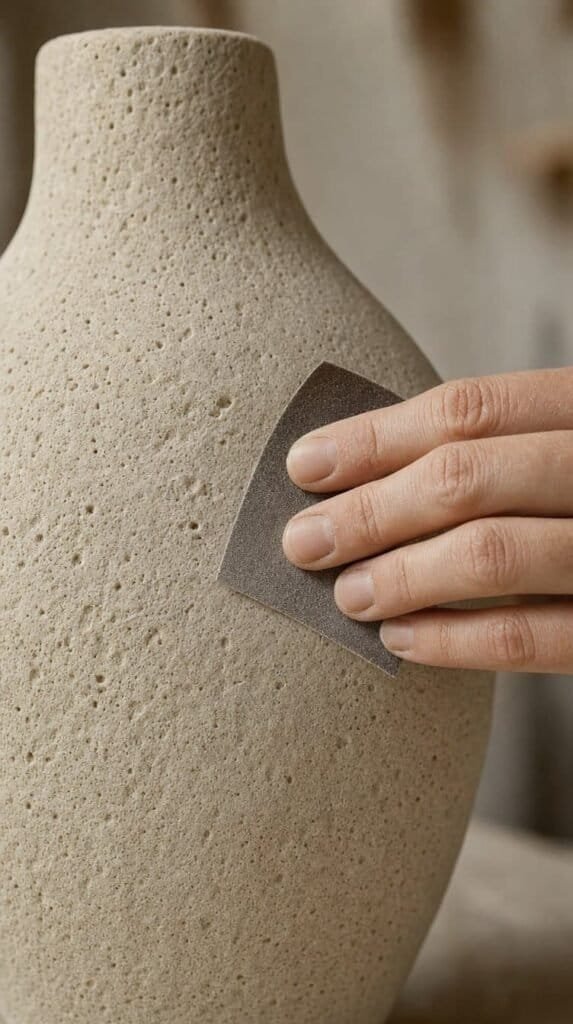
Rub fine sandpaper over the dry surface. Round off any sharp peaks. Wipe away the dust with a damp cloth. Stop when it feels like real stone.
Step 6: Seal and Cure
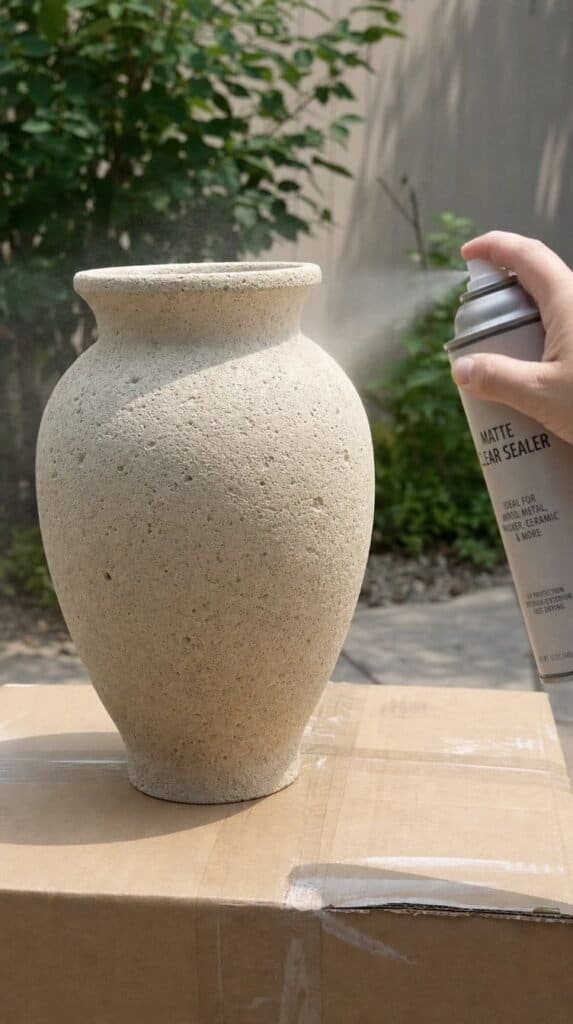
Spray matte sealer in light coats outdoors. Let the first coat dry for 15 minutes, then add a second. Cure the vase overnight before you set anything inside. Skip glossy sealer or the stone look disappears.
3 Pro Tips for a Better Stone Finish
- Choose a simple shape. Tall cylinders and round jars work best, and deep ridges fight the texture.
- Mix two or three paint colors, like beige, cream, and gray, for natural variation. Real stone is never one shade.
- Keep this vase for dried stems. The finish is not made for standing water, so place a glass liner inside for fresh flowers.
What You’ll End Up With
Fall is the perfect season to bring natural texture into your home. You finish with a matte stone look, a vase with serious shelf presence, and a price tag under five dollars. Make a trio in different heights, fill them with dried grasses or branches, and group them on a console. If you are ready for even more handmade decor, be sure to check out 15 Air Dry Clay Pumpkins and Fall Decor for even more textured projects.