This post contains affiliate links. If you purchase through my links, I may earn a small commission at no extra cost to you. Thank you for supporting Room Revival Studio!
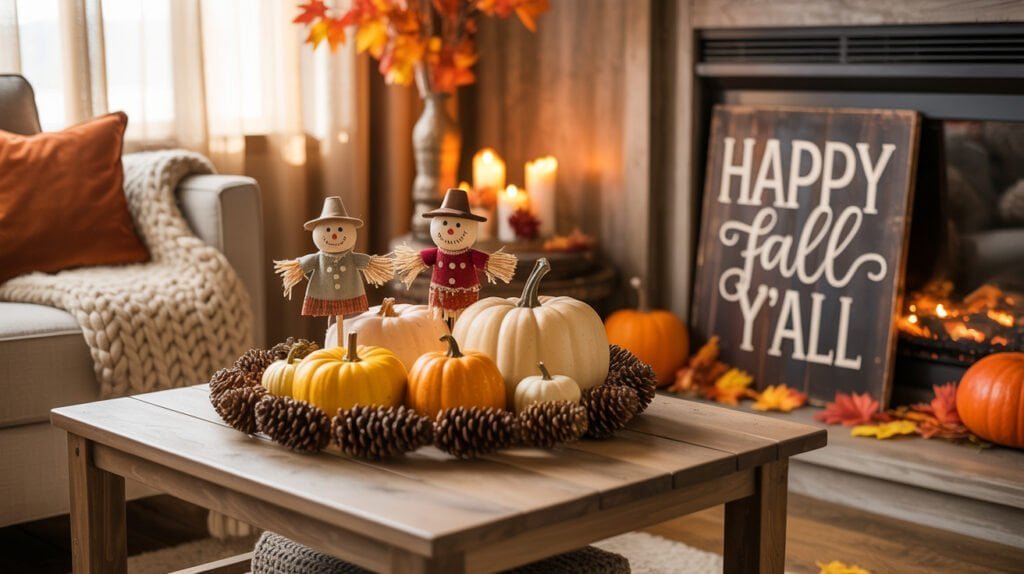
Your kitchen table is covered in flour bags, a pumpkin spice candle, and a fall wreath you started two weekends ago and never finished. You want your home to feel like autumn without spending another paycheck on store decor that looks like everyone else’s. Then you spot a bag of air-dry clay sitting untouched in your craft bin since spring. Pick it up. In one afternoon, you go from bare table to a shelf full of pumpkins, gourds, and leaves that look like they walked out of a boutique.
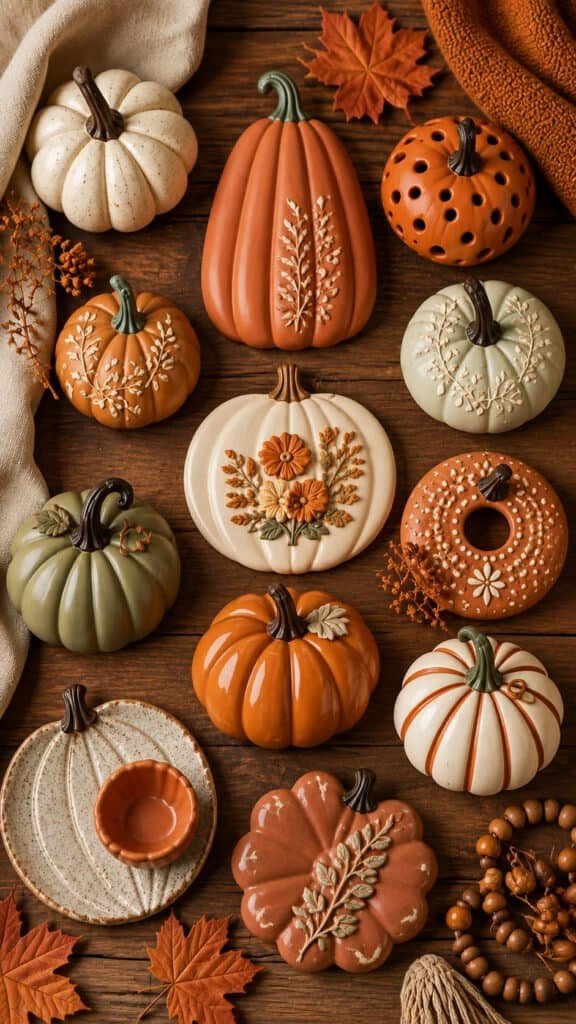
This list rounds up 15 air dry clay pumpkin and fall decor projects built for total beginners, no kiln, no pottery wheel, no fuss required. Each one uses the same handful of clay skills, so once you nail the first project the rest come easy. Grab your clay and a rolling pin, your table is about to look incredible.
1. Mini Pumpkin Trio for Beginners
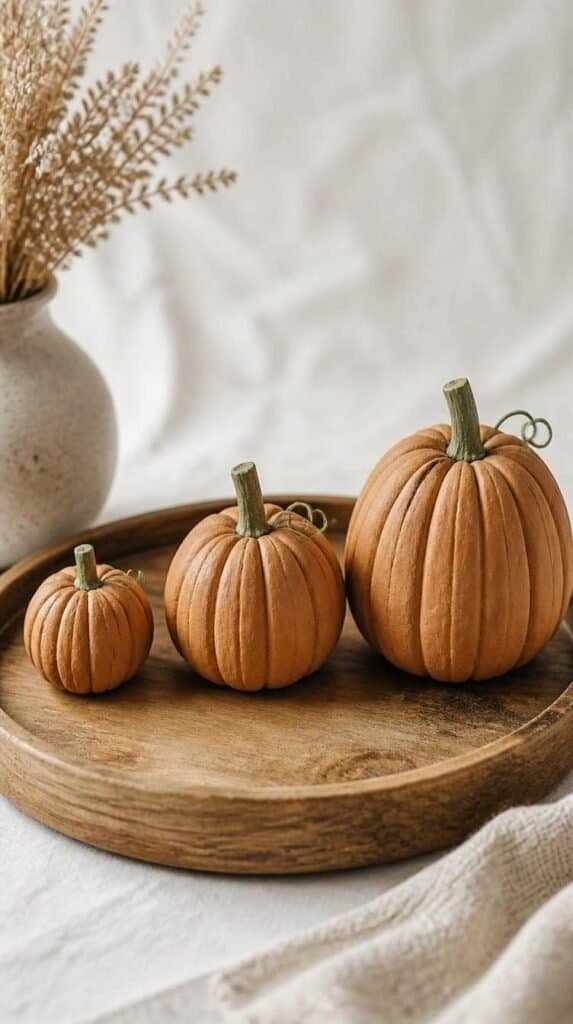
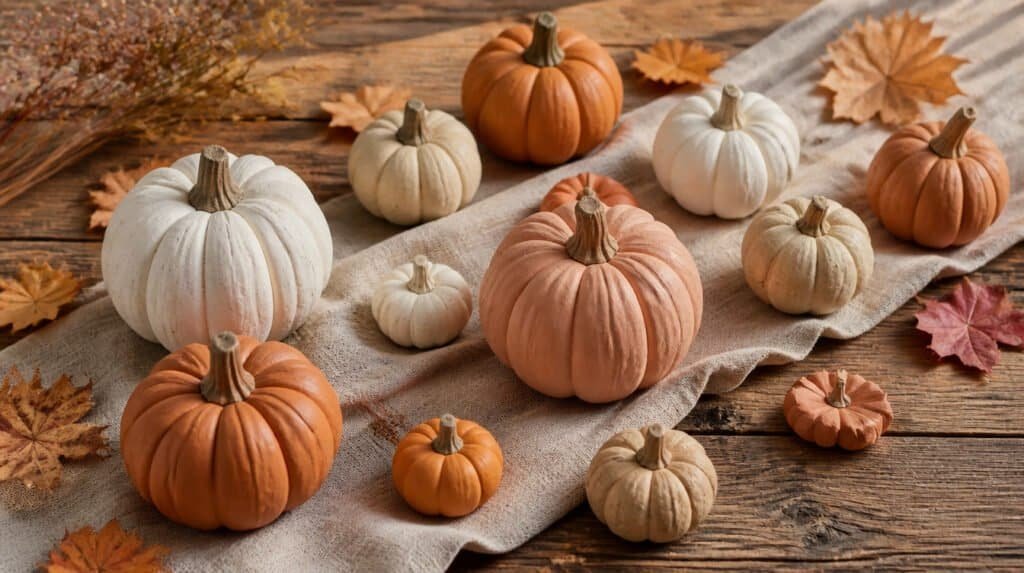
Start here. Roll three balls of clay in small, medium, and large sizes, flatten the tops with your thumb, then press toothpick lines into the sides for pumpkin ridges.
Let them air dry on parchment paper for two full days before you paint. Here’s what nobody tells you: turn them halfway through drying so the bottoms don’t flatten into a weird pancake shape.
They shrink a little as they dry (nobody warns you about that), so size up if you want a chunky farmhouse look. Set the finished trio on a wood tray and watch them catch the afternoon light like real gourds.
Shop the Look
2. Ridged Pumpkin Trinket Dish

Flatten a ball of clay into a thick disc, then pinch the edges up into gentle waves so it holds rings and coins without spilling. Press a short dowel into the center for the stem dent.
Smooth the inside with a damp finger so it feels soft against your hand once it dries. The trick here is working fast, this dish cracks if you let the edges dry before the center.
Leave it on your entry table and it turns into the spot where keys, gum, and hair ties land every single day.
Shop the Look
3. Pumpkin Stem Napkin Rings
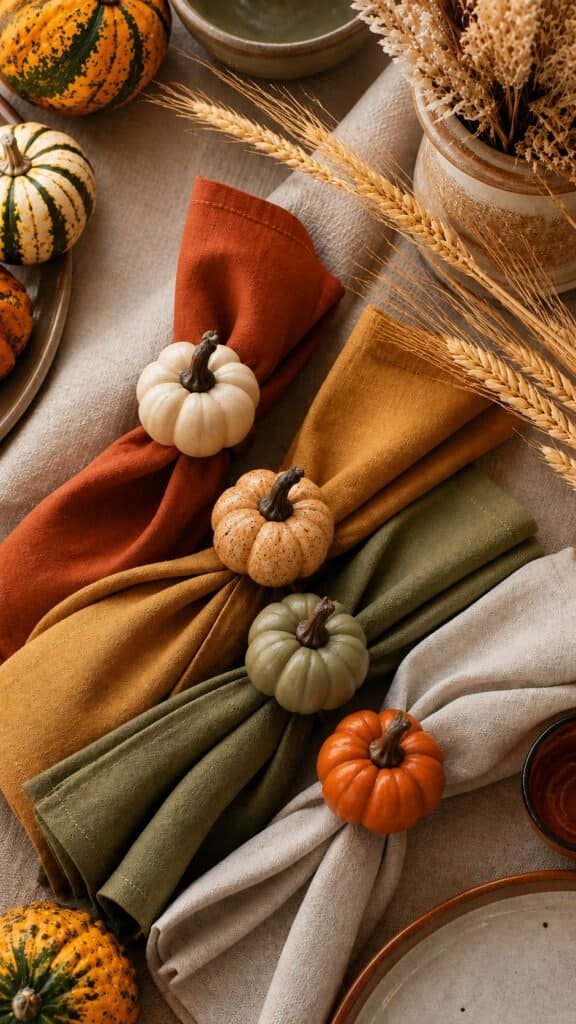
Wrap a coil of clay around a napkin ring form or a cardboard tube, pinch a tiny stem on top, and score the surface with your fingernail for texture.
Slide the tube out once the clay firms up so the ring keeps its shape while it finishes drying. This is where a set of four or six makes your Friendsgiving table look pulled together in one shot.
One honest caveat, thinner rings dry faster but crack easier, so keep the walls a little thick your first round. Roll linen napkins through them and the whole table feels styled, not staged.
Shop the Look
4. Air Dry Clay Pumpkin Garland
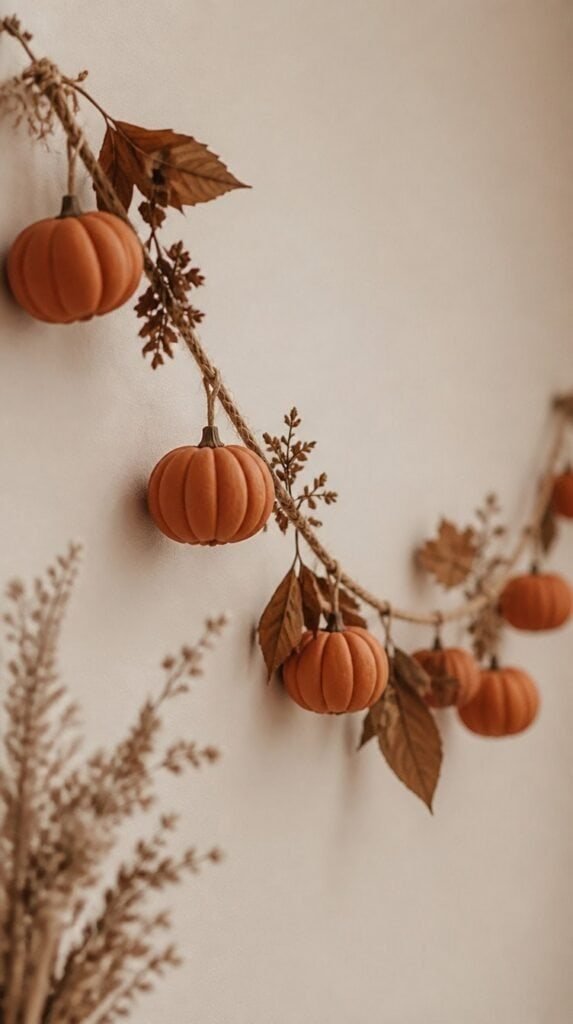
Shape a dozen thumb-sized pumpkins, poke a hole through the top of each with a skewer before they dry, then string them on twine once they’re fully cured.
Space them unevenly, tight clusters and open gaps read more handmade than a perfectly even line. Hang it across a window or drape it along a shelf edge.
The honest part, the holes crack if you poke them after drying, so mark your plan before the clay sets. It sways just enough in a breeze to feel alive against a bare wall.
Shop the Look
5. Pumpkin Place Card Holders

Shape a small pumpkin and slice a thin notch across the top with a butter knife before it dries, wide enough to hold a folded name card.
Paint them in soft blush, sage, or plain white for a set that fits any table style, not just orange and brown. Guests love picking up a tiny keepsake at the end of the night.
Caveat worth knowing, the notch tends to close up slightly as clay shrinks, so cut it wider than you think you need. Set them beside each plate and your Thanksgiving table suddenly looks planned months out.
Shop the Look
6. Stacked Pumpkin Candle Holder

Stack two flattened pumpkin shapes, small on top of large, and press a hole through the center sized to fit a taper candle. Smooth the seam where they meet so it reads as one piece.
Widen the candle hole slightly bigger than you think, clay tightens as it dries and a snug fit turns into a stuck candle (learned that one the hard way).
Set it on your mantel with the candle lit and the whole room smells like cinnamon before you’ve even lit anything scented.
Shop the Look
7. Textured Leaf Bowl
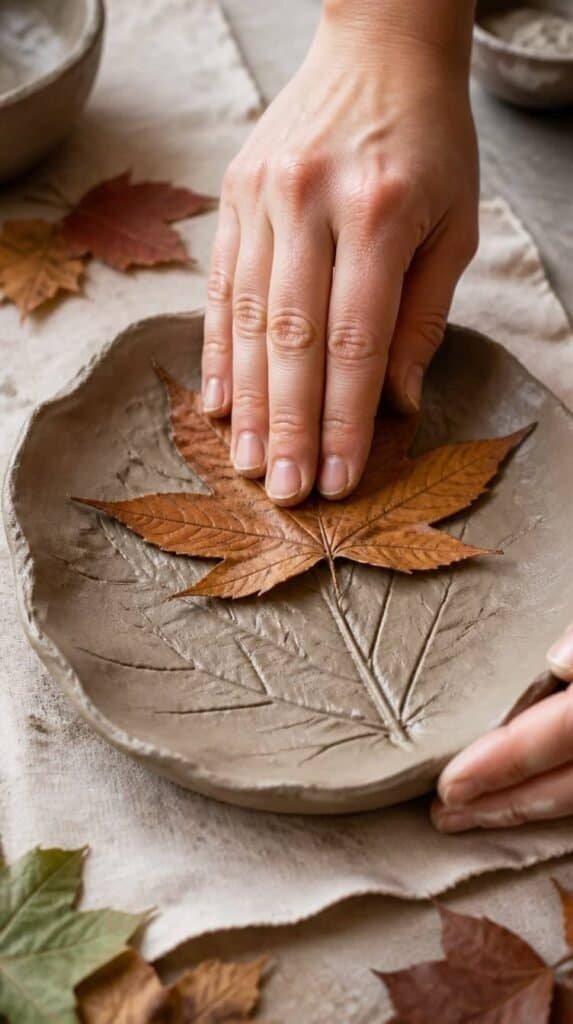
Flatten a slab of clay, press a real leaf into it firmly, then peel the leaf away and drape the clay over a small bowl to hold its curved shape while it dries.
Sturdy leaves like oak or maple hold detail far better than thin, delicate ones. Trim the edges with a paring knife before the clay firms up for a clean shape.
The veins print into the clay so crisp you can almost feel the leaf again when you run a finger over the bowl.
Shop the Look
8. Cozy Clay Acorn Ornaments
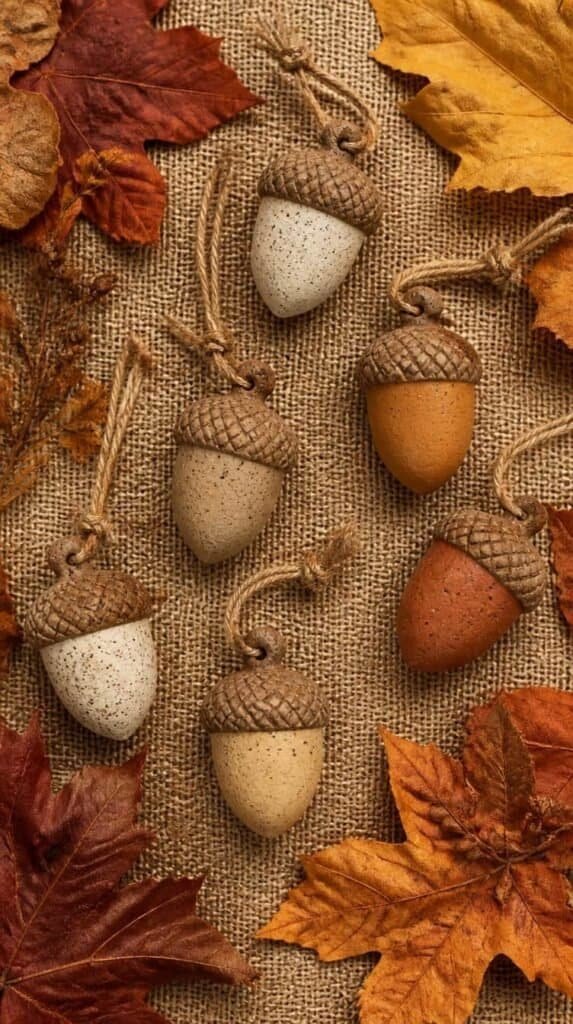
Roll a small oval for the acorn body and a squat dome for the cap, texture the cap with a toothpick in a crosshatch pattern, then press the two pieces together.
Tie a loop of twine around the top before the clay fully dries so it holds the ornament shape once cured. A batch of ten looks incredible piled in a glass jar.
Small caveat, tiny pieces like this dry faster than you expect, so keep a damp cloth nearby if you’re working slow. Scatter a handful across your table runner and it instantly feels like a walk in the woods.
Shop the Look
9. Curvy Gourd Bud Vase

Wrap clay around a small glass bottle or spice jar, pinch a curved gourd neck at the top, and smooth the surface so the glass stays hidden once painted.
The glass inside means fresh water and real stems work fine, no leaking through porous clay. Dried wheat, eucalyptus, or a few faux stems all look at home here.
Here’s what nobody tells you, wet clay slides on smooth glass, so rough up the bottle surface first with sandpaper for grip. One vase on a console table does more work than a whole shelf of clutter.
Shop the Look
10. Round Pumpkin Coasters

Roll clay to an even thickness, cut circles with a round cutter, then press ridge lines from center to edge to give each coaster a pumpkin look.
Dry them flat between two sheets of parchment so they don’t warp or curl at the edges. Seal with a matte spray once painted so condensation rings don’t ruin your work.
The trick here is even thickness, thin spots crack under a warm mug over time. A stack of four on the coffee table beats another basic wood set every time.
Shop the Look
11. Painted Pumpkin Jewelry Dish

Shape a shallow oval dish with slightly raised edges, then paint it once dry in a soft blush or terracotta wash instead of classic orange.
Add a thin gold rim with a paint pen for a finished, boutique feel. This one doubles as a gift, wrap it in kraft paper and it looks like it cost thirty dollars.
One caveat, unsealed clay stains from lotion and oils over time, so give it a coat of sealant if it’s living on a vanity. Rings and earrings finally have a home that isn’t your bathroom counter.
Shop the Look
12. Mini Pumpkin Cake Topper
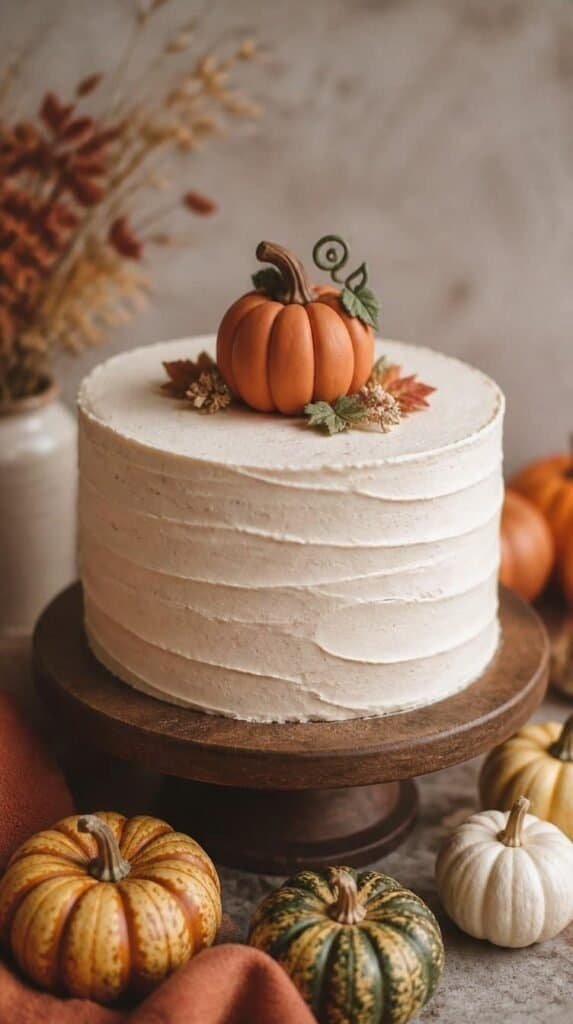
Shape a walnut-sized pumpkin, insert a food-safe skewer or toothpick into the base before it dries, then paint once fully cured and sealed.
Keep the clay piece itself away from direct food contact, it sits on top of frosting, not inside it. This tiny topper turns a store-bought cake into something that looks planned for weeks.
Wash and reuse it year after year, unlike the plastic version buried in a drawer somewhere. Your birthday cake or fall dinner dessert just got an upgrade for under five dollars.
Shop the Look
- Air Dry Clay Beginner Kit
- Bamboo Skewers, Food Safe
- Acrylic Paint Set, Fall Colors
- Cake Turntable Stand
13. Tiny Pumpkin Magnets

Shape a batch of thumbnail-sized pumpkins and press a small magnet into the flat back before the clay sets, so it locks in place while drying.
Line your fridge or a metal locker with a whole harvest of them in mismatched sizes. They also make a sweet little gift tucked into a card for a teacher or neighbor.
The trick here is using strong magnets, weak ones slide right off once you add a heavier grocery list. Small projects like this stretch one bag of clay across a dozen little gifts.
Shop the Look
14. Pumpkin Wine Charms for Fall Nights
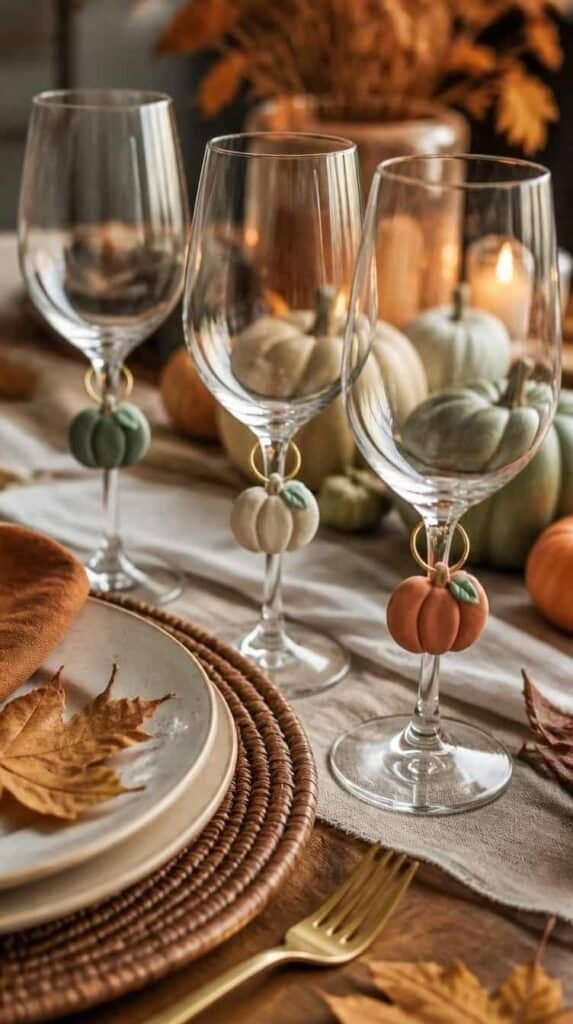
Shape tiny pumpkins around a small wire loop or paperclip so each charm hangs cleanly off a stemmed glass. Paint each one a slightly different shade so guests find their own glass fast.
The trick here is keeping the wire loop centered and secure before the clay dries, an off-center loop tips the pumpkin sideways all night.
Set them out at your next fall dinner and nobody grabs the wrong glass again (a small win worth celebrating).
Shop the Look
- Air Dry Clay, Terracotta
- Jewelry Wire for Crafts
- Acrylic Paint Set, Fall Colors
- Stemmed Wine Glasses, Set of 4
15. Pumpkin Cluster Wreath Accent

Shape five or six small pumpkins in varying sizes, poke a wire loop into the back of each before drying, then twist them onto an existing wreath in a tight cluster.
Group them off to one side rather than centered, it reads more natural and less like a craft store display. Mix in a few dried leaves or wheat stems around the cluster for depth.
One caveat, clay is heavier than faux foam pumpkins, so check your wreath hook can hold the extra weight before you hang it. Your front door goes from forgettable to the neighbor-stopping kind of pretty.
Shop the Look
Your Table Is About to Look So Good
Fall only sticks around so long, and a bag of clay turns that short window into a whole season of handmade pieces you’ll pull out year after year. Between the tablescape pieces, the hanging decor, and the small gifts, this list covers nearly every corner of your home in one sitting. Start with the mini pumpkin trio to build confidence, move into the garland or wine charms once you’re comfortable, then finish with the wreath cluster for your front door. Grab your clay, clear the table, and let the season show up in every room. If you are ready for even more air dry clay projects, be sure to check out Beginner-Friendly Air-Dry Clay Crafts for even more beginner-friendly ideas to fill your shelves.