
Affiliate Disclosure – This post may contain affiliate links, which means I may earn a small commission if you shop through my links at no extra cost to you.
If you’ve ever stared at your Cricut machine wondering why your cut looks off, it’s probably not you. It’s the blade. Most people use the wrong Cricut blade for the material and end up wasting vinyl, tearing paper, or struggling through projects that should be easy. I’ve been there, and once you understand how Cricut blades actually work, everything changes. This guide breaks down exactly which Cricut blade to use, when to use it, and how to get clean, professional results every single time.
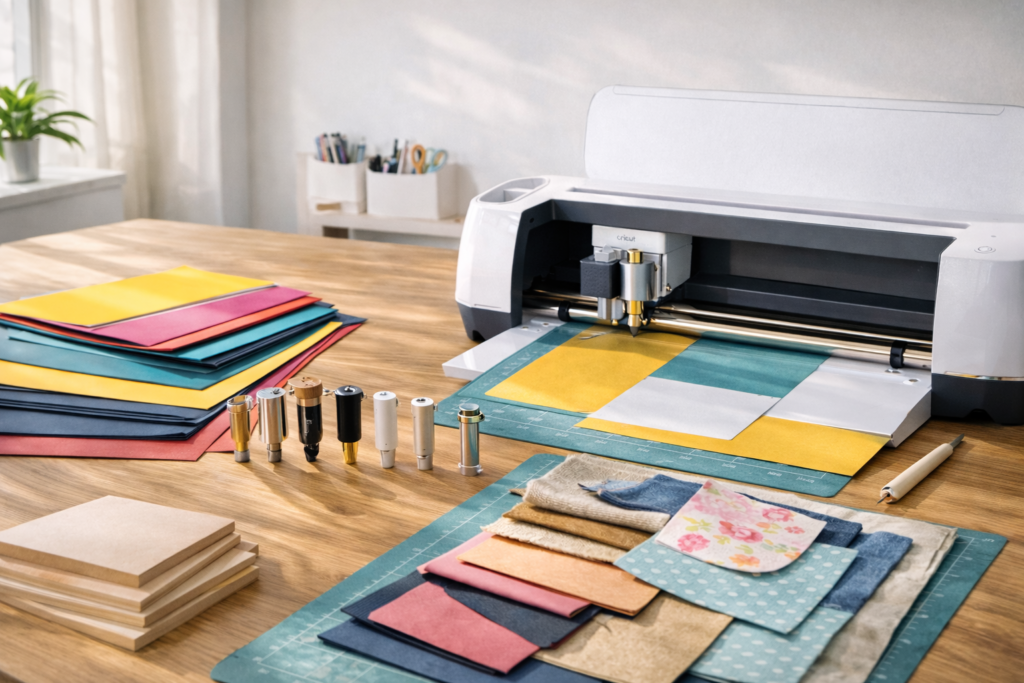
1. Fine-Point Blade (Your Everyday Cricut Essential)
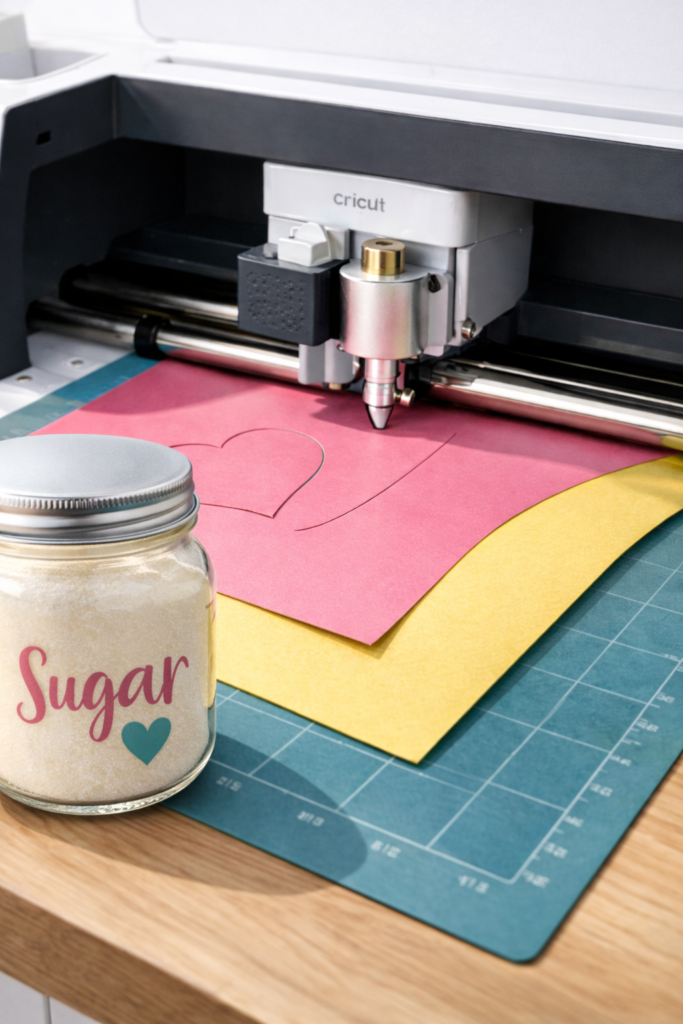
If you own a Cricut machine, this is the blade you’ll reach for the most. It’s designed for everyday materials like vinyl, paper, and cardstock, and it gives you those clean, sharp cuts that make projects look polished instead of homemade. Think smooth edges on decals, crisp cuts on labels, and zero tearing on your paper crafts. This is the blade that makes your Cricut feel easy to use, especially when you’re working on beginner-friendly projects or quick DIYs.
It works beautifully on lightweight to medium materials, but once you start pushing into thicker textures, you’ll notice the difference immediately. That’s your sign to switch blades, not adjust pressure endlessly. The key here is knowing that this blade is your baseline. If your project fits within vinyl, iron-on, or paper, this is exactly where you should be.
Shop the Look
2. Deep-Point Blade (When Your Cricut Needs More Power)
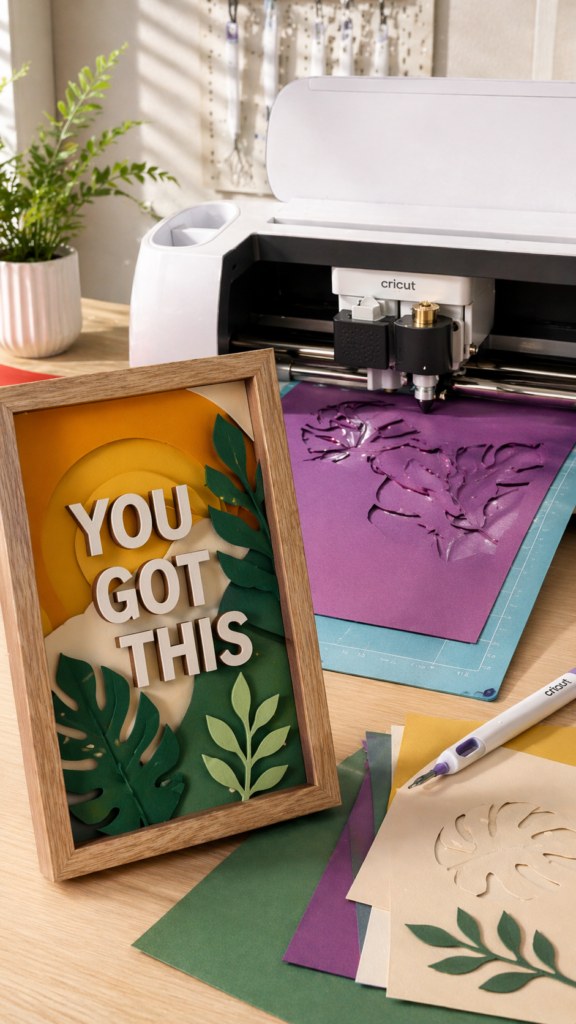
If your Cricut machine starts dragging, skipping, or not cutting all the way through, this is where you upgrade. The deep-point blade is designed for thicker, denser materials that the fine-point blade just can’t handle cleanly. Think stiff cardstock, chipboard, poster board, and layered craft materials that need more pressure and depth to cut properly.
What makes this blade different is the angle and depth. It cuts deeper in a single pass, which means cleaner edges and less frustration. Instead of forcing your Cricut to overwork with the wrong blade, this gives you a smoother, more accurate result right away. If you’re working on projects like dimensional decor, layered wall art, or sturdy tags, this is the blade that keeps everything looking sharp and intentional.
You’ll notice your cuts look more defined, especially on thicker textures where clean edges actually matter. It’s one of those upgrades that instantly makes your projects look more professional without changing anything else.
Shop the Look
3. Bonded Fabric Blade (Clean Fabric Cuts Without the Mess)
If you’ve ever tried cutting fabric with a regular Cricut blade and ended up with frayed edges or uneven cuts, this is exactly why this blade exists. The bonded fabric blade is designed specifically for fabric that has a stabilizer backing, which keeps everything firm and controlled while your Cricut cuts through it.
This blade gives you clean, precise shapes instead of stretched or pulled fabric. It’s perfect for projects like appliqués, fabric labels, quilt pieces, and small sewing details where accuracy actually matters. The difference is in the finish. Instead of edges that look soft or fuzzy, you get crisp lines that are ready to use immediately.
The key here is the “bonded” part. This blade works best when your fabric has iron-on backing or stabilizer applied. That extra layer is what allows the blade to glide smoothly instead of dragging. Once you use it correctly, fabric projects stop feeling frustrating and start feeling predictable.
Shop the Look
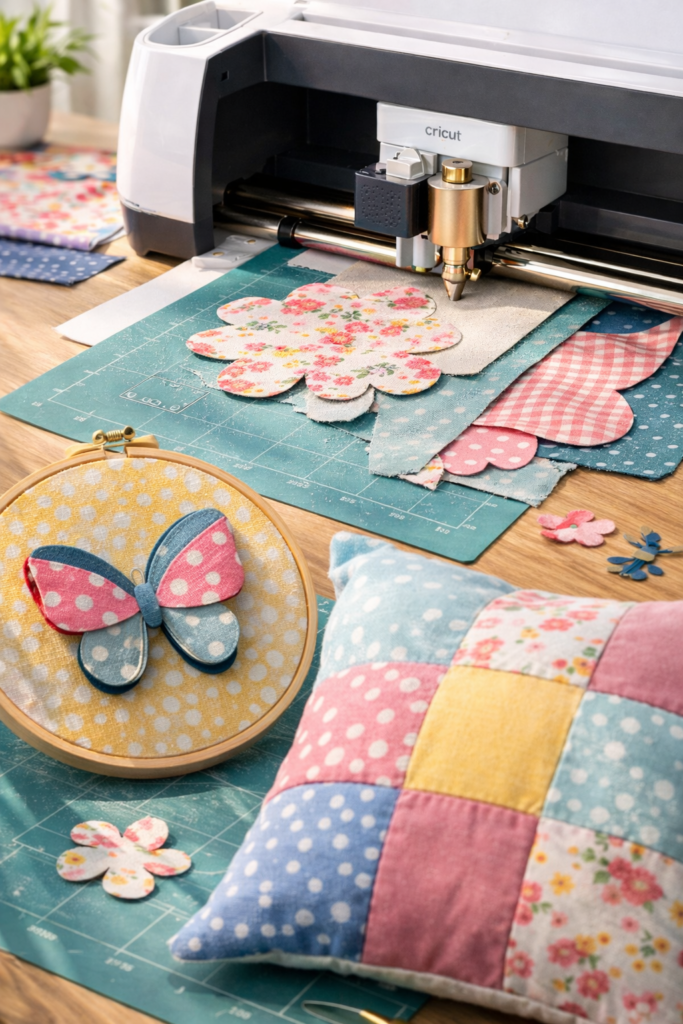
4. Rotary Blade (The Fabric Game-Changer)
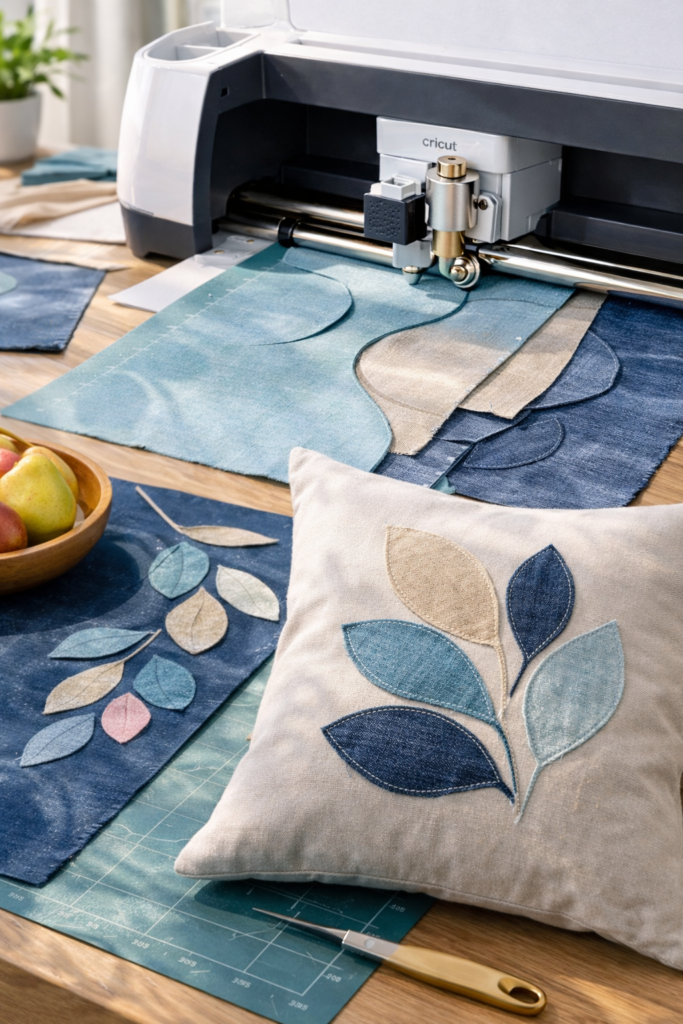
This is where your Cricut machine starts to feel next-level. The rotary blade is built to cut fabric without any backing or stabilizer, which means you can work with raw fabric and still get smooth, precise cuts. No pulling, no fraying, no extra prep. It just works.
Unlike traditional Cricut blades that rely on pressure, this blade rolls across the fabric, almost like a mini fabric cutter. That rolling motion is what keeps delicate materials from stretching or shifting. If you’re into sewing, quilting, or even soft decor projects like pillow covers or fabric wall art, this blade makes everything feel faster and way more professional.
It’s exclusive to the Cricut Maker, so if you have one, this is one of the biggest reasons why. You’ll get clean shapes on cotton, felt, denim, and even more delicate fabrics without needing to layer anything first. Once you try it, going back to bonded fabric feels like extra work you don’t need.
Shop the Look
5. Knife Blade (For Wood, Thick Materials, and Serious Projects)
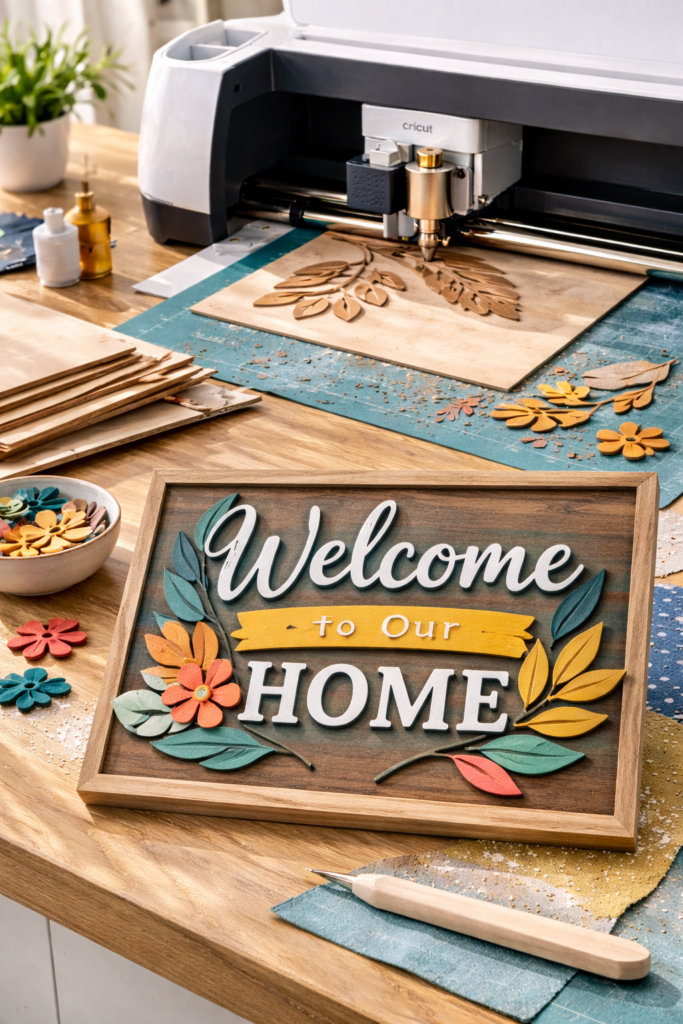
This is not your everyday Cricut blade. This is the one you pull out when you’re working with materials that actually require strength, like basswood, thick chipboard, and heavier project bases. If you’ve been wanting to try wood cutter projects or push your Cricut machine into more advanced territory, this is where it starts.
The knife blade works differently from everything else. Instead of cutting in one pass, it makes multiple controlled passes to slowly cut through dense material. That’s why patience matters here. You’re trading speed for precision, and the result is clean, structured cuts that don’t snap or splinter.
This blade is designed for the Cricut Maker, and it’s ideal for projects like wall decor, signs, layered art, and custom home accents. If you’ve ever seen those thick, dimensional Cricut pieces that look store-bought, this is usually what’s behind them. It opens up a completely different level of crafting.
Shop the Look
6. Scoring Stylus vs Scoring Wheel (Clean Folds That Look Professional)
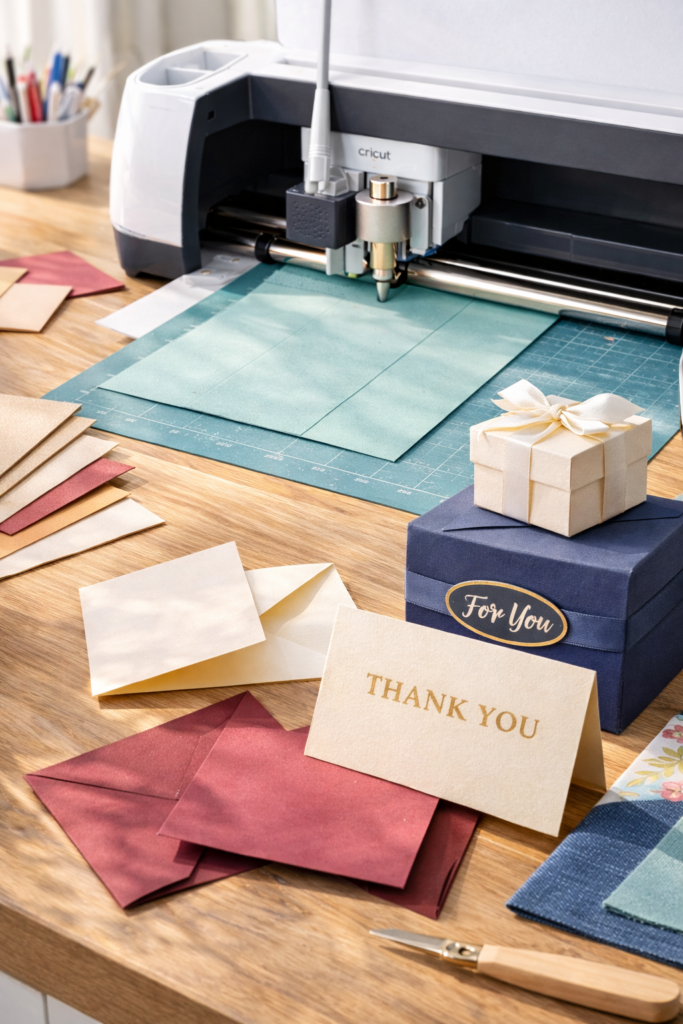
This is where your Cricut projects start looking finished instead of homemade. Scoring tools don’t cut. They create clean fold lines so your cards, boxes, and paper crafts hold their shape perfectly.
The scoring stylus is simple and beginner-friendly. It works with most Cricut machines and gets the job done for lighter cardstock and everyday projects. The scoring wheel, on the other hand, applies more pressure and gives you deeper, sharper lines. That’s what you want for thicker materials where clean folds actually matter.
If you’ve ever folded cardstock and ended up with cracks or uneven edges, this fixes that instantly. It gives your projects structure, sharp edges, and that polished look that feels intentional. It’s a small upgrade, but it completely changes how your finished piece looks.
Shop the Look
7. Engraving Tip (For Acrylic, Metal, and High-End Details)
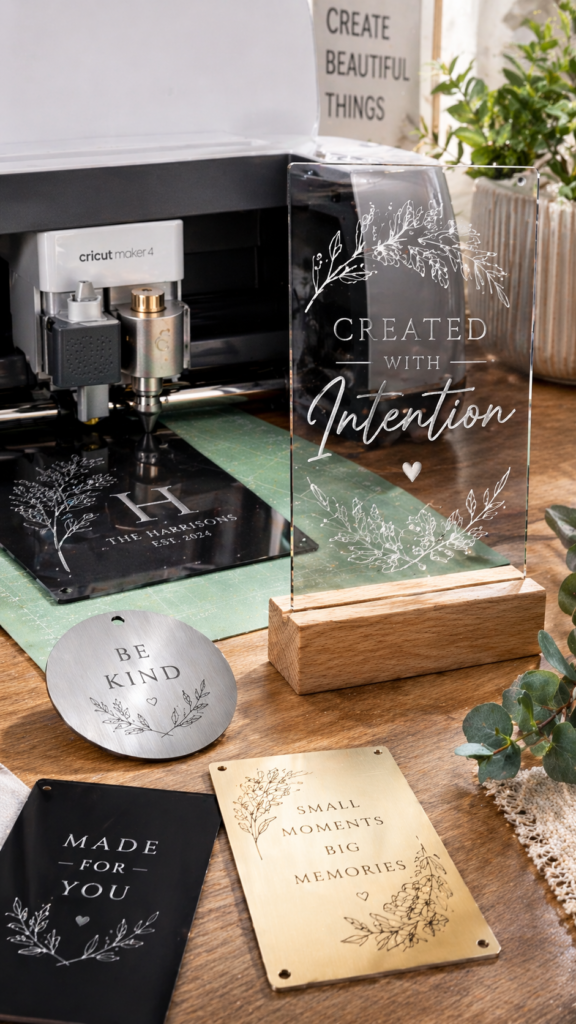
If you want your Cricut projects to look custom and expensive, this is the tool that gets you there. The engraving tip doesn’t cut through material. It carves into the surface, creating clean, permanent designs that feel elevated and intentional.
This is perfect for working with acrylic, coated metals, and specialty surfaces where you want detail without cutting all the way through. Think name plates, jewelry tags, decorative trays, and custom home accents. The finish looks sharp and professional, especially when the light hits those engraved lines.
It works with the Cricut Maker using the quick-swap housing, and the key is keeping your material completely secure so the engraving stays precise. Once you get it right, this is one of those tools that instantly makes your work stand out from basic Cricut projects.
Shop the Look
8. Debossing Tip (Subtle Texture That Looks Luxe)
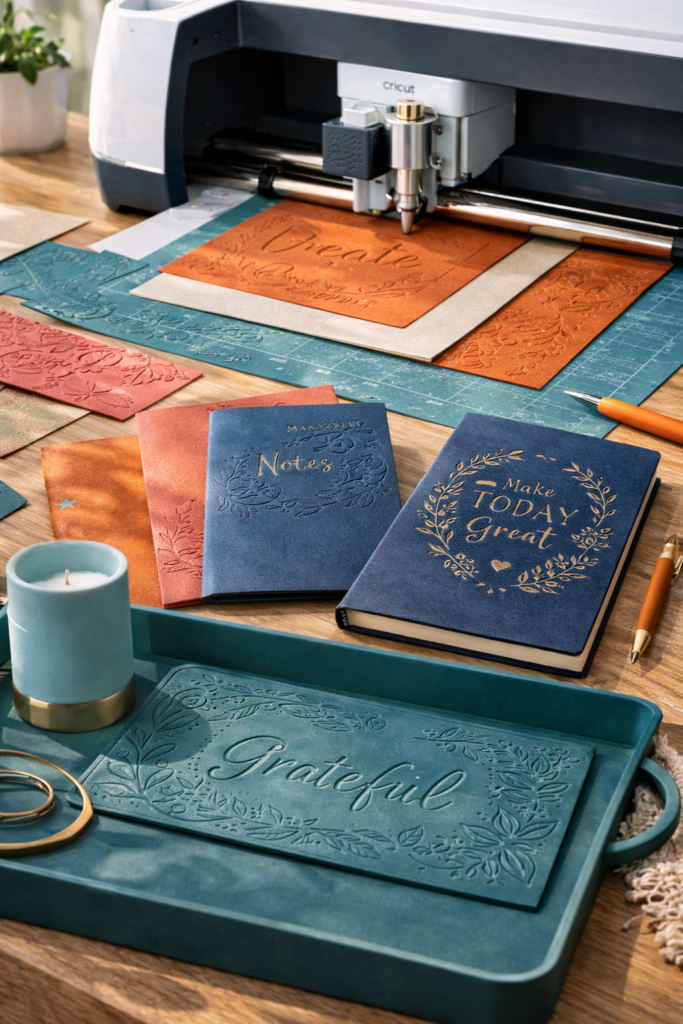
If engraving is bold and visible, debossing is soft and elevated. Instead of cutting or carving, this tool presses your design into the material, creating a recessed effect that feels high-end and intentional. It’s the kind of detail you see in luxury stationery, custom packaging, and elevated home decor pieces.
This works beautifully on thicker materials like cardstock, faux leather, and soft surfaces that can hold an impression. The result is clean, dimensional texture without adding extra layers or materials. It’s subtle, but it makes a big difference in how your project feels overall.
Used correctly, debossing gives your Cricut projects that polished finish that looks store-bought instead of DIY. It’s one of those tools that doesn’t scream for attention, but quietly upgrades everything you make.
Shop the Look
9. Cricut Joy Blade (Simple, But Still Powerful)
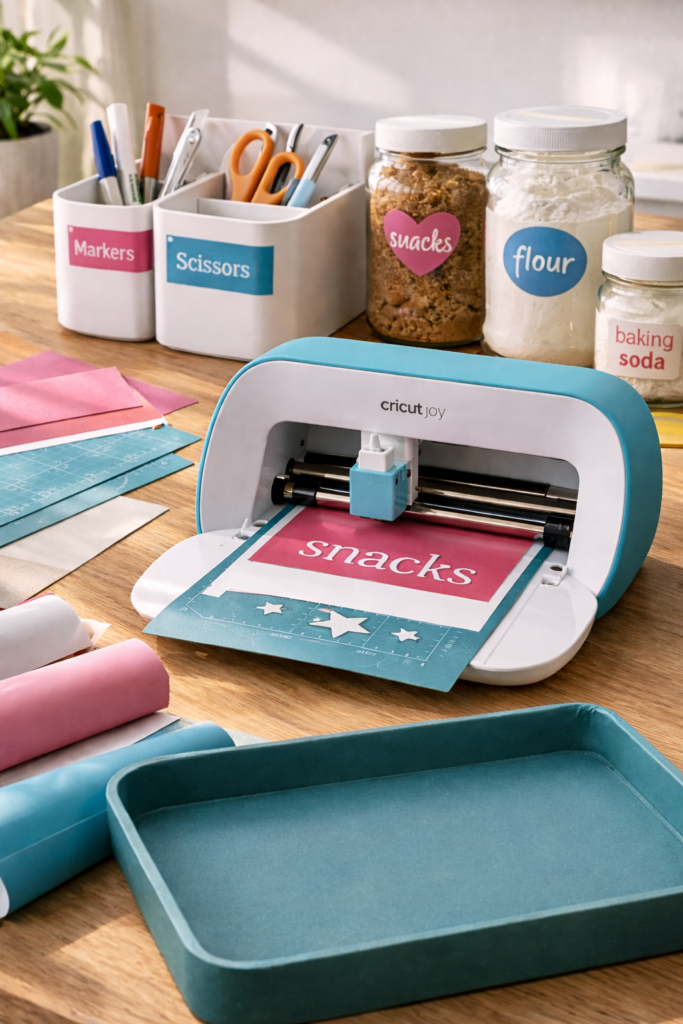
If you’re using a Cricut Joy, your setup is more streamlined, but that doesn’t mean it’s limited. The Joy uses a fine-point blade that’s designed specifically for smaller, quick projects like labels, decals, cards, and everyday organizing.
What makes it different is how simple everything feels. There’s less guesswork, fewer blade swaps, and faster results. It’s perfect if you want clean cuts on vinyl and paper without overthinking settings or materials. Pair it with Smart Materials, and you can skip the mat entirely, which makes projects feel even more effortless.
The key with the Joy is staying within its lane. It’s not built for thick materials, wood cutter projects, or acrylic. But for everyday crafting, labeling, and quick decor updates, it does exactly what you need and does it well.
Shop the Look
Stop Guessing Your Cricut Blades
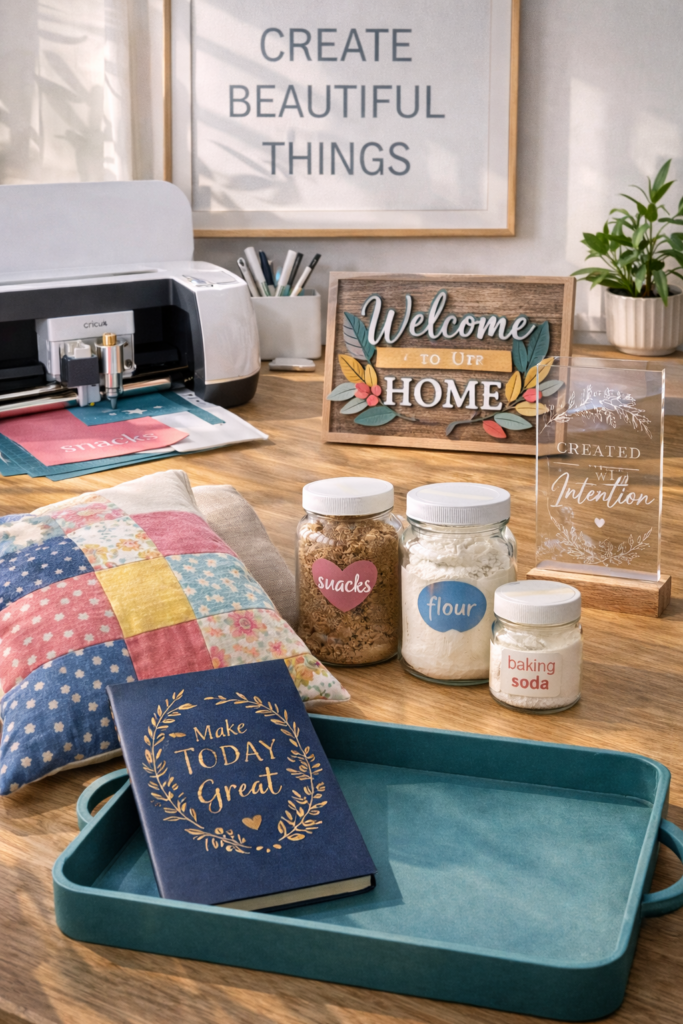
Once you understand how Cricut blades actually work, everything gets easier. You stop wasting materials, your cuts look cleaner, and your projects instantly feel more polished. The biggest shift is knowing that each blade has a purpose. When you match the right blade to the right material, your Cricut machine does exactly what it’s supposed to do.
If you’re ready to take this further and start creating projects that actually sell or stand out, don’t miss this next read: Cricut Projects That Sell Fast (Beginner Friendly)

