This post contains affiliate links. If you purchase through my links, I may earn a small commission at no extra cost to you. Thank you for supporting Room Revival Studio!
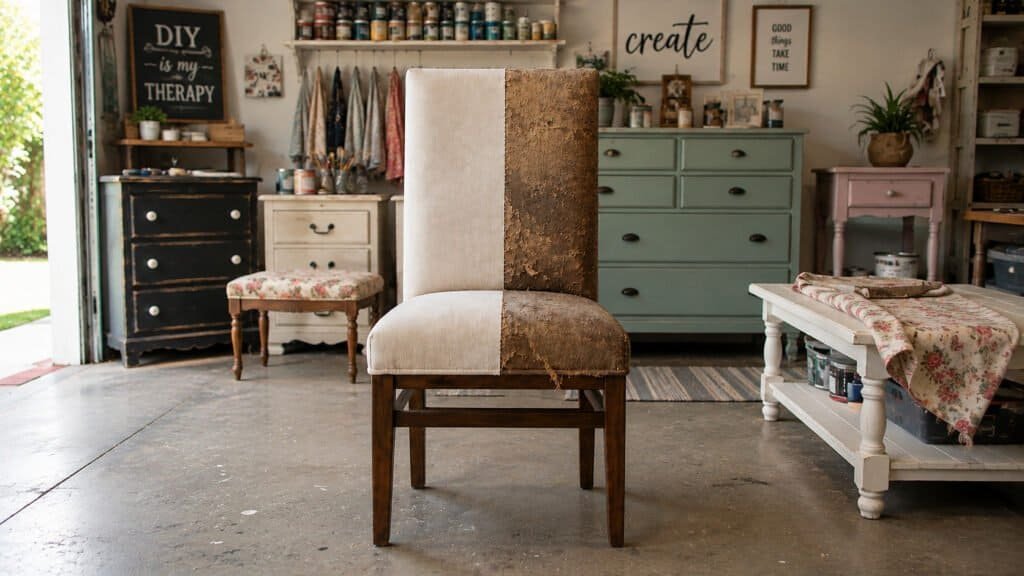
The chair has been sitting in the garage for two months. Good bones, solid frame, fabric that looks like it survived three different decades and none of them well. A quote from an upholstery shop landed at two hundred dollars, more than the chair is worth. Here is the truth nobody tells you: reupholstering a single dining or accent chair is one of the most beginner friendly furniture projects there is, and it costs a fraction of what a shop charges.
This guide covers a full seat and back reupholster for under fifty dollars in materials. Difficulty: beginner. Time needed: about three to four hours for one chair, most of it spent pulling staples.
What You’ll Need
Gather everything before starting so the project does not stall halfway through a step.
- Heavy Duty Upholstery Fabric, 1-2 Yards
- Heavy Duty Staple Gun
- Upholstery Staples
- Flathead Screwdriver or Staple Remover
- High Density Foam Cushion
- Cotton Batting
- Heavy Duty Fabric Scissors
- Decorative Upholstery Nail Trim
Step 1: Remove the Seat and Strip the Old Fabric
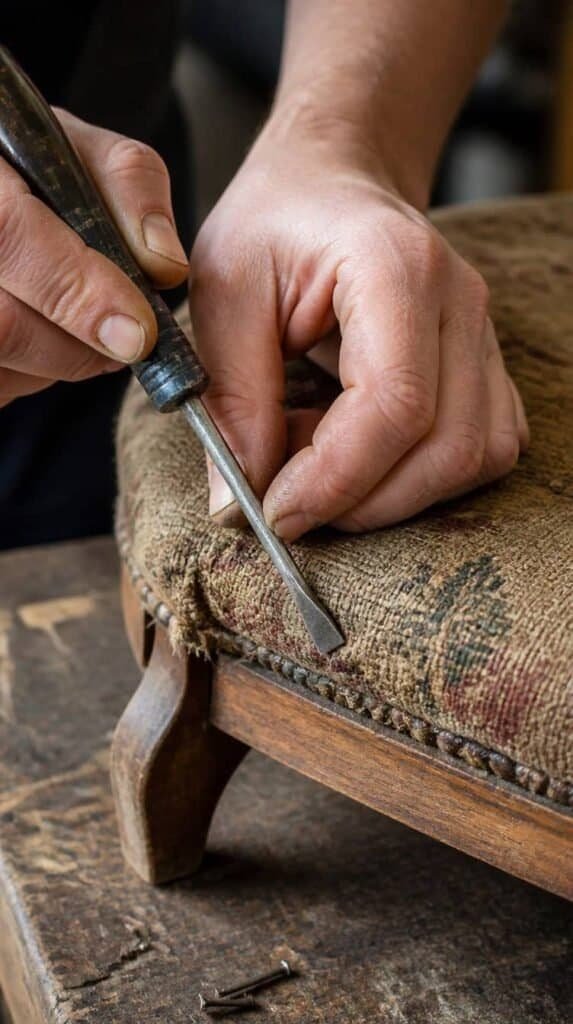
Unscrew the seat from the chair frame from underneath, usually four screws in the corners. Pull every staple holding the old fabric, batting, and foam using a flathead screwdriver to lift each one before pulling it free with pliers.
Hot tip: keep the old fabric piece as a rough template for cutting the new fabric. This step takes the longest of the whole project, so put on a show and settle in.
Step 2: Assess and Replace the Foam
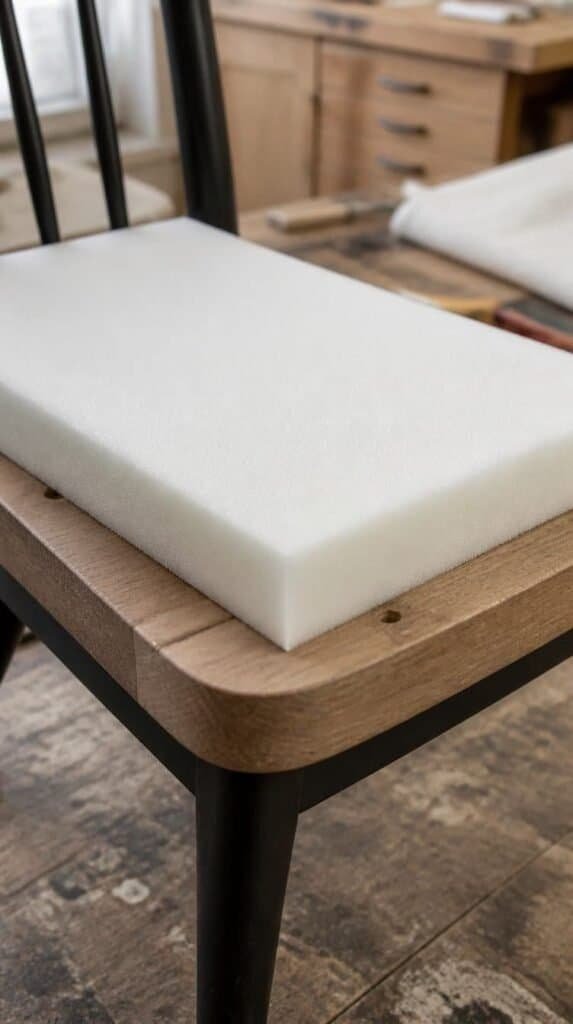
Press down on the old foam. If it feels flat, crumbly, or does not spring back, replace it with new high density foam cut to match the seat board. This single swap makes an old chair feel brand new to sit in.
An honest note: a serrated bread knife cuts foam more cleanly than scissors. Trace the seat board onto the foam before cutting for an exact fit.
Step 3: Layer the Batting

Wrap a layer of cotton batting over the foam and staple it to the underside of the seat board, pulling it snug as you go. This layer softens the hard edges of the foam so they do not show through the fabric.
Trim the excess batting close to the staples once the whole board is wrapped. One layer is enough for most dining chairs.
Step 4: Cut and Center the New Fabric
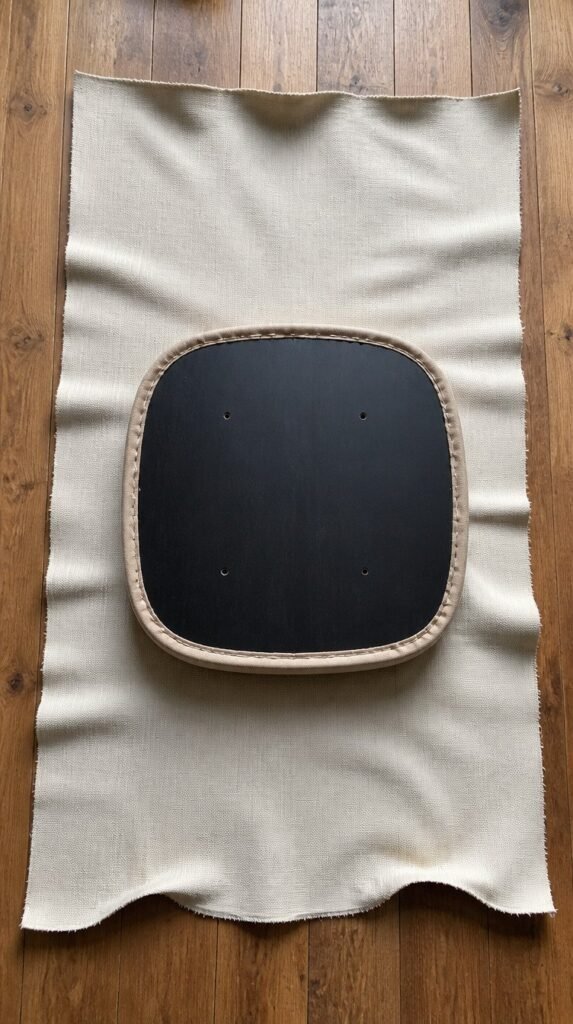
Lay the new fabric face down, center the padded seat board on top, and cut the fabric with about three inches of extra material on every side. Centering any pattern before cutting matters more than almost any other step in this project.
The trick here: use painter’s tape to mark the exact center of both the fabric and the seat board so nothing shifts while you flip it over. A crooked print is the one mistake that is hard to fix after stapling.
Step 5: Staple the Fabric, Starting at the Center
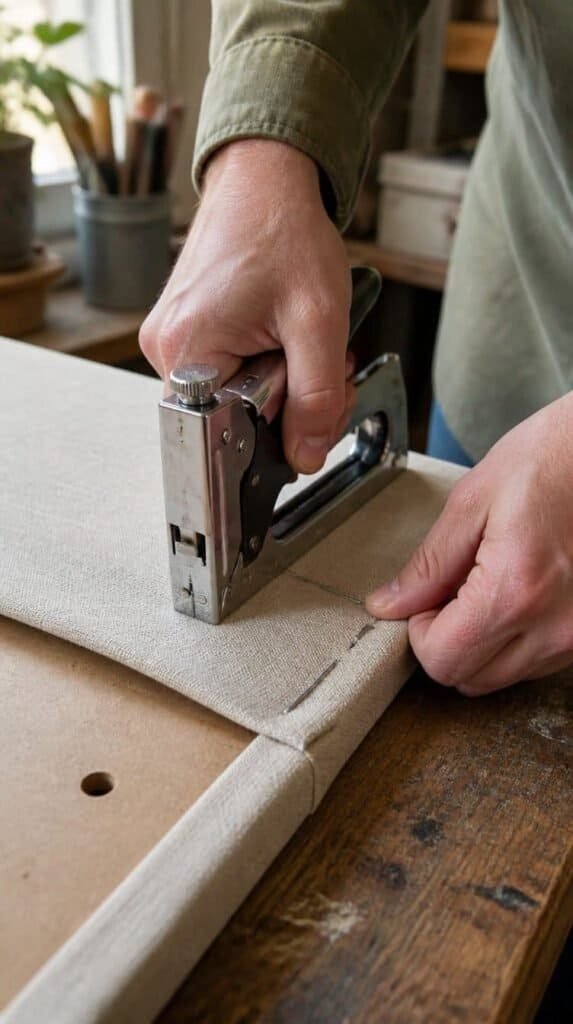
Pull the fabric taut and staple the center of each side first, working outward toward the corners in small pulls. This keeps tension even across the whole seat instead of bunching on one side.
Fold the corners like wrapping a gift, tucking the excess fabric under itself before stapling flat. Check the front of the seat often while working to catch any wrinkles before they get stapled in place.
Step 6: Finish the Underside and Reattach
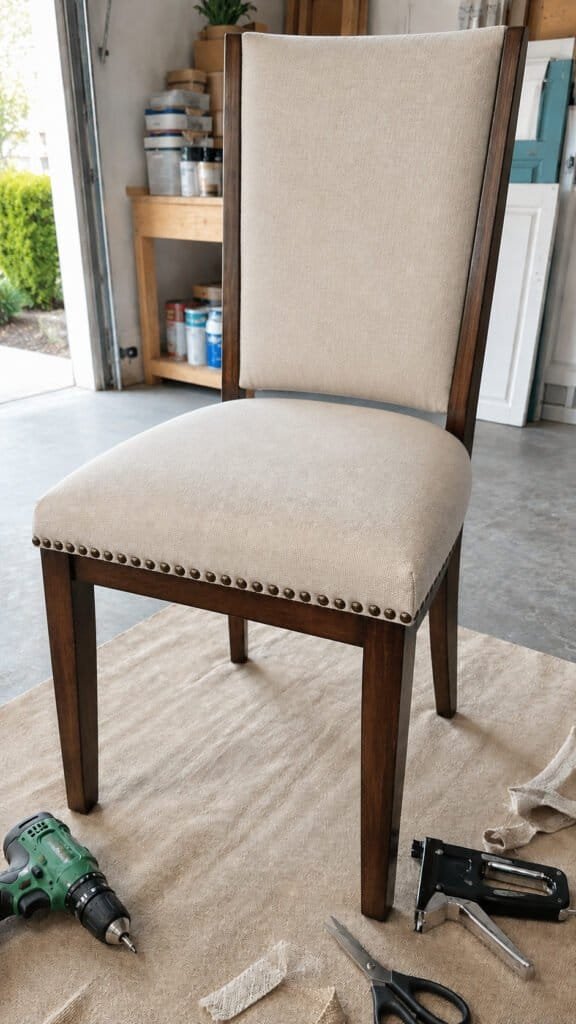
Trim any excess fabric close to the staple line on the underside so it sits flat when the seat goes back on the frame. Screw the seat back onto the chair using the original screws.
Add a strip of decorative upholstery nail trim around the base of the seat if any raw edges show along the frame. This finishing touch is optional but it hides a multitude of small imperfections.
Pro Tips
- Buy ten to fifteen percent more fabric than the measurement calls for. Pattern matching and mistakes eat into the yardage fast.
- Test the staple gun on a scrap piece of fabric and wood first to get a feel for the pressure needed before working on the real seat.
- Reupholster one chair before committing to a full set. The first one always takes longer than the rest once the process clicks.
What You’ll End Up With
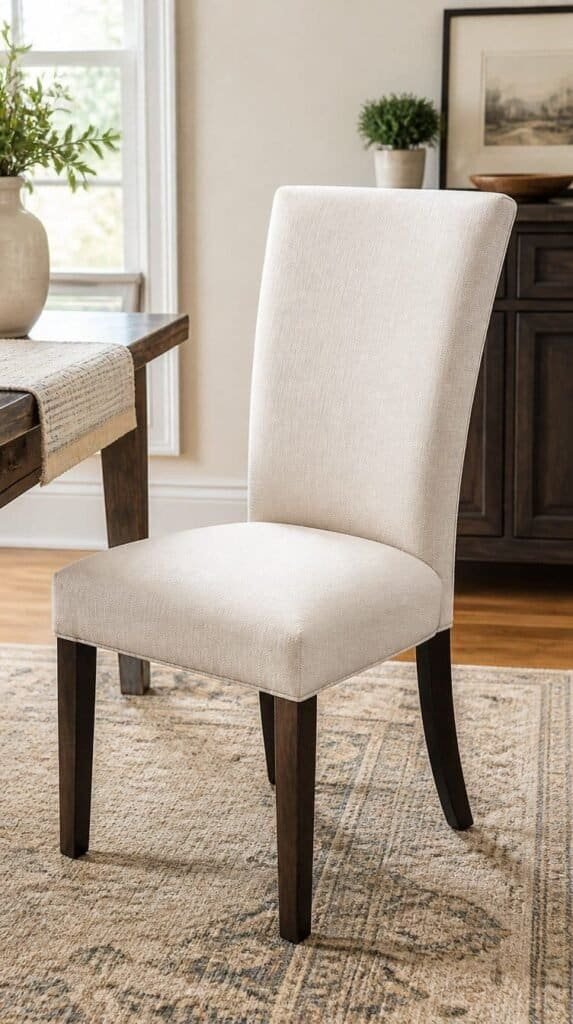
A chair that looks like it came from a furniture store, built on a frame that already proved it can last for decades. The whole project uses under fifty dollars in materials for one seat, and the skills carry over directly to the next thrifted chair find.
Your Chair Is Ready For This
Fall is the season to finish the furniture projects sitting in the garage before the holidays fill the calendar. This guide covers stripping old fabric, replacing tired foam, and stapling a clean new seat that will hold up for years. Start with one chair, work through each step in order, and save the leftover fabric for a matching accent pillow. If you are ready for even more furniture makeover ideas, be sure to check out 10 Furniture Makeover Ideas That Are Seriously Stunning for even more ways to bring a tired piece back to life.