Affiliate Disclosure: This post contains affiliate links. That means I may earn a small commission if you purchase through my links at no extra cost to you.
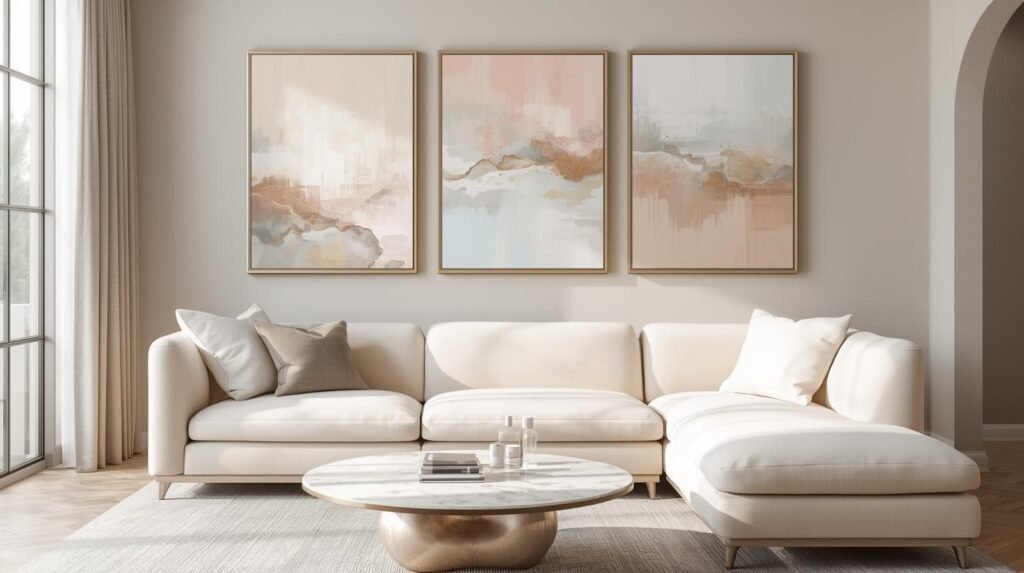
Your home doesn’t need a full renovation to look completely different. It needs the right furniture makeover ideas and the confidence to actually try them. Buying new furniture is expensive, and honestly, most of it looks the same. But that dresser you’ve been ignoring, the thrift store chair you almost passed up, the IKEA piece that’s “fine but boring”? Those are your raw materials. This post breaks down 10 DIY furniture makeover ideas that go from dull to seriously stunning, whether you’re a first-timer or already obsessed with the thrill of a good furniture flip. Pick one piece, pick one idea, and let’s get to work.
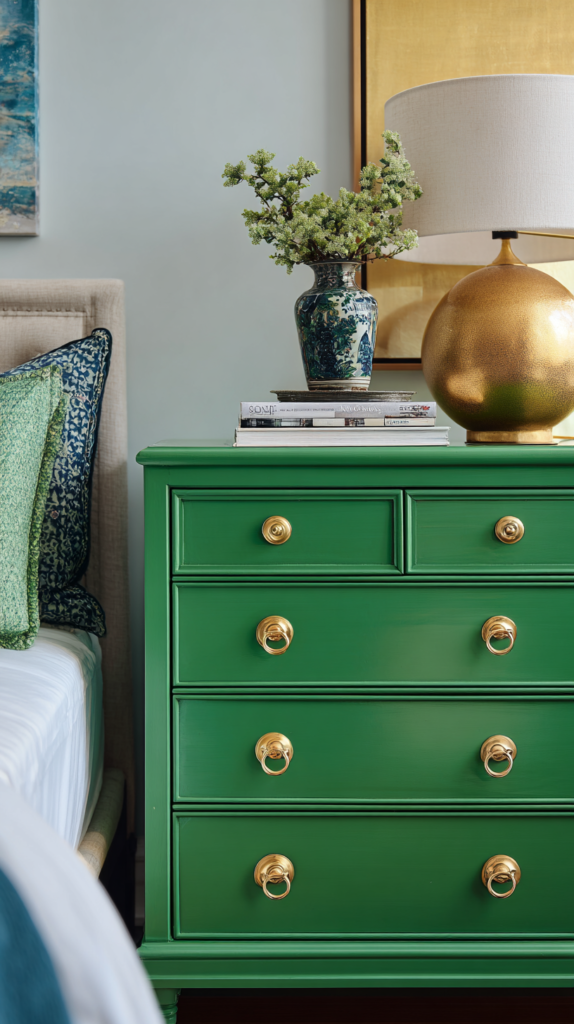
1. Paint It Like You Mean It: The Power of a Bold Color Choice
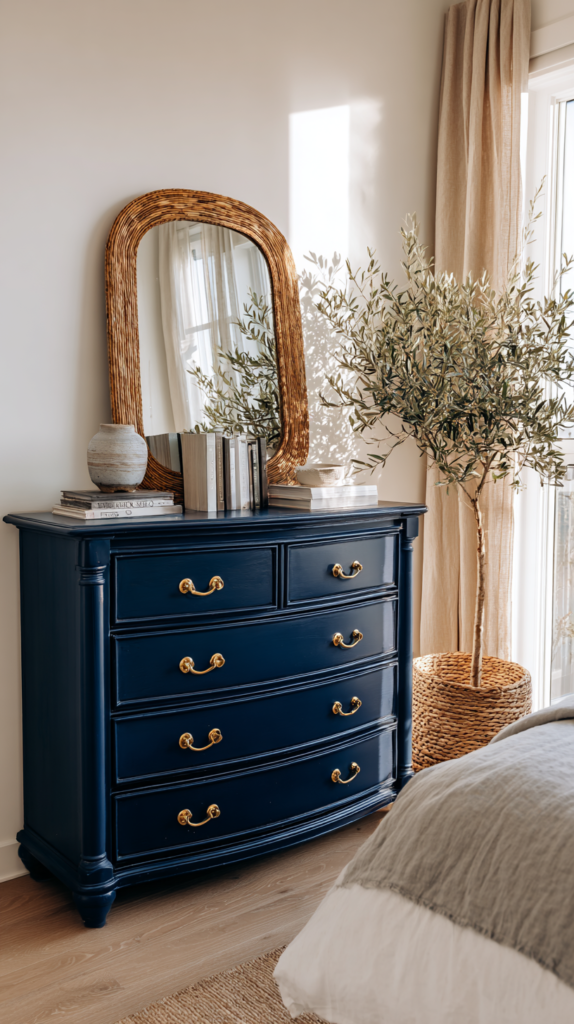
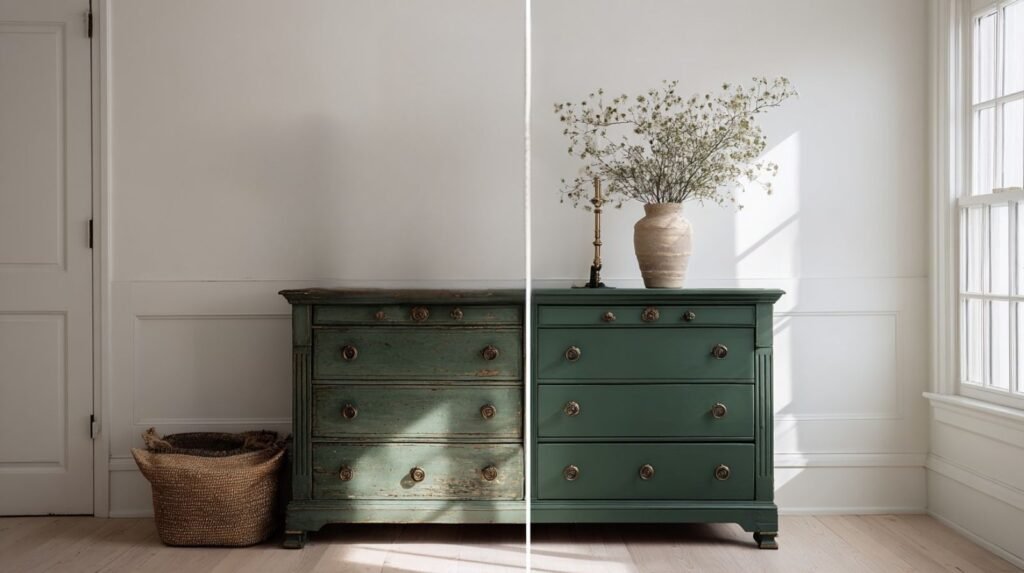
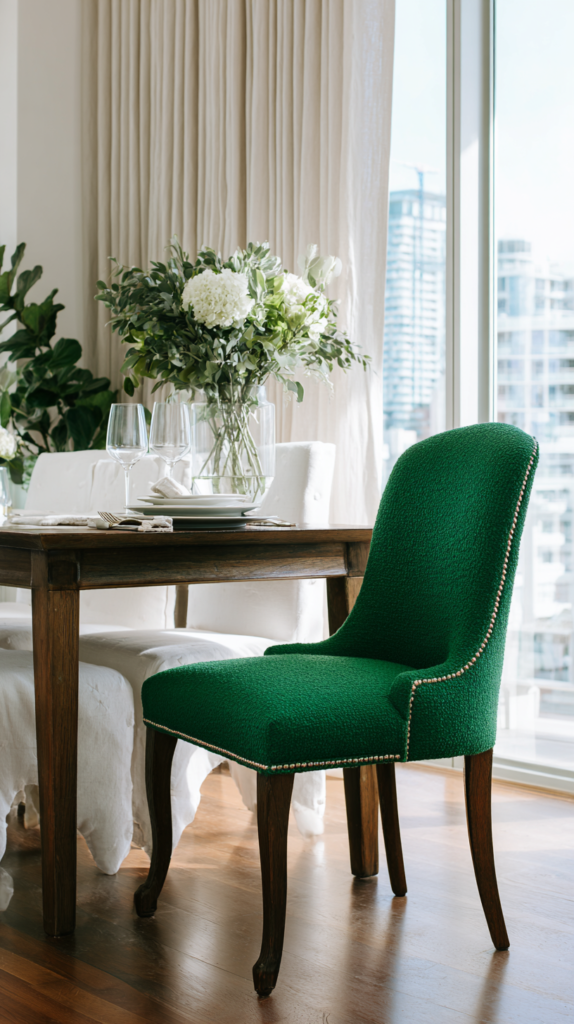
Paint is the most powerful tool in your furniture upcycle arsenal, and the results are dramatic when you commit to it. Chalk paint, mineral paint, and milk paint are the three finishes worth knowing because they bond to almost any surface with little to no prep, dry fast, and give you that velvety, high-end look that flat latex just can’t touch. The secret is in the layering: a base coat, light distressing at the edges, and a finishing wax or topcoat locks everything in and gives the piece depth. Don’t shy away from color here. A deep forest green dresser, a terracotta side table, or a navy blue bookcase will stop people in their tracks. This is one of those DIY furniture makeover ideas where bold choices always outperform safe ones.
- Chalk paint requires little to no sanding and adheres to wood, laminate, and even metal
- Always finish with a wax or polycrylic topcoat to protect your work long-term
- Two thin coats beat one thick coat every time for a smooth, professional finish
Key Takeaway: The right paint and finish can turn any tired piece into a focal point, no stripping or priming required.
Shop the Look:
2. Cane It Up: Add Cane Webbing for an Instant Refresh
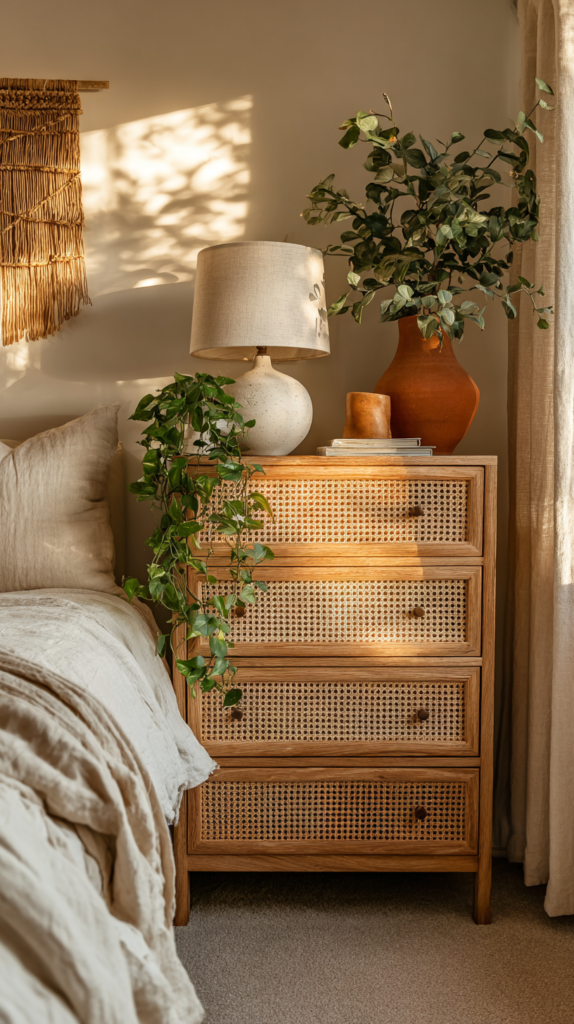
Cane webbing is having a serious moment, and for good reason. It adds texture, warmth, and that handcrafted quality that makes a piece look like it came from a boutique rather than a big box store. The process is more straightforward than it looks: remove the existing drawer front panel, cut your cane webbing to size, soak it briefly in water to make it pliable, then staple or glue it into place. It works beautifully on dressers, cabinet doors, bed headboards, and even room dividers. This is one of those furniture flipping ideas that photographs incredibly well and adds serious resale value if you’re flipping to sell.
- Soak cane webbing in warm water for 10-15 minutes before applying to prevent cracking and help it lay flat
- Use a staple gun along the back edges for the cleanest, most seamless finish
- Pair with a warm wood stain on the frame to enhance the natural, organic feel
Key Takeaway: Cane webbing transforms flat, boring furniture fronts into textural statement pieces with minimal tools and maximum impact.
Shop the Look:
3. The IKEA Hack That Looks Custom
IKEA pieces are the perfect blank canvas, and with the right upgrades they look anything but flat-packed. The most impactful IKEA hacks come down to three things: new hardware, added trim or molding, and paint. Swap out the standard handles on a KALLAX or HEMNES for unlacquered brass or matte black pulls and the piece immediately reads more expensive. Add trim molding to flat drawer fronts with wood glue and a brad nailer, paint the whole thing out, and you’ve got something that looks fully custom built. This is one of the best DIY furniture renovation approaches for anyone who wants high style without a high price tag.
- IKEA’s KALLAX, HEMNES, and BESTA lines are the most hackable and widely used
- Trim molding from any hardware store can be cut to size and glued directly onto flat fronts
- Always prime laminate surfaces before painting for best adhesion and durability
Key Takeaway: A few affordable upgrades turn basic IKEA furniture into something that looks completely one-of-a-kind.
Shop the Look:
4. Thrift Flip: How to Spot and Transform Hidden Gems
The thrift flip furniture game is all about seeing past the surface. Ignore the outdated stain, the ugly hardware, and the questionable upholstery. What you’re really evaluating is the bones: solid joinery, sturdy legs, quality wood construction, and good proportions. A piece that checks those boxes is worth taking home every time. From there, a simple process of cleaning, light sanding, filling any gouges with wood filler, and applying your finish of choice is all it takes to flip a $15 thrift store find into something your guests will ask about. This is the heart of upcycled furniture DIY and where the most satisfying transformations happen.
- Avoid pieces with water damage, warped wood, or structural instability in the joints
- Wood filler is your best friend for dents, scratches, and old hardware holes
- Always clean thoroughly with a degreaser before any sanding or painting begins
Key Takeaway: Strong bones beat good looks every time when thrift flipping, because everything else can be fixed.
Shop the Look:
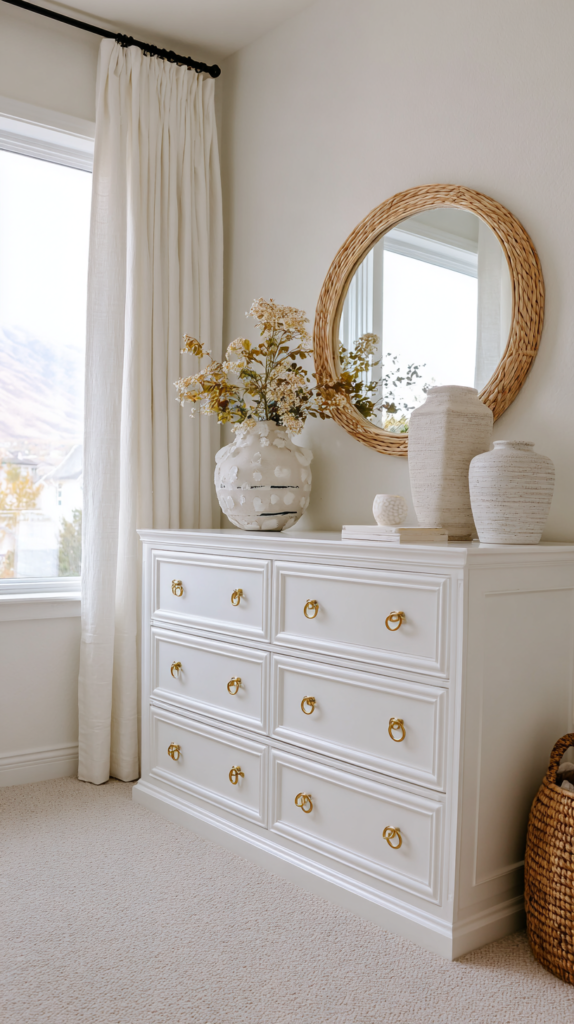
5. New Hardware, Whole New Piece
If you only have 20 minutes and $30, swap the hardware. It is genuinely the fastest furniture makeover DIY with the biggest visual return. Dated brass knobs, boring silver pulls, or flimsy plastic handles are dragging down pieces that have real potential. Replacing them with unlacquered brass, ceramic, leather-wrapped, or matte black hardware shifts the entire personality of a dresser, cabinet, or nightstand instantly. This works on thrifted pieces, builder-grade furniture, and yes, your IKEA basics too. You don’t need to paint a single thing for this one to make a serious impact.
- Measure your existing hardware holes before ordering to ensure proper fit
- Mix metals intentionally for a collected, curated look rather than perfectly matched sets
- Ceramic and rattan hardware adds texture and warmth to painted or natural wood pieces
Key Takeaway: Hardware is the jewelry of your furniture, and upgrading it is the single easiest way to make any piece look more intentional.
Shop the Look:
6. Reupholster It: Fresh Fabric, Totally New Vibe
Reupholstering sounds intimidating but for most furniture pieces it comes down to a staple gun, some fabric, and about an hour of your time. Chair seats, bench cushions, headboards, and ottomans are all beginner-friendly starting points that deliver a massive visual transformation. Choose a fabric that adds something to the room: a bold floral, a chunky boucle, a rich velvet, or a graphic linen print. The texture and pattern you choose will set the entire tone of the piece and the space around it. This is one of the most underrated DIY furniture makeover ideas because the before and after is always jaw-dropping.
- Remove the existing fabric carefully to use as a template for cutting your new piece
- Pull fabric taut and staple from the center outward on each side to avoid puckering
- Boucle, velvet, and outdoor-grade fabrics are the most durable and photogenic choices right now
Key Takeaway: Reupholstering even one chair or bench cushion with the right fabric can anchor an entire room’s aesthetic.
Shop the Look:
7. Wallpaper the Inside: Unexpected Detail That Steals the Show
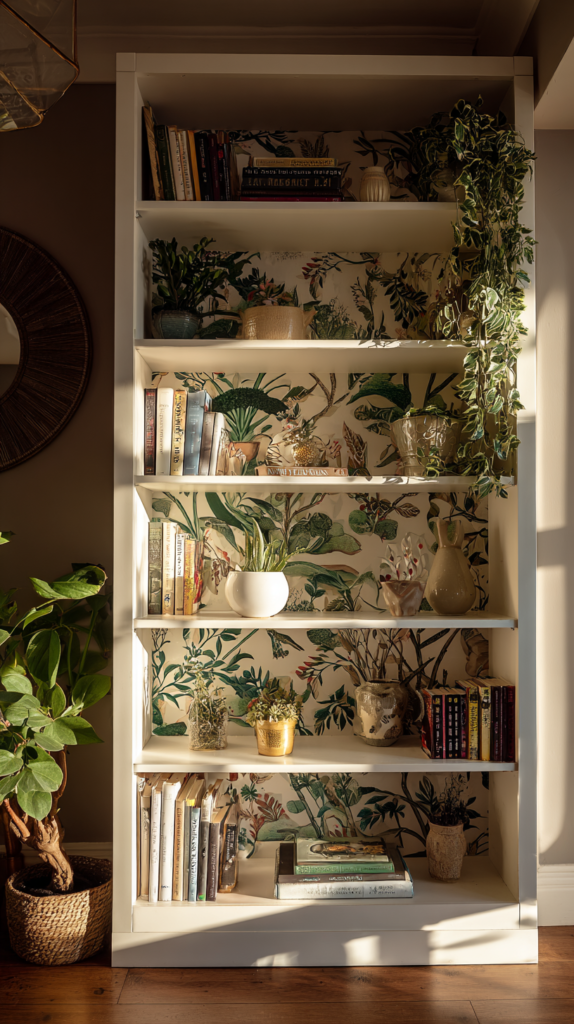
This is the furniture upcycle idea that makes people stop and actually look closer. Lining the inside back panel of a bookcase, the interior of a cabinet, or the bottom of a dresser drawer with peel-and-stick wallpaper adds a layer of intentional design that feels high-end and completely custom. It works with any aesthetic: a bold maximalist print inside a neutral bookcase, a subtle grasscloth texture inside a painted cabinet, or a moody floral inside a dresser drawer that only you see when you open it. The element of surprise is the whole point, and it takes less than an hour to do.
- Measure twice and cut once since peel-and-stick wallpaper is repositionable but not infinitely so
- Use a wallpaper smoother tool to eliminate bubbles for a clean, professional finish
- Choose a pattern that contrasts with the exterior finish for maximum visual impact
Key Takeaway: Wallpapering the inside of furniture adds a designer detail that costs almost nothing but looks like it cost a lot.
Shop the Look:
- Peel and Stick Wallpaper
- Wallpaper Smoother Tool
- Repositionable Wallpaper
- Craft Cutting Mat and Knife Set
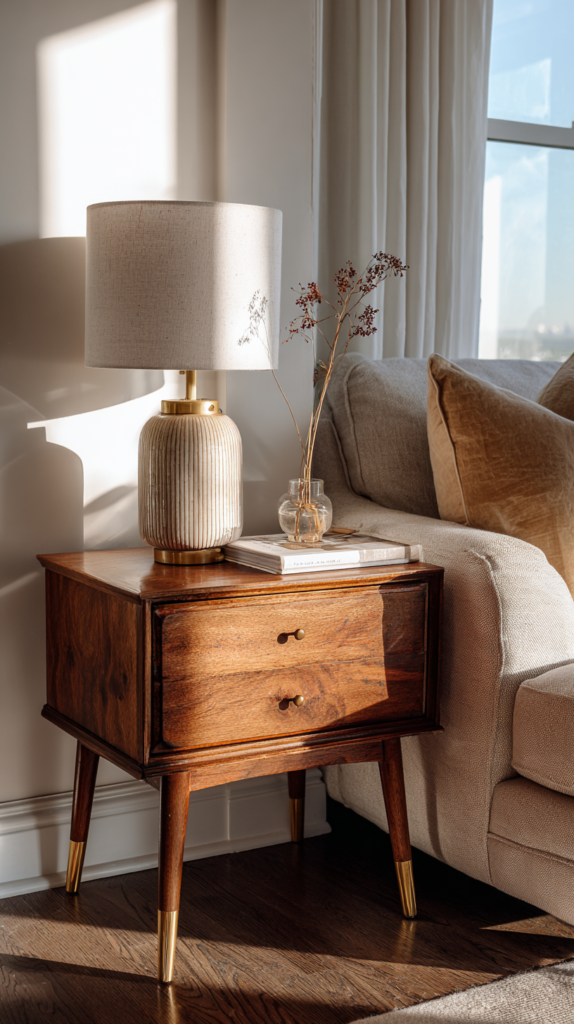
8. Stain, Don’t Paint: Let the Wood Grain Shine

Not every piece deserves to be painted, and knowing the difference is what separates a good furniture flip from a great one. Solid wood with beautiful grain, mid-century teak, or oak with strong character lines should be stripped back and restained rather than covered up. A fresh stain in a rich walnut, warm honey, or deep ebony brings out the natural beauty of the wood and gives the piece a warm, organic richness that paint simply can’t replicate. This approach works especially well for thrift flip furniture with good bones and neglected surfaces that just need to be brought back to life.
- Use a chemical stripper to remove old finish efficiently without damaging the wood grain beneath
- Always sand in the direction of the grain and wipe clean before applying stain
- Apply stain with a lint-free cloth rather than a brush for more even, streak-free coverage
Key Takeaway: When the wood grain is beautiful, staining instead of painting lets the natural character of the piece do all the work.
Shop the Look:
9. Add Legs: Elevate Any Piece Literally and Visually
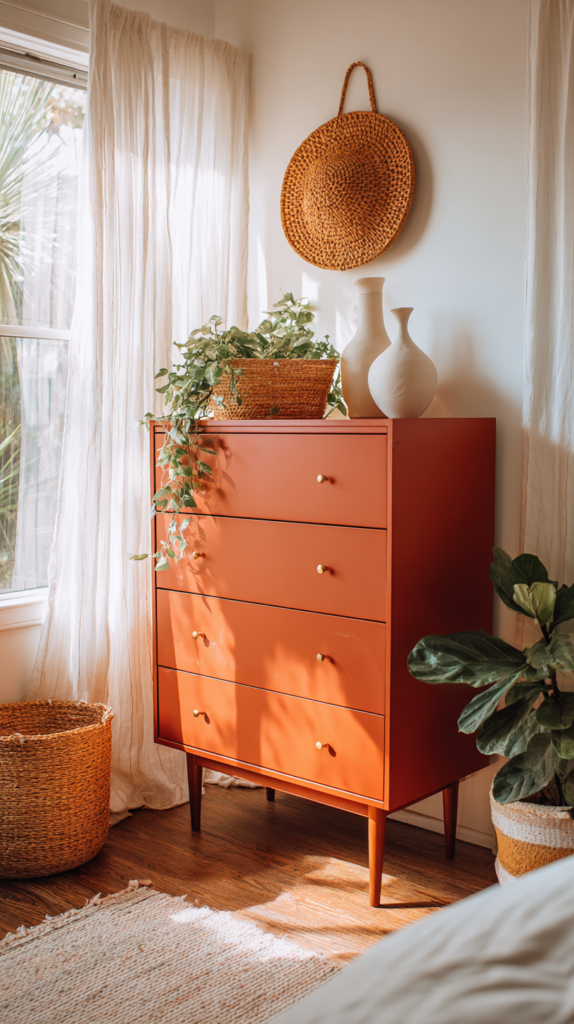
Furniture legs are one of the most overlooked upgrades in DIY furniture renovation, and swapping or adding them changes the entire silhouette of a piece. A squat, dated dresser with tapered mid-century legs suddenly looks intentional and collected. A basic storage cabinet on hairpin legs reads industrial-chic. Bun feet on a upholstered bench add that soft, traditional warmth that works in almost any bedroom or entryway. The process is straightforward: remove the existing legs or attach a mounting plate to the base, screw in your new legs, and you’re done. The visual lift, both literal and aesthetic, is immediate.
- Tapered wood legs work best on painted or stained dressers and nightstands for a mid-century look
- Hairpin legs are ideal for flat-bottomed cabinets, shelving units, and DIY bench builds
- Always use a mounting plate for secure attachment especially on heavier pieces
Key Takeaway: Swapping furniture legs is a 30-minute upgrade that completely modernizes the profile and presence of any piece.
Shop the Look:
10. Decoupage and Mixed Media: The Creative Upcycle
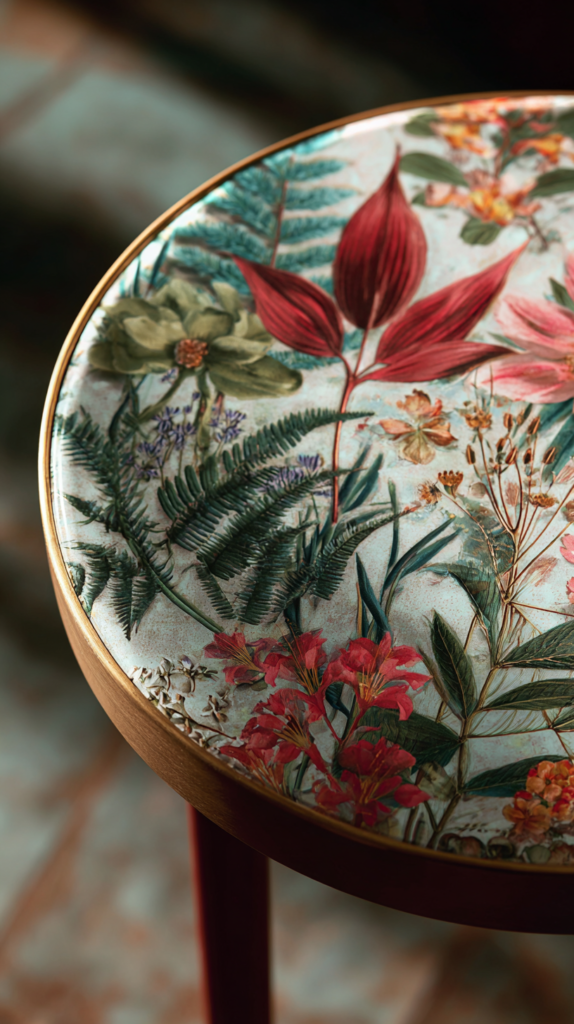
This is where furniture upcycling becomes art. Decoupage is the process of layering paper, fabric, or other flat materials onto a surface and sealing it with a medium that dries clear and hard. Vintage maps, book pages, sheet music, decorative tissue paper, and botanical prints all work beautifully on tabletops, drawer fronts, and cabinet sides. The result is a completely one-of-a-kind piece with texture, story, and serious personality. This technique works on wood, metal, and even plastic surfaces, making it one of the most versatile upcycled furniture DIY methods in the whole toolkit.
- Tear rather than cut your paper edges for a more seamless, organic blended look
- Apply decoupage medium both under and over each layer for full adhesion and a smooth sealed finish
- Finish with a clear polycrylic topcoat for durability, especially on high-use surfaces like tabletops
Key Takeaway: Decoupage turns any flat furniture surface into a conversation piece using nothing more than paper, medium, and creativity.
Shop the Look:
You don’t need a big budget or a fully equipped workshop to create furniture you’re genuinely proud of. These 10 furniture upcycle ideas prove that the most stunning pieces in a home are often the ones that started as something overlooked, underestimated, or left at the curb. Whether you’re painting a thrift store dresser in a bold new color, caning a cabinet front, or simply swapping out dated hardware, every small change adds up to a space that feels intentional and completely yours. Start with one piece. Pick the idea that excites you most and go from there. The best furniture makeover DIY projects always begin with just enough courage to try.
Looking for more thrift flip inspiration? Check out 15 Thrift Flip Home Decor That Feels Designer for even more creative ways to transform secondhand finds into designer-looking pieces on a budget.