This post contains affiliate links. If you purchase through my links, I may earn a small commission at no extra cost to you. Thank you for supporting Room Revival Studio!
Your dresser has been sitting in the corner for two years looking exactly like it did the day you found it at the curb. The finish is dated, the hardware is tired, and every time you walk past it you think about the trash pickup schedule. Here’s the good news: paint fixes almost everything. One weekend and a few coats later, this same piece looks like it walked out of a furniture showroom.
This is the exact process I use on every furniture flip in my own house, from thrifted nightstands to hand-me-down dressers nobody wanted. No heavy sanding, no fancy tools, no guessing which paint sticks and which peels off in a month. I’ve ruined enough drawer fronts figuring this out myself so you don’t have to. Grab a Saturday and let’s get your piece ready for fall.
Difficulty: Beginner. Time: One weekend, about 4 to 6 hours of active work plus dry time.
What You’ll Need
Before you touch the piece, get every supply in one spot. Running to the store mid-project is how a two-hour job turns into a two-week one.
- Sanding sponge or deglosser
- Bonding primer
- Furniture paint (chalk or mineral)
- Angled paint brush
- Foam roller
- Clear wax or polycrylic topcoat
- New hardware
- Wood filler for dents and gouges
Choosing the Right Paint for a Fall Refresh
Chalk paint and mineral paint both stick to old finishes without much prep, which makes either a solid choice for a first flip. Chalk paint dries fast and gives a flat, matte look leaning into a worn, collected feel. Mineral paint takes a little longer to dry but self-levels better, so brush strokes disappear as it cures.
For fall, warm neutrals, deep greens, and soft terracotta tones read as intentional rather than trendy. (A color feeling a little too bold in the container usually settles down once it covers an entire dresser.) Pick one shade and commit. Two-tone furniture looks polished on Pinterest and messy in real rooms nine times out of ten. If you’re painting more than one piece for the same room, buy your paint from a single batch or matched formula so the shade stays consistent from can to can.
Step 1: Clean the Whole Piece
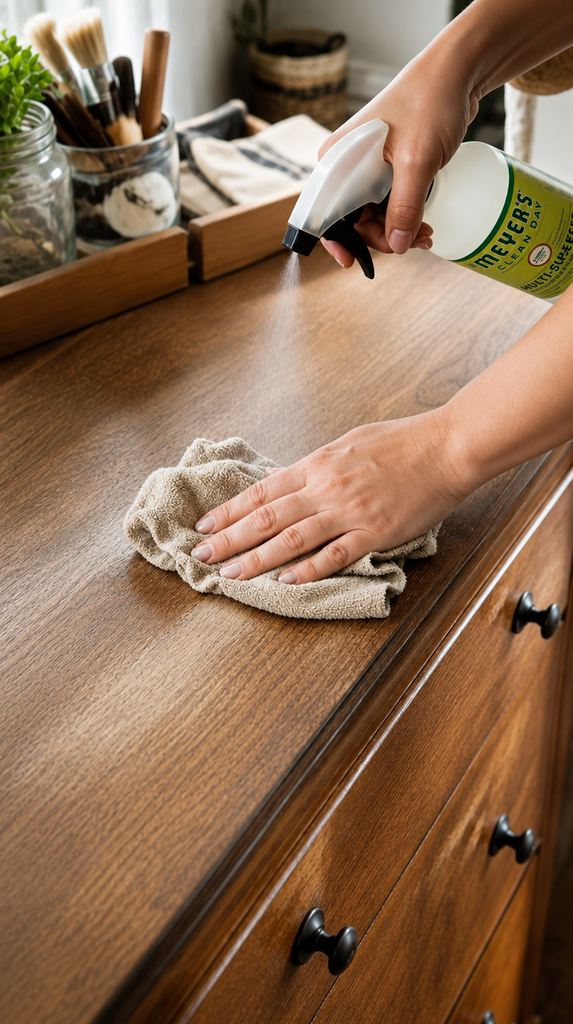
Wipe down every surface with a degreasing cleaner instead of a damp rag. Years of hand oils, dust, and furniture polish sit on top of the wood, and paint won’t grip through it.
Pull out every drawer and pop off the hardware while you’re at it. (You’ll thank yourself later when you’re not painting around a drawer pull.) Let everything dry fully before moving on.
Check the whole piece for loose joints, wobbly legs, or deep gouges while it’s stripped down and easy to see. A tube of wood filler and a clamp now saves a much bigger headache once the paint is on.
Step 2: Skip the Sanding Marathon
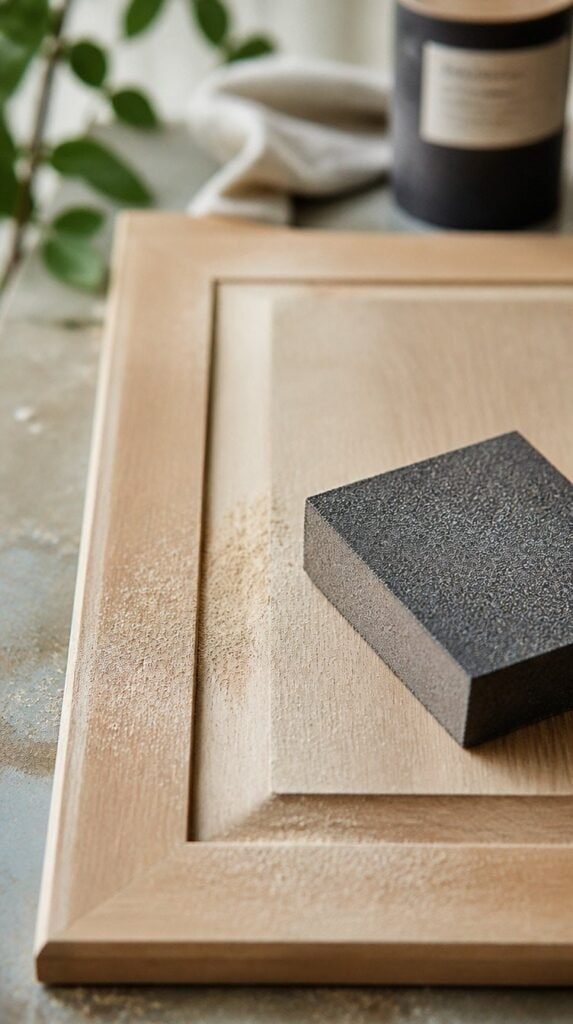
Here’s what nobody tells you: you don’t need to strip the piece down to bare wood. A quick pass with a sanding sponge to knock down the shine is enough for most bonding primers to grab hold.
Focus on flat, visible surfaces. Corners and carved details stay untouched. (Nobody is running their finger along the inside edge of a drawer to check your work.)
Wipe away the dust with a slightly damp cloth once you’re done. Any grit left behind shows up as tiny bumps under your primer, and you’ll notice them the moment the light hits the piece.
Step 3: Prime to Block Stains
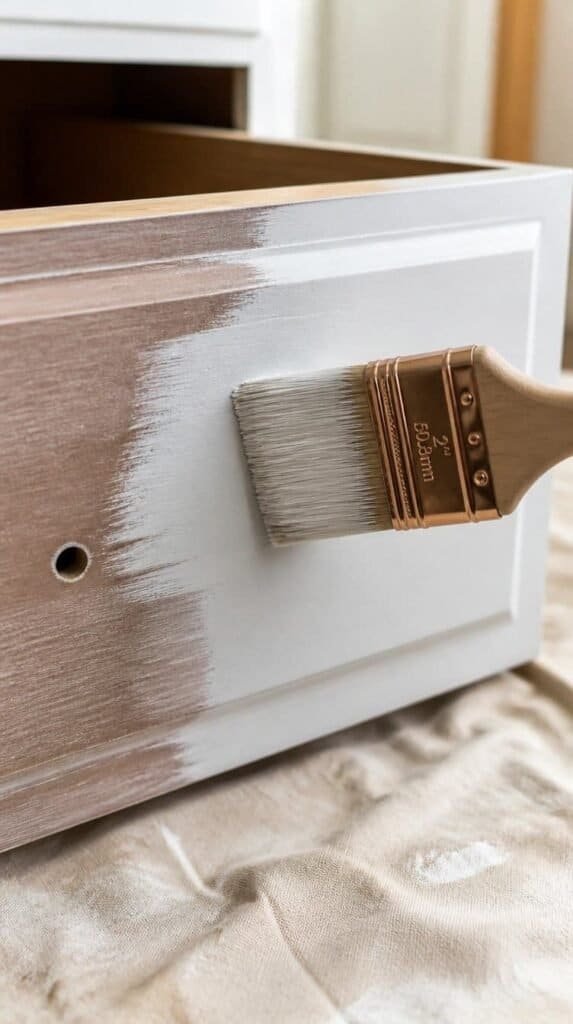
A stain-blocking bonding primer does two jobs at once. It gives your paint something to hold onto, and it stops old wood tannins from bleeding through and yellowing a light-colored topcoat weeks later.
One thin coat is plenty. Thick primer pools in corners and shows every brush stroke once the paint goes on top.
Let the primer cure for the full time listed on the container, not only until it feels dry to the touch. Paint applied too soon over damp primer tends to lift and peel within weeks.
Step 4: Paint the First Coat
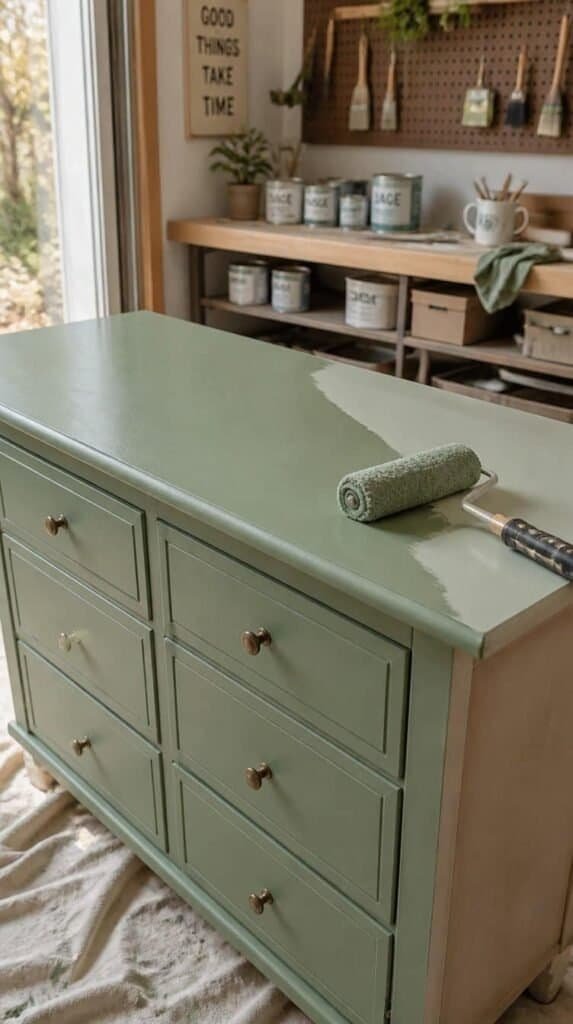
Use a foam roller on flat panels for a smooth, brush-mark-free finish, and switch to your angled brush for edges and corners. Work in long, even strokes and resist the urge to go back over a spot already drying.
The honest caveat here: your first coat is going to look streaky and uneven. Totally normal. It is not the finished product, so don’t chase perfection yet.
Give this coat a full 24 hours before touching it again, even if the paint label promises a faster recoat time. Wood furniture holds moisture longer than drywall, and rushing this step is the top reason a second coat drags and peels.
Step 5: Second Coat and Optional Distressing
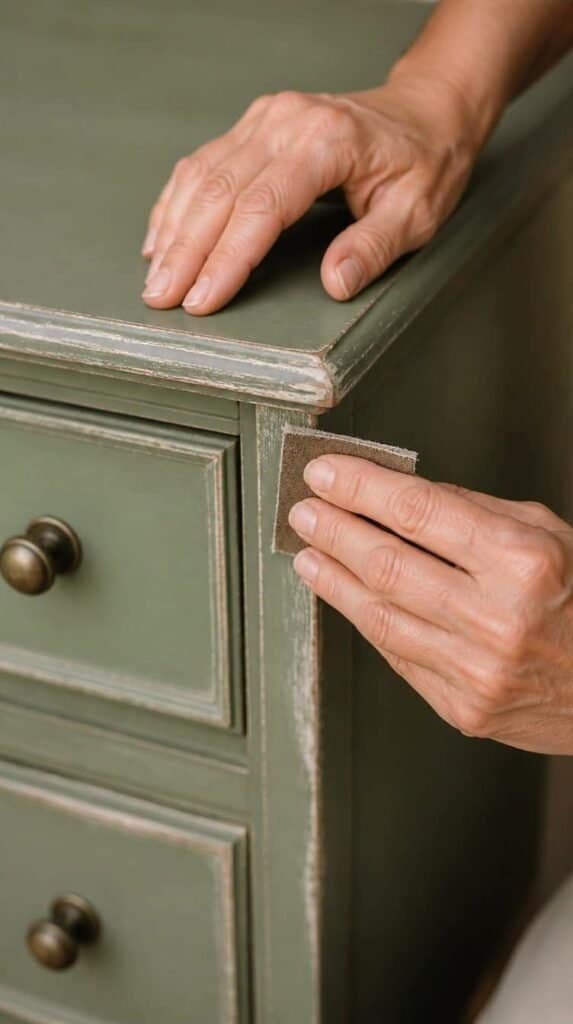
Once the first coat is fully dry, add a second for even, opaque coverage. This is where the piece finally starts to look intentional instead of “in progress.”
Want a soft, worn-in look? Run a sanding sponge lightly over edges and corners where a piece would naturally wear over the years. Go slow. Removing more paint stays an option the whole time. Putting it back never does.
Step back and look at the whole piece from a few feet away between passes. Distressing always looks heavier up close than it reads from across the room.
Step 6: Seal and Protect
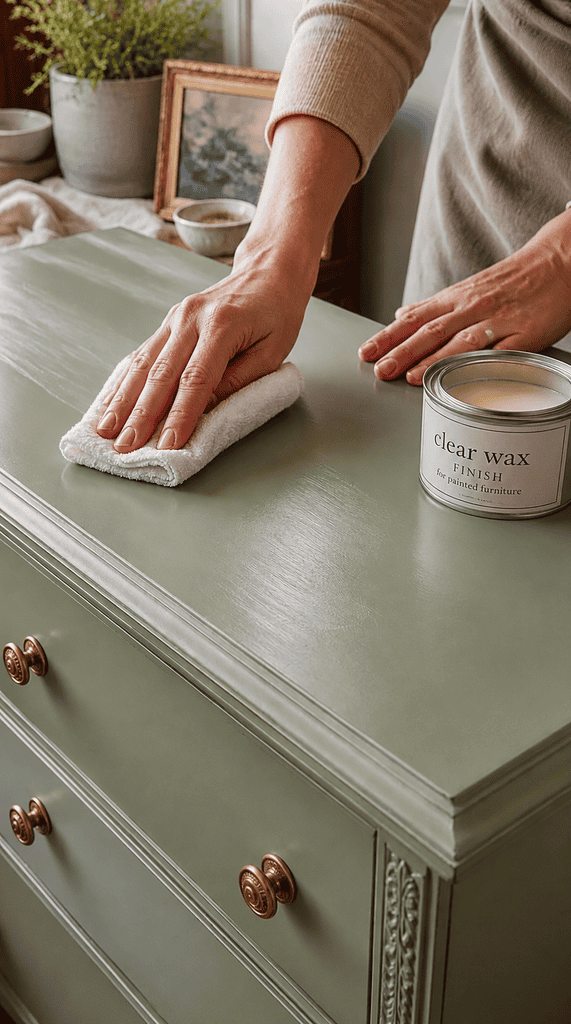
A clear wax or polycrylic topcoat is the step people skip and regret most. Without it, painted furniture scuffs, scratches, and shows every water ring within a month of real use.
Apply in thin layers with a soft cloth, let it cure fully, then buff for a soft sheen. Reattach your new hardware once everything is dry to the touch.
Give the topcoat a full week to cure before loading drawers with anything heavy or setting a lamp on top. It feels dry well before it’s fully hardened, and rushing furniture back into daily use is how the finish scuffs early.
Mistakes Ruining an Otherwise Good Paint Job
Painting over old wax or silicone-based furniture polish is the single biggest reason a fresh coat peels off in sheets a month later. If your piece has a shiny, slick finish, wipe it down with a degreaser made for this exact problem before you prime, not a general household cleaner.
Painting in a cold garage or a humid bathroom is a close second. Paint needs a steady room temperature and low humidity to cure properly, and rushing the process in the wrong environment leaves you with a tacky finish, never fully hardening.
The last one catches almost everyone at least once: skipping the topcoat because the paint already looks finished. Paint color and paint protection are two separate jobs, and only the topcoat handles daily wear, spills, and scratches.
Pro Tips
- Hot tip: Paint drawer fronts separately, flat on a table, for a smoother finish than painting them in place.
- Pro tip: Label each drawer and its slot with painter’s tape before you disassemble anything. Furniture somehow always knows when you’ve forgotten which drawer goes where.
- Pro tip: Test your paint color on the back or underside of the piece first. Lighting changes everything once a color goes from a swatch to a full dresser.
- Pro tip: Keep your leftover paint in a labeled jar with the piece’s name and the date. Touch-ups six months from now go a lot faster when you’re not guessing at the shade.
What You’ll End Up With
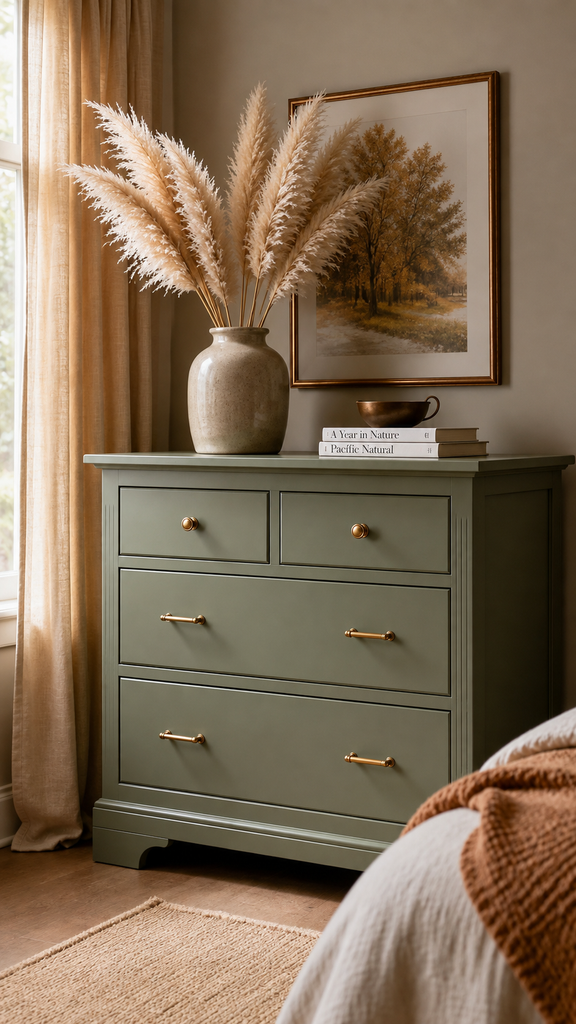
A piece looking like it cost three times what you paid for it, finished in a color you chose yourself instead of one you inherited. The room finally looks like it meant to be there.
You’ll also walk away with a repeatable process. The materials list and the order of steps stay the same whether you’re painting a nightstand this weekend or a full dining set next spring, so every future flip gets faster and less intimidating than this one.
Pick a Color. Start This Weekend.
Fall is the perfect season to give a tired piece a second life before the holidays fill your house with guests. This same process works on dressers, nightstands, cabinets, and dining chairs, so one weekend of practice sets you up for every piece after it. Start with the smallest item in the room, pick a color pulling double duty with your existing palette, and build confidence before tackling the big dresser. If you are ready for even more no-sand furniture projects, be sure to check out How to Paint Old Furniture Without Sanding for even more shortcuts saving you a weekend.