Affiliate Disclosure: This post contains affiliate links. If you purchase through these links, I may earn a small commission at no extra cost to you.
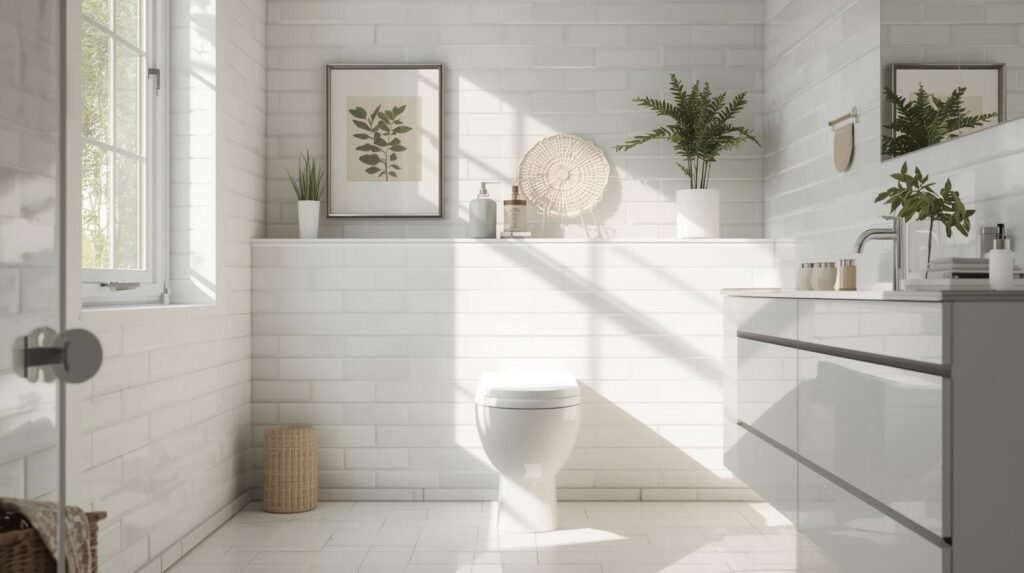
If your toilet never looks fully clean — even after scrubbing — you’re probably missing the hidden areas that hold onto grime. Most people clean the bowl and call it a day, but the real buildup shows up under the rim, behind the hinges, and deep inside the bowl where stains love to cling. Today, I’m walking you through exactly how to clean your toilet inside, outside, and underneath so it actually feels fresh and stays that way. This routine is simple, fast, and a total bathroom game-changer.
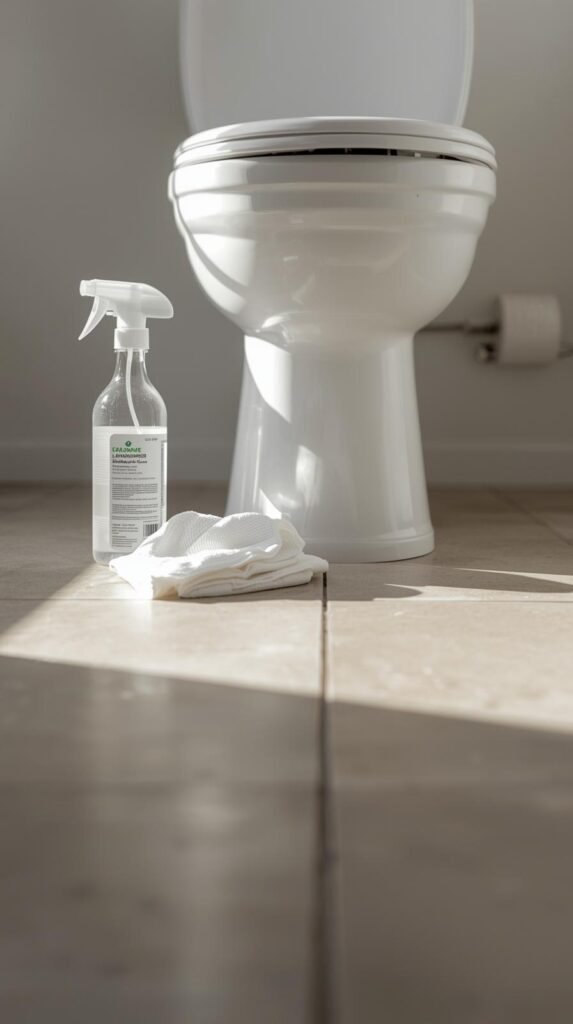
Gather Your Cleaning Supplies
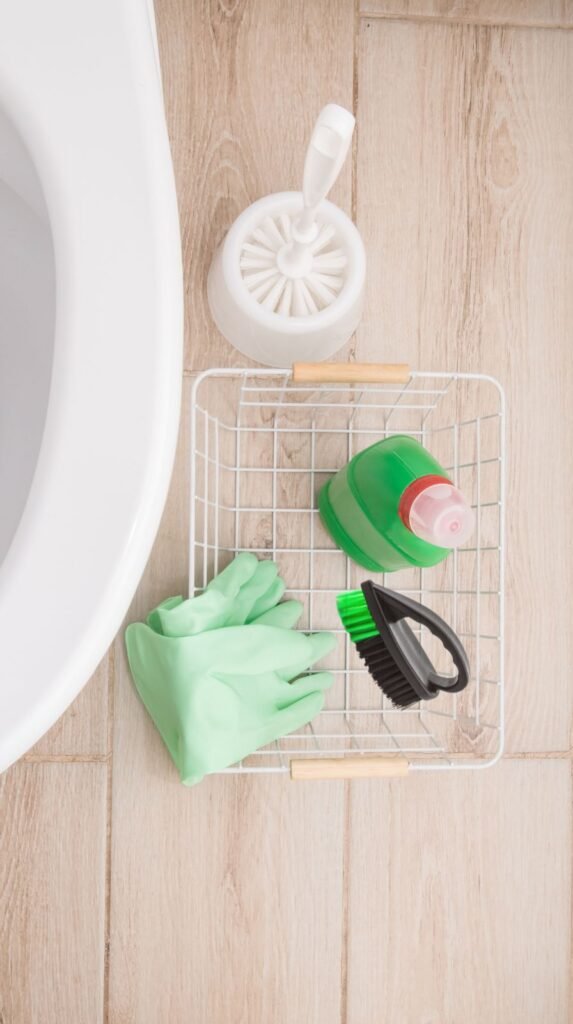
Before you start, having the right tools makes this job so much easier and way less frustrating. The secret is using products that actually break down grime, disinfect properly, and reach those awkward corners inside the bowl. You don’t need anything fancy — just the basics that work every single time. If you keep everything in a small cleaning caddy, you’ll be able to grab it fast whenever your bathroom needs a refresh.
Shop the Look
Do’s and Don’ts
Do:
- Keep toilet-cleaning tools separate from your regular cleaning supplies.
- Use gloves to protect your skin from harsh cleaners and bacteria.
Don’t:
- Don’t use sponges — they trap bacteria and spread it elsewhere.
- Don’t skip disinfecting exterior surfaces; they often hold more germs than the bowl.
Prep the Toilet for Deep Cleaning
Prepping your toilet before scrubbing helps every cleaner work harder and faster. Think of it like giving the bowl a quick “reset” so the product can cling to the sides, break down buildup, and loosen anything stuck under the rim. This step takes less than a minute, but it makes the deep clean so much easier — especially if you struggle with toilet rings or mineral deposits.
Shop the Look
Do’s and Don’ts
Do:
- Flush first so the bowl is wet and ready for cleaner.
- Let the cleaner sit for 5–10 minutes before scrubbing.
Don’t:
- Don’t rush this step — the cleaner needs time to break down buildup.
- Don’t mix chemical cleaners; always stick to one product at a time.
Scrub Inside the Bowl
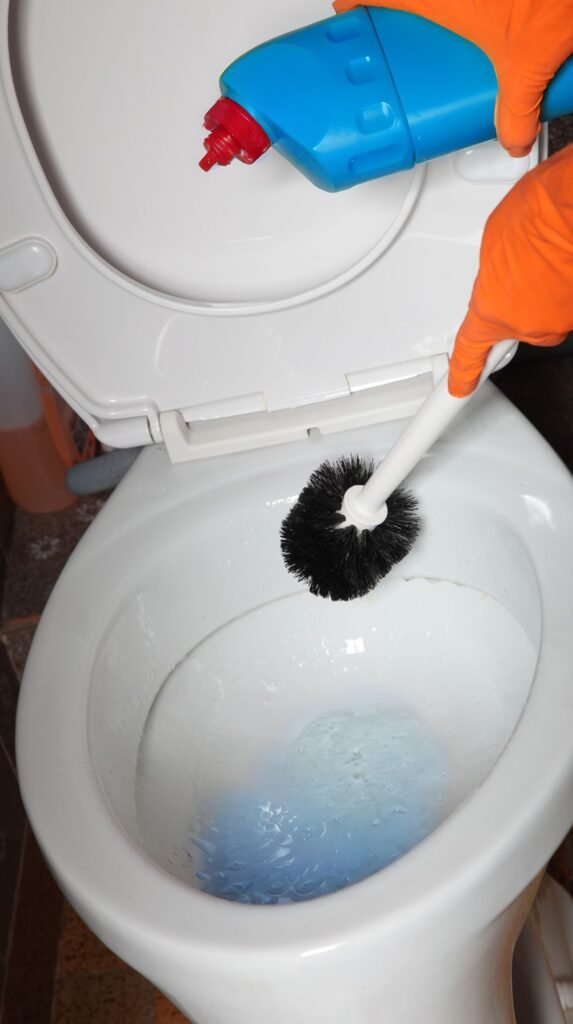
Now that your cleaner has had time to work, it’s time to scrub. Start with the upper parts of the bowl where grime hides, then work your way down toward the waterline. Use firm, controlled strokes so you’re actually lifting buildup instead of just swirling cleaner around. If you stay consistent with your pressure and motions, you’ll notice stains begin to fade instantly — especially along the curve where water sits.
Shop the Look
Do’s and Don’ts
Do:
- Scrub the rim first — it drips cleaner down into the bowl.
- Keep scrubbing while flushing to help rinse away loosened debris.
Don’t:
- Don’t rely on soft brushes alone for heavy buildup.
- Don’t skip the lower curved areas — they collect the most stains.
Remove Hard Stains, Mineral Rings, and Deep Buildup Inside the Bowl
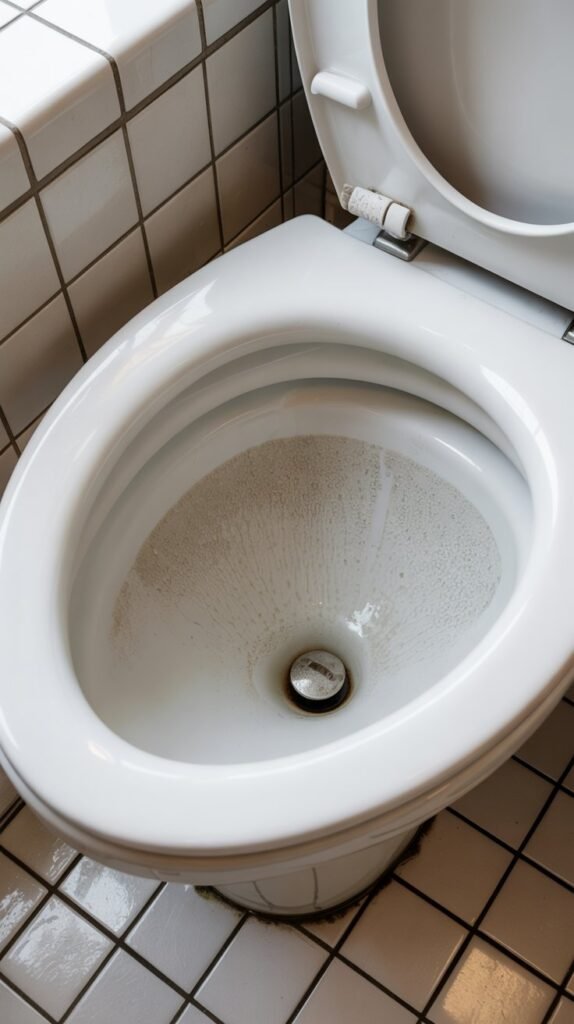
If you’re dealing with those stubborn gray, orange, or brown rings that never seem to budge, this is the step that finally gets rid of them. Hard water deposits, minerals, and years of buildup can cling to porcelain so tightly that regular scrubbing doesn’t even make a dent. Using the right cleaners — and the right technique — will break down the stains without damaging your toilet. This is where the bowl goes from “clean enough” to actually spotless.
Shop the Look
Do’s and Don’ts
Do:
- Wet the pumice stone before scrubbing to prevent scratching.
- Let your limescale or hard water remover sit for 10–20 minutes so it can dissolve buildup.
Don’t:
- Don’t use bleach on mineral stains — it brightens but does not remove them.
- Don’t apply pressure with a dry pumice stone; it can etch the porcelain.
Clean Under the Rim (Where Hidden Grime Lives)
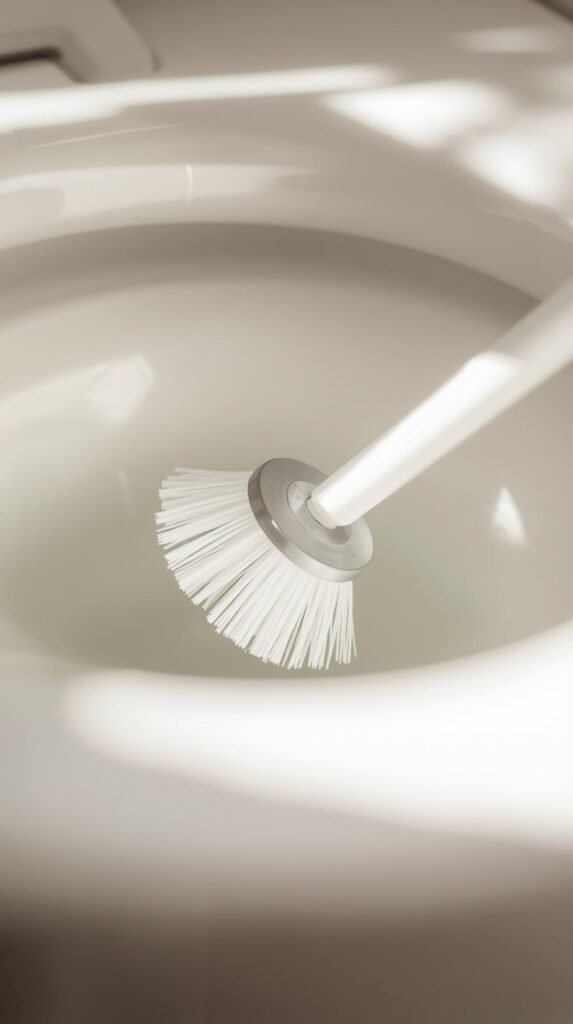
If your toilet still smells “off” even after a full scrub, the culprit is almost always under the rim. This hidden ledge traps bacteria, hard water buildup, and residue that regular brushing never reaches. When you clean this area properly, your whole bathroom smells fresher instantly. Use an angled or specialty rim brush to get under the curve and break up anything clinging there — this is the secret to a truly clean toilet.
Shop the Look
Do’s and Don’ts
Do:
- Use upward strokes to reach the underside of the rim.
- Flush twice after cleaning to rinse away loosened debris.
Don’t:
- Don’t skip this step — it’s responsible for most lingering odors.
- Don’t use abrasive tools directly on glazed porcelain.
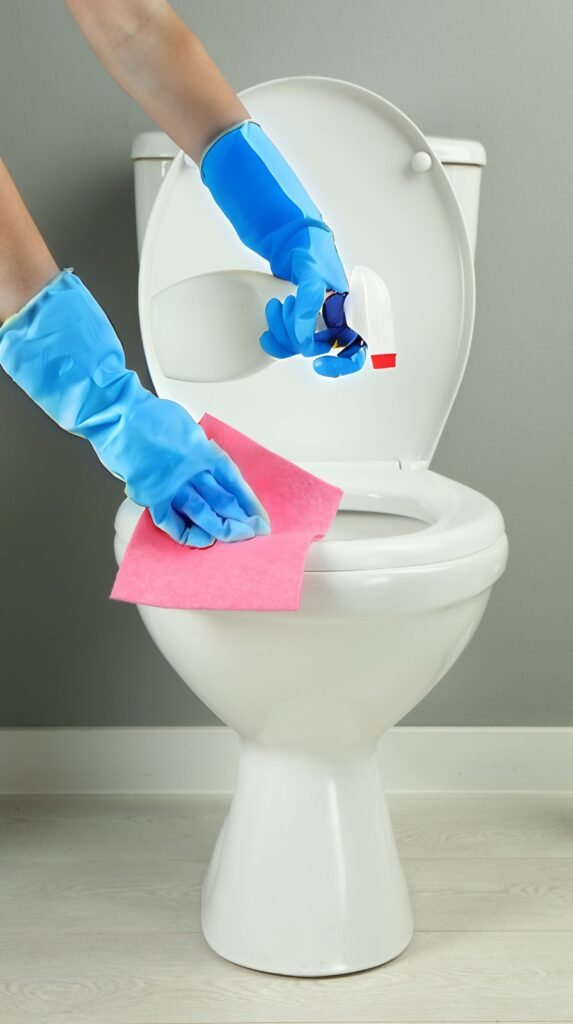
Wipe Down the Exterior (Lid, Seat, Base, and Tank)

Cleaning the outside of the toilet is where everything starts to look instantly brighter and more hygienic. The lid, seat, tank, and sides collect dust, splashes, and bacteria without you even noticing, and a quick wipe-down transforms the entire bathroom. This step is fast, satisfying, and prevents buildup from turning into stains later. Once you finish, your toilet will look polished — not just “clean enough.”
Shop the Look
Do’s and Don’ts
Do:
- Wipe from cleanest areas (lid/tank) to dirtiest (seat/base).
- Clean the hinges and crevices — they trap more bacteria than you think.
Don’t:
- Don’t use the same cloth you use for counters.
- Don’t forget the back of the tank and sides of the bowl.
Clean Around the Base and Floor
This is the area that quietly collects dust, hair, and moisture — and can cause that lingering bathroom smell no one can pinpoint. Cleaning the base of the toilet and the floor around it makes an immediate difference in how fresh your bathroom feels. Even a fast wipe-down removes hidden grime, but a deeper clean around the bolts and floor edge gives your bathroom that hotel-level cleanliness.
Shop the Look
Do’s and Don’ts
Do:
- Spray the base and wipe thoroughly, including behind the toilet.
- Clean the floor edges where dust and residue settle.
Don’t:
- Don’t forget the wall behind the toilet — it can collect splashes.
- Don’t use harsh cleaners on grout unless they’re grout-safe.
Clean Under the Toilet Seat (Hinges + Crevices)

If your toilet still smells off even after a deep clean, the hinges are usually to blame. These tiny crevices trap urine, moisture, dust, and bacteria that regular wiping never touches. Cleaning under the seat — especially around the screws and hinge caps — instantly makes your toilet cleaner, fresher, and more sanitary. This is a small step with a huge payoff, and once you do it, you’ll never skip it again.
Shop the Look
Do’s and Don’ts
Do:
- Pop open the hinge caps and scrub around each screw.
- Spray disinfectant into every small crevice and wipe thoroughly.
Don’t:
- Don’t skip closing the hinge caps — open caps collect debris faster.
- Don’t use a large brush here; it won’t reach anything.
Freshen and Maintain the Toilet Weekly

Once your toilet is fully cleaned, keeping it fresh is surprisingly easy. A quick weekly routine prevents stains from setting, stops odors before they start, and keeps the bowl looking bright between deep cleans. Think of this as the “maintenance mode” that saves you time later — just a few minutes a week keeps everything feeling clean without the heavy scrubbing.
Shop the Look
Do’s and Don’ts
Do:
- Do a quick wipe-down of the exterior once or twice a week.
- Scrub the bowl weekly to prevent new stains from forming.
Don’t:
- Don’t rely on cleaning tablets alone — they’re maintenance, not a full clean.
- Don’t let mineral stains sit; treat them as soon as they appear.
A truly clean toilet isn’t just about scrubbing the bowl — it’s about tackling every hidden spot that collects grime, odor, and buildup. Once you start cleaning under the rim, around the base, behind the hinges, and deep inside the bowl, your entire bathroom feels fresher instantly. The best part? Keeping it clean becomes so much easier once you follow this full routine. And if you’re dealing with hard water stains or stubborn mineral rings that keep coming back, don’t worry — there’s a simple fix.
Read next → The Easiest Way to Remove Hard Water Stains