Affiliate Disclosure: This post contains affiliate links. If you purchase through these links, I may earn a small commission at no extra cost to you.
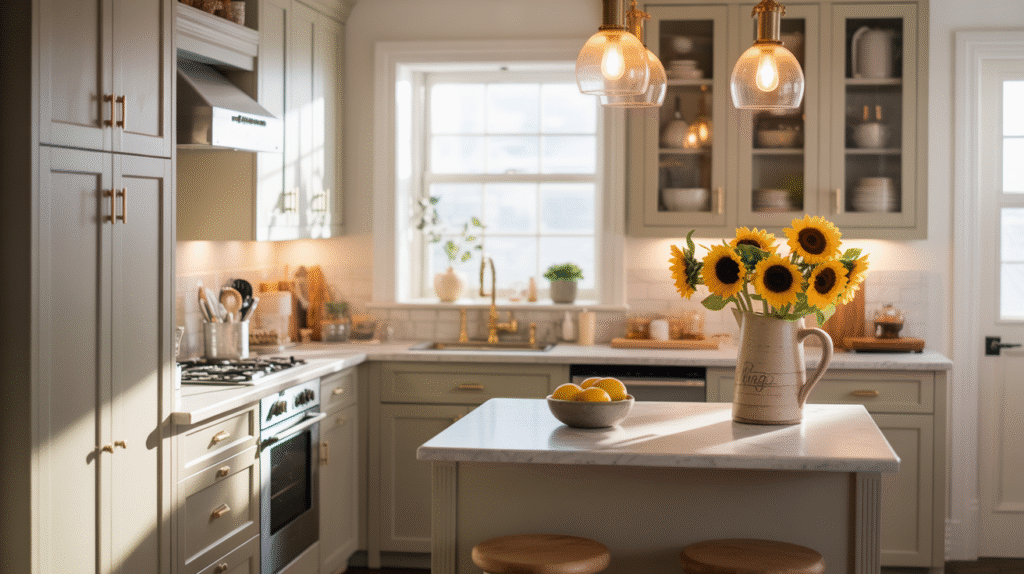
The Easiest Way to Revive Outdated Cabinets
If your cabinets are worn, yellowed, or just plain boring, you don’t need to gut your kitchen to get that custom wood look. Liquid wood is a game-changer a real-wood coating you brush on like paint but that actually looks and feels like solid wood grain once cured. It bonds to nearly any surface, from laminate to MDF, and instantly gives tired cabinets warmth and texture.
This project is perfect if you want to transform cabinets without paying thousands for replacements or professional refinishing. With a little prep, a few coats, and the right tools, you can pull off a DIY kitchen makeover that makes your space feel high-end and handcrafted. Here’s how to do it right the first time.
What Is Liquid Wood and Why It Works
Liquid wood is not paint or stain it’s a wood-based coating made from real wood fibers, resin, and bonding agents. When brushed or rolled onto a surface, it dries into a textured layer that mimics authentic wood grain. Once sealed, it looks like natural wood cabinetry but costs a fraction of a full replacement.
It works because it bonds tightly to a variety of surfaces including painted, laminate, and MDF cabinets without heavy sanding or stripping. For older kitchens, this means you can skip the chaos of demolition and still get a finish that looks professionally installed.
Color and Texture Tips:
- Choose a tone that complements your flooring and counters. Warm walnut and chestnut create cozy contrast against white walls.
- If your space leans modern, go for ash or driftwood for a lighter, more minimalist vibe.
- For farmhouse or rustic looks, layer mid-tone stains like honey or oak for added depth.
Pro Insight: The key is to treat the product like real wood you can sand, stain, and seal it just the same.
Prep Like a Pro: The Key to a Smooth Finish

No matter how good your product is, surface prep makes or breaks your finish. Cabinets collect grease, dust, and residue that can keep liquid wood from bonding. Start clean, then work methodically.
Step-by-Step Prep Guide:
- Remove doors and hardware. Label each door with painter’s tape so you can easily reinstall them later.
- Degrease thoroughly. Use a cabinet cleaner or degreaser to strip off any oil buildup, especially near handles.
- Lightly sand. Use a fine sanding sponge to rough up glossy finishes so the coating adheres properly.
- Wipe it down. Finish with a damp microfiber cloth to remove all dust before applying your first coat.
- Protect edges and walls. Tape off your backsplash, counters, and hinges to keep your application clean.
Surface Tips by Material:
- Painted wood: A quick sand and wipe is enough no stripping required.
- Laminate or MDF: Apply a bonding primer first for maximum grip.
- Raw wood: Fill dents or deep scratches before coating for an even grain pattern.
Fabric/Texture/Color Notes: Keep the look cohesive by choosing a finish that matches your space’s vibe. For a soft neutral kitchen, use a satin finish that catches light subtly. If you want more character, go with a matte texture that mimics raw wood and hides imperfections better.
Shop the Look:
Pro Tips:
- Don’t rush the cleaning stage. Residue will prevent adhesion and cause peeling later.
- Always work in a ventilated area even water-based coatings release mild fumes.
- Test your primer and liquid wood combination on a hidden spot before coating everything.
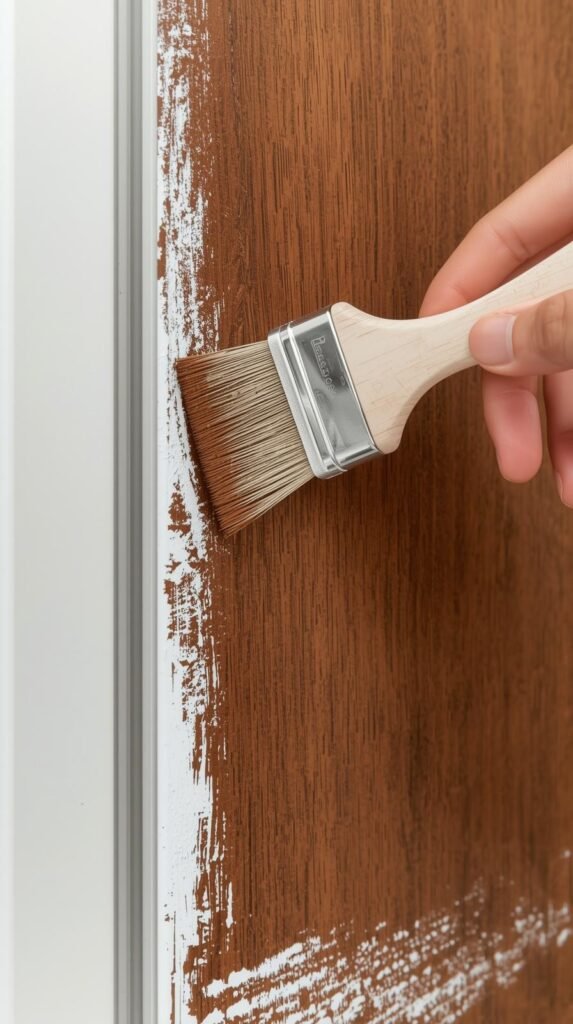
Applying Liquid Wood: Step-by-Step Guide

Here’s where the transformation happens. Once your cabinets are clean and dry, it’s time to apply your liquid wood coating. The key is thin, even layers not heavy coverage. This allows the wood texture to build naturally, giving you that real-grain effect you can actually feel.
Step-by-Step Instructions:
- Stir, don’t shake. Shaking creates bubbles that can transfer into your finish. Mix gently until the texture is smooth.
- Start small. Apply a thin coat to one cabinet door first to get a feel for the consistency.
- Brush or roll evenly. Use a foam brush or roller for a streak-free application. Work in the direction you want your wood grain to appear.
- Layer for depth. Once dry, lightly sand with a fine sponge, then apply a second coat. Two to three coats usually achieve a rich, wood-like texture.
- Create grain detail. While the coating is still slightly tacky, use a wood-graining tool to drag through the surface for natural patterns.
- Let it cure fully. Don’t rush this part allow at least 24 hours before sealing or reassembling your cabinets.
Pro Tips:
- Apply in consistent strokes from top to bottom to mimic natural grain direction.
- For a lighter “oak” look, stop at two coats. For deeper “walnut” tones, add a third layer.
- Keep the room around 70°F to ensure even drying and proper curing.
Texture and Color Notes: This is where you can customize your cabinets’ personality. Warm espresso or walnut creates a cozy, high-end feel. Driftwood or ash brings a modern, Scandinavian tone. For farmhouse or coastal kitchens, blend mid-tone honey and maple finishes.
Shop the Look:
Pro Insight: You don’t need to be a pro painter to get showroom-worthy results. The trick is to let the texture do the talking. Each coat adds depth and dimension, and the more natural your motion, the more believable the “real wood” finish will look.
Adding the Stain or Topcoat for Durability

You’ve built your texture; now it’s time to protect it. The stain or topcoat step seals the liquid wood cabinets, locking in color and giving them the durability they need to stand up to daily kitchen use. Think of it as your finish line literally.
Step-by-Step Sealing Process:
- Let the liquid wood cure completely. At least 24 hours is best to avoid tacky layers.
- Lightly sand between coats. A fine grit sponge (220+) smooths out raised fibers and keeps the finish buttery.
- Apply your stain or topcoat evenly. Use a soft brush or lint-free cloth, working in long, even strokes with the grain.
- Choose your finish:
- Matte or satin: Ideal for natural, understated looks.
- Gloss or semi-gloss: Adds a polished, furniture-grade shine.
- Let it harden. Give it 24–48 hours before reinstalling doors or hardware to prevent smudging.
Texture & Tone Tips: If you want to add dimension, use a gel stain in a slightly darker shade over your base coat. Wipe away excess quickly to reveal highlights and shadows this gives the illusion of real wood grain depth.
Pair the color to your space:
- Warm kitchens: Golden oak or chestnut stains.
- Cool-toned kitchens: Driftwood or gray wash finish.
- Modern contrast: Deep espresso or black walnut for dramatic appeal.
Shop the Look:
Pro Tips:
- Always test your topcoat on a scrap or hidden area first different formulas can slightly shift color.
- Avoid polyurethane if you want a natural, non-plastic feel; a satin polyacrylic keeps the finish breathable and smooth.
- Apply two thin coats instead of one heavy one. Thin layers cure harder and resist chips longer.
Once this step is done, your cabinets will look and feel like they came straight out of a high-end millwork shop — without the cost or chaos of a remodel.
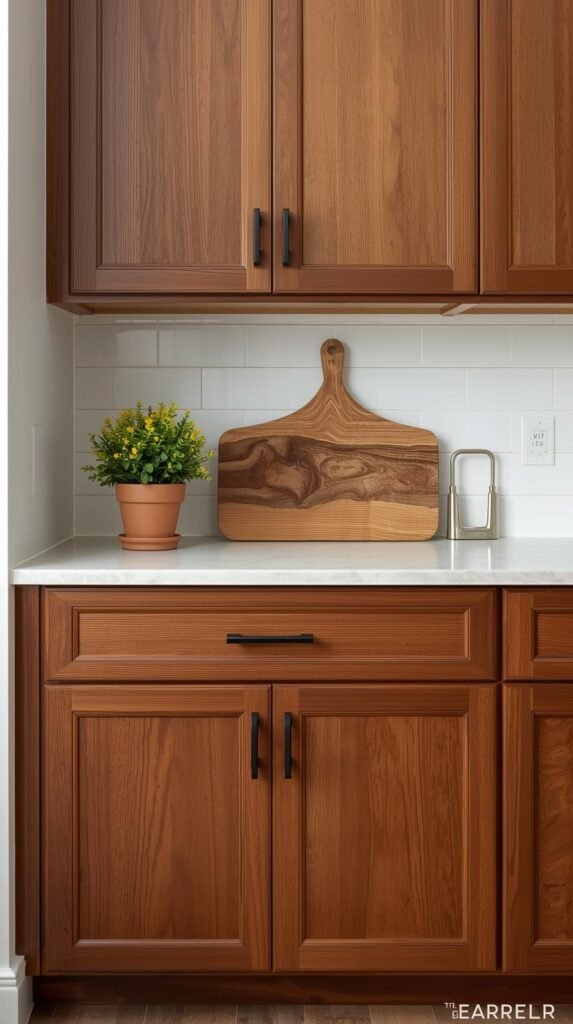
Styling and Hardware: The Finishing Touch

The best part of any makeover? The details. Once your liquid wood cabinets are sealed and cured, new hardware can make them look fully custom. This is where you tie the entire kitchen aesthetic together clean lines, contrast, and texture elevate your finish from DIY to designer.
Style Tips by Aesthetic:
- Modern kitchens: Go sleek with matte black or brushed nickel pulls. These pair perfectly with espresso or ash wood tones.
- Farmhouse or rustic spaces: Try oil-rubbed bronze or antique brass hardware against honey or chestnut stains.
- Minimalist or Scandinavian: Use slimline handles in soft champagne gold for a barely-there elegance.
Hardware Placement Tips:
- Use consistent spacing (typically 2.5–3 inches from the door edge).
- Match hardware scale to door size large drawers deserve longer pulls, while smaller doors look balanced with knobs.
- Align handles horizontally for drawers and vertically for doors to keep a clean, architectural feel.
Texture & Contrast Notes: This step isn’t just functional it’s visual styling. Cool metal finishes balance the organic warmth of wood finish cabinets, while brushed textures hide fingerprints and daily wear.
Shop the Look:
Pro Tips:
- Mix metals carefully one dominant tone per space keeps it cohesive.
- Use a cabinet template tool to mark holes accurately; it saves you from crooked handles.
- Wipe hardware with a microfiber cloth after install to remove prints and polish the finish.
Swapping out dated pulls or knobs may seem small, but it’s the difference between a weekend project and a total kitchen transformation.
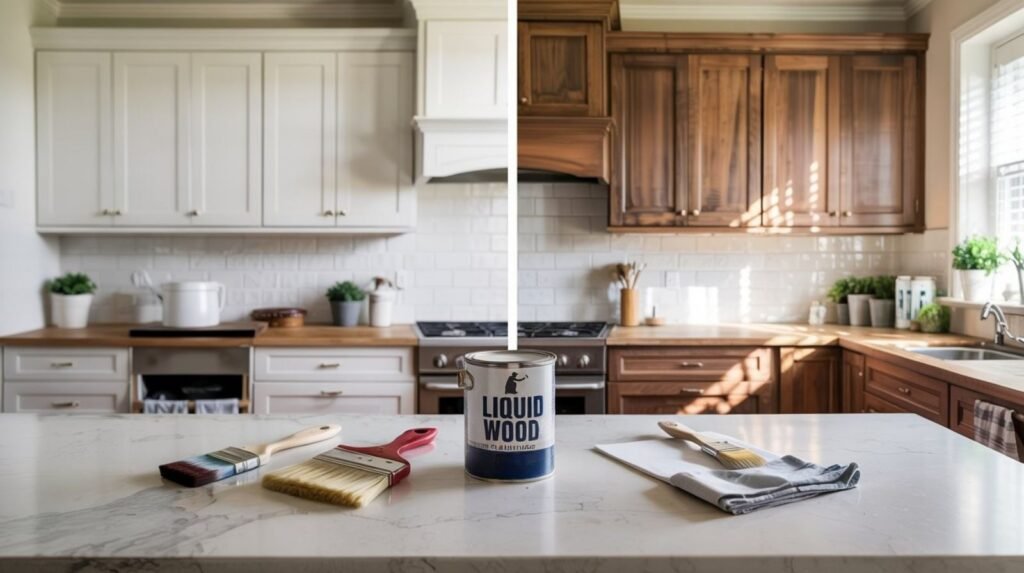
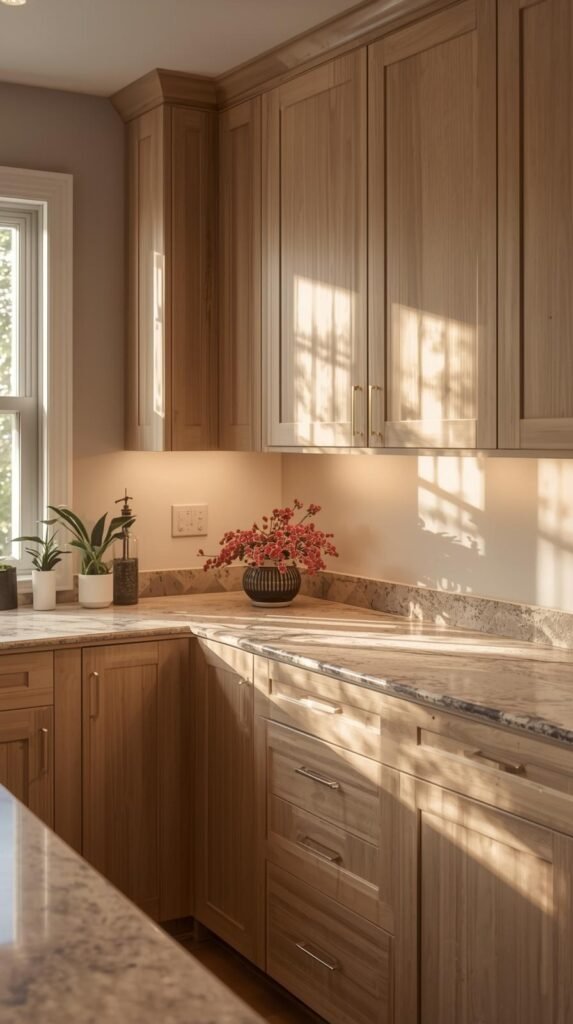
Before and After: What to Expect

Here’s the fun part seeing your work pay off. Liquid wood cabinets don’t just look different; they feel different. The texture is natural, the finish is rich, and the lighting in your kitchen instantly feels warmer and more polished.
What You’ll Notice:
- Depth and dimension. The grain catches light just like real wood, adding movement to otherwise flat cabinet faces.
- Color transformation. Even old white cabinets take on believable wood tones from subtle maple warmth to deep walnut richness.
- Improved durability. Once sealed, your new finish resists scratches, moisture, and daily wear better than paint alone.
Testing Tip: Before coating every door, try one lower cabinet as your sample. This lets you fine-tune your color layering, grain direction, and topcoat preference. You’ll see exactly how the finish reacts in your lighting and environment.
Lighting Insight: Under-cabinet lighting makes the grain glow subtly, while natural daylight enhances mid-tone warmth. If your kitchen has cool LED lights, choose a warmer topcoat to balance the tone.
Pro Tips:
- Always photograph your “before” the side-by-side transformation is dramatic and motivating.
- Use soft-close hardware upgrades for a luxury feel that matches your new look.
- If you love the finish, you can extend the same product onto furniture or built-ins for a cohesive home aesthetic.
The best part? You’ll never look at your “builder-grade” kitchen the same way again.
7. Do’s and Don’ts

| Do’s | Don’ts |
|---|---|
| Test first. Always apply liquid wood to a small area before committing to the full kitchen. | Skip prep. Dirt, grease, or residue will cause peeling or uneven adhesion. |
| Let each coat cure. Follow the manufacturer’s dry time between layers for a smooth finish. | Rush drying. Tackiness leads to smudges and weak bonding. |
| Work with the grain. Always brush in one direction for a natural wood effect. | Overload the brush. Too much product causes drips and uneven texture. |
| Use ventilation. Keep air moving while applying and curing to avoid trapped fumes. | Neglect sealing. Without a topcoat, your finish will dull and scratch easily. |
| Match tones. Coordinate your cabinet finish with existing floors or trim for a cohesive look. | Ignore lighting. Different light temperatures can alter your final wood tone. |
Pro Insight: Think of these rules like the difference between a DIY project and a professional refinish. Good prep and patience create cabinets that look built-in, not brushed-on.
A High-End Look Without the High-End Cost
You don’t need to tear out your kitchen or hire a contractor to get the warm, natural beauty of real wood cabinets. Liquid wood gives you a surface that looks and feels like solid wood without the cost, sanding, or stress of a full renovation.
With the right prep, a steady hand, and a few strategic finishing touches, your once-dated cabinets can look brand new. This is one of the easiest DIY kitchen makeovers you’ll ever attempt and it actually lasts.
If you’re ready to take your next home project even further, check out my post on Rustic Christmas Decor That Feels Timeless and Cozy for more creative DIY inspiration.
Key Takeaway: A little patience, a few coats, and one can of liquid wood can completely transform your space — proving that great design doesn’t need a massive budget, just good technique.