
Affiliate Disclosure: This post may contain affiliate links. As an Amazon Associate, I earn from qualifying purchases.
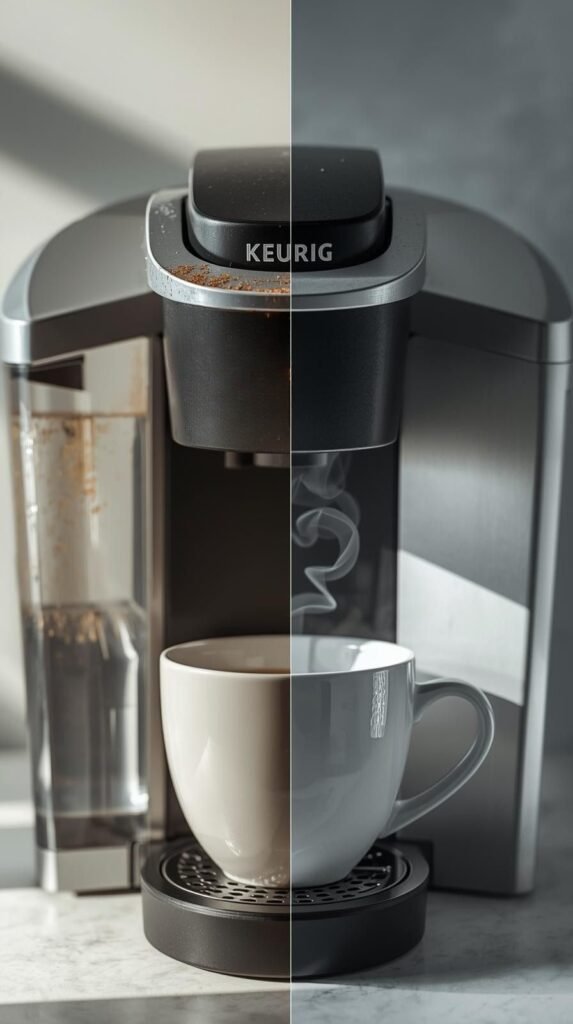
If your morning coffee suddenly tastes off or your Keurig sounds like it’s struggling, it’s not your imagination. Over time, mineral buildup, coffee grounds, and bacteria quietly collect inside your machine. That means slower brewing, strange flavors, and sometimes a complete clog. The good news? You don’t need special tools or professional help. With the right steps and a little vinegar, you can deep clean your Keurig and get it running like new again fast.
Why Cleaning Your Keurig Matters
Your Keurig works hard every morning, but it’s also a magnet for buildup. Water minerals settle inside the tubes, coffee residue sticks to the internal parts, and mold can even form in hidden spots. When that happens, your coffee starts tasting bitter or weak, and the machine has to work harder just to push water through.
A clean Keurig doesn’t just make better coffee; it also lasts longer. Regular cleaning prevents mineral clogs, keeps brewing consistent, and protects your investment.
You’ll know it’s time to clean if you notice:
- Your coffee tastes sour, bitter, or just “off.”
- The machine takes longer to brew or sputters.
- The “Descale” light comes on.
- Water isn’t flowing smoothly or fully filling your cup.
Keeping your Keurig clean saves you time, money, and disappointment because nobody deserves a bad cup of coffee first thing in the morning.
What You’ll Need

Before you start cleaning, make sure you have the right supplies on hand. Most of these are inexpensive and easy to find, and they’ll help you clean your Keurig inside and out without damaging any parts.
You’ll need:
- White vinegar or a Keurig descaling solution
- Fresh water
- A clean sponge or microfiber cloth
- Dish soap
- A small cleaning brush or paper clip (for unclogging the needle)
- A replacement water filter (if your model uses one)
- A large ceramic mug (not paper or plastic)
Keeping these items in one spot makes it easier to do a full clean when it’s time. You’ll be surprised how much buildup comes out once you start.
Shop the Look:
- Keurig Descaling Solution
- Replacement Water Filters
- Microfiber Cleaning Cloths
- Cleaning Pods for Keurig
How to Clean and Descale a Keurig Step-by-Step

Deep cleaning your Keurig takes less than an hour and can make a huge difference in taste and performance. The process removes old coffee residue, hard water deposits, and bacteria that hide inside your water lines and brew needle. Follow these steps to clean your Keurig thoroughly.
Step 1: Unplug and Disassemble – Always start by unplugging your machine for safety. Then remove the water reservoir, drip tray, K-cup holder, and lid.
Wash all removable parts in warm, soapy water. Rinse thoroughly and let them air dry. If your reservoir has visible scale or film, scrub gently with a sponge and rinse again.
Step 2: Clean the Needle Area – This is one of the dirtiest parts of a Keurig and often the reason for slow or partial brews. Use a paper clip or a Keurig needle cleaning tool to gently clear any trapped coffee grounds or residue inside the puncture needle.
Wipe the surrounding area with a damp microfiber cloth to remove buildup.
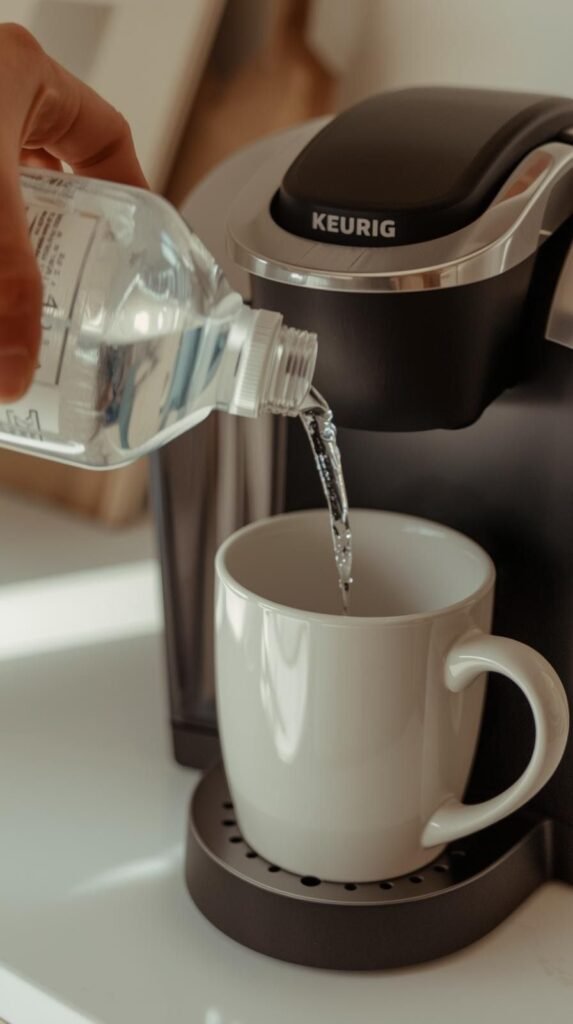
Step 3: Descale the Inside of the Machine – Fill the water reservoir halfway with white vinegar and halfway with water. This solution breaks down mineral deposits that affect taste and water flow.
- Place a large mug under the brew head.
- Run a brew cycle without inserting a pod.
- Discard the liquid and repeat until the reservoir is empty.
If your machine has a “Descale” mode, follow the manufacturer’s instructions instead.
Step 4: Rinse the System – Once you’ve run the vinegar solution through, fill the reservoir with fresh water and run at least 2–3 full brew cycles with no coffee pod. This removes the vinegar taste and any leftover residue.
Keep rinsing until your coffee no longer smells or tastes like vinegar.
Step 5: Reassemble and Wipe Down – When everything is dry, reassemble your Keurig. Wipe the exterior with a clean cloth to remove any drips or dust.
At this point, your Keurig should look cleaner and brew faster—and your coffee will taste noticeably better.
Keurig Vinegar Cleaning Method
Vinegar is one of the easiest and most affordable ways to clean and descale your Keurig. It’s safe, effective, and works well for removing mineral deposits and coffee oils that build up over time.
If you prefer a natural cleaner instead of a store-bought descaling solution, follow this simple method.
Step 1: Mix the Vinegar Solution – Combine equal parts white vinegar and water in your Keurig’s water reservoir. For most models, this means filling the tank halfway with vinegar and halfway with water.
Step 2: Run the Cleaning Cycle – Place a large mug on the drip tray and run a brew cycle without a coffee pod. Pour out the liquid each time and repeat the process until the reservoir is empty.
If your Keurig has a “Descale” or “Clean” button, activate it now and follow the on-screen instructions.
Step 3: Let It Sit – After the vinegar solution has cycled through, let the machine sit for 30 minutes. This soaking period gives the vinegar time to break down mineral buildup deep inside the water lines and pump.
Step 4: Rinse Thoroughly – Refill the reservoir with fresh water and run 3–4 brew cycles to flush out the vinegar. Keep running until the water comes out clear and odor-free.
Pro Tip: For extra freshness, you can repeat the final rinse with filtered water. It helps prevent new mineral buildup and keeps your coffee tasting clean.
Shop the Look:
When to Change Your Keurig Water Filter
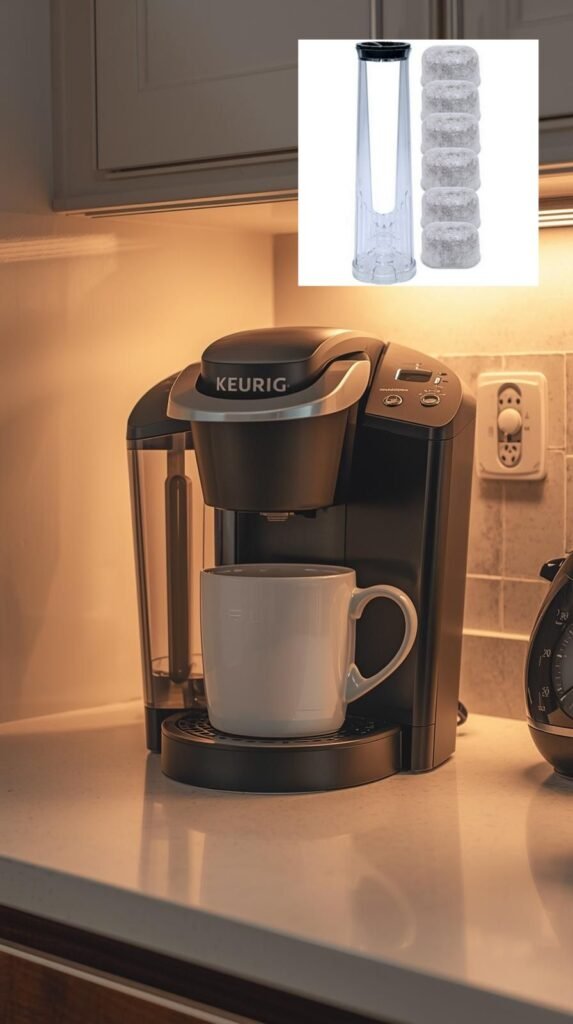
Even if your Keurig looks spotless, the water filter inside the reservoir quietly collects minerals and impurities that affect flavor. Over time, those trapped particles can make your coffee taste dull or even metallic.
Most Keurig models use a charcoal water filter, and it should be replaced about every two months or after 60 tank refills, whichever comes first. If you live in an area with hard water, you may need to change it even sooner.
How to Replace It:
- Remove the water reservoir lid and pull out the filter holder.
- Open the bottom of the holder and discard the old filter.
- Soak a new charcoal filter in fresh water for 5 minutes before installing it.
- Insert the new filter into the holder, snap it shut, and place it back into the reservoir.
- Fill the tank with fresh water before brewing.
Pro Tip: Write the replacement date on a small piece of tape and stick it under the reservoir lid. It’s a quick reminder to stay on schedule without guessing.
Shop the Look:
- Keurig Water Filter Cartridges
- Keurig Water Filter Starter Kit
- Hard Water Test Strips
- Filtered Pitcher for Coffee Makers
Common Cleaning Mistakes to Avoid

Cleaning a Keurig is simple, but a few small mistakes can ruin the process or even damage your machine. Here’s what to skip next time you deep clean.
1. Skipping the rinse cycle – Vinegar and descaling solution work well, but if you don’t rinse the machine several times, the next few cups will taste like acid. Always run at least 3–4 clean water cycles before brewing coffee again.
2. Using abrasive cleaners or scrub pads – Never use steel wool or harsh scrubbing sponges. They can scratch the plastic and leave residue inside the water tank. Stick with a soft sponge or microfiber cloth.
3. Ignoring the needle – If you skip cleaning the puncture needle, you’ll eventually get clogs or slow drips. It’s one of the smallest parts but makes the biggest difference in performance.
4. Using straight vinegar too often – Pure vinegar is strong and can wear down internal seals if used frequently. Always mix it with equal parts water for a balanced clean.
5. Forgetting the drip tray and pod holder – Old coffee drips and splashes collect in these areas. Empty and wash both regularly to keep bacteria and odors away.
Do’s and Don’ts
Do: Clean your Keurig every 1–2 months for best performance.
Do: Replace the filter on schedule.
Don’t: Use bleach or dishwashing detergents inside the reservoir.
Don’t: Leave water sitting in the tank for long periods.
The Final Brew: A Cleaner Machine, Better Coffee
A clean Keurig isn’t just about looks. It’s about better-tasting coffee, faster brews, and a machine that lasts longer. Once you’ve done a full deep clean, you’ll notice how smooth and fresh your morning cup tastes again.
Make cleaning part of your routine. Descale every few months, change the filter regularly, and rinse after each use. It takes less than an hour and keeps your Keurig running like new.
Ready to tackle the rest of your kitchen?
Check out The Easiest Way to Remove Hard Water Stains or browse my other DIY cleaning hacks for quick, affordable home fixes that actually work.
Because when your coffee tastes right, everything else in your day runs a little smoother.