Affiliate Disclosure – This post contains affiliate links. If you purchase through my links, I may earn a small commission at no extra cost to you.
If your tile floors look clean but the grout still looks dark and dingy, you are not alone. Grout traps dirt fast, and once it settles in those tiny pores, regular mopping does nothing. The good news is that learning how to clean grout on tile floors is way easier than it looks. Today I am breaking down the exact methods that actually work, including non-bleach options that will not damage your tile or fade your grout color. This is your step-by-step guide to bringing those grout lines back to life.
Understand What Type of Grout You Have
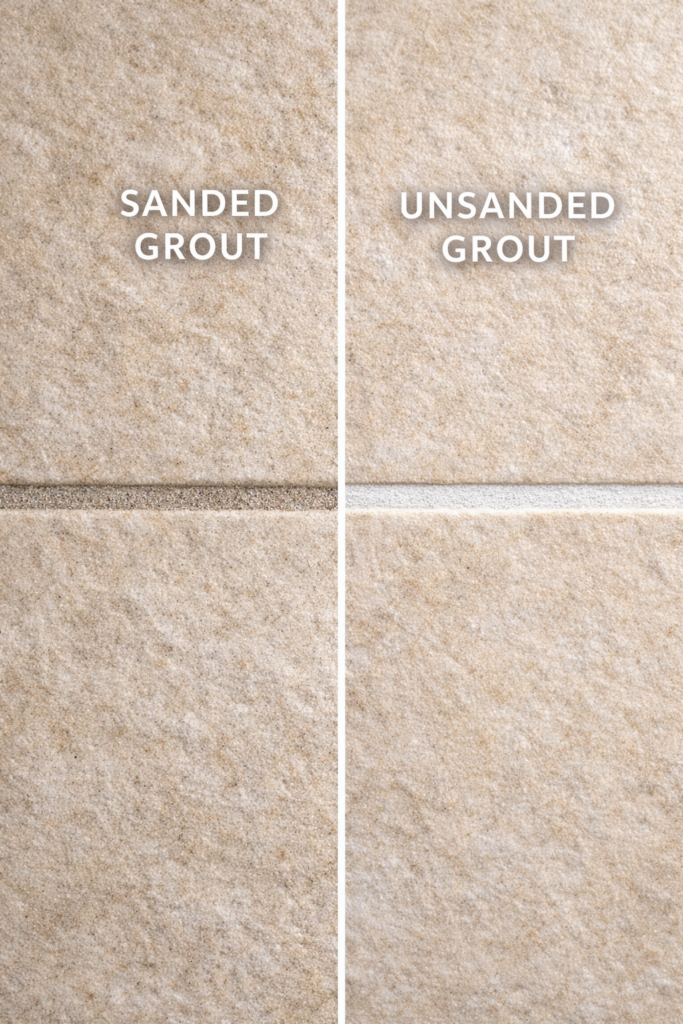
Cleaning grout the right way starts with knowing what you are working with. Cement grout, epoxy grout, and colored grout all respond differently to cleaners, so the wrong product can discolor, scratch, or even weaken your grout. Once you know your type, you can choose a safe cleaner that gives you a deep clean without damage.
Steps
- Check whether your grout is sanded, unsanded, epoxy, or colored.
- Look for signs of sealing or coating.
- Do a quick water test by dropping a few droplets on the line. If it absorbs quickly, it is unsealed and more porous.
Pro Tips
- Sanded grout is more durable and can handle firmer scrubbing.
- Colored grout needs gentle, non-bleach cleaners to prevent fading.
- Epoxy grout is the most stain-resistant but requires specific cleaners.
Shop the Look
Prep the Tile Floor for Deep Cleaning
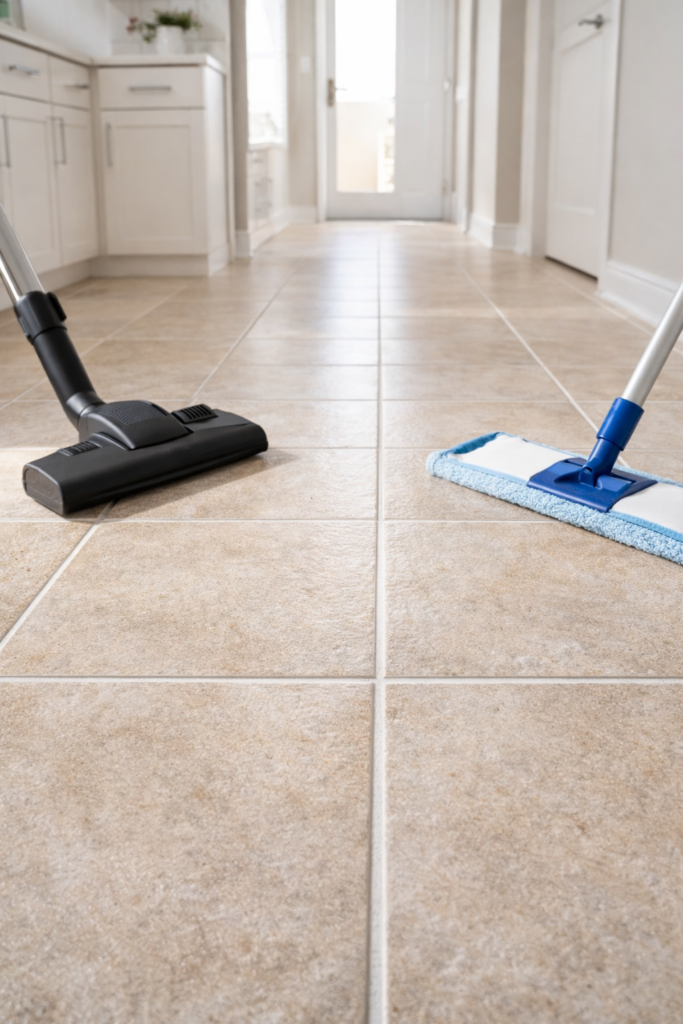
Before you start scrubbing grout, your tile needs a quick reset. Dust, crumbs, pet hair, and sticky residue sit on top of grout lines and block your cleaner from doing its job. Prepping the floor takes only a few minutes and makes every cleaning method work faster and better.
Steps
- Sweep or vacuum the entire tile floor, making sure to get into corners and edges.
- Lightly mop with warm water to loosen surface dirt.
- Let the grout dry for about 5 minutes so the cleaner can penetrate properly.
Pro Tips
- A vacuum with a hard floor setting pulls dirt out of grout grooves better than sweeping alone.
- Skip steam at this stage, especially on unsealed grout, since too much heat can weaken it.
- If you see any sticky spots, spot clean those first to avoid spreading residue.
Shop the Look
Try a Non-Bleach Grout Cleaning Method First
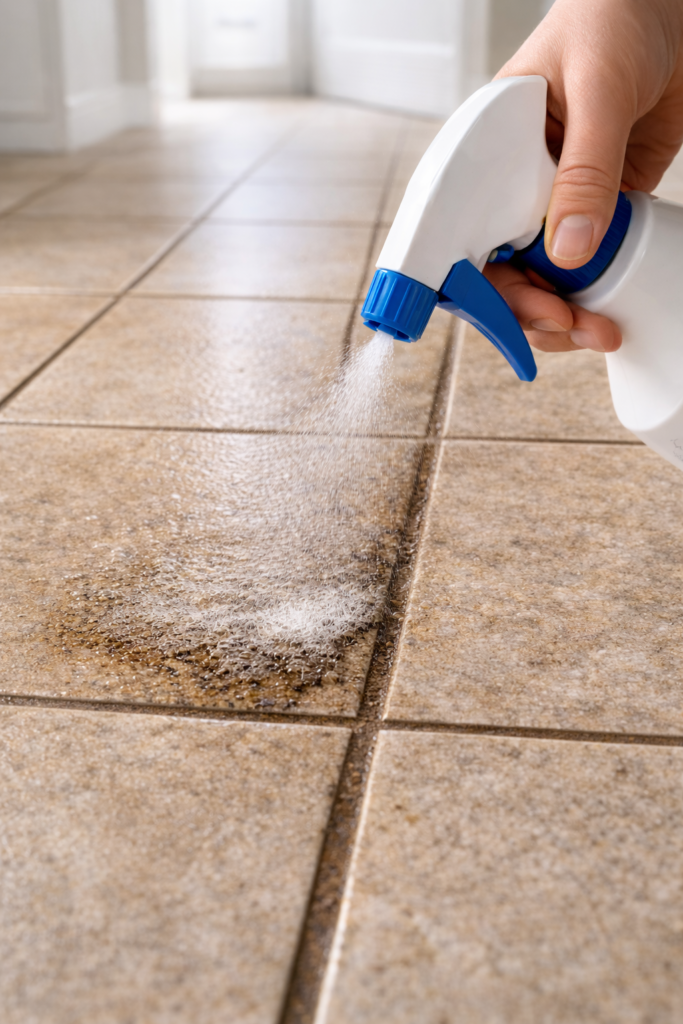
If you want clean grout without risking discoloration or tile damage, start with a gentle, non-bleach method. This simple mix works surprisingly well for everyday dirt, mild stains, and quick refreshes. It is safe, effective, and perfect for anyone who wants a natural option before stepping up to professional cleaners.
Steps
- Mix equal parts warm water and distilled white vinegar in a spray bottle.
- Spray it directly along the grout lines.
- Let the solution sit for about 5 minutes to break down buildup.
- Scrub using a firm grout brush, then wipe clean with a damp cloth.
Pro Tips
- Never use vinegar on marble, travertine, limestone, slate, or any natural stone tile.
- Add one teaspoon of dish soap to boost grease cutting power.
- For heavily soiled areas, repeat once more before moving to stronger cleaners.
Shop the Look
Use a Baking Soda Paste for Stubborn Grout Stains
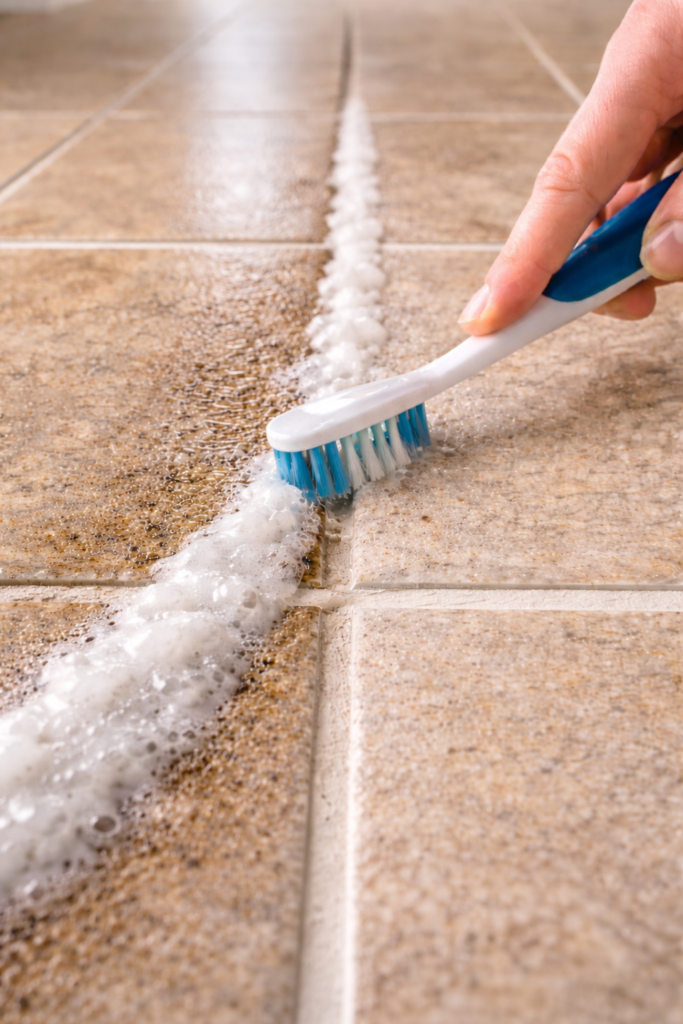
When your grout has deep-set dirt or discoloration that regular cleaners cannot touch, baking soda is the perfect next step. It is gentle enough for most tile floors but strong enough to lift tough stains without bleaching or scratching. The paste clings to grout lines, giving it time to break down grime while staying completely non-toxic.
Steps
- Mix baking soda with a small amount of water until it forms a thick paste.
- Apply the paste directly onto stained grout lines.
- Let it sit for 10 to 15 minutes so it can penetrate buildup.
- Scrub with a grout brush or toothbrush, then rinse with warm water.
Pro Tips
- For light-colored grout only, you can add a little hydrogen peroxide to boost stain removal.
- A toothbrush gives you more control in tight areas, especially around corners.
- If the paste dries too fast, spritz it lightly with water to reactivate it before scrubbing.
Shop the Look
Use a Professional Grout Cleaner for Deep, Stubborn Dirt
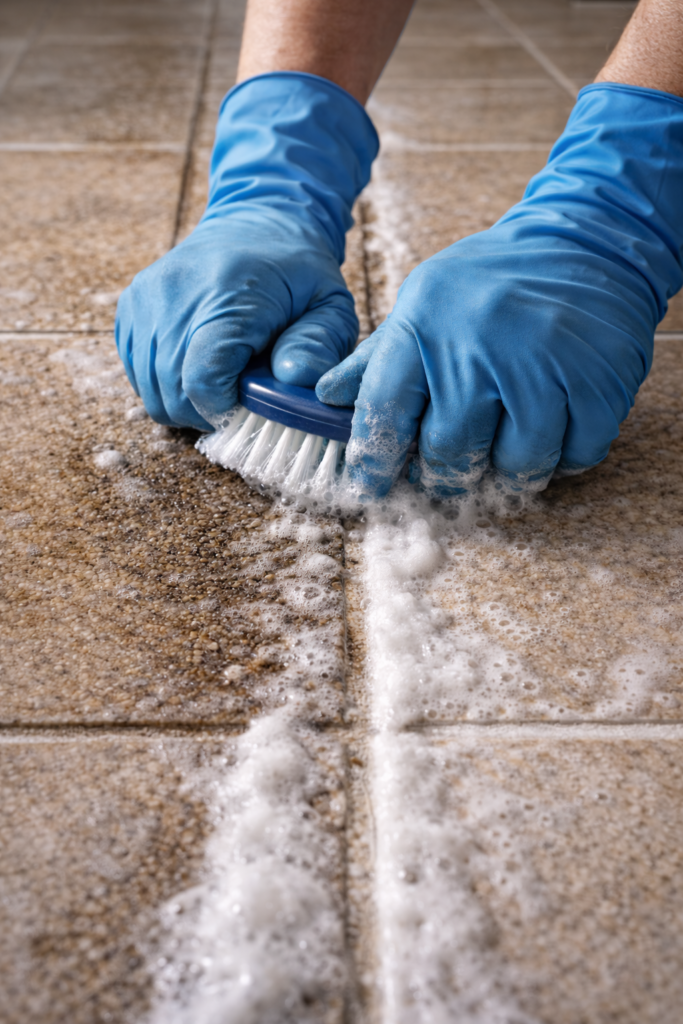
When DIY methods are not lifting heavy stains or years of buildup, it is time to bring in a professional-grade grout cleaner. These formulas are designed to break through deep grime without relying on bleach, making them safe for most tile floors and grout types. They deliver fast, dramatic results when your grout needs more than everyday cleaning.
Steps
- Choose a non-acidic, non-bleach professional grout cleaner that is safe for your tile type.
- Apply the cleaner directly to grout lines, following the instructions on the bottle.
- Let it sit for the recommended dwell time to loosen stubborn dirt.
- Scrub with a firm grout brush, then rinse thoroughly with warm water.
Pro Tips
- Always wear gloves when using professional cleaners to protect your skin.
- Test the cleaner on a small, hidden section of grout before doing the entire floor.
- For extremely thick buildup, a second round of cleaning may be necessary.
Shop the Look
Clean Colored Grout Safely
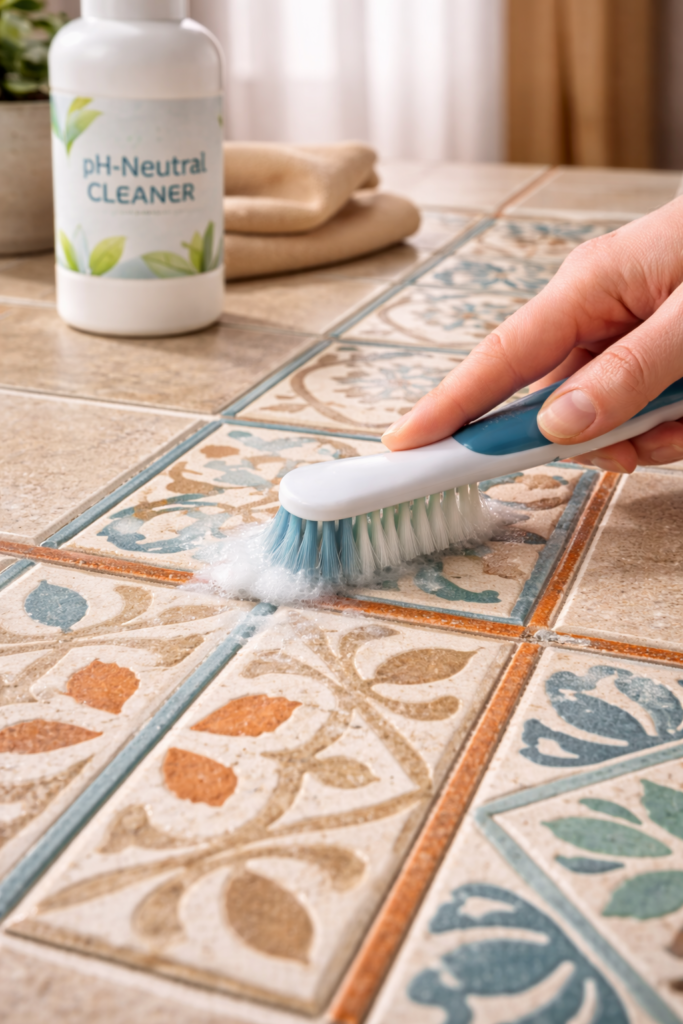
Colored grout can elevate the look of your tile floors, but it also requires more careful cleaning. Strong cleaners can strip dye, fade pigmentation, or create patchy areas that are hard to fix. The key is sticking to gentle, pH-neutral products that lift dirt without touching the color you worked so hard to choose.
Steps
- Choose a pH-neutral grout cleaner specifically designed for colored grout.
- Apply the cleaner along grout lines and let it sit for a few minutes.
- Gently scrub using a soft-bristle brush to avoid wearing down the color.
- Wipe clean with a damp towel and let the floor dry.
Pro Tips
- Never use vinegar, bleach, hydrogen peroxide, or acidic products on colored grout.
- Do a small patch test in a low-traffic corner to confirm there is no fading.
- Reseal colored grout once a year to keep the finish vibrant and protected.
Shop the Look
Rinse and Neutralize the Grout
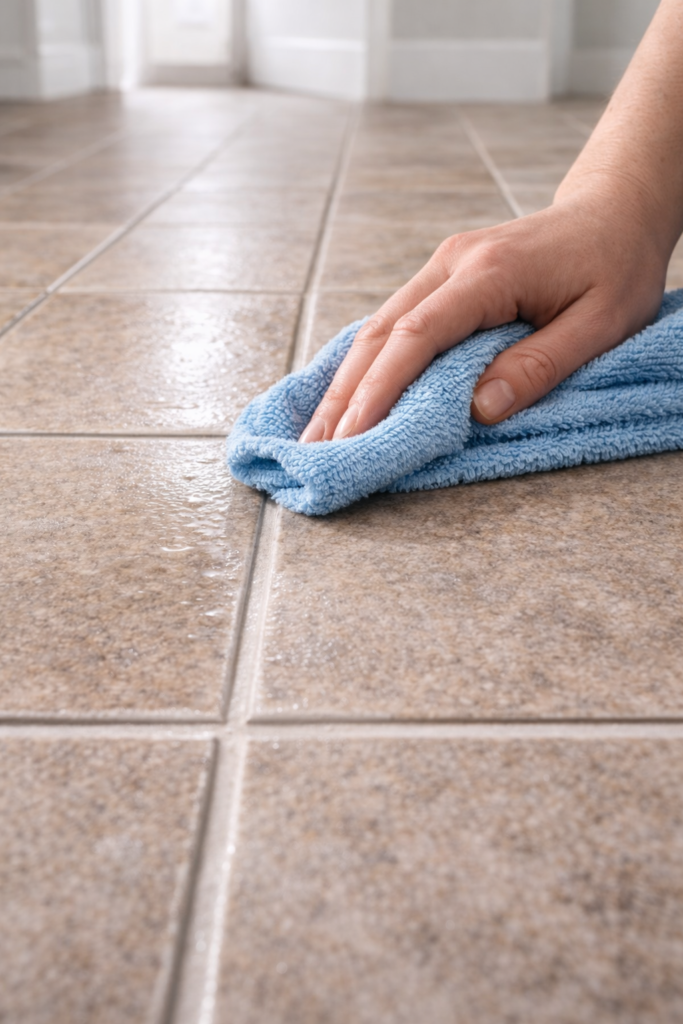
Once the scrubbing is done, this step is what keeps your grout from attracting new dirt. Leftover cleaner residue can pull grime back into the pores, making your grout look dirty again way too fast. A proper rinse resets the pH, removes buildup, and helps your grout dry clean and bright.
Steps
- Mop the floor with warm, clean water to remove any leftover cleaner.
- Repeat until the water stays clear and no residue is left on the tile.
- Dry the floor using a microfiber towel to prevent water from settling back into the grout.
Pro Tips
- Avoid letting dirty rinse water sit inside grout lines longer than a few seconds.
- If your tap water has heavy minerals, do the final rinse with distilled water for a streak-free finish.
- Drying the floor by hand gives the grout a cleaner, more polished look.
Shop the Look
Seal the Grout to Keep It Cleaner Longer
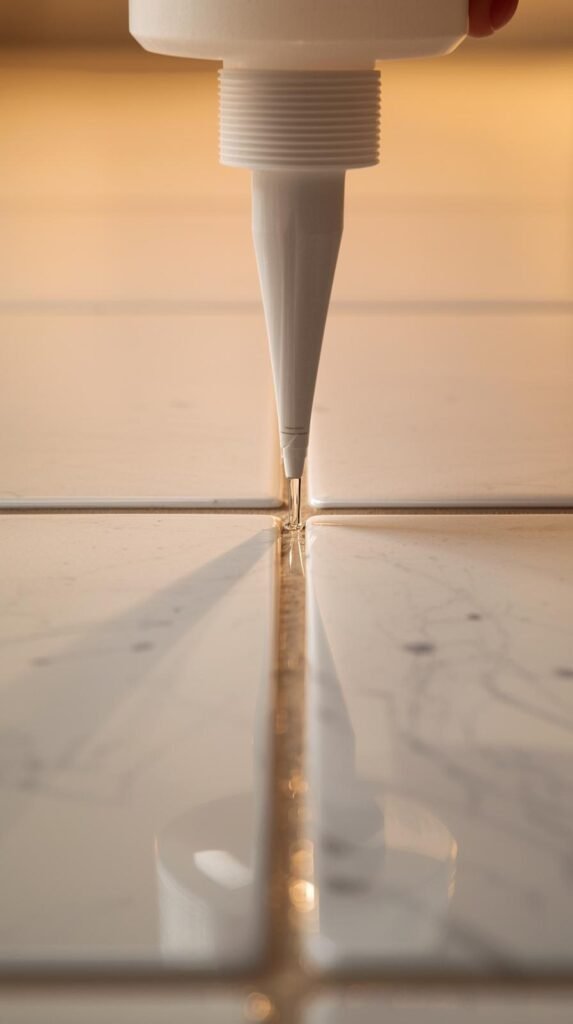
If you want your freshly cleaned grout to stay bright longer, sealing is the step you do not skip. Grout sealant locks out stains, moisture, and everyday grime so cleaning becomes easier and less frequent. It is the best long-term protection against discoloration and one of the simplest ways to extend the life of your tile floors.
Steps
- Apply a penetrating grout sealer directly onto grout lines using a small applicator bottle or sponge tip.
- Allow it to absorb and dry completely according to the product instructions.
- Apply a second coat for high traffic areas or if your grout is older or more porous.
Pro Tips
- Reapply every six to twelve months depending on household foot traffic.
- Wipe away any sealer that gets on the tile surface to avoid cloudy residue.
- A thin, even coat gives better protection than a heavy one.
Shop the Look
Cleaning grout does not have to feel overwhelming. Once you understand your grout type and use the right non-bleach cleaning methods, your tile floors can look bright, fresh, and professionally cleaned without damaging anything. Whether you go for simple natural cleaners or step up to a professional grout formula, these steps help you get results that last. A little sealing at the end locks in all your hard work and keeps your grout looking cleaner for longer. Ready to refresh even more areas in your home? Read next: Easy Bathroom Vanity Upgrades on a Budget for easy projects that make a big impact.