This post contains affiliate links. If you purchase through these links, Room Revival Studio may earn a small commission at no extra cost to you.
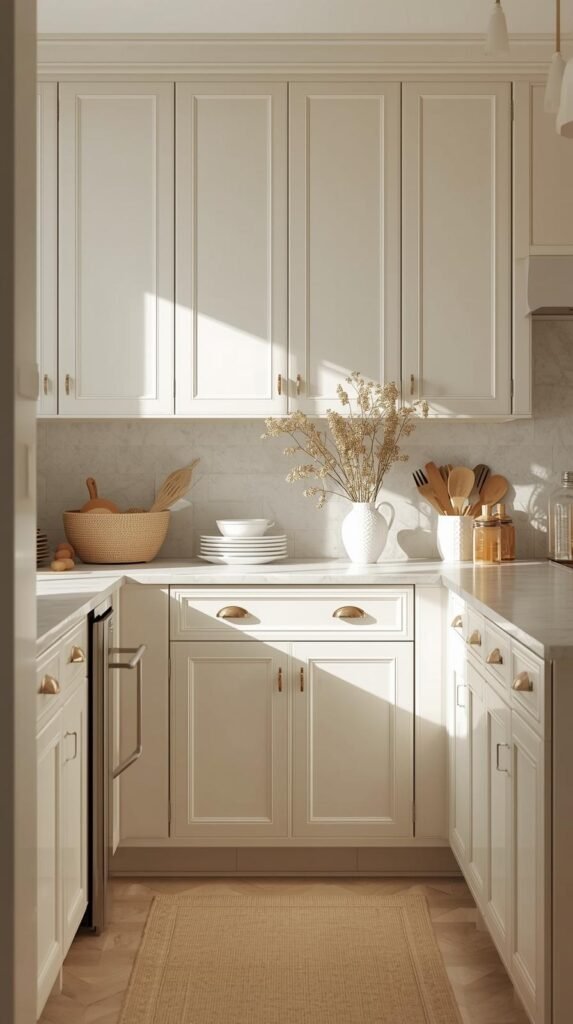
If your kitchen cabinets feel sticky, look dull, or somehow attract fingerprints five minutes after you clean them, grease buildup is the culprit. Between cooking oils, steam, and everyday use, cabinets quietly collect residue that regular wiping never fully removes. The problem is most people go in too aggressive and end up damaging paint, stripping wood, or leaving cloudy streaks behind. The good news is you can clean grease off cabinets thoroughly without ruining the finish if you use the right method and start smarter, not stronger.
Start With the Safest Degrease Method
Before reaching for anything heavy-duty, start with the gentlest approach possible. Most cabinet grease is surface-level buildup that breaks down easily with warm water and a small amount of mild dish soap. This method works especially well for regular maintenance and prevents unnecessary wear on painted, wood, or laminate finishes.
Step-by-Step Instructions: The Safest Way to Clean Grease Off Cabinets
Best for: light-to-medium grease, weekly maintenance, painted cabinets, sealed wood, laminate
What you need: warm water, mild dish soap, 2 microfiber cloths (one for cleaning, one for drying)
- Clear the surface.
Move anything sitting against the cabinets (coffee maker, utensil crock, paper towel holder) so you can wipe edges and corners fully. - Make a gentle soap mix.
Add 2–3 drops of mild dish soap to a bowl or bucket of warm water. You want “barely soapy,” not sudsy. - Dampen your microfiber cloth.
Dip the cloth and wring it out hard. It should be damp, not dripping. Too much water is what causes finish issues. - Wipe in the right direction.
- Wood grain: wipe with the grain
- Painted/flat panels: wipe top to bottom in smooth passes
Start at the top cabinets first so drips do not mess up areas you already cleaned.
- Hit the grease zones first.
Focus on:- Around handles and knobs
- Cabinet edges near the stove
- The lower edge of upper cabinets (grease likes to sit there)
- Rinse right away.
Use a second clean cloth dampened with plain water to wipe the same area. This removes soap film so cabinets do not get sticky again. - Dry immediately.
Use a dry microfiber towel to buff the cabinet dry. This is what prevents streaks and water marks. - Repeat in small sections.
Work in 2–3 foot sections so nothing sits wet on the surface too long.
Quick “if it still feels greasy” fix
- Do a second pass using the same method before jumping to stronger cleaners.
- If the cloth is gliding over sticky spots, switch to a fresh microfiber cloth. A greasy cloth spreads grease.
Shop the Look
Use Vinegar the Right Way
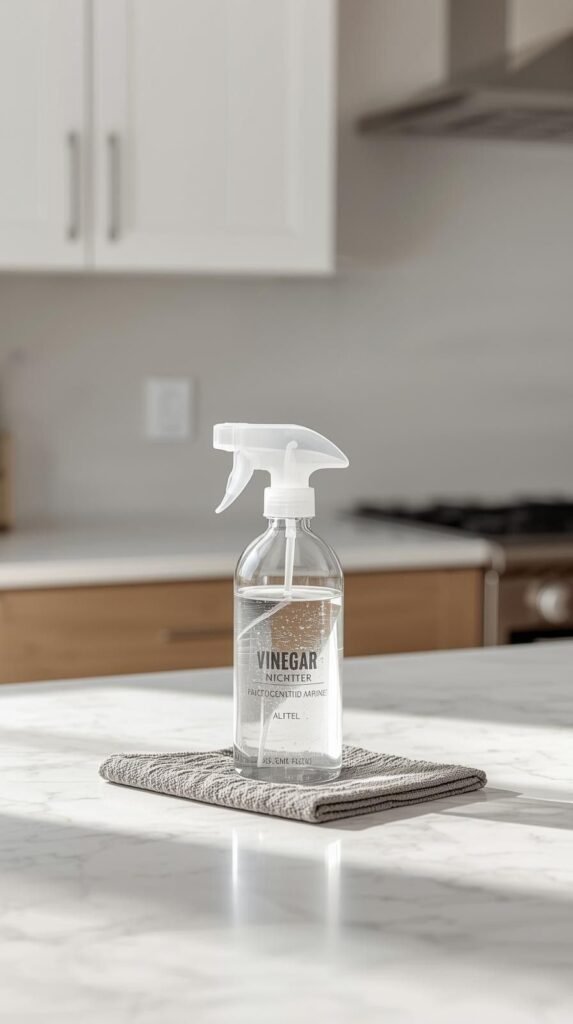
Vinegar gets a bad reputation because people use it straight from the bottle. When diluted properly, it’s one of the easiest ways to cut through sticky grease without damaging most cabinet finishes. The key is using it as a grease cutter, not a stripping agent.
Step-by-Step Instruction: Use Vinegar the Right Way (Without Ruining the Finish)
Best for: sticky residue, light-to-medium grease film, areas near the stove, around handles
Works well on: sealed wood, laminate, painted cabinets (when diluted + rinsed)
What you need: white distilled vinegar, warm water, spray bottle, 2 microfiber cloths (plus a dry towel)
- Do a quick spot test first.
Pick an inside corner or a cabinet side panel. Spray your mix, wipe, rinse, dry. Wait 5 minutes. If it looks normal, you’re good. - Mix the solution (diluted matters).
In a spray bottle, combine:- 1 cup warm water
- 1 cup white distilled vinegar
Shake gently.
- Prep your cloths.
Have these ready so the cleaner never sits too long:- Cloth #1: cleaning cloth (dry to start)
- Cloth #2: rinse cloth (damp with plain water)
- Optional: dry microfiber towel for buffing
- Spray the cloth, not the cabinet (best practice).
Lightly mist the cleaning cloth until it’s damp.
This prevents drips from getting into seams, edges, and hardware. - Work in small sections.
Clean a section about 2–3 feet wide at a time, especially on painted cabinets. This keeps the finish safe and streak-free. - Wipe with gentle, steady pressure.
Wipe in the direction of the cabinet panel or wood grain.
Focus on:- Around handles
- Cabinet edges and corners
- Cabinets closest to the stove
- Address stubborn spots the right way.
If you feel stickiness:- Re-wet the cloth lightly with the vinegar mix
- Hold it against the spot for 10–15 seconds
- Wipe again gently
Do not scrub hard. Let the solution do the work.
- Rinse immediately.
Use Cloth #2 (plain water, damp) to wipe the same area.
This step prevents dullness and that “cloudy” cabinet look. - Dry right away.
Buff dry with a clean microfiber towel. Pay extra attention to seams, grooves, and near hardware. - Repeat section by section until finished.
Re-rinse and re-dry as you go. If your cloth starts to feel greasy, swap to a fresh microfiber so you’re not spreading residue around.
Extra notes (finish-safe rules)
- Never use straight vinegar on cabinets.
- If your cabinets are unsealed/raw wood, skip vinegar and use the Section 4 method instead.
- If you notice any dulling, it usually means the solution sat too long or wasn’t rinsed. Rinse and dry more quickly on the next section.
Shop the Look
Baking Soda for Stubborn Buildup

When grease has been sitting for a while, especially around cabinet doors near the stove, you need something with a little more grip. Baking soda works because it lifts grease instead of smearing it, but only when it’s used correctly. This is not a scrubbing situation.
Step-by-Step Instruction: Baking Soda for Stubborn Grease Buildup
Best for: heavy or sticky grease near the stove, cabinet edges, corners, and handles
Works well on: painted cabinets, sealed wood, laminate
Avoid on: raw or unsealed wood
What you need: baking soda, water, small bowl, soft sponge or microfiber cloth, 2 clean cloths (one damp, one dry)
- Confirm the surface is baking-soda safe.
Baking soda is gently abrasive. Use it only on sealed cabinets. If you are unsure, test inside a cabinet door first. - Make a non-scratch paste.
In a small bowl, mix:- 2 tablespoons baking soda
- 1 tablespoon water
Stir until you get a thick, spreadable paste. It should hold its shape, not drip.
- Prep your cleaning tools.
Choose a soft sponge or microfiber cloth.
Do not use anything textured, rough, or scrubby. - Apply paste to greasy areas only.
Dab a small amount of paste onto:- Cabinet edges near the stove
- Corners and grooves
- Areas around handles
Do not spread it over the entire cabinet unless needed.
- Let the paste sit briefly.
Allow it to sit for 1–2 minutes.
This gives the baking soda time to loosen grease without scratching the finish. - Wipe using gentle pressure.
Use light, circular motions.
If you feel resistance, stop pressing harder and let the paste sit another 30 seconds instead. - Remove all residue.
Wipe with a clean, damp cloth to remove every trace of baking soda. Residue left behind can dull the finish. - Dry immediately.
Buff dry with a microfiber towel, especially around seams and corners. - Repeat only if needed.
If grease remains, repeat once more using fresh paste. Do not layer paste on top of old residue. - Finish with a gentle wipe (optional).
If cabinets feel slightly chalky, do a final wipe with a lightly damp cloth and dry again to restore smoothness.
Important safety notes
- Never scrub hard with baking soda. Pressure causes scratches, not the paste itself.
- Do not let baking soda dry completely on cabinets.
- If the surface starts to feel rough, stop and switch back to the gentle soap method from Section 1.
Shop the Look
Cleaning Wooden Cabinets Without Drying Them Out
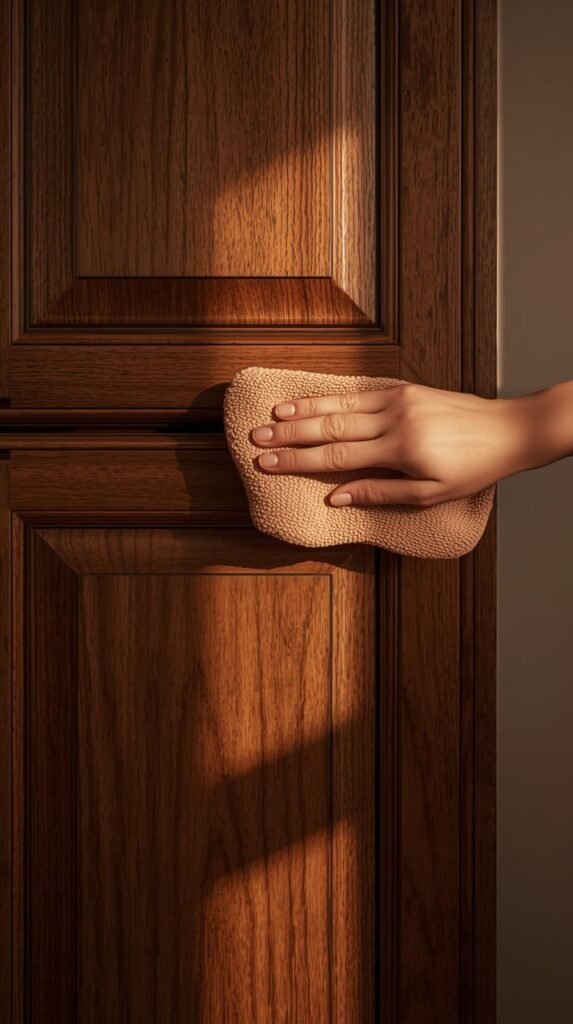
Wood cabinets need a different mindset. Real wood and wood veneer absorb moisture and react quickly to harsh cleaners, which is why grease removal can turn into dull patches or raised grain if you are not careful. The goal is to remove grease while keeping the wood balanced and hydrated.
Step-by-Step Instruction: Cleaning Wooden Cabinets Without Drying Them Out
Best for: real wood cabinets, wood veneer cabinets
Avoid: soaking, harsh degreasers, vinegar, baking soda
What you need: wood-safe cabinet cleaner or mild dish soap, warm water, 2 microfiber cloths, optional wood conditioning oil
- Identify the finish first.
Make sure the wood is sealed or finished. Most kitchen cabinets are, but if water absorbs instantly, stop and use a wood-specific cleaner only. - Prepare a gentle cleaning solution.
Option A: Use a wood-safe cabinet cleaner as directed.
Option B: Mix 2 drops of dish soap into a bowl of warm water. - Lightly dampen your cloth.
Wring it out until it is just barely damp. Wood cabinets should never be cleaned with a wet cloth. - Clean with the grain.
Wipe following the direction of the wood grain using smooth, even strokes. This lifts grease without pushing moisture into the wood. - Focus on grease-prone areas.
Spend extra time on:- Cabinets near the stove
- Around handles
- Bottom edge of upper cabinets
- Rinse gently.
Use a second microfiber cloth dampened with clean water. Wipe quickly and lightly to remove residue. - Dry immediately and thoroughly.
Buff dry with a clean towel. Pay close attention to seams and panel edges. - Condition if needed.
If the wood looks dull or dry, apply a small amount of wood conditioning oil using a clean cloth. Buff lightly to restore warmth and sheen. - Step back and check the finish.
Cabinets should feel smooth, not sticky or chalky. If they do, you’re done.
Key reminder
- Wood cabinets age beautifully when they’re cleaned gently and consistently. Overcleaning is what causes damage, not grease alone.
Shop the Look
Painted Cabinets Need a Different Approach
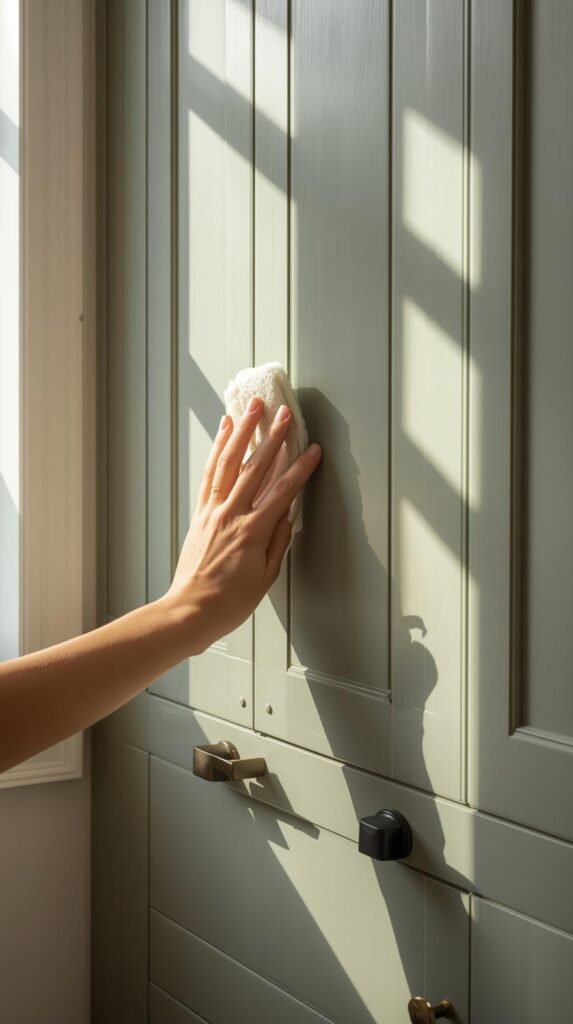
Painted cabinets show grease faster than almost any other finish, especially lighter colors and matte surfaces. The challenge is removing that oily film without softening the paint or leaving dull patches behind. This is where patience matters more than pressure.
Step-by-Step Instruction: Painted Cabinets Need a Different Approach
Best for: painted cabinets (white, light colors, matte, satin, semi-gloss)
Avoid: abrasive pads, undiluted vinegar, harsh degreasers
What you need: mild cabinet cleaner or dish soap, warm water, soft sponge, 2 microfiber cloths
- Check the paint finish.
Matte and eggshell finishes need the lightest touch. Satin and semi-gloss are more forgiving but still require gentle cleaning. - Mix a mild cleaner.
Add 2–3 drops dish soap to warm water, or use a mild cabinet-safe cleaner. - Use a soft sponge or cloth.
Avoid anything textured. Painted cabinets show wear faster than wood. - Wipe gently, not aggressively.
Clean in smooth passes using light pressure. Focus on areas with visible grease rather than scrubbing the entire door. - Address greasy spots patiently.
If grease remains:- Rewipe the area lightly
- Let the damp cloth sit against the spot for 10 seconds
- Wipe again
Do not scrub harder.
- Rinse right away.
Use a clean cloth dampened with plain water to remove soap residue. This prevents streaking and dull patches. - Dry immediately.
Buff dry with a microfiber towel to even out the finish and prevent water marks. - Inspect in good lighting.
Painted cabinets can look clean from one angle and streaky from another. Adjust with light buffing if needed. - Repeat only where necessary.
Overcleaning painted cabinets can soften paint over time. Spot-clean instead of full scrubs.
Finish-saving tip
- If paint starts to feel tacky, stop cleaning and let it dry fully. Tackiness means the surface is being stressed, not cleaned.
Shop the Look
The Handles and High-Touch Zones
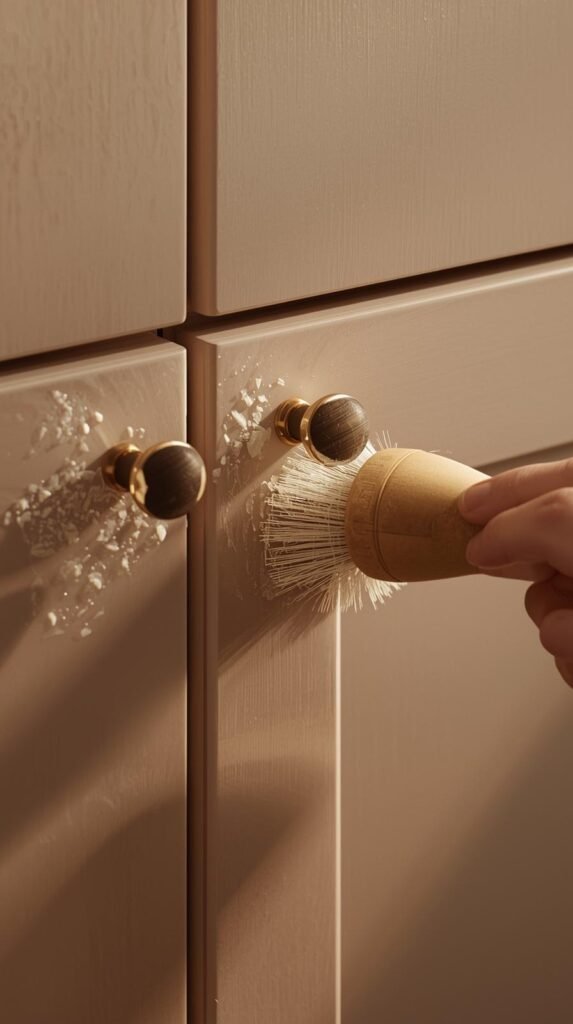
If your cabinets still feel greasy after cleaning, the problem is almost always the handles and the areas around them. These spots collect oil from hands, cooking residue, and daily use faster than any flat surface. Cleaning cabinets without addressing these zones is like washing your hands but skipping your fingertips.
Section 6 Step-by-Step: Handles and High-Touch Zones
Best for: sticky grease around knobs/pulls, cabinet edges, corners, grooves
What you need: mild dish soap, warm water, small soft brush or toothbrush, microfiber cloths, dry towel (optional screwdriver)
- Use a soft brush for crevices.
Dip a toothbrush or small detailing brush into the soapy water and gently scrub:- Around the base of the handle
- Inside grooves or routed edges
- Corners where grease settles
Keep the brush damp, not dripping.
- Start dry to remove loose grime.
Wipe handles and the area around them with a dry microfiber cloth first. This removes dust and crumbs so you are not turning it into mud. - Make a gentle soap mix.
Add 2–3 drops of dish soap to a bowl of warm water. - Dampen your cloth and wipe the surface.
Wring out the cloth well. Wipe the area around each handle first, then the flat cabinet surface nearby. - Pause on stubborn sticky spots.
Hold the damp cloth against the spot for 10–15 seconds, then wipe again. This lifts grease without aggressive scrubbing. - Rinse immediately.
Use a second clean cloth dampened with plain water and wipe the same areas to remove soap residue. - Dry thoroughly.
Buff dry with a microfiber towel, especially around hardware and seams. Moisture trapped near screws can lead to rust and cabinet swelling. - Optional: deep clean hardware (only if needed).
If handles are very greasy:- Use a screwdriver to remove them
- Soak hardware in warm soapy water for 10 minutes
- Scrub gently, rinse, dry completely
- Reinstall once fully dry
Key reminder
- High-touch zones get greasy fastest. A quick weekly wipe here reduces the need for heavy cleaners everywhere else.
Shop the Look
When to Use a Store-Bought Degreaser
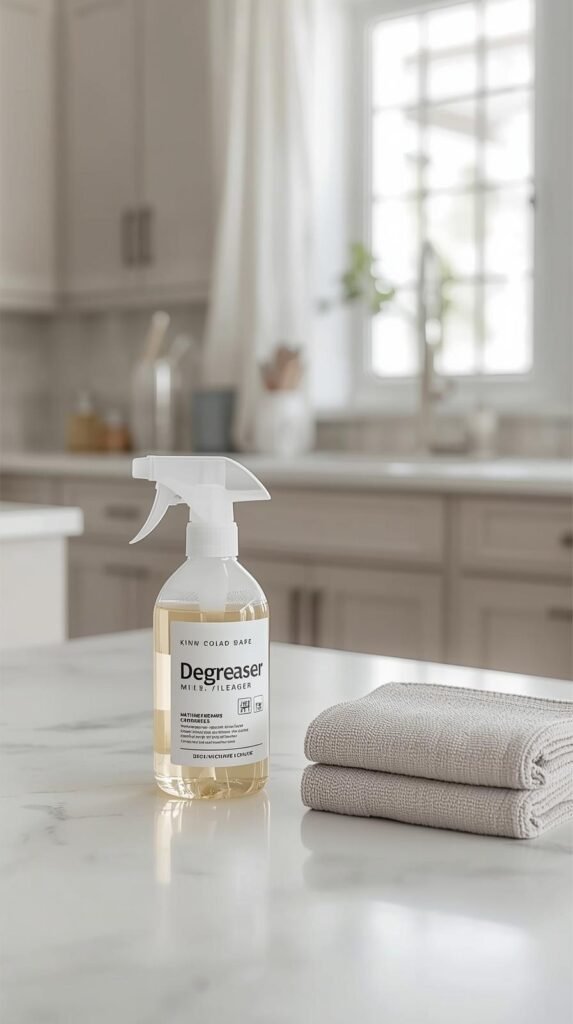
Sometimes grease has been building up for years, especially in rental kitchens or homes that cook a lot. This is when a store-bought degreaser makes sense, but only if it is cabinet-safe and used sparingly. Strong formulas can break down grease fast and break down finishes just as quickly if you are not careful.
Step-by-Step Instruction: When to Use a Store-Bought Degreaser
Best for: heavy, old grease buildup, rental kitchens, cabinets near the stove
What you need: cabinet-safe degreaser, gloves, microfiber cloths, plain water cloth for rinsing, dry towel, good ventilation
- Choose the right degreaser.
Look for labels like “safe for cabinets,” “safe for wood/painted surfaces,” or “kitchen degreaser” with surface guidance. Avoid anything that warns against painted surfaces if you have painted cabinets. - Ventilate the space.
Turn on your range hood, open a window, and if needed use a fan. This makes the process more comfortable and prevents product from lingering on surfaces. - Wear gloves.
Degreasers work because they break down oils fast, which can also dry out your skin. - Do a spot test.
Apply to an inconspicuous area. Wipe, rinse, dry. Wait a few minutes. If there’s no discoloration or dullness, proceed. - Apply degreaser to the cloth, not the cabinet.
Spray the product onto a microfiber cloth until damp. This prevents drips getting into cabinet seams, hinges, and edges. - Work in small sections.
Clean 2–3 feet at a time. Wipe the section thoroughly but gently. - Let it sit briefly only if needed.
If grease is heavy, you can let the product sit for 10–20 seconds before wiping. Do not leave it on longer, especially on painted finishes. - Wipe again with a clean cloth.
Use a fresh microfiber cloth to lift remaining residue. This prevents the “spread-and-smear” problem. - Rinse immediately.
Use a cloth dampened with plain water and wipe the same area to remove any product residue. This is the step that protects the finish long-term. - Dry completely.
Buff dry with a microfiber towel. Pay attention to seams, grooves, and around hinges.
Key reminder
- Degreasers are a tool, not a routine. If you need them often, prevention (Section 10) and high-touch maintenance (Section 6) will save your cabinet finish.
Shop the Look
Rinsing and Drying Matters More Than You Think
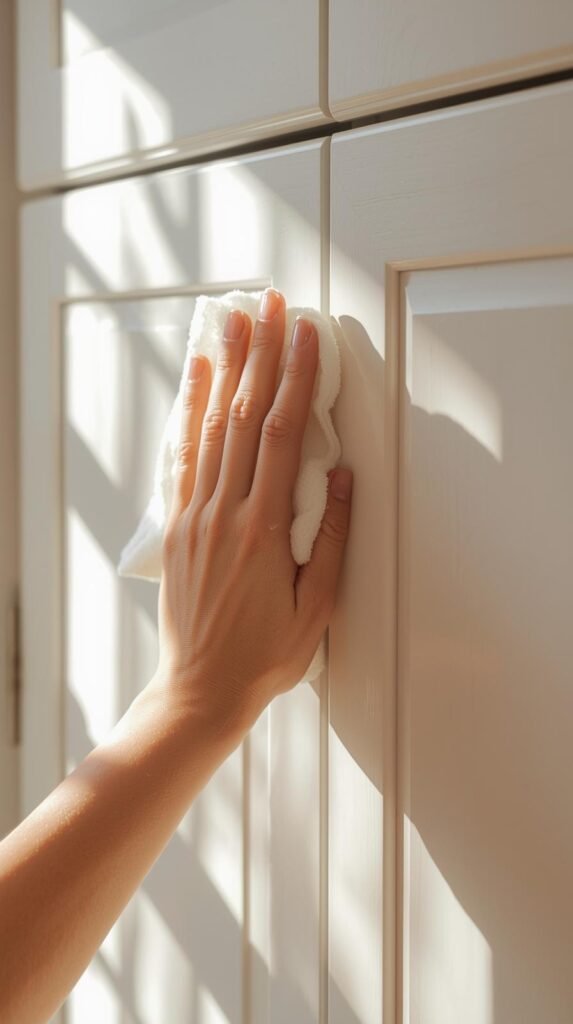
Most cabinet damage happens after the grease is gone. Leftover cleaner residue attracts dirt and oil, making cabinets feel sticky again within days. Moisture left sitting on surfaces can also dull finishes and cause subtle warping over time.
After cleaning, always wipe cabinets with a clean, damp cloth to remove any remaining product. Follow immediately with a dry microfiber towel to pull moisture off the surface. This step alone is what keeps cabinets looking polished instead of streaky.
Using two separate cloths might feel extra, but it is the difference between cabinets that stay clean and cabinets that look cloudy a week later.
Shop the Look
9. How Often You Should Really Be Cleaning Cabinets
Cabinets do not need aggressive cleaning as often as people think. Overcleaning actually wears down finishes faster than grease buildup does. The key is light, consistent maintenance instead of occasional deep scrubs.
A quick weekly wipe around handles and stove-adjacent cabinets prevents grease from hardening. A deeper clean every month or two keeps buildup under control without stressing the finish. Kitchens that cook daily may need more frequent touch-ups, while lighter-use kitchens can stretch the timeline comfortably.
When cleaning feels easy instead of exhausting, you are doing it right. That is usually a sign your routine is working.
Shop the Look
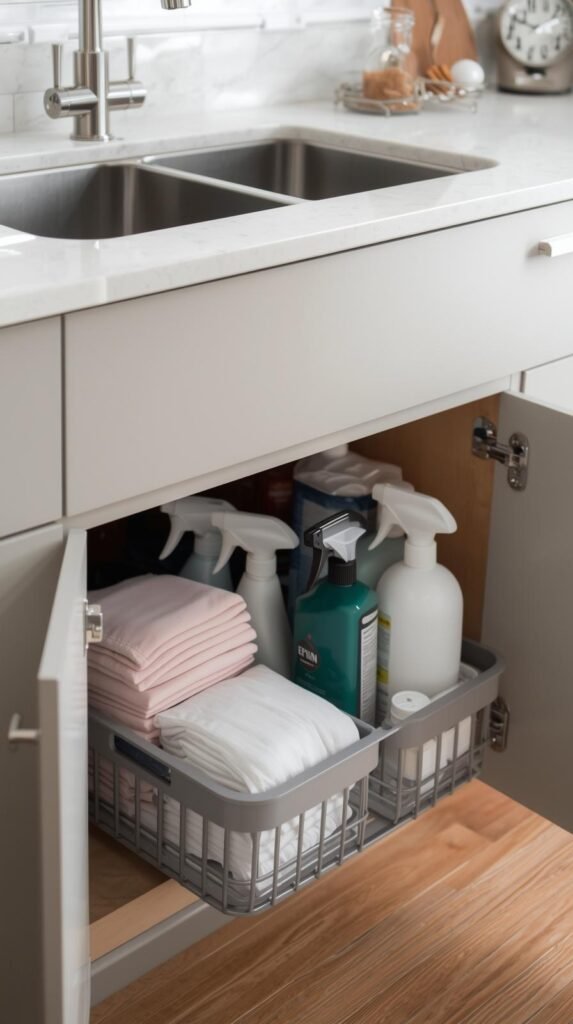
10. Make Cabinets Easier to Clean Going Forward
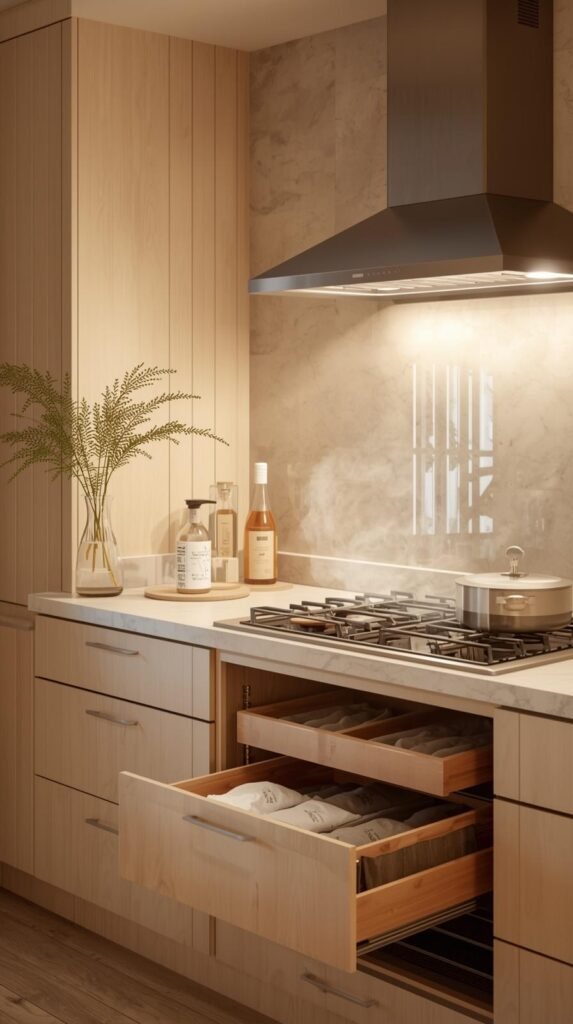
Once your cabinets are grease-free, a few small habits make a big difference in keeping them that way. Turning on your range hood every time you cook helps pull grease-laden steam away before it settles on cabinet surfaces. Wiping down high-touch areas regularly keeps oils from building up and hardening over time.
Adding subtle protective layers like cabinet liners or using a gentle surface protectant can also reduce how much grease clings to finishes. The goal is prevention, not perfection. When cabinets are easier to maintain, cleaning stops feeling like a dreaded chore and becomes a quick reset.
Shop the Look
Cleaning grease off kitchen cabinets does not require harsh chemicals or aggressive scrubbing. With the right approach, you can remove buildup safely, protect your cabinet finish, and keep your kitchen looking fresh without constant deep cleaning. Start gentle, clean consistently, and focus on the areas that collect grease fastest.
If you want more realistic, finish-safe kitchen cleaning tips, check out How to Clean Your Microwave in 5 Minutes or Less on Room Revival Studio for another quick win that makes a big visual difference.