
Affiliate Disclosure – This post contains affiliate links. If you purchase through these links, Room Revival Studio may earn a small commission at no extra cost to you.
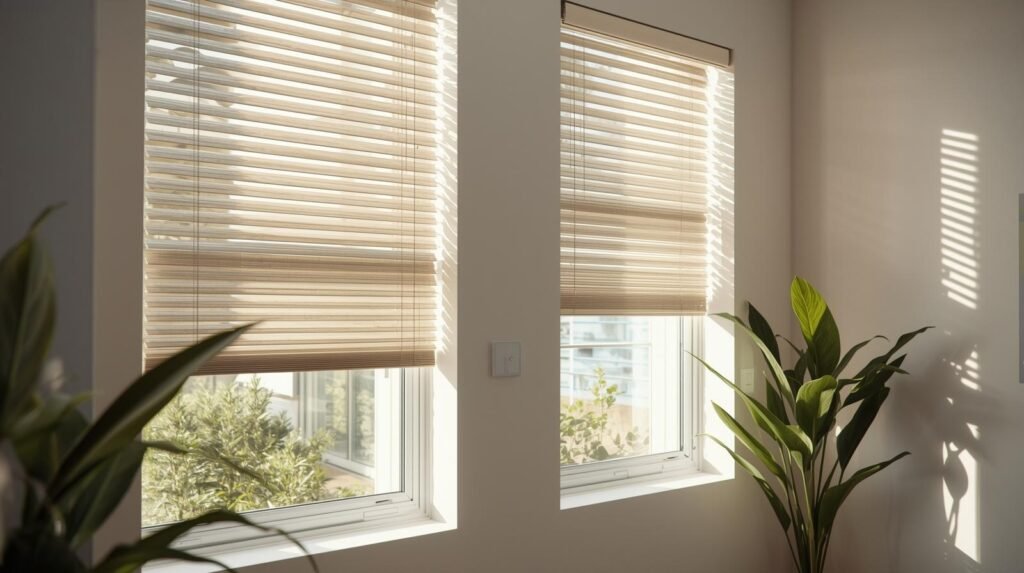
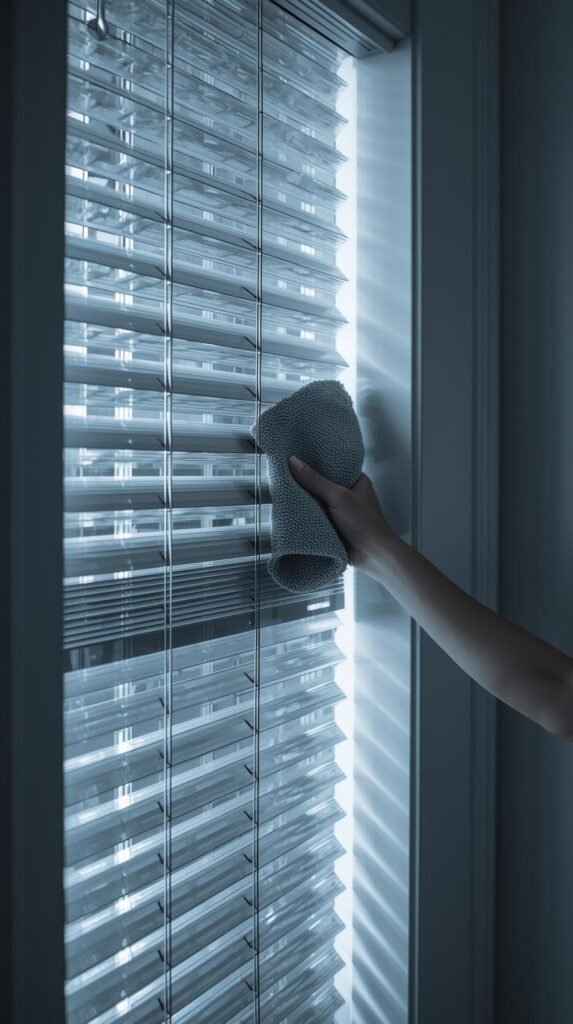
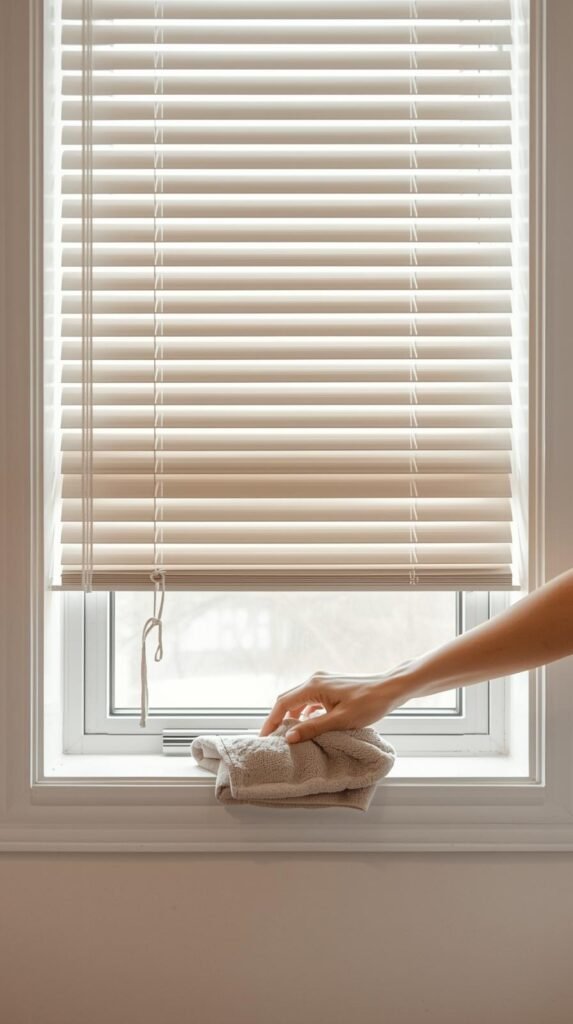
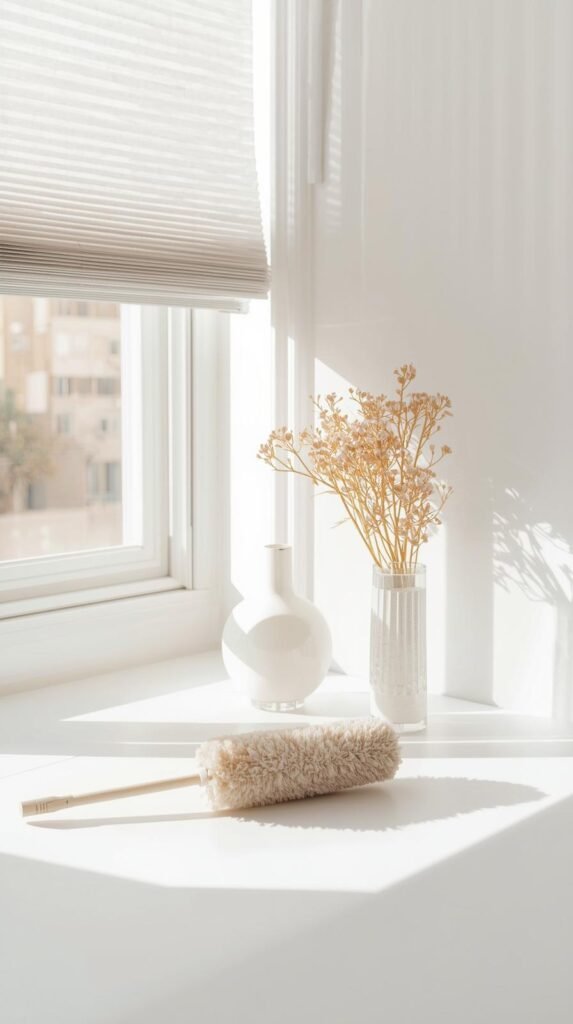
Dusty blinds are one of those things you notice only when the light hits them just right and suddenly they look… fuzzy. If the idea of unhooking, soaking, and rehanging blinds makes you want to close the curtains and pretend it’s fine, you’re not alone. The good news is learning how to clean blinds without taking them down is easier than most people think and way faster than the old-school bathtub method.
This guide focuses on smart, realistic cleaning hacks that work for wood, faux wood, vinyl, fabric, and aluminum blinds. No drama, no uninstalling hardware, just clean slats that actually stay clean longer.
The Dry Dust Reset That Changes Everything
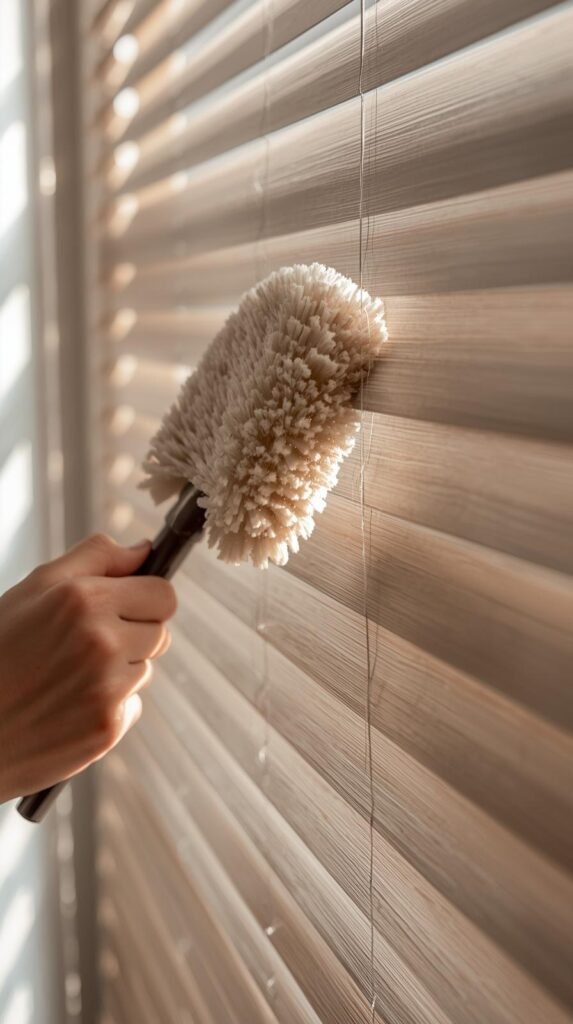
This is the step that makes every other blind cleaning method work better. Before moisture, sprays, or deeper cleaning come into play, removing loose dust is essential. Dry dusting prevents grime from turning into streaky buildup and protects delicate finishes across wood, faux wood, vinyl, and aluminum blinds. It works because you are lifting and removing particles at their dry stage, instead of smearing them once moisture is introduced.
Step-by-Step Instructions
- Fully close the blinds in one direction so the slats lie flat.
- Starting at the top, run a microfiber duster or electrostatic cloth across each slat using long, even strokes.
- Work your way down the entire blind to keep dust from falling onto clean sections.
- Flip the blinds in the opposite direction and repeat the process on the other side.
- Shake out or switch your cloth once it starts looking dusty to avoid redistributing debris.
This method works because dry microfiber and electrostatic materials grab dust instead of pushing it into corners or back into the air. By cleaning both sides while the blinds are closed, you create a smooth surface that allows deeper cleaning methods to actually clean instead of smear.
Shop for Supplies
- Microfiber Duster
- Electrostatic Dusting Cloths
- Blind Cleaning Duster Tool
- Soft Microfiber Cleaning Cloths
The Microfiber + Vinegar Method (Vinyl & Faux Wood Blinds)
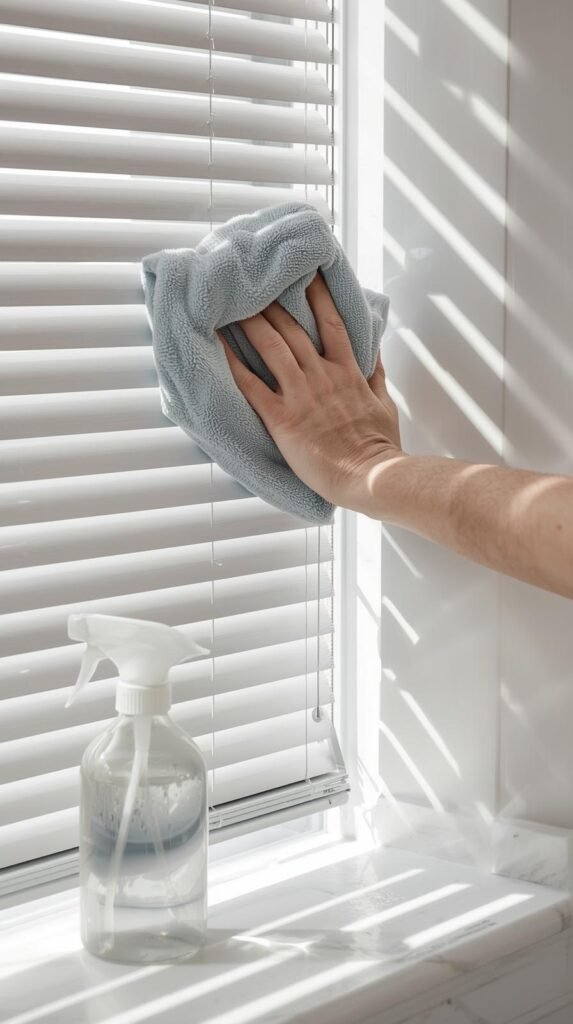
When blinds start to look dull or slightly sticky, dry dusting alone will not cut it. Vinyl and faux wood blinds can safely handle light moisture, which makes this method ideal for breaking down everyday grime without damaging the surface. It works because vinegar dissolves grease and residue while microfiber traps loosened particles instead of spreading them across the slats.
Step-by-Step Instructions
- Close the blinds fully so the slats lie flat in one direction.
- Mix equal parts white vinegar and water in a spray bottle.
- Lightly mist a microfiber cloth until it is just damp, never wet.
- Starting at the top, wipe each slat using smooth, horizontal strokes.
- Flip the blinds and repeat on the opposite side.
- Allow the blinds to air-dry fully before opening them.
This method works because controlled moisture loosens buildup while microfiber absorbs it, preventing streaks and residue. By spraying the cloth instead of the blinds, you avoid drips, warping, and water spots, which keeps vinyl and faux wood blinds looking clean and intact.
Shop for Supplies
How to Clean Real Wood Blinds Without Damaging the Finish
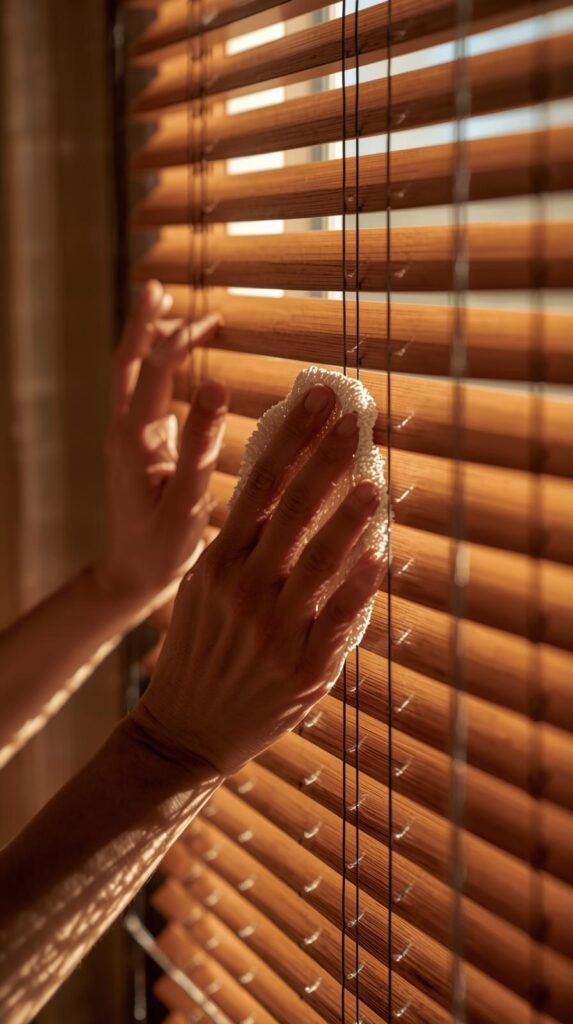
Real wood blinds require a more controlled approach because moisture and harsh cleaners can quickly damage the finish. The goal is to lift dust and light residue while preserving the natural grain and protective coating. This method works because it relies on minimal moisture and gentle friction, which cleans the surface without causing warping, dull spots, or uneven sheen.
Step-by-Step Instructions
- Fully close the blinds so the slats sit flat in one direction.
- Start with a dry microfiber cloth to remove surface dust from top to bottom.
- If additional cleaning is needed, apply a small amount of wood-safe cleaner to the cloth, not the blind.
- Wipe each slat gently, using long, even strokes that follow the grain.
- Flip the blinds and repeat on the opposite side.
- Finish with a clean, dry cloth to buff the surface and remove any remaining residue.
This approach works because keeping moisture off the blinds protects the wood from swelling or cracking while microfiber lifts debris without scratching. Applying cleaner to the cloth instead of the slats gives you control and prevents product buildup that can attract more dust later.
Shop for Supplies
- Wood-Safe Cleaning Spray
- Microfiber Dusting Cloths
- Furniture Polish for Wood
- Lint-Free Cleaning Cloths
Cleaning Aluminum Blinds That Attract Static and Dust
Aluminum blinds tend to look dusty again almost immediately because static electricity pulls particles back onto the slats. The goal here is not just removing dust, but reducing static so the blinds stay cleaner longer. This method works because light moisture neutralizes static while microfiber lifts fine debris without scratching the metal surface.
Step-by-Step Instructions
- Close the blinds fully so the slats lie flat in one direction.
- Use a dry microfiber cloth to remove loose dust from top to bottom.
- Lightly dampen a clean cloth with water or a mild cleaner, making sure it is barely moist.
- Wipe each slat gently using even strokes, working from the top down.
- Flip the blinds and repeat on the opposite side.
- Let the blinds air-dry completely before opening them.
This process works because microfiber traps dust instead of redistributing it, while controlled moisture reduces static without leaving residue. Allowing the blinds to dry fully prevents streaks and helps slow down future dust buildup.
Shop for Supplies
Cleaning Fabric and Cellular Blinds Without Soaking Them
Fabric and cellular blinds trap dust easily, but they do not tolerate heavy moisture. The structure can lose its shape and water marks are hard to remove once they set in. This method focuses on lifting dust and spot-cleaning only where needed, which works because it keeps the material dry and supported while still removing buildup.
Step-by-Step Instructions
- Fully lower the blinds so all fabric panels or cells are accessible.
- Use a vacuum with a soft brush attachment to gently remove surface dust, working from top to bottom.
- For visible spots, lightly dampen a microfiber cloth with a fabric-safe cleaner.
- Dab the area gently instead of rubbing to avoid spreading moisture.
- Allow the cleaned area to air-dry completely before raising the blinds.
This approach works because vacuuming removes loose dust without compressing the fabric, while spot cleaning limits moisture exposure. Dabbing instead of wiping prevents distortion and keeps the blind’s structure intact.
Shop for Supplies
The Sock Hack That Gets Between Every Slat
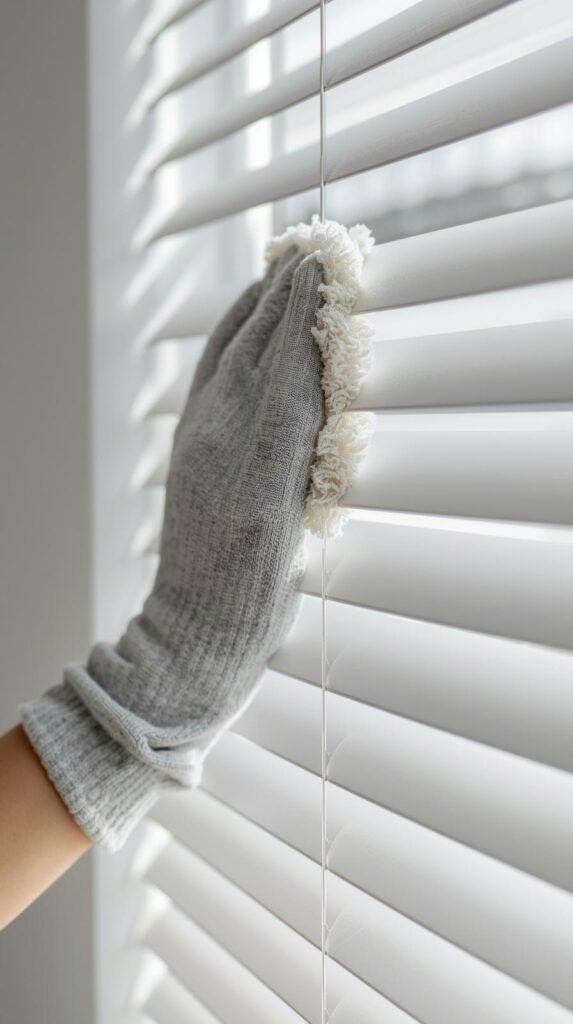
This method is ideal when you want fast results without pulling out a full cleaning setup. Using a microfiber sock allows you to clean both sides of each slat at the same time, which works because the fabric grips dust instead of pushing it into the air. It is especially effective for mini blinds and standard horizontal blinds where buildup hides along the edges.
Step-by-Step Instructions
- Slip a clean microfiber sock over your hand.
- Lightly mist the sock with a gentle dusting spray or water so it is just slightly damp.
- Close the blinds fully so the slats lie flat.
- Pinch a slat between your fingers and slide your hand across from one end to the other.
- Move from top to bottom, switching socks if it becomes dirty.
- Flip the blinds and repeat on the opposite side.
This approach works because the sock applies even pressure to both sides of the slat while microfiber traps dust instead of letting it float back into the room. Using minimal moisture keeps the process mess-free and prevents streaking.
Shop for Supplies
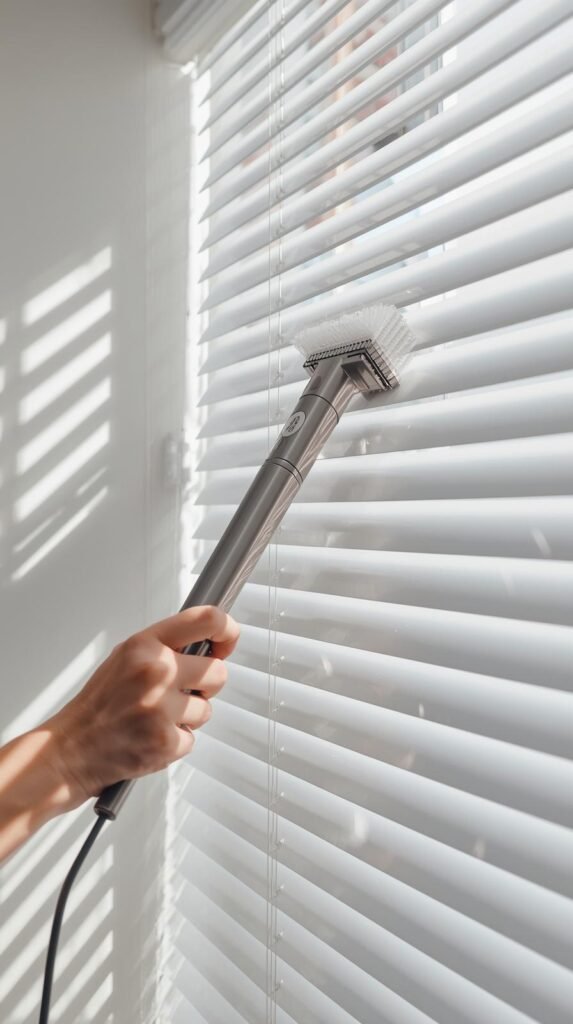
Deep Cleaning Blinds Without Drips, Splashes, or Wall Marks
When blinds have gone too long between cleanings, a deeper refresh is necessary, but that does not mean removing them or risking damage to your walls and floors. This method focuses on preparation and controlled cleaning, which works because it prevents dirty runoff and keeps moisture exactly where it belongs.
Step-by-Step Instructions
- Place a towel or drop cloth along the windowsill and floor beneath the blinds.
- Fully close the blinds so the slats sit flat in one direction.
- Lightly dampen a microfiber cloth with water or a mild cleaner.
- Wipe the slats from top to bottom using steady, even strokes.
- Switch to a clean cloth as soon as the one you are using becomes dirty.
- Flip the blinds and repeat on the opposite side.
- Allow the blinds to air-dry completely before opening them.
This method works because protecting the surrounding area lets you focus on precision instead of cleanup. Cleaning top to bottom prevents grime from dripping onto clean sections, and rotating cloths keeps dirt from being redeposited.
Shop for Supplies
How to Keep Blinds Cleaner for Longer Between Cleanings
Once your blinds are clean, maintenance is what keeps them from going right back to looking dusty. This approach focuses on light, regular upkeep instead of heavy cleaning, which works because dust and residue are easier to remove before they bond to the surface.
Step-by-Step Instructions
- Lightly dust the blinds every one to two weeks using a microfiber duster or electrostatic cloth.
- Keep blinds fully closed while dusting to clean the entire slat surface efficiently.
- In kitchens, run the exhaust fan to reduce grease particles settling on blinds.
- Vacuum fabric or cellular blinds monthly using a soft brush attachment.
- Open windows selectively on low-pollen, low-wind days to limit airborne dust.
This routine works because frequent dry cleaning prevents buildup from sticking, which reduces the need for deep cleaning. Small habits, like managing airflow and grease, dramatically slow how quickly blinds collect dust.
Shop for Supplies
Learning how to clean blinds without taking them down is one of those home skills that pays off every single time the light hits your windows. With the right approach and a few smart supplies, even the dustiest blinds can be refreshed in place, no tools, no soaking, no frustration. Whether you are dealing with wood, faux wood, vinyl, fabric, or aluminum, the key is matching the method to the material and keeping moisture controlled.
If you are in a full clean-and-refresh mindset, this is a great time to tackle other overlooked surfaces too. You might also enjoy How to Clean Grease Off Cabinets Without Ruining the Finish on Room Revival Studio for another high-impact, low-effort win that instantly makes your space feel cleaner and more polished.


Pingback: How To Clean A Crystal Chandelier Without Taking It Down