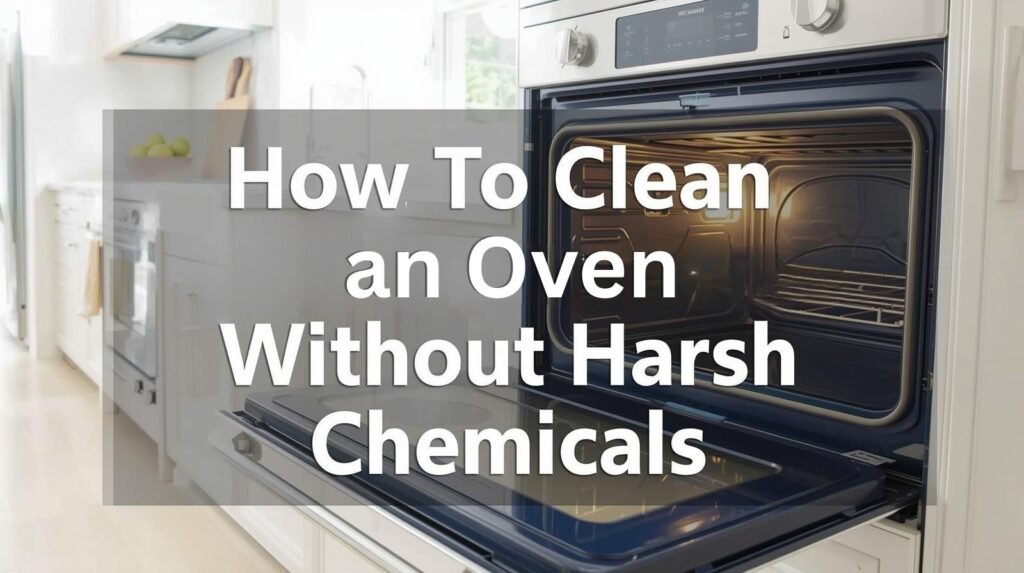
If you’ve ever opened your oven and been hit with that burnt-on grease smell or stared at layers of grime that won’t budge, you’re not alone. But here’s the thing: you don’t need to fill your kitchen with chemical fumes to get it clean. Most store-bought oven cleaners are packed with harsh ingredients that can irritate your skin, sting your eyes, and leave behind a smell that lingers longer than your last casserole. The good news is that you can get the same deep clean with natural, everyday ingredients you already have at home. This guide will show you how to clean an oven safely, effectively, and without the harsh stuff so your kitchen feels fresh again.
Why Avoid Harsh Oven Cleaners
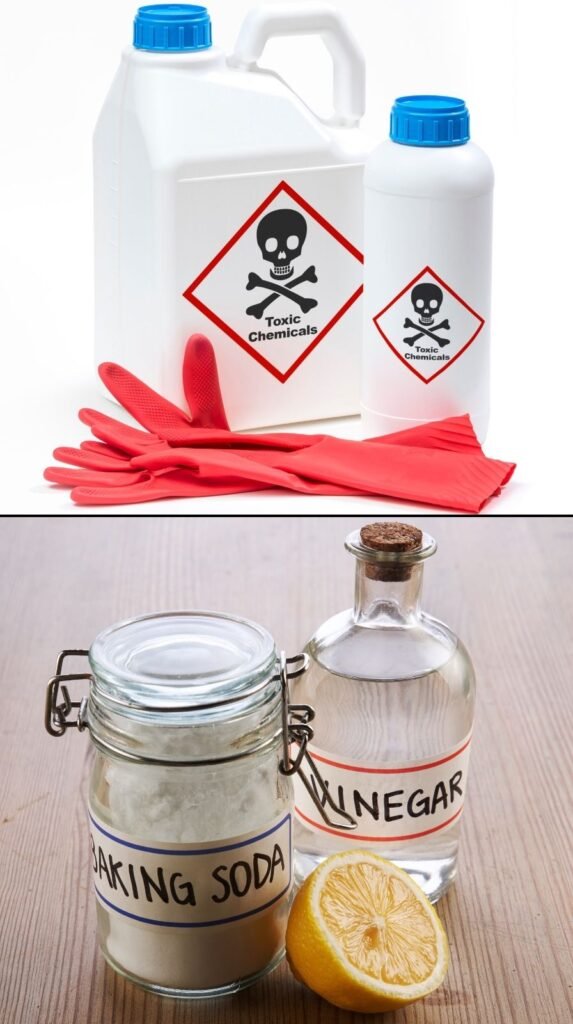
Traditional oven cleaners rely on caustic chemicals like sodium hydroxide (lye), a powerful ingredient that cuts through baked-on grease but at a cost. Those same chemicals can irritate your lungs, corrode your oven’s interior, and leave behind residues that aren’t exactly food-safe.
Beyond that, harsh sprays and gels often release fumes that cling to your oven and linger in the air long after you’re done cleaning. If you’ve ever cleaned your oven and had to air out your house for hours, you already know the struggle.
Switching to a natural approach isn’t just about being eco-conscious. It’s also about protecting your health, your oven, and your sanity. Natural cleaners like baking soda, vinegar, and even Efferdent tablets can break down grime just as effectively without the headaches or chemical burns. And yes, they really work.
Your oven didn’t get gross overnight, but it can look like a cooking crime scene pretty fast. The good news? You can fix it without summoning a hazmat team.
Give me an hour (and a little elbow grease), and you’ll have that thing looking almost new. Bonus: your food won’t taste like last week’s pizza drippings. Let’s go.
Prep Your Oven the Right Way
Getting your oven ready before cleaning makes the job smoother and helps your cleaner work better. Here’s how to prep it properly.
Gather your cleaning tools
Before you start, grab everything you’ll need:
- Baking soda
- Vinegar
- Efferdent tablets (optional for extra fizzing power)
- A bowl for mixing
- A microfiber cloth
- A small brush or sponge
- An old towel or parchment paper for the floor
Having everything ready keeps the process quick and stress-free.
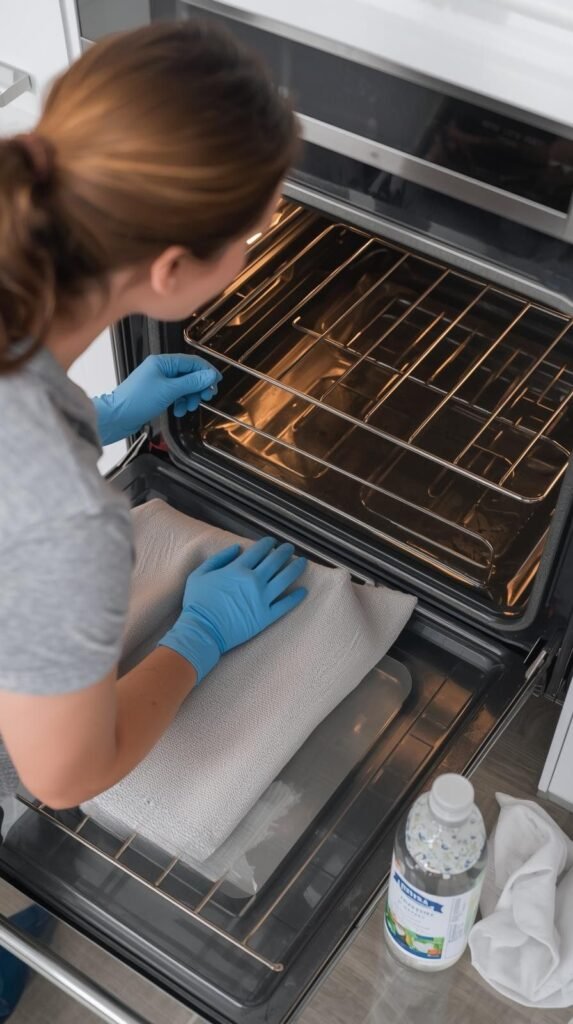
Step 1: Remove the racks and debris – Take out the oven racks, trays, and any loose items. Shake off crumbs and use a small brush or vacuum nozzle to clear burnt bits or food debris. A clean surface helps your cleaner work more effectively.
Step 2: Warm the oven slightly – Preheat for about 5 minutes, then turn it off. You want it warm not hot to help loosen grease. A little heat softens grime, so your natural cleaner doesn’t have to work as hard.
Step 3: Clean the glass door first – Spray vinegar directly on the glass window and wipe it down with a microfiber cloth. This removes surface grease and keeps it from smearing later.
Step 4: Protect your floor – Lay an old towel or parchment paper under the oven door to catch drips and residue while you clean.
Now your oven is fully prepped for a deep clean without the harsh chemicals.
Natural Oven Cleaner Recipe That Works
Skip the expensive sprays. This homemade cleaner lifts grease, fights odor, and breaks down buildup without toxic fumes. It’s simple, budget-friendly, and uses ingredients you already have in your kitchen.
Here’s what you’ll need:
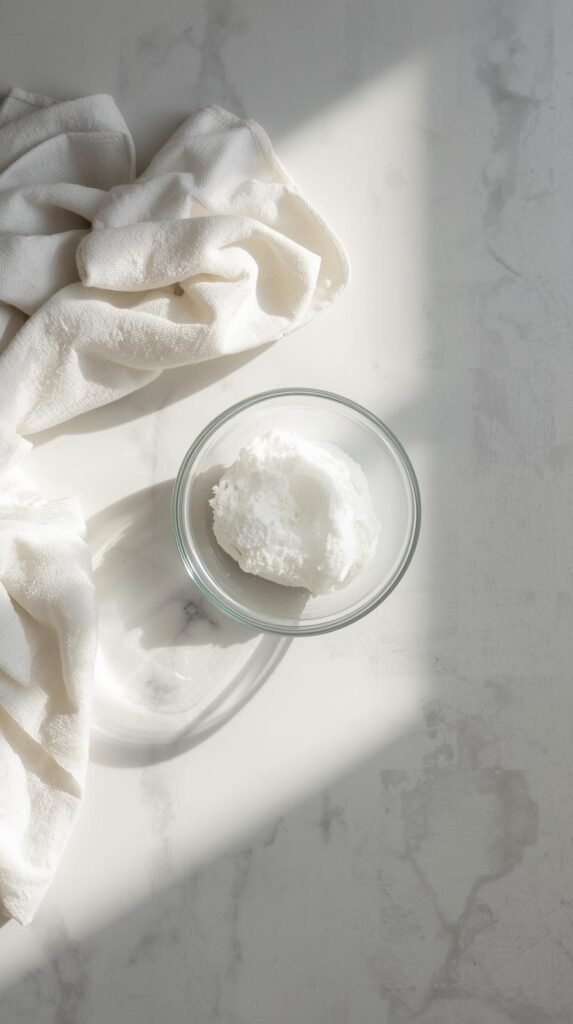
- ½ cup baking soda
- 2–3 tablespoons of water (enough to make a spreadable paste)
- ½ cup white vinegar
- 1–2 Efferdent tablets (optional but powerful)
- A small bowl and spoon for mixing
- A damp sponge or cloth
Step 1: Mix your cleaner – In a small bowl, combine the baking soda and water until you get a thick paste. The goal is a texture that sticks easily to surfaces without dripping.
Step 2: Add some fizz – Drop one or two Efferdent tablets into a separate bowl with vinegar. Once the fizzing slows down, pour the mixture into your paste and stir gently. The bubbling action helps lift baked-on grease and makes scrubbing easier.
Step 3: Apply the paste – Use a cloth or your fingers (wear gloves if you prefer) to spread the paste across the oven’s interior, focusing on greasy spots and corners. Avoid heating elements. Let it sit for at least 8 hours, or overnight for tough buildup.
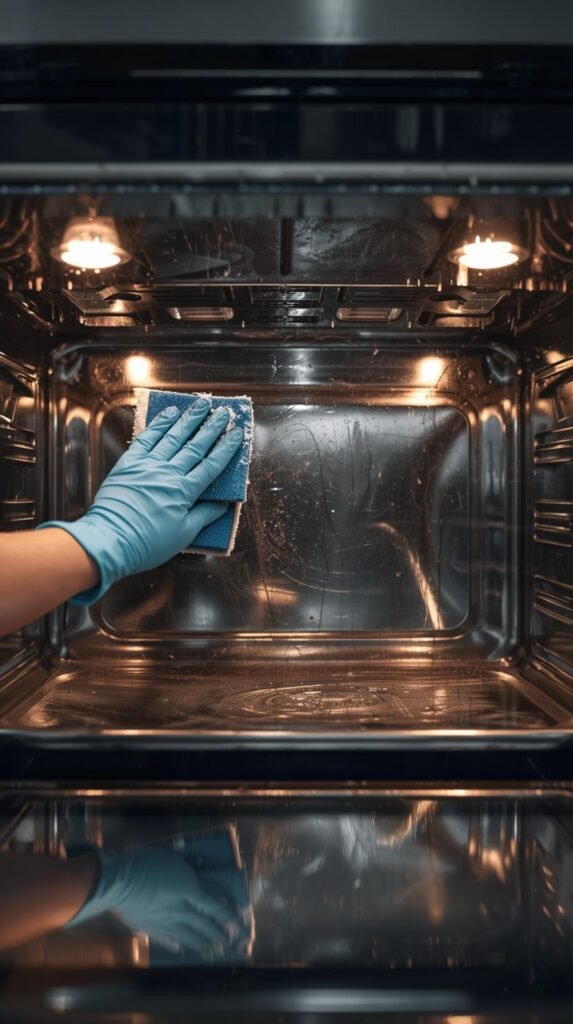
Step 4: Wipe it clean – In the morning, use a damp sponge or cloth to wipe away the paste. For any stubborn residue, spritz with vinegar and wipe again. You’ll see the grime lift right off.
Pro Tip: The Efferdent fizzing action helps reach tight corners and crevices most scrubbing pads miss. It’s an underrated oven cleaner hack that saves serious time.
Deep Clean Like a Pro (No Chemicals Needed)
Once the natural cleaner has done its job, it’s time to finish strong. This step removes any leftover residue and leaves your oven looking like new without harsh fumes or endless scrubbing.
Step 1: Wipe down the oven interior – Start with a damp sponge or cloth and remove all the baking soda paste. Rinse your cloth often so you’re not spreading grime around. If you see any dry spots, spritz with vinegar to loosen them.
Step 2: Tackle stubborn spots – For tough buildup, make a quick spot-cleaning mix by combining equal parts vinegar and warm water in a spray bottle. Spray the area, let it sit for 5 minutes, then gently scrub with a non-abrasive sponge or brush.
Step 3: Clean the oven racks – While the interior dries, give your racks a soak. Fill your bathtub (or a large bin) with hot water and add a few Efferdent tablets or a cup of baking soda. Let the racks soak for a few hours, then wipe them down and rinse clean.
Step 4: Polish the oven glass – Use a mixture of equal parts vinegar and water to clean the glass door again. Wipe it dry with a microfiber cloth for a streak-free finish.
Step 5: Refresh the oven seals – Dip a cloth in vinegar and gently wipe the rubber gasket around the oven door. This removes grease and helps maintain a tight seal.
Oven Cleaner Hack: If you still have stubborn spots, apply a thin layer of baking soda paste directly over them, mist with vinegar, and watch the fizz lift the grime.
Your oven should now look clean, smell fresh, and be completely free of chemical residue.
The Self-Clean Feature — Use It Smartly
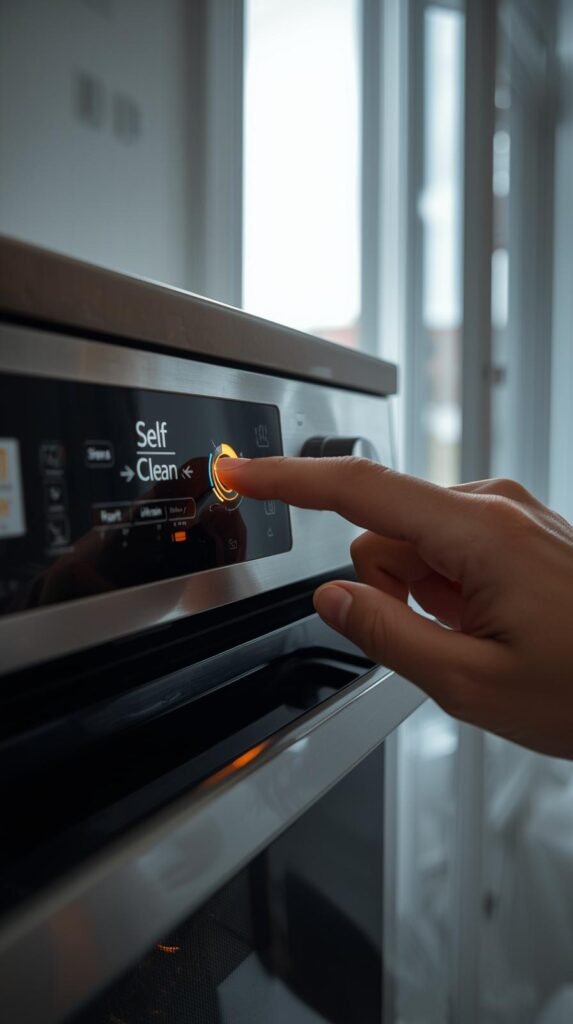
If your oven has a self-clean option, it can be a time-saver but only when used the right way. The self-clean feature works by heating the oven to extremely high temperatures to burn off grease and grime, turning it into ash you can wipe away later. But there are a few things you should know before you press that button.
Step 1: Know when to use it – The self-clean cycle is best for light to moderate messes. If there’s heavy buildup or chunks of food, clean them out first. Running the feature with too much residue inside can create smoke or lingering odors.
Step 2: Remove racks and accessories – Always take out oven racks, thermometers, and any pans before using the self-clean setting. The extreme heat can warp metal parts or damage their finish.
Step 3: Ventilate your kitchen – Open a few windows or turn on your range hood. Even though you’re not using chemicals, the burning of food residue can still release strong smells.
Step 4: Let it run and cool – Most self-clean cycles take two to four hours. Once it’s done, let the oven cool completely before opening the door. Wipe out the leftover ash with a damp cloth.
Step 5: Don’t overdo it – Use the self-clean feature sparingly. Doing it too often can strain your oven’s components and shorten its lifespan. Save it for seasonal deep cleans and rely on natural methods for regular maintenance.
When used correctly, the self-clean setting can complement your natural cleaning routine instead of replacing it. It’s an extra tool not a magic button.
Section 6: Prevent Future Build-Up
Once your oven is spotless, keeping it that way takes a lot less work than you think. A few small habits will prevent grime from turning into another deep-cleaning project.
Step 1: Wipe spills right away – When something spills or splatters, wipe it up after the oven cools. Even a quick swipe with a damp cloth prevents buildup from baking into hard residue later.
Step 2: Use liners or trays – Place a baking sheet or reusable oven liner on the lowest rack to catch drips. It’s a simple way to protect your oven floor and makes cleaning days much easier.
Step 3: Do a quick monthly refresh – Once a month, mix equal parts vinegar and water in a spray bottle. Lightly mist the oven interior, let it sit for 10 minutes, then wipe clean. This routine keeps grease and odor under control.
Step 4: Clean the glass door often – The glass catches fingerprints and splashes quickly. Use vinegar and a microfiber cloth weekly to keep it clear and streak-free.
Step 5: Try mini natural cleans – For small touch-ups between deep cleans, sprinkle baking soda on greasy areas, spray vinegar, and let it fizz for a few minutes. Wipe it clean, and you’re done.
These simple maintenance habits make your natural cleaning efforts last longer and help your oven stay fresh without needing constant scrubbing.
Section 7: Shop the Look
Ready to stock up on everything you need for a natural oven deep clean? These essentials make the job easier, safer, and faster.
- Natural Oven Cleaning Kit — Everything you need to clean without chemicals.
- Baking Soda and Vinegar Set — Your go-to combo for natural cleaning power.
- Efferdent Tablets — Great for lifting stubborn grime and adding fizz to your mix.
- Reusable Cleaning Cloths — Eco-friendly cloths for streak-free wiping.
Each of these products supports a cleaner home without harsh chemicals, and they’ll keep your cleaning routine simple and affordable.
A Fresh Finish

A spotless oven doesn’t have to mean harsh fumes or hours of scrubbing. With simple ingredients like baking soda, vinegar, and even Efferdent tablets, you can deep clean your oven safely and effectively. The best part? You’ll save money, skip the chemicals, and keep your kitchen smelling fresh.
Once you’ve tackled your oven, keep the cleaning momentum going. Check out my other natural cleaning guides for every corner of your home, like How to Deep Clean a Keurig the Right Way and Washing Machine Cleaning Made Easy: A Step-by-Step Guide. Each post walks you through simple, affordable ways to make your appliances look brand new again.
Your home deserves that just cleaned feeling all year long and now you know exactly how to make it happen naturally.