
Affiliate Disclosure – This post may contain affiliate links. If you click and make a purchase, I may earn a small commission at no extra cost to you.
Crystal chandeliers are gorgeous, but once the sparkle fades, they can start to look more dusty than dramatic. The good news is you do not need to take it down, disassemble it, or call a professional to bring it back to life. I’ve cleaned enough crystal chandeliers to know that the secret is prep, patience, and the right technique. This guide walks you through exactly how to clean crystal chandeliers while they’re still on the ceiling, safely and efficiently, with results that actually last.
Prep the Chandelier Before You Touch Anything
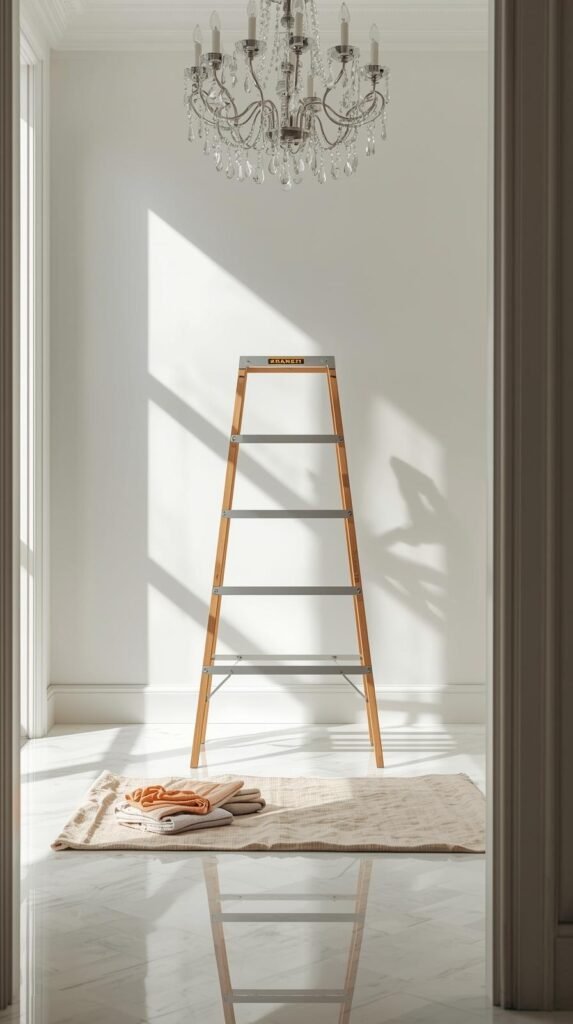
Before you even think about cleaning crystals, preparation is what makes or breaks the entire process. Rushing straight in is how crystals crack, finishes tarnish, and ladders wobble. A few minutes of setup protects your chandelier, your floors, and your sanity.
Start by turning off the power at the wall switch and letting the chandelier cool completely. Even slightly warm bulbs can cause cleaning solution to streak or crack crystal. Lay a thick drop cloth or old towels directly underneath to catch drips or loose dust. Put on cotton gloves so you don’t leave fingerprints on freshly cleaned crystal and so oils from your hands don’t dull the finish.
Take a quick photo of the chandelier from below before you begin. This helps if a crystal twists or shifts while you’re cleaning and you want to make sure everything hangs the way it did before.
Shop the Look (Prep Essentials):
Do’s:
- Do turn off power and let bulbs cool fully
- Do protect the floor directly underneath
The Best DIY Cleaning Solution for Crystal Chandeliers
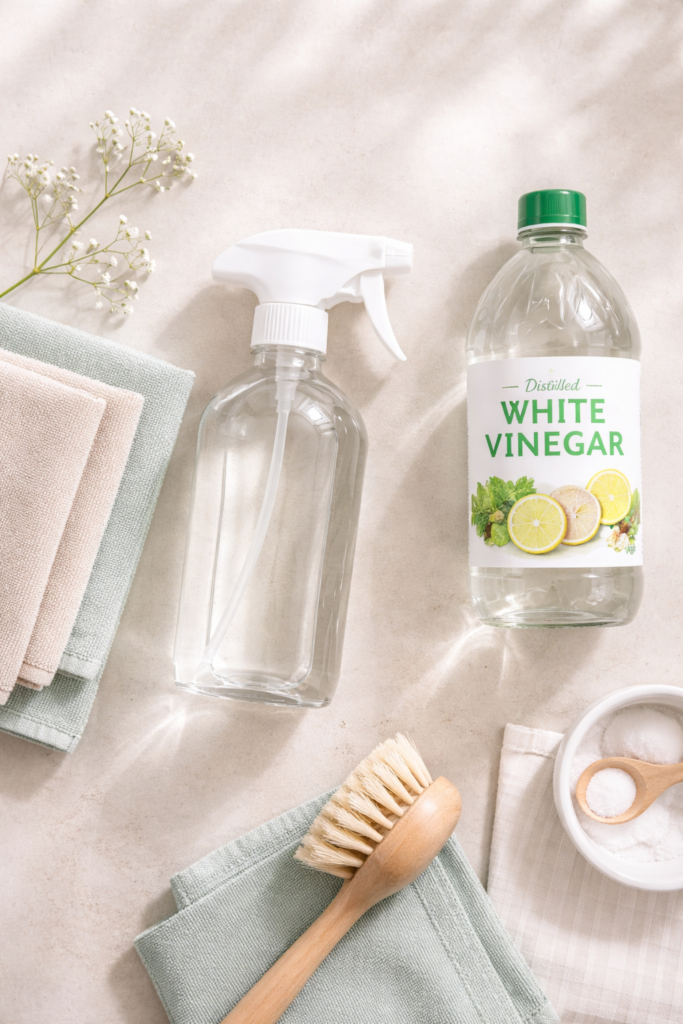
When it comes to how to clean crystal chandeliers, the solution matters just as much as the technique. Crystal is unforgiving. The wrong cleaner leaves streaks, cloudiness, or residue that kills the sparkle. You want something strong enough to cut dust and grime but gentle enough to keep the crystal clear.
The safest and most effective DIY option is a simple vinegar-based solution. Mix one part distilled white vinegar with three parts distilled water in a spray bottle. Distilled water is key here because it dries without leaving mineral spots. For chandeliers that haven’t been cleaned in years or have greasy buildup, an alcohol-based mix works better. Combine one part isopropyl alcohol with three parts distilled water for a fast-drying, streak-free finish.
Never spray the chandelier directly. Always spray your cloth first, then gently wipe the crystal. This prevents liquid from dripping into sockets or pooling around metal connectors, which is how damage happens over time.
Shop the Look (Cleaning Essentials):
- Distilled White Vinegar
- Isopropyl Alcohol 70%
- Spray Bottles for Cleaning
- Lint-Free Microfiber Cloths
Don’ts:
- Don’t use ammonia or harsh glass cleaners
- Don’t oversaturate crystals
How to Clean Crystal Drops Without Removing Them

This is the part that intimidates most people, but it’s actually the most satisfying once you get the rhythm down. Cleaning crystal drops while they’re still hanging is all about control and support. If you rush or pull downward, that’s when crystals loosen or connectors bend.
Work one section at a time, starting at the top tier and moving downward. Support each crystal with one hand while you clean with the other. Light pressure is enough. Spray your cleaning solution onto a microfiber cloth, never directly on the crystal, and gently wipe all sides. Follow immediately with a dry cloth to prevent streaks. This two-cloth method is what keeps crystal clear and drip-free.
For tight spaces and small crevices near metal hooks, use a cotton swab lightly dampened with solution. Rotate the crystal gently as you clean, rather than twisting the connector. If a crystal spins freely, stop and stabilize it before continuing.
Shop the Look (Detail Tools):
Do’s:
- Do support each crystal while wiping
- Do work top to bottom to avoid re-dirtying
Cleaning the Frame, Arms, and Metal Details
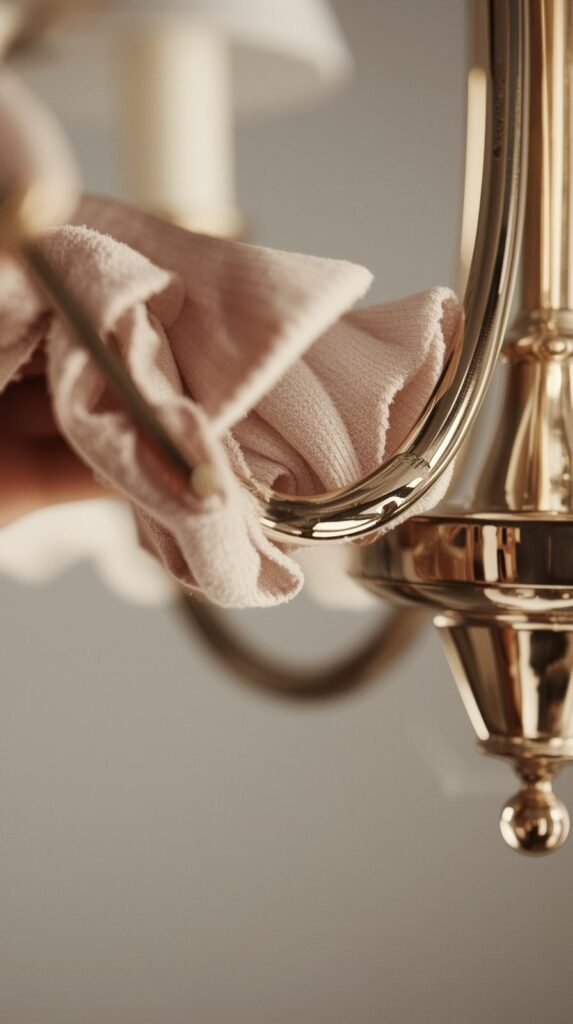
Once the crystals are clean, the metal frame is what determines whether your chandelier looks polished or still a little tired. Dust, oxidation, and fingerprints collect on arms, chains, and connectors, especially on crystal chandeliers with intricate detailing.
Start by dusting the frame with a dry microfiber cloth to remove loose debris. For painted or lacquered finishes, a slightly damp cloth with distilled water is usually enough. For brass, chrome, or gold-tone metal, use a gentle metal polish sparingly and only on the cloth, never directly on the fixture. Work in small sections and buff immediately to avoid residue buildup.
If your chandelier has silver-toned details that have started to tarnish, this is where careful spot treatment matters. Apply a tiny amount of silver-safe polish with a cotton swab, clean just the affected area, and wipe dry right away. This keeps the finish intact while restoring shine.
Shop the Look (Metal Care):
Don’ts:
- Don’t over-polish or scrub aggressively
- Don’t let polish sit on the surface
Bulbs, Sockets, and the Final Sparkle Check
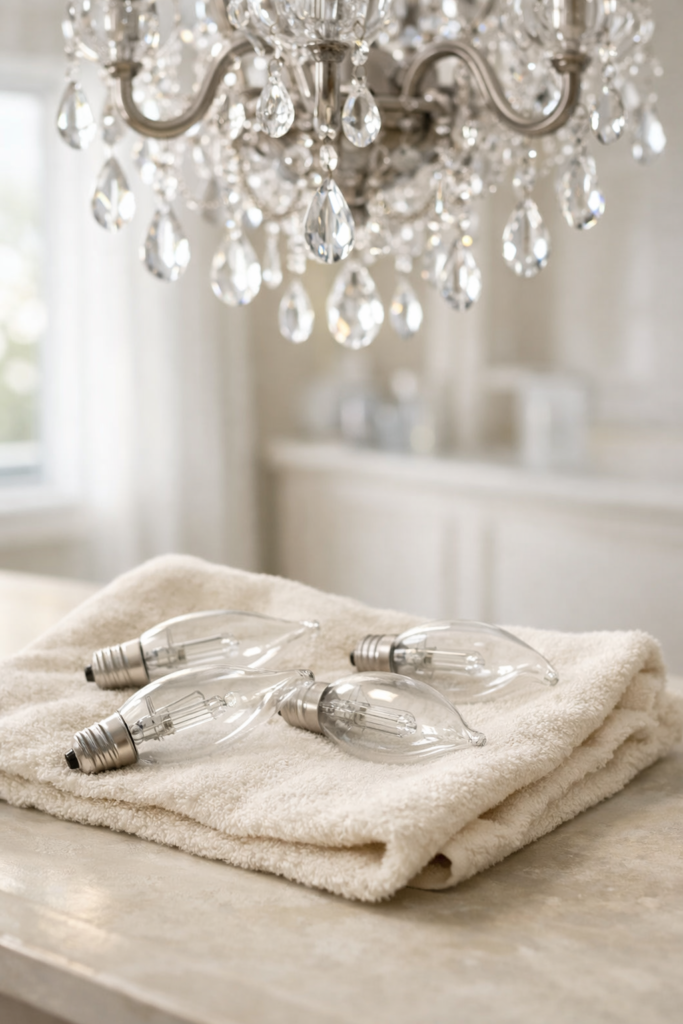
This is the step that takes your chandelier from clean to genuinely eye-catching. Dirty bulbs and dusty sockets can dull the overall glow, even if every crystal is spotless. Since the power is already off, this is the perfect time to handle them properly.
Carefully remove each bulb and wipe it with a dry or slightly damp microfiber cloth. If there’s stubborn residue, a tiny amount of your alcohol-based cleaning solution on the cloth will cut through it without streaking. Make sure bulbs are completely dry before reinstalling. For sockets, use a dry cloth or cotton swab only. Never introduce liquid into electrical components.
Before turning the power back on, take a slow look at the chandelier from multiple angles. Check for missed spots, twisted crystals, or fingerprints. Once everything looks even and polished, restore power and enjoy the full sparkle effect. You’ll notice the light reflects cleaner, brighter, and more evenly through the room.
Shop the Look (Finishing Touches):
Do’s:
- Do clean bulbs separately for maximum shine
- Do make sure everything is fully dry before power is restored
How Often to Clean a Crystal Chandelier + Easy Maintenance Hacks
A crystal chandelier does not need constant deep cleaning to stay beautiful. In fact, over-cleaning can wear down finishes and loosen connectors over time. The goal is light, consistent maintenance with occasional deeper cleaning when the sparkle starts to fade.
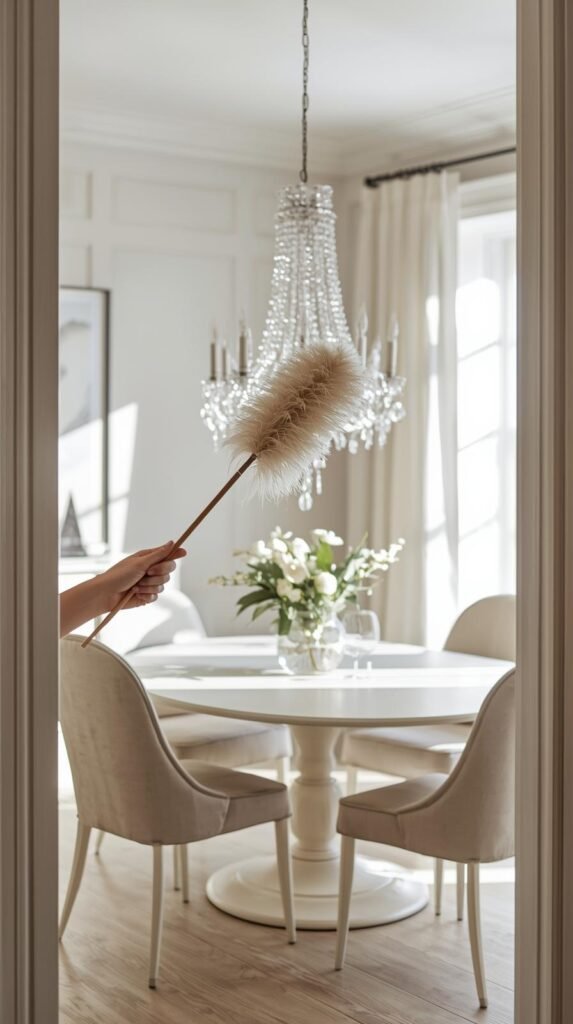
For most homes, a full clean like this is only needed once or twice a year. In between, a quick monthly dusting makes a huge difference. Use a dry microfiber cloth or a feather duster to gently remove surface dust from crystals and the frame. Avoid aerosol sprays, candles, or oily cleaners nearby, since residue builds up fast on crystal and metal.
If your chandelier hangs in a dining room or kitchen-adjacent space, plan on slightly more frequent touch-ups. Grease and airborne particles dull crystal faster than dust alone. A quick wipe of the lowest crystals every few months keeps the whole fixture looking fresh.
Easy Maintenance Schedule:
- Monthly: Light dusting with dry cloth or duster
- Every 6–12 months: Full crystal cleaning
- As needed: Spot-clean fingerprints or visible grime
Pro Tips:
- Change bulbs during cleaning to avoid extra ladder trips
- Keep a pair of gloves and microfiber cloths nearby for quick touch-ups
- Avoid chandelier “spray-on” cleaners unless manufacturer-approved
A Cleaner Chandelier, No Ladder Drama Required

A crystal chandelier doesn’t need to be taken apart or taken down to look brand new again. With a little prep, the right cleaning solution, and a steady, gentle approach, you can restore the sparkle without damaging delicate crystals or finishes. The biggest takeaway is consistency. Light maintenance keeps buildup from turning into a major chore and helps your chandelier stay bright, elegant, and intentional instead of dusty and dull.
If you’re tackling more high-up, hard-to-reach cleaning, don’t stop here. How to Clean Blinds Without Taking Them Down is the perfect next read if you want your windows looking just as fresh as your lighting, without extra tools or frustration.