Affiliate Disclosure – This post contains affiliate links. If you purchase through my links, I may earn a small commission at no extra cost to you.
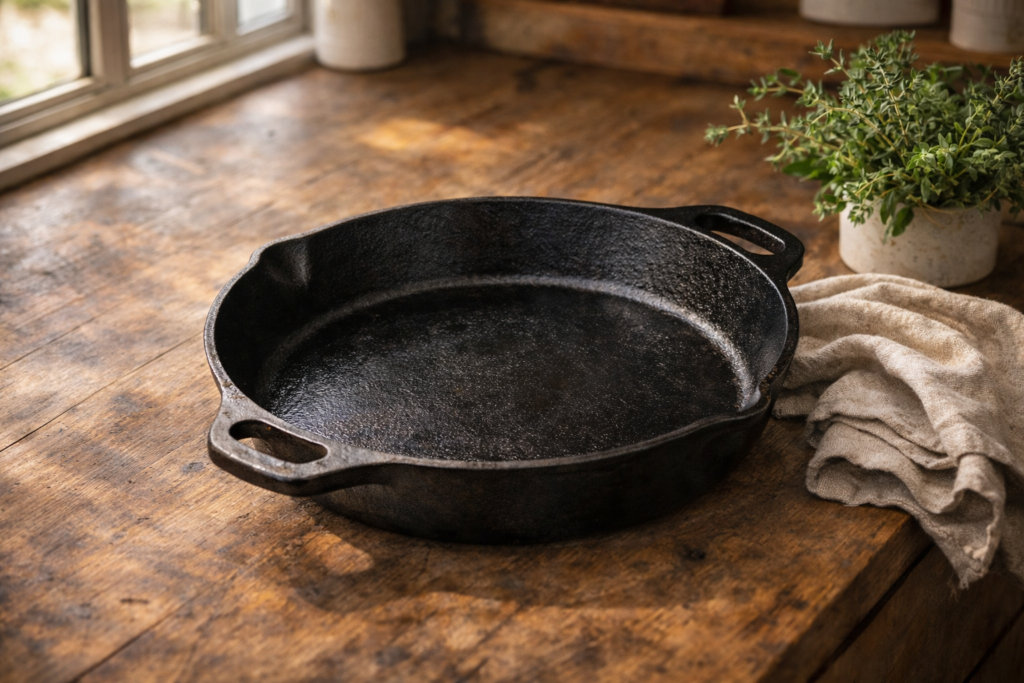
If you’ve ever scrubbed your cast iron skillet in a panic wondering if you just ruined it forever this one’s for you. Cast iron has a reputation for being high-maintenance, but honestly? It’s one of the easiest pieces of cookware to care for once you know the rules. The problem is there’s so much conflicting advice out there that most people are either over-cleaning it or too afraid to touch it. I’m breaking it all down so you can clean, season, and maintain your skillet with total confidence; no guesswork, no ruined pans.
What You Actually Need to Clean Cast Iron
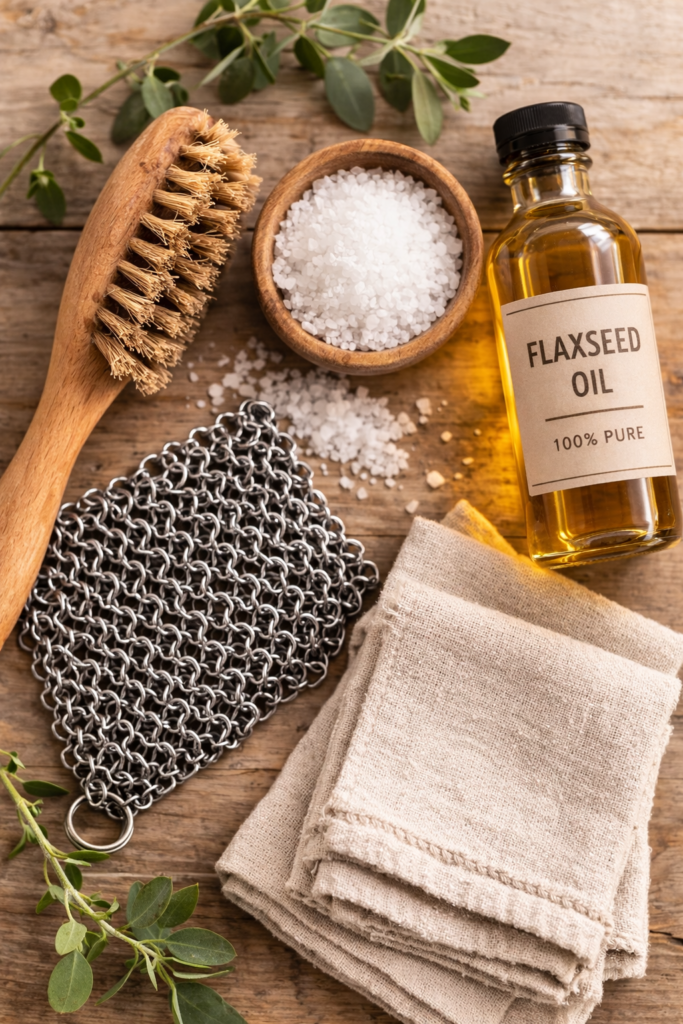
Let’s start simple because you do not need a bunch of fancy products to keep your cast iron in perfect shape. The real secret is having the right few tools on hand so cleaning feels effortless every single time. Here’s what you’ll want to keep close to your stovetop:
- A stiff-bristle brush or chainmail scrubber for everyday scrubbing
- Kosher salt as a natural abrasive for stuck-on food
- Paper towels or a lint-free cloth for drying and oiling
- Mild dish soap yes, a small amount is totally fine
- Neutral oil like flaxseed, vegetable, or canola for seasoning after each wash
That’s it. No special cast iron cleaner required. The simpler your toolkit, the more consistent your routine will be and consistency is everything with cast iron.
Shop the Look:
- Stiff Bristle Cast Iron Brush
- Chainmail Cast Iron Scrubber
- Kosher Salt
- Flaxseed Oil for Cast Iron
- Lint-Free Cloths
How to Clean a Cast Iron Skillet After Every Use
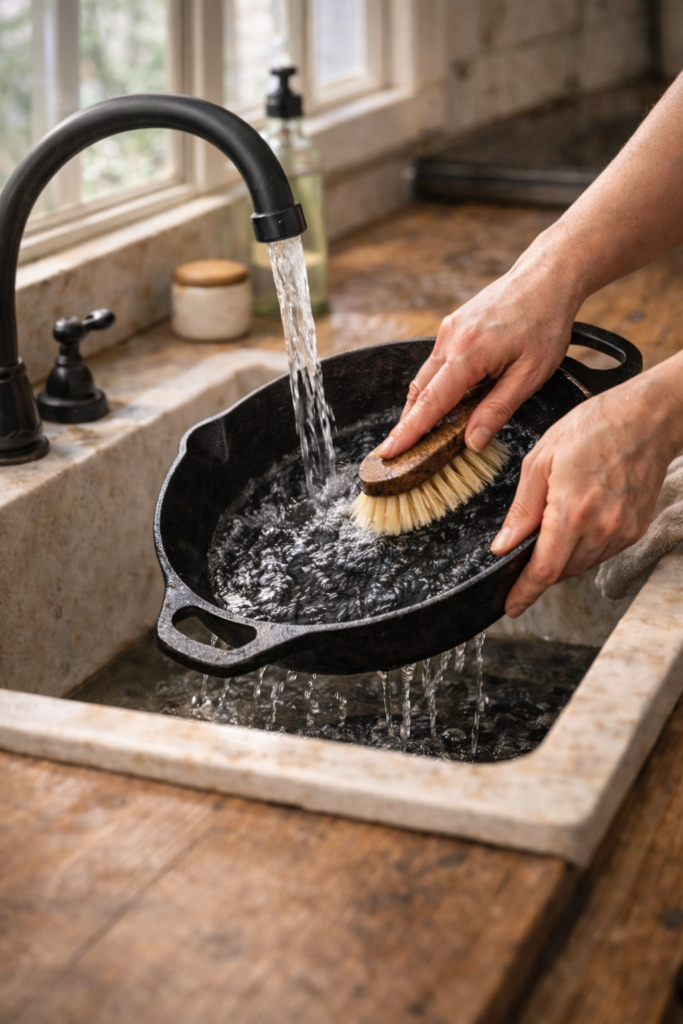
This is the routine that protects your seasoning and keeps your skillet performing like a dream. The key is cleaning it while it’s still warm not scorching hot, just warm enough that food hasn’t had time to harden. Do this after every single use and your cast iron will practically take care of itself.
Step-by-Step Everyday Cleaning Routine:
- Let the skillet cool down slightly after cooking never run cold water over a screaming hot pan. Thermal shock can cause cracking.
- Rinse the skillet under warm water while scrubbing with your stiff-bristle brush or chainmail scrubber.
- For any stubborn spots, sprinkle kosher salt directly into the pan and scrub in circular motions with a paper towel or brush.
- Rinse clean, then place the skillet on your stovetop over low heat for 2 to 3 minutes to evaporate all moisture completely. A wet cast iron pan is a rusty cast iron pan.
- Remove from heat. While it’s still warm, add a few drops of neutral oil and rub it all over the inside surface with a paper towel until no excess oil remains.
- Store in a dry place.
That thin oil coat after every wash is what builds and protects your seasoning over time. The more you use and care for it this way, the better your skillet gets.
Pro Tips:
- Dry your skillet on the stovetop every time air drying is not enough.
- Less oil is more. A thick oil coat will turn sticky and gummy.
- Your skillet should look matte and dark after oiling, not shiny or greasy.
Shop the Look:
How to Clean a Burnt Cast Iron Pan
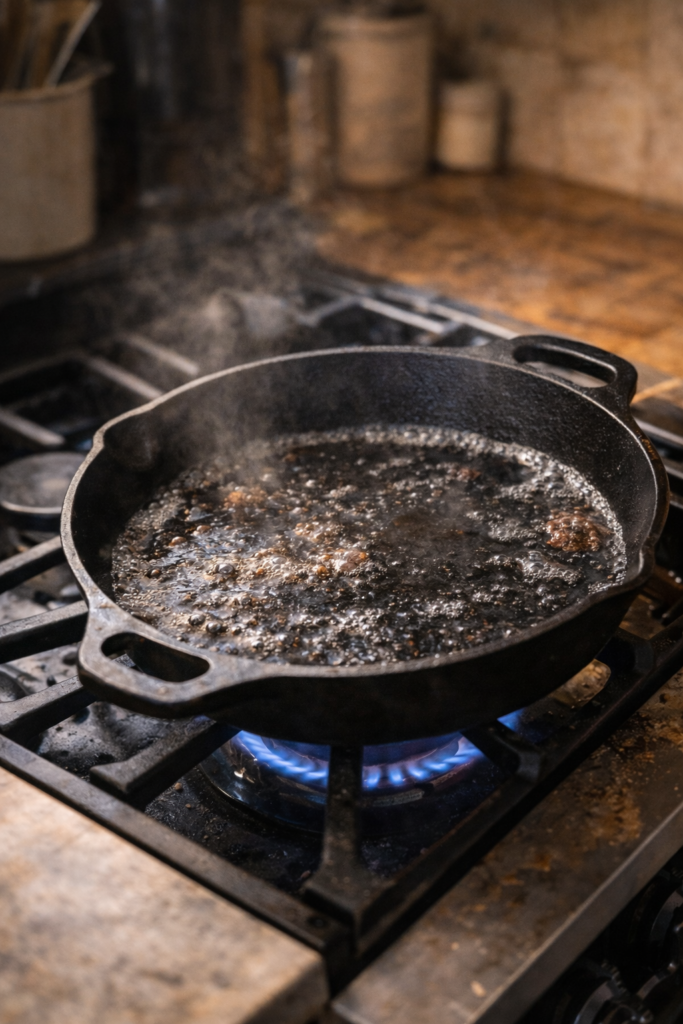
Burnt-on food happens to everyone and it does not mean your skillet is ruined. This is actually one of the most common cast iron panic moments, and the fix is simpler than you think. The goal is to lift the residue without stripping your seasoning, so skip the aggressive scrubbing and follow these steps instead.
Step-by-Step for Burnt or Stuck-On Food:
- Add about an inch of water to the skillet and place it on the stovetop over medium heat.
- Bring the water to a boil and let it simmer for 3 to 5 minutes. You’ll see the burnt bits start to loosen and float to the surface.
- Carefully pour out the hot water and use your stiff brush or chainmail scrubber to scrub away the remaining residue while the pan is still warm.
- If stubborn spots remain, sprinkle kosher salt into the warm pan and scrub with a folded paper towel using firm circular motions.
- Rinse, dry on the stovetop over low heat, and apply your thin oil coat as usual.
No steel wool, no harsh soaps, no soaking. Those methods strip the seasoning you’ve worked hard to build up.
Do’s and Don’ts:
| Do | Don’t |
|---|---|
| Use the boiling water method first | Soak the pan in water |
| Scrub with kosher salt for stubborn spots | Use steel wool on a seasoned pan |
| Dry on the stovetop immediately | Let it air dry after cleaning |
| Finish with a thin oil coat | Skip the oil step after a deep clean |
Shop the Look:
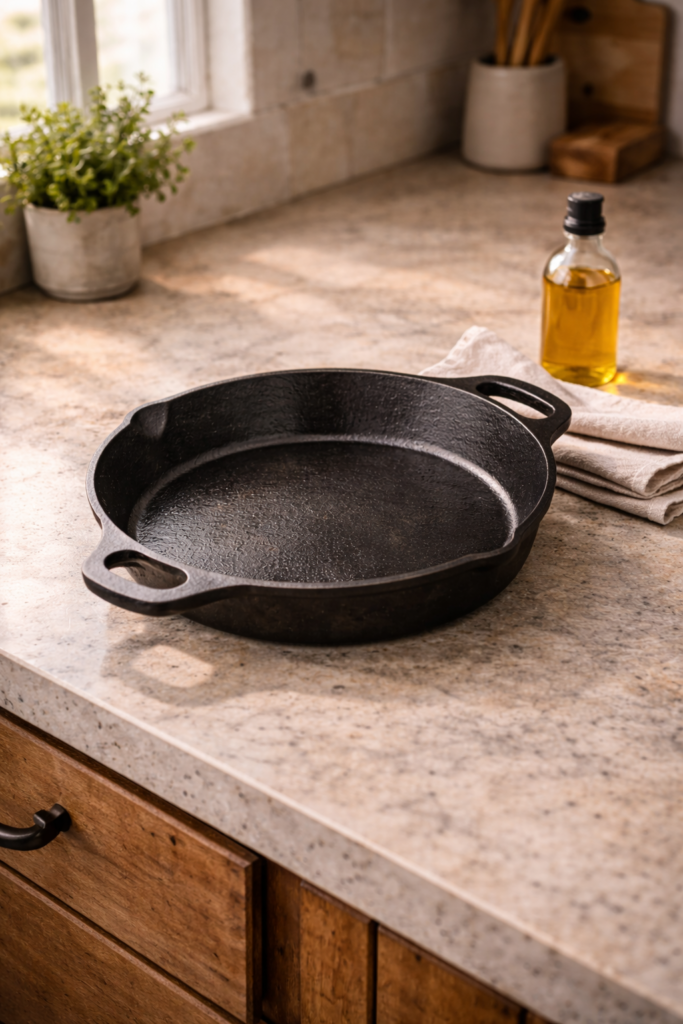
How to Reseason a Cast Iron Skillet

Reseasoning is the reset button for your cast iron and knowing when to do it is half the battle. If your skillet looks dull, patchy, or food has started sticking more than usual, it’s time to reseason. This process builds a fresh layer of polymerized oil directly into the iron, creating that naturally non-stick surface cast iron is famous for.
When to Reseason:
- After restoring a rusty skillet
- When the surface looks dry, gray, or uneven
- When food starts sticking despite proper cleaning
- After using soap more heavily than usual
Step-by-Step Reseasoning Process:
- Preheat your oven to 450 to 500 degrees Fahrenheit.
- Wash the skillet with warm water and a small amount of dish soap, this is one of the rare times a proper wash is appropriate. Scrub well, rinse, and dry completely on the stovetop over low heat.
- Apply a very thin layer of neutral oil: flaxseed, vegetable, or canola, all over the entire skillet. Inside, outside, and the handle.
- Use a clean paper towel to buff off the excess oil. The pan should look almost dry, not greasy. This step is critical too much oil creates a sticky, uneven finish.
- Place the skillet upside down on the center oven rack with a sheet of foil on the rack below to catch any drips.
- Bake for one full hour, then turn the oven off and let the skillet cool completely inside the oven.
- Repeat this process 2 to 3 times for a strong, even seasoning layer.
One round of seasoning is a great start. Two to three rounds back to back will give you a noticeably smoother, more non-stick surface right away.
Pro Tips:
- Flaxseed oil is a favorite for seasoning because it polymerizes exceptionally well at high heat.
- Always buff off excess oil before baking, this is the step most people skip and it makes a huge difference.
- Your skillet will darken with each round of seasoning, that’s exactly what you want.
Shop the Look:
How to Restore a Rusty Cast Iron Skillet
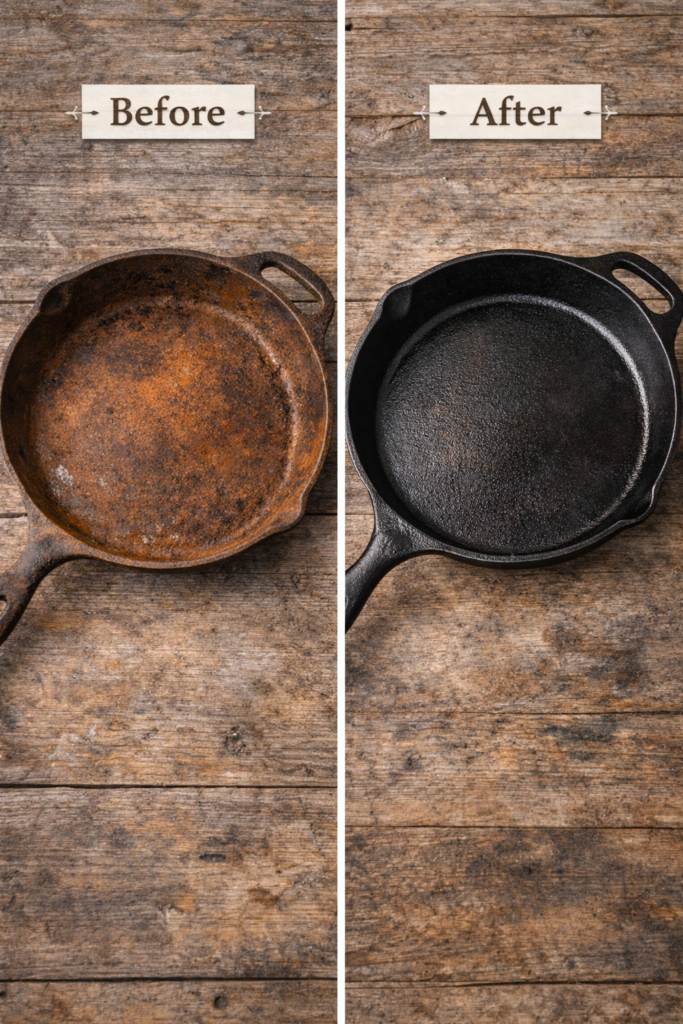
Finding rust on your cast iron is not a death sentence it’s a fixable situation, and I promise it’s not as scary as it looks. Surface rust is extremely common, especially if the skillet was stored while slightly damp or went unused for a long stretch. Even a skillet that looks completely orange and forgotten can almost always be brought back to life with a little elbow grease and patience.
Identify the Type of Rust:
- Surface rust — light reddish-brown patches on an otherwise solid pan. Fully restorable.
- Deep rust or pitting — the iron itself is eaten away and the surface feels rough and cratered even after cleaning. A heavily pitted pan may be beyond saving, but try the restoration process first before giving up.
Step-by-Step Cast Iron Restoration:
- Scrub the entire skillet with steel wool yes, this is the one situation where steel wool is appropriate. Scrub until all visible rust is gone, including the outside and handle.
- Wash the skillet with warm water and dish soap, scrubbing thoroughly to remove all rust particles and residue.
- Rinse completely and dry immediately on the stovetop over low heat until every drop of moisture is gone.
- Inspect the surface. If pitting is minimal and the pan feels structurally solid, proceed to seasoning. If the surface looks severely damaged, assess whether the pan is worth continuing with.
- Apply a thin layer of neutral oil all over the skillet inside, outside, handle and all.
- Buff off the excess oil with a clean paper towel until the pan looks almost dry.
- Follow the full reseasoning process from ‘How to Reseason a Cast Iron Skillet’ bake at 450 to 500 degrees Fahrenheit upside down for one hour. Repeat 2 to 3 times.
After restoration and a few rounds of seasoning, your skillet will be back in action and cooking beautifully.
Pro Tips: Thrift store and garage sale cast iron skillets are worth restoring the older the pan, the better the iron quality in most cases.
Shop the Look:
Tips on Maintaining Cast Iron for the Long Haul
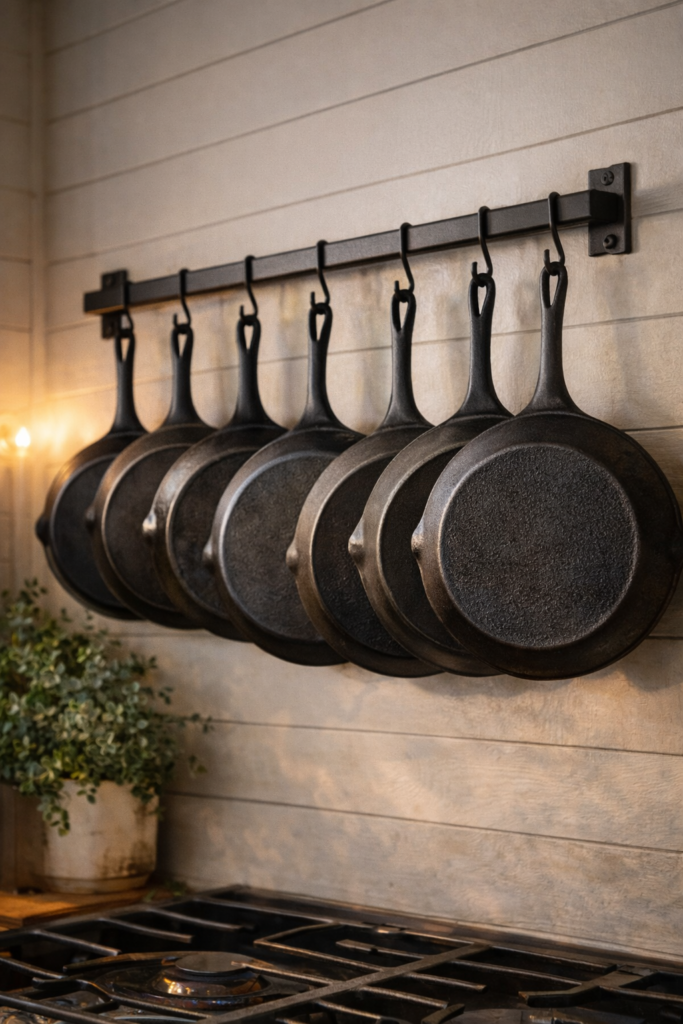
The best thing about cast iron is that it genuinely gets better with age but only if you treat it right. A few consistent habits are all it takes to keep your skillet in peak condition for decades. This is the section that separates the people who love their cast iron from the ones who end up with a rusty pan shoved in the back of a cabinet.
Storage Tips:
- Store your skillet in a dry place, inside the oven, on the stovetop, or in a cabinet with good airflow.
- If stacking multiple cast iron pieces, place a paper towel or cloth between them to prevent scratching and moisture buildup.
- Never store with a lid sealed tight trapped moisture leads to rust fast.
What to Avoid:
- The dishwasher — the heat, steam, and harsh detergent will strip your seasoning completely every single time.
- Soaking in water — even for a few minutes. Cast iron absorbs moisture and rust develops quickly.
- Cooking acidic foods regularly — tomatoes, citrus, and vinegar-based dishes break down seasoning over time. An occasional acidic dish is fine, but a well-seasoned pan handles it better than a new one.
- Leaving it wet — always dry on the stovetop after every single wash, no exceptions.
Habits That Make Cast Iron Last Generations:
- Cook with oil or fat regularly every use adds to your seasoning layer.
- Preheat your skillet slowly and evenly before cooking for best results and to avoid warping.
- Do a light oil wipe after every single use, even if the pan looks clean.
- Use it often. Cast iron thrives on regular use, the more you cook with it, the better it performs.
Shop the Look:
Easy Cast Iron Skillet Recipes to Try Next
Now that your skillet is clean, seasoned, and ready to go, it’s time to actually use it. The best way to build and maintain great seasoning is to cook with your cast iron regularly, and these recipes are perfect for doing exactly that. Each one uses oil or fat during cooking, which means every single meal is also a seasoning session.
4 Recipes to Start With:
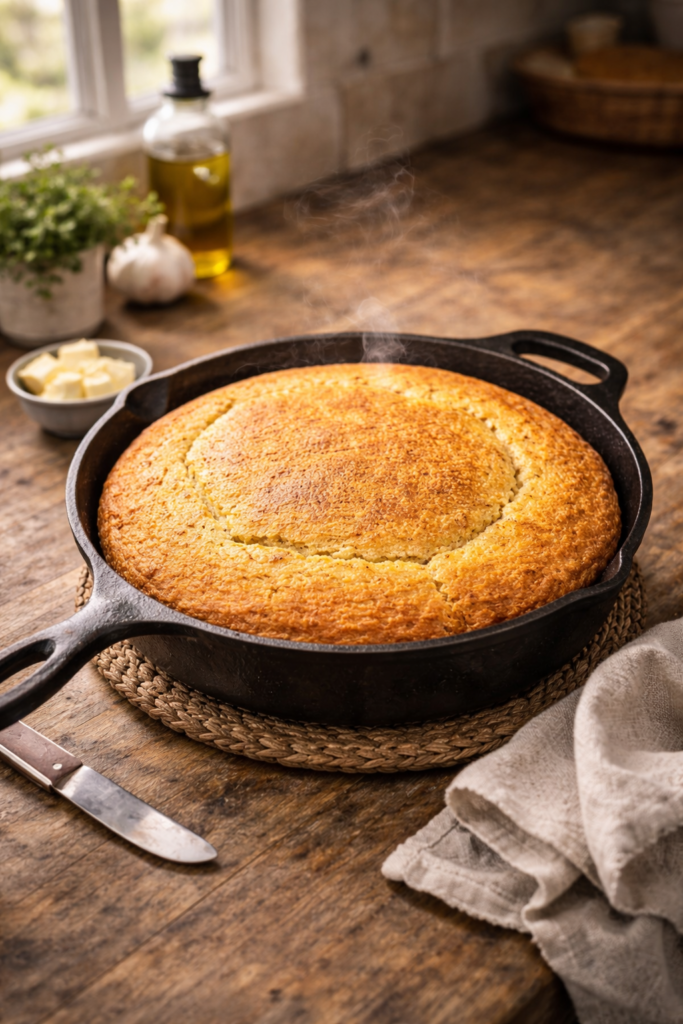
Skillet Cornbread This is the classic cast iron recipe for a reason. A hot, well-oiled skillet gives cornbread that signature crispy crust on the bottom and sides that you simply cannot replicate in a regular baking pan. It’s one of the easiest things you’ll ever make, and it shows off your seasoning beautifully.
Seared Chicken Thighs Cast iron holds heat better than any other pan, which makes it perfect for getting a deep, golden sear on chicken thighs. A little oil, high heat, and patience — that’s all it takes. The rendered chicken fat also does wonders for your seasoning layer.
Stovetop Mac and Cheese Creamy, rich, and made entirely in one pan. Cast iron distributes heat so evenly that your cheese sauce comes together without scorching. This one is a weeknight staple once you try it.
Cast Iron Smash Burgers If you’ve never made smash burgers at home, your cast iron skillet is about to change your life. The flat, heavy surface creates the crispiest, most flavorful crust on a burger patty. Use a little butter or neutral oil and press those patties down hard for the best results.
Shop the Look:
Cast iron care is not complicated — it just requires consistency. Clean it while it’s warm, dry it completely, give it a thin oil wipe, and store it somewhere dry. Do that every single time and your skillet will reward you with decades of incredible cooking. Whether you’re restoring a rusty thrift store find or maintaining a brand new pan, you now have everything you need to do it right.
The best cast iron skillets are not the most expensive ones. They’re the ones that get used, cleaned properly, and loved over time. Yours is well on its way.
Looking for more ways to take care of the things in your home? Check out How to Clean Stainless Steel Pans the Easy Way over on Room Revival Studio for more practical home care tips you’ll actually use.