
Affiliate Disclosure – This post contains affiliate links. If you purchase through my links, I may earn a small commission at no extra cost to you.
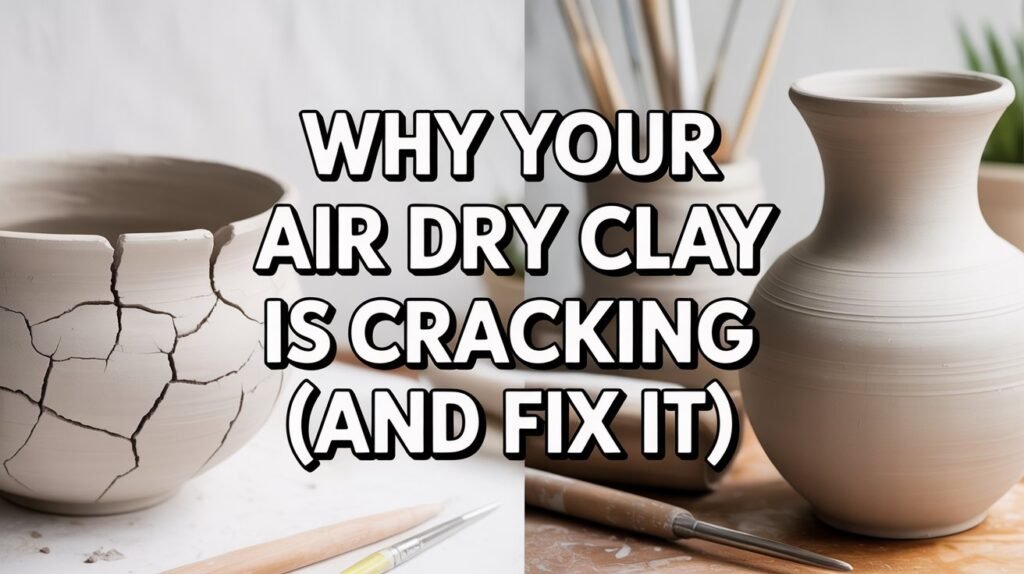
You spent time shaping it. You smoothed the edges. You let it sit overnight. And then you wake up to a crack running straight through your project.
If you’re wondering how to fix cracks in air dry clay, you’re not alone. Cracking is one of the most common issues with air dry clay projects, and it usually comes down to moisture imbalance and structural mistakes. The good news is this: cracks are predictable. Which means they’re preventable.
Let’s break down exactly why it’s happening and how to stop air dry clay from cracking for good.
It’s Drying Too Fast
Air dry clay shrinks as moisture evaporates. If the outside dries faster than the inside, tension builds. That tension creates stress fractures. That’s your crack in air dry clay.
Fast drying is the number one reason people search for how to fix cracks in air dry clay.
Direct sunlight, heaters, AC vents, ceiling fans, even a bright windowsill can pull moisture out too quickly. The outer layer hardens while the interior is still damp and expanding. The surface has nowhere to move. It splits.
How To Stop Air Dry Clay From Cracking Due to Fast Drying
Follow this controlled drying method:
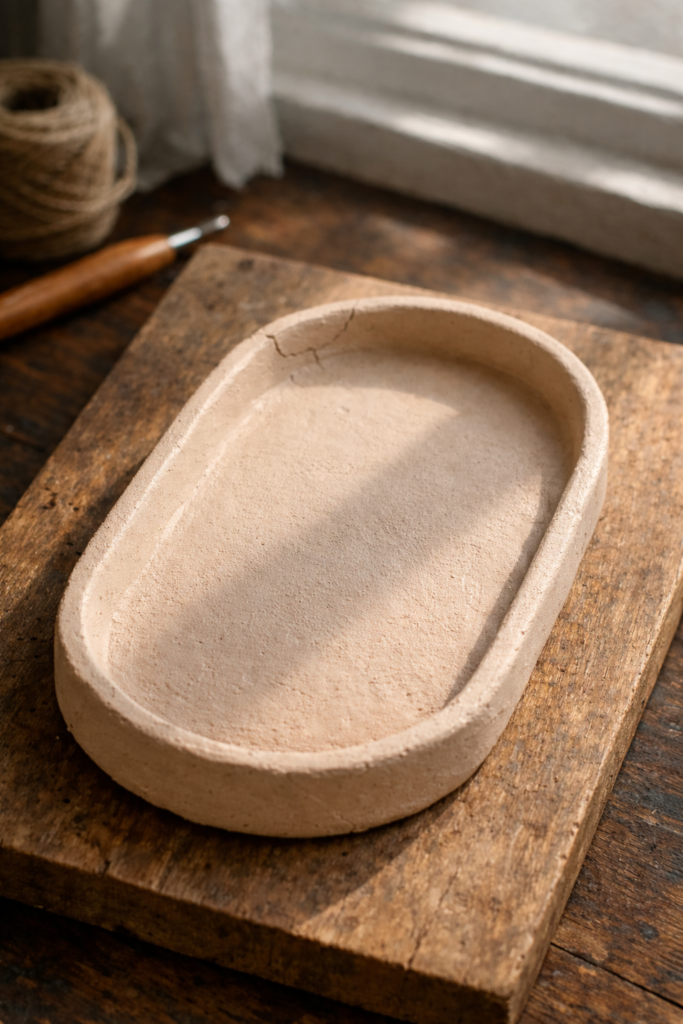
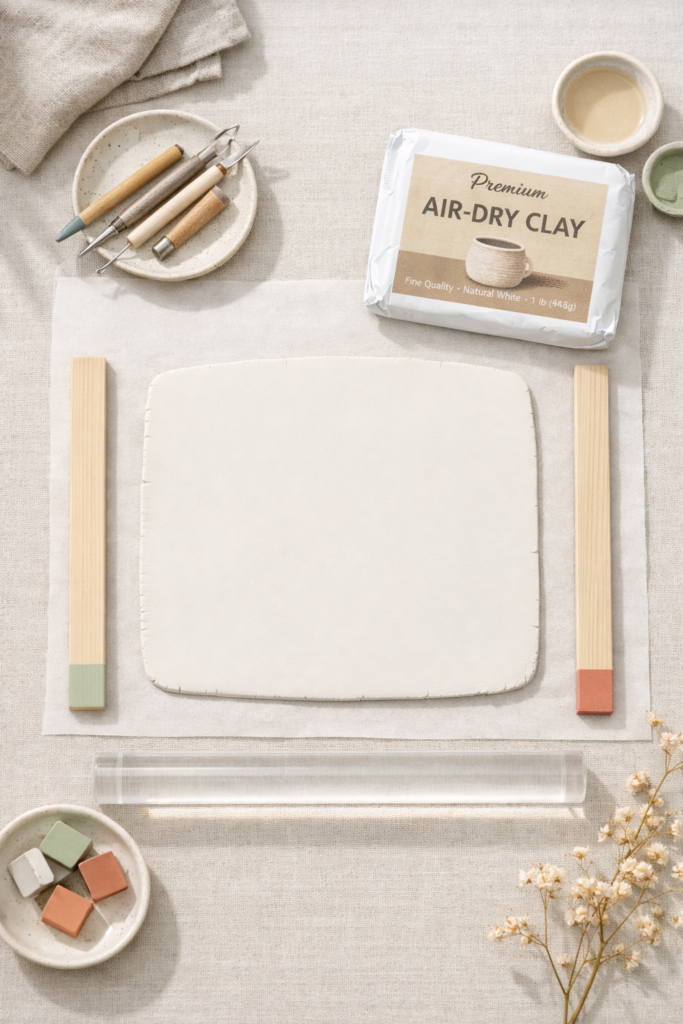
- Place your piece on a silicone mat or wooden board, never stone or metal.
- Keep it in a shaded, room-temperature area.
- Loosely cover with plastic wrap for the first 24 hours.
- Rotate or flip flat pieces halfway through drying.
- Allow 24–72 hours depending on thickness.
Slow evaporation equals even shrinkage. Even shrinkage equals strength. This single adjustment prevents most cracks in air dry clay.
Shop the Tools That Help
If your clay keeps cracking, don’t assume it’s bad clay. Assume it’s drying science.
Your Clay Is Too Thick
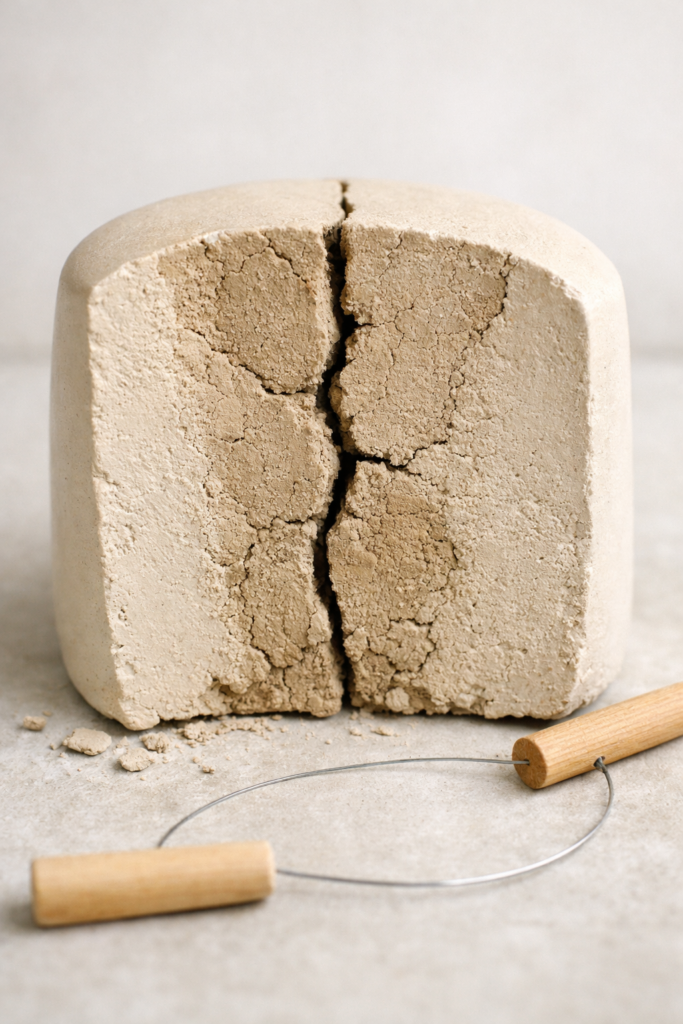
Here’s the part most people don’t realize: air dry clay is not designed for heavy mass. It’s designed for controlled thickness.
If your piece is thick in the center, the outer layer dries and shrinks first while the inside stays wet. That internal moisture tries to escape. Pressure builds. A crack in air dry clay forms right where the tension is strongest.
If you’re constantly searching how to keep clay from cracking, thickness is likely the culprit.
The Ideal Thickness for Air Dry Clay Projects
For most decorative pieces:
- ¼ inch is ideal for flat pieces
- ½ inch max for sculpted forms
- Anything thicker should be hollowed
When you’re building bowls, vases, or sculptural shapes, hollowing the interior reduces stress dramatically. Even walls = even drying.
How To Prevent Air Dry Clay From Cracking Due to Thickness
Use this structure method:
- Roll clay with thickness guides for consistency.
- Hollow out thicker bases using a loop tool.
- Keep wall thickness even throughout.
- Avoid thick solid cores unless reinforced internally.
The goal is moisture balance from edge to center.
Shop the Tools That Make It Easier
If you want stronger air dry clay projects, think like a ceramicist. Structure first. Shape second.
You Didn’t Condition the Clay Properly
If you open the package and start sculpting immediately, you’re setting yourself up for failure.
Air dry clay straight from the bag often has uneven moisture distribution. Some areas are slightly drier. Others are softer. That inconsistency creates weak spots. And weak spots turn into cracks.
If you’ve been wondering how to fix cracks in air dry clay, start by asking whether the clay was properly conditioned before you even shaped it.
Why Conditioning Matters
Conditioning redistributes moisture evenly throughout the clay. It also:
- Eliminates hidden air pockets
- Improves flexibility
- Increases structural strength
- Reduces surface cracking
Clay that hasn’t been kneaded is unpredictable. Clay that’s conditioned behaves consistently.
How To Keep Clay From Cracking Before You Even Start
Use this prep method every time:
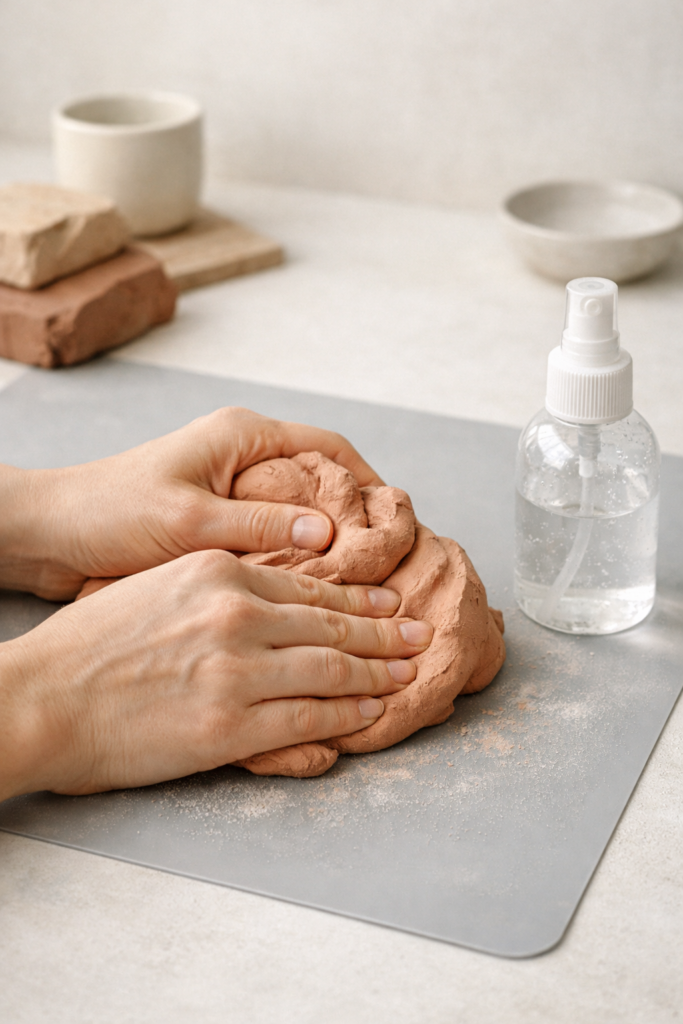
- Cut off only what you need.
- Knead the clay for 3–5 minutes until smooth and pliable.
- If it feels stiff, lightly mist with water.
- Fold and press repeatedly to eliminate dry pockets.
- Store unused clay in airtight wrap immediately.
Warm hands help soften and activate the material. You want a smooth matte texture that feels flexible but not sticky.
Shop the Essentials for Proper Prep
Proper conditioning alone can eliminate a surprising number of air dry clay cracks.
Weak Joins and Attachments Are Failing
If your crack is forming where two pieces meet, this is not a drying issue. It’s a bonding issue.
Handles, legs, decorative add-ons, and layered details are the most common failure points in air dry clay projects. The connection looks smooth on the outside, but underneath there’s no structural integration. As the clay shrinks during drying, the pieces pull away from each other.
This is one of the biggest reasons people search how to fix cracks in air dry clay after their piece dries overnight.
Why Attachments Crack
When you press two smooth pieces together:
- There’s minimal grip between surfaces
- Shrinkage causes separation
- Tension concentrates at the seam
Air dry clay needs mechanical bonding, not just pressure.
How To Prevent Cracks at Joins
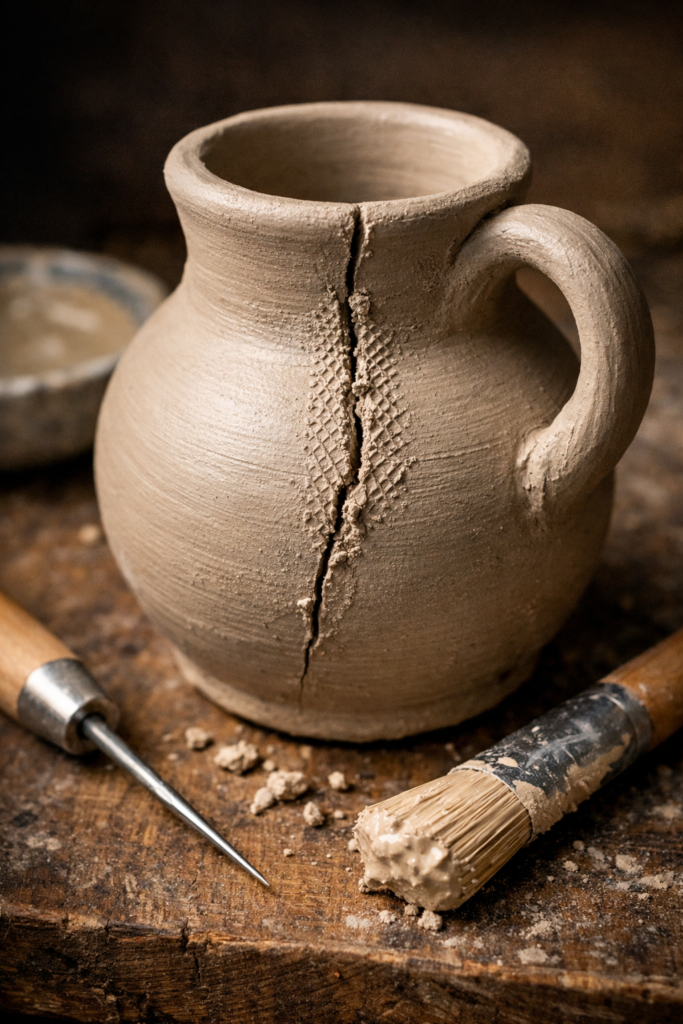
Use the score-and-slip method every time:
- Lightly scratch both surfaces with a needle tool.
- Apply slip, which is clay mixed with water to a paste consistency.
- Press pieces together firmly.
- Blend and compress the seam thoroughly.
- Reinforce larger attachments with internal supports like wooden skewers.
Blending the seam isn’t cosmetic. It’s structural.
The smoother and more compressed the seam, the less likely you are to deal with a crack in air dry clay later.
Shop the Tools That Strengthen Joins
If your projects keep cracking at the seams, it’s not bad luck. It’s missing structure.
Your Environment Is Too Dry
You can do everything right structurally and still end up with a crack in air dry clay if your environment is pulling moisture out too aggressively.
Air dry clay reacts to humidity. If you’re working in a space with heavy AC, forced heat, or naturally dry air, moisture evaporates faster than the clay can stabilize. That rapid shrinkage creates micro-stress across the surface, especially on thinner edges.
If you’re constantly asking how to stop air dry clay from cracking, check your room before you check your technique.
The Ideal Drying Environment
Air dry clay performs best in:
- Room temperature between 65–75°F
- Moderate humidity between 40–60%
- Indirect light
- Low airflow
If your home is extremely dry, especially in winter, your clay is drying under tension.
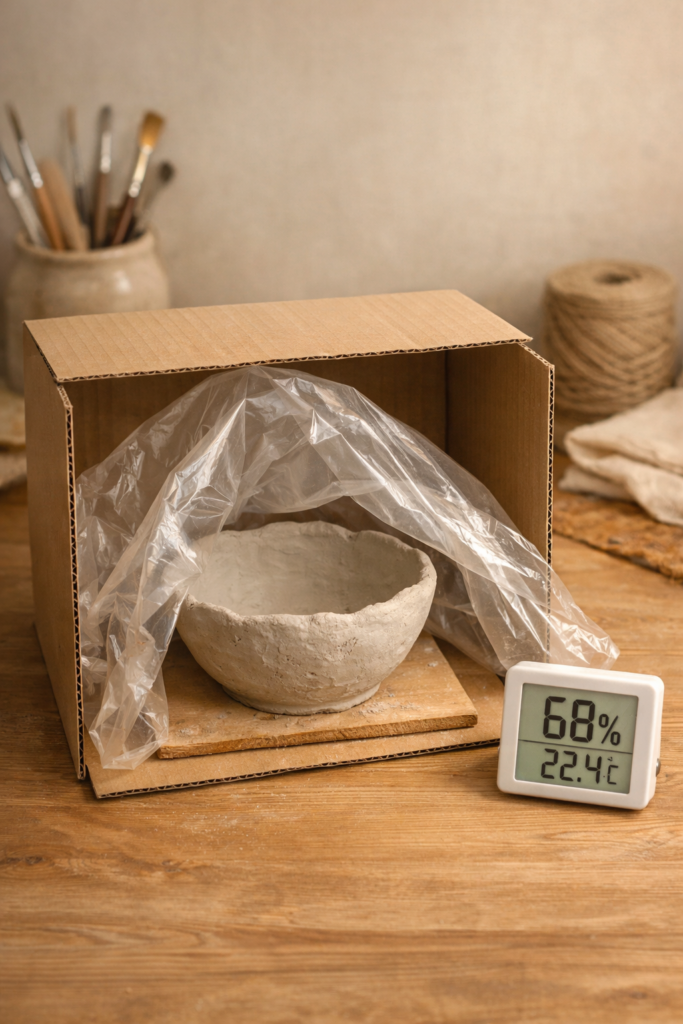
How To Prevent Air Dry Clay From Cracking in Dry Spaces
Use controlled drying techniques:
- Dry pieces inside a cardboard box to reduce airflow.
- Create a loose plastic tent over delicate projects.
- Place a small bowl of water nearby to stabilize humidity.
- Avoid placing pieces near vents or exterior walls.
This method slows evaporation without trapping too much moisture.
Clay needs balance. Not dryness. Not humidity overload. Balance.
Shop Tools That Help Control the Environment
If your clay cracks every season change, it’s likely your air, not your skill.
Surface Cracks vs Structural Cracks
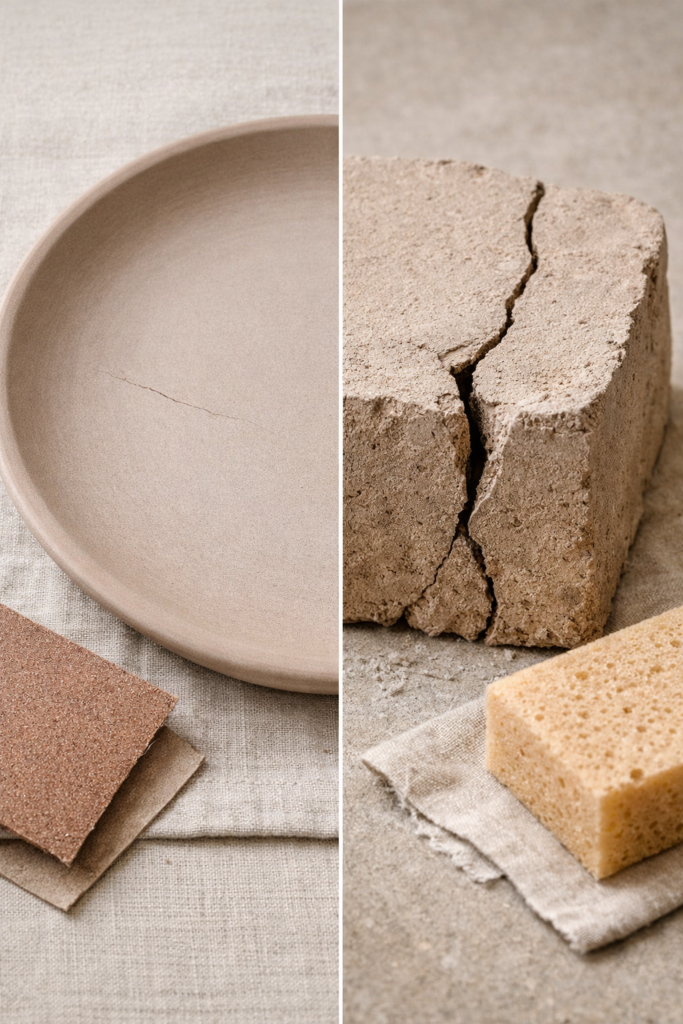
Not all cracks are the same. And if you don’t diagnose correctly, you’ll fix the wrong problem.
Some cracks are shallow surface fractures caused by fast evaporation. Others are deep structural failures caused by internal stress or weak construction. Knowing the difference is critical when learning how to fix cracks in air dry clay.
Surface Cracks
These look thin and hairline. They don’t go all the way through the piece.
They usually happen because:
- The surface dried too quickly
- The clay wasn’t conditioned evenly
- Edges dried faster than the center
How To Fix Air Dry Clay Cracks on the Surface
If the piece is still slightly damp:
- Mix clay with water into a smooth paste.
- Press the paste into the crack.
- Smooth gently with a damp sponge.
- Let it dry slowly under light plastic cover.
If fully dry:
- Lightly sand the area.
- Apply clay paste or lightweight filler.
- Smooth and allow to cure.
- Sand again before painting.
Surface cracks are cosmetic. They’re fixable.
Structural Cracks
These are deeper and may go through the piece. They often appear at stress points or thick areas.
They happen because:
- Clay was too thick
- The piece dried unevenly
- Joins were weak
- Internal moisture had nowhere to escape
Structural cracks require reinforcement, not just filling.
How To Fix Cracks in Air Dry Clay That Are Structural
- Gently widen the crack slightly so repair material can grip.
- Apply clay slip generously inside the opening.
- Press the crack closed and compress firmly.
- Reinforce from the inside if possible.
- Dry slowly in a controlled environment.
If the crack compromises stability, sometimes rebuilding the section is the strongest option. That’s not failure. That’s structural correction.
Shop Repair Essentials
The more technical you become about cracks, the less intimidating they feel.
How To Fix Cracks in Air Dry Clay After It’s Fully Dry
Sometimes you don’t catch the crack until the piece is completely cured. At that point, the clay has already shrunk and hardened. You cannot “re-wet” it back to its original state.
But you can repair it cleanly.
If you’re specifically searching how to fix cracks in air dry clay after drying, this is the method that actually works.
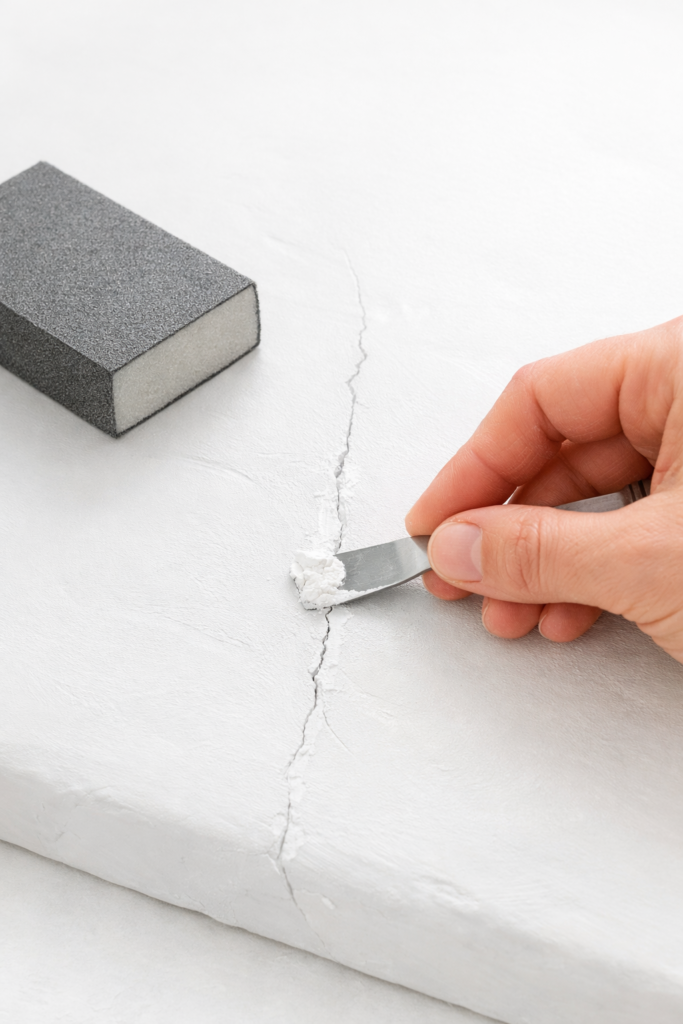
Step-by-Step Repair for Fully Dried Cracks
- Lightly sand around the crack to remove loose particles.
- Open the crack slightly with a craft knife so filler can grip.
- Apply clay paste or lightweight spackle for decorative pieces.
- Smooth with a damp sponge or fingertip.
- Allow it to dry completely.
- Sand again for a seamless finish.
The key is adhesion. If you just smear filler over the top without creating surface grip, it will flake later.
For painted air dry clay projects, priming after sanding creates a smooth ceramic-like surface that hides the repair completely.
When to Use Clay Paste vs Spackle
- Use clay paste if you want a cohesive, natural clay repair.
- Use lightweight spackle for purely decorative items.
- Avoid heavy fillers. They add weight and stress.
Once sealed and painted, most repaired cracks disappear entirely.
Shop Repair + Finishing Tools
A crack in air dry clay is not the end of the project. It’s a finishing step.
8. How To Prevent Air Dry Clay From Cracking in Future Projects
Fixing cracks is helpful. Preventing them is powerful.
If you apply everything we covered, most air dry clay cracks disappear from your workflow entirely. Prevention comes down to moisture control, structure, and patience.
Here’s your technical checklist for crack-free air dry clay projects.
The Crack-Prevention Formula
- Condition clay thoroughly before shaping
- Keep thickness between ¼ and ½ inch
- Hollow thick forms
- Always score and slip attachments
- Dry slowly in controlled conditions
- Avoid heat, direct sunlight, and airflow
- Maintain moderate humidity
When you balance internal moisture with external evaporation, the clay shrinks evenly. That’s the science behind how to keep clay from cracking.
Upgrade Your Clay Workflow
Quality matters. Lower-grade clay often contains inconsistent moisture or fillers that dry unpredictably. If you’ve tried everything and still get a crack in air dry clay, test a premium brand.
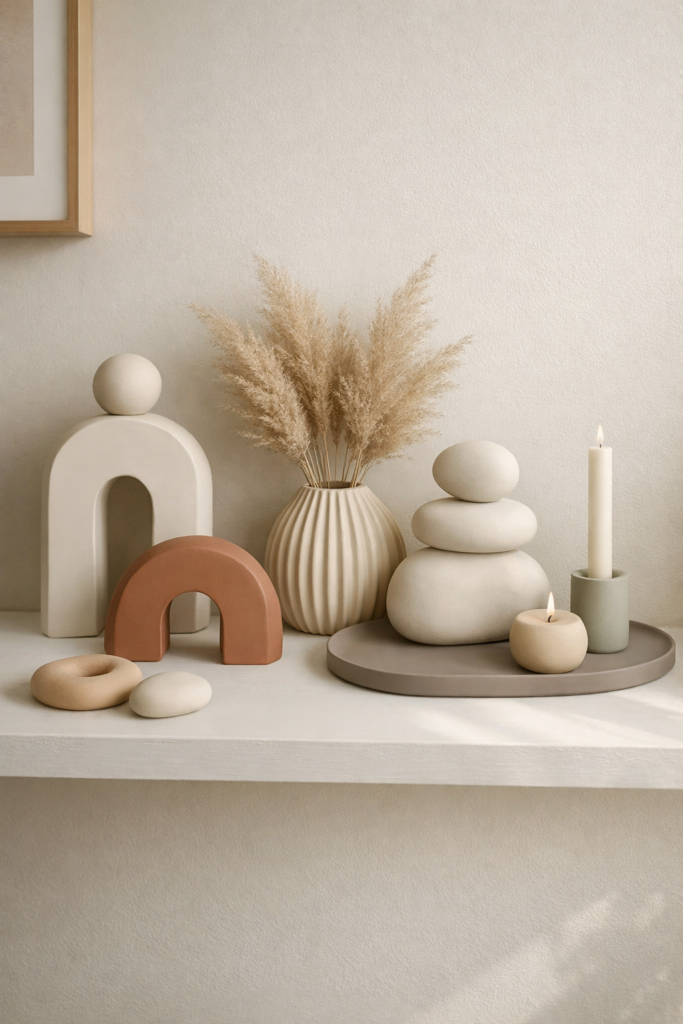
Structure your projects with intention. Build lighter. Dry slower. Think ahead to where tension might form.
That shift alone changes everything.
Shop Prevention Essentials
Cracks are not random. They’re mechanical. And once you understand the mechanics, you control the outcome.
Your Crack-Free Clay Era Starts Now
Air dry clay cracks because of moisture imbalance, uneven thickness, weak joins, and aggressive drying environments. Not because you’re bad at clay.
Now you know exactly how to fix cracks in air dry clay, how to stop air dry clay from cracking, and how to prevent air dry clay from cracking in future projects.
Master the structure. Control the drying. Build intentionally.
If you want a complete breakdown of tools, finishes, sealing methods, and project ideas, read my full guide: Everything You Need to Know About Air-Dry Clay.
Once you understand the material, your air dry clay projects become stronger, smoother, and far more professional.

