
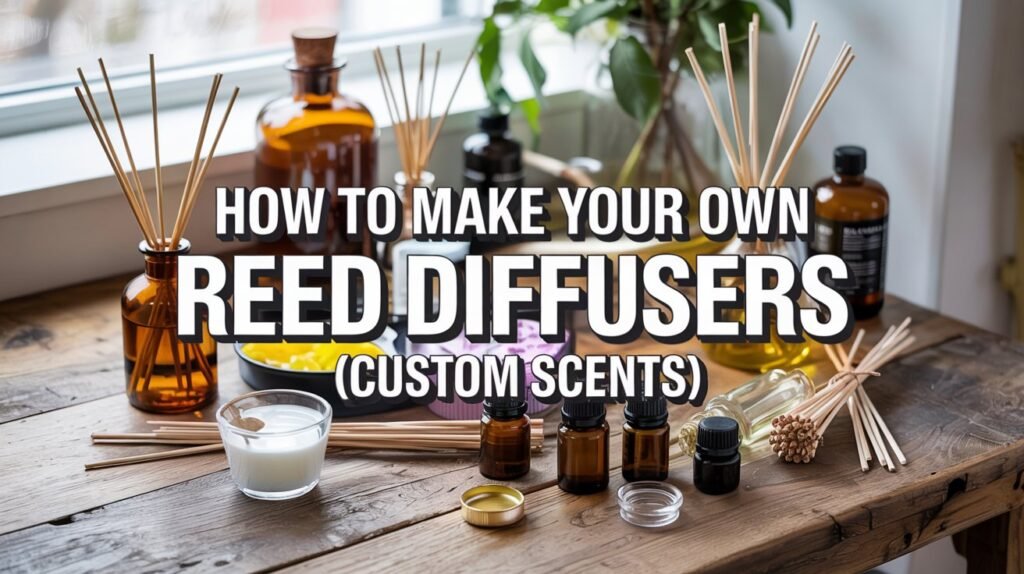
Affiliate Disclosure – This post contains affiliate links, which means I may earn a small commission if you purchase through my links at no additional cost to you.
A well-designed home should look intentional, but it should also smell intentional. Reed diffusers are one of the easiest ways to create a signature scent that feels elevated, modern, and low maintenance. And the best part — you can make your own at home with just a few materials. A DIY reed diffuser gives you full control over the scent notes, the bottle style, and the overall mood it brings to your space.
This step-by-step guide walks you through everything you need to build a bold, modern diffuser from scratch. You’ll learn how the diffuser works, what materials to use, how to create custom scents, how to mix the liquid, and how to refill it whenever you want a fresh blend.
Understand How a Reed Diffuser Works
A reed diffuser is simple by design, but understanding how it works helps you get stronger, longer-lasting scent. The reeds act like tiny channels that pull fragrance up from the bottle and release it into the air. The shape of the vessel, the quality of the reeds, and the type of base liquid all influence how quickly the scent travels. When you choose the right materials, you get a steady, modern, elevated fragrance that feels clean — never overpowering.
Step-by-Step
- Identify the four main components: bottle, reeds, base liquid, and essential or fragrance oils.
- Understand capillary action: the reeds absorb the liquid from the bottom and disperse fragrance from the top.
- Consider placement: airflow, room size, and temperature will change how strong the diffuser smells.
Pro Tips
- Narrow-neck bottles help slow evaporation and look more polished.
- Add more reeds for a stronger scent or reduce for a subtle, modern aroma.
Shop the Look
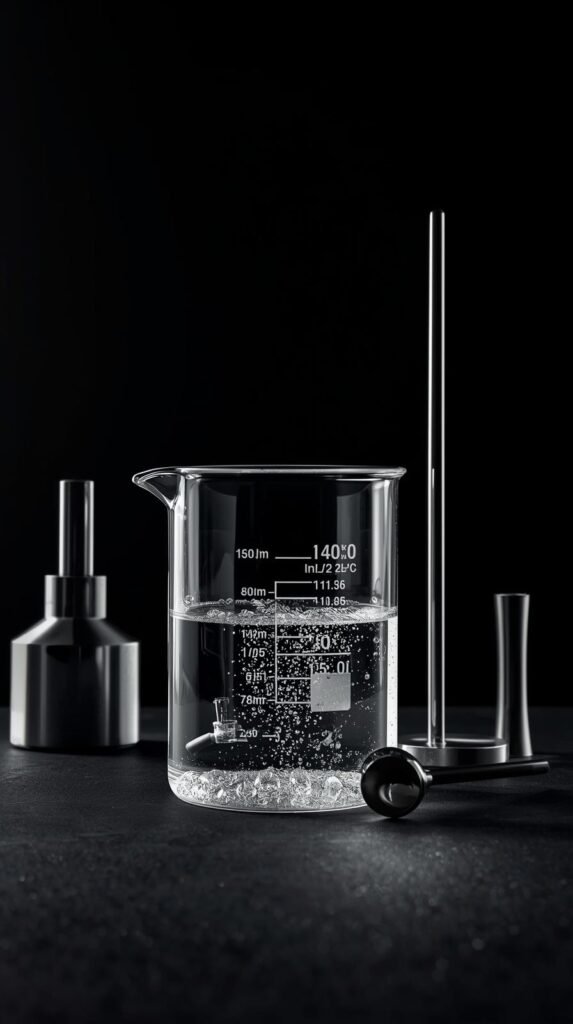
Gather Your Materials and Tools
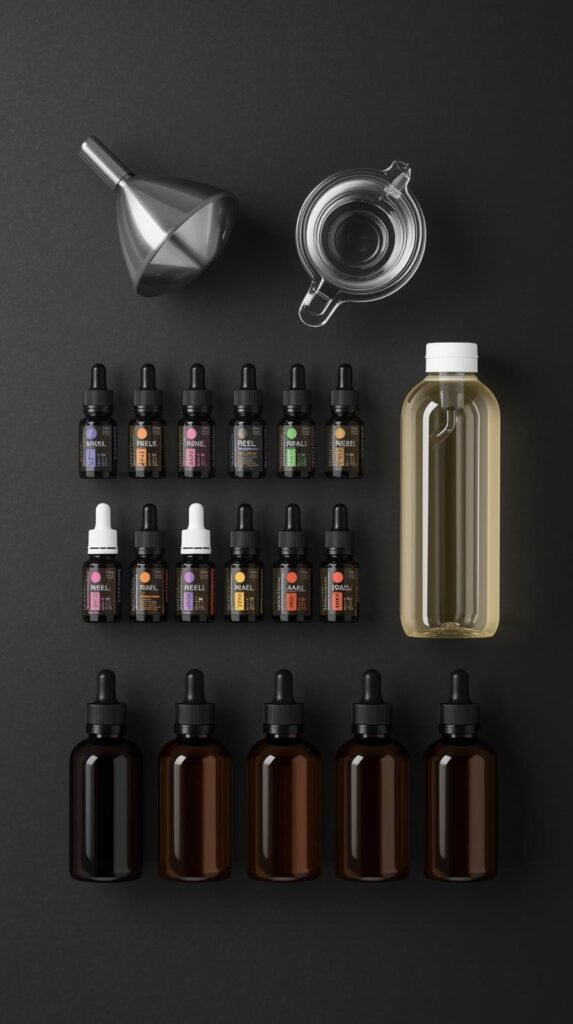
Before you start mixing, lay out everything you’ll need so the project feels clean, organized, and easy. Having the right materials on hand ensures your diffuser performs well and looks visually intentional in your space. Choose modern, bold pieces like matte black vessels, smoked glass bottles, or minimal metal accessories to match a more elevated style. Once you gather these essentials, refilling becomes a quick, repeatable routine.
Step-by-Step
- Gather the core materials: reeds, diffuser bottle, essential oils, base liquid, funnel, and measuring cup.
- Optional upgrades: amber or black-glass vessels, a metal tray, or minimal accessories to elevate styling.
- Prepare a small test blend first before making a full batch — easier for adjusting scent strength.
Pro Tips
- Keep a dedicated measuring cup and funnel for scent projects only.
- Store your oils, reeds, and tools together in a labeled container for easy refills later.
Shop the Look
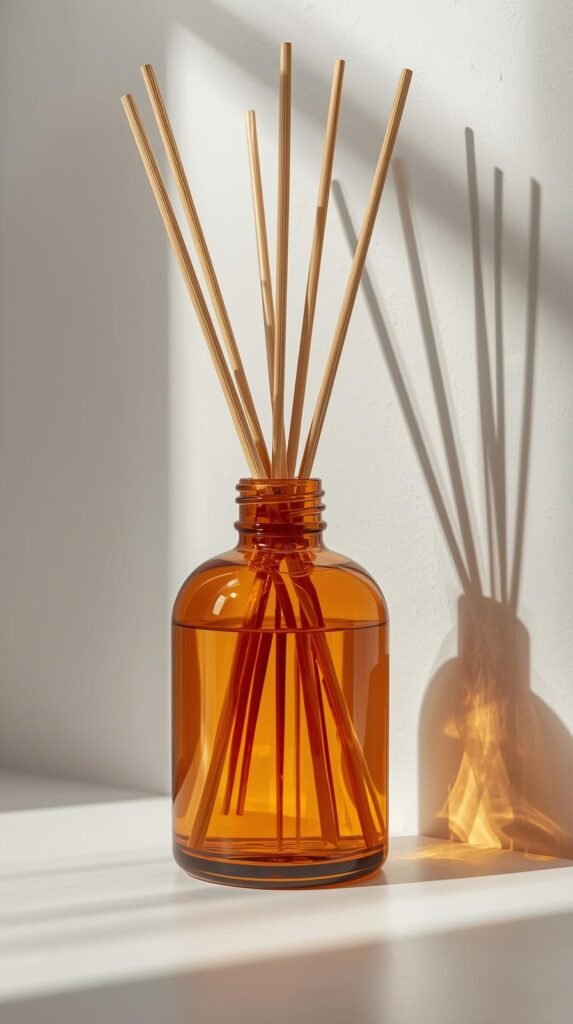
Choose the Right Bottle and Reed Sticks
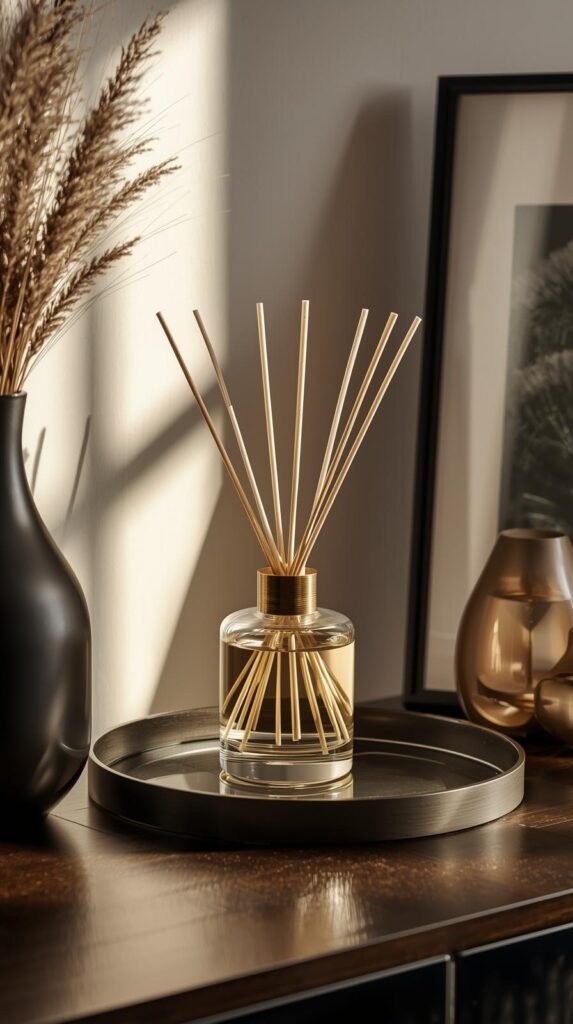
The vessel and reeds you choose will determine how your diffuser performs and how it looks in your home. A bold, modern diffuser starts with clean lines, high-quality glass, and reeds that actually deliver scent — not just decoration. Narrow-neck bottles slow evaporation and feel more elevated, while amber, black, or smoked-glass styles instantly give your setup a sleek, intentional look. Natural rattan reeds offer the best scent throw, making them a must for consistent diffusion.
Step-by-Step
- Select your bottle style: clear for a minimal look, amber or black for a bold modern mood.
- Choose reed sticks that match the bottle size — longer reeds for larger bottles.
- Decide how many reeds to use: typically 6–10 works for most medium-sized spaces.
- Place the bottle where it will live to ensure the style fits the surrounding decor.
Pro Tips
- Avoid wide-mouth vases — they evaporate too fast and look less refined.
- Black fiber reeds give a chic, modern look but natural rattan diffuses more effectively.
Shop the Look
- Amber Glass Reed Diffuser Bottles
- Black Fiber Reed Sticks
- Clear Glass Bud Vases
- Decorative Tray For Diffuser
Pick Your Diffuser Base Liquid
Your base liquid is what controls how quickly the scent travels through the reeds and into the air. The right base gives you a cleaner, stronger, and more consistent fragrance. You can choose a professional reed diffuser base for the best performance, or create your own using carrier oils or a water–alcohol blend. Each option affects evaporation speed, scent strength, and how often you’ll need to refill — making this step essential to getting that bold, modern scent payoff.
Step-by-Step
- Choose your base type:
- Professional diffuser base for strongest, most even scent.
- Carrier oils (like fractionated coconut oil) for slower, mellower diffusion.
- Water + alcohol (vodka or isopropyl) for a lighter, airy scent throw.
- Measure your base liquid into a clean glass container.
- Adjust the formula based on your environment — alcohol works better in cooler or low-airflow spaces.
- Set the mixture aside while you prepare your custom scent blend.
Pro Tips
- If you live in a humid climate, an alcohol-based blend spreads scent more effectively.
- Label all mixtures clearly, especially if you’re experimenting with multiple scent blends.
Shop the Look
Create Your Custom Scent Blend
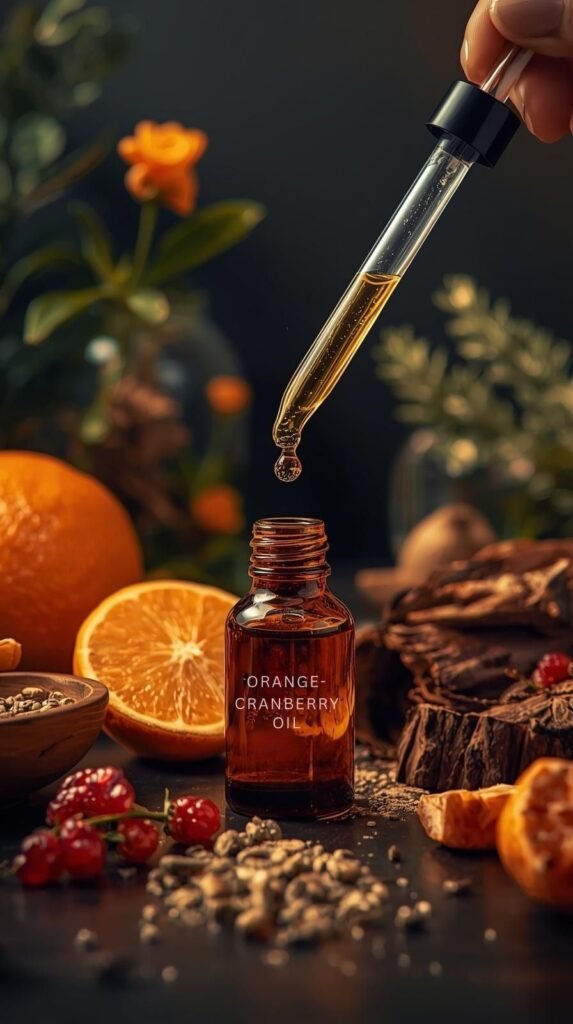
This is the part where your diffuser becomes completely unique. Building your own scent blend lets you control the mood, intensity, and overall vibe of your space. Modern fragrances are usually built with a mix of top, middle, and base notes — citrus or herbal notes on top, florals or spices in the middle, and grounding woods, ambers, or musks at the base. With a few essential oils, you can create a bold, modern signature scent that feels elevated and long-lasting.
Step-by-Step
- Choose your direction:
- Fresh + modern: bergamot, grapefruit, sage
- Warm + bold: amber, vanilla, sandalwood
- Clean + airy: eucalyptus, lavender, vetiver
- Earthy + contemporary: cedarwood, patchouli, black pepper
- Start with a small test blend in a glass container — around 10–15 total drops.
- Build your blend using a simple ratio: 20% top notes, 30% middle, 50% base.
- Test the scent by applying one drop to a paper strip and allowing it to develop for 60 seconds.
- Adjust until the blend feels balanced and modern — then record the drop counts so you can recreate it.
Pro Tips
- Base-heavy blends last longer and create a more mature, grounded scent.
- Citrus oils fade faster, so pair them with deeper base notes to anchor the fragrance.
Shop the Look
Mix Your Diffuser Liquid and Fill the Bottle
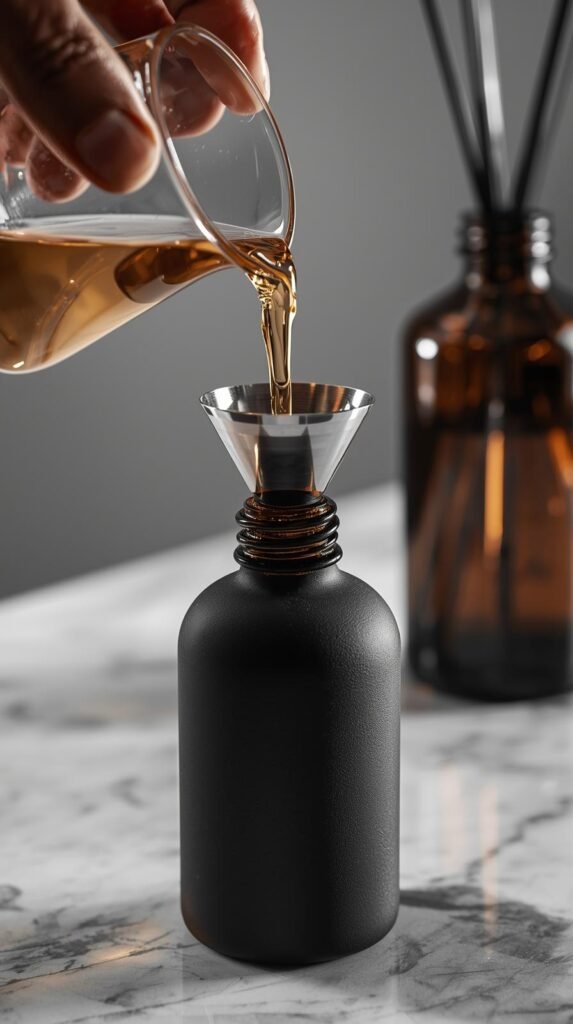
Now that your scent blend is ready, it’s time to combine everything and build the actual diffuser liquid. This step determines how strong the fragrance will be and how cleanly it diffuses through the reeds. A slow, controlled pour and gentle mixing will keep the formula clear and bubble-free. Once the bottle is filled, your diffuser instantly starts to look intentional — sleek glass, rich liquid tones, and a modern silhouette that elevates any shelf or table.
Step-by-Step
- Measure your chosen base liquid into a glass mixing container, filling it to the amount your bottle requires.
- Add your custom essential oil blend using your recorded drop counts.
- Stir gently with a glass rod to avoid aerating the mixture.
- Use a small funnel to slowly pour the mixture into your diffuser bottle, stopping about two-thirds full.
- Wipe the bottle exterior clean with a soft cloth to keep the look polished and modern.
Pro Tips
- Start with a blend that’s roughly 20–25% oil for strong diffusion — adjust based on room size and scent strength.
- Leave space at the top of the bottle so the reeds can sit comfortably without overflowing.
Shop the Look
- Stirring Rod for Mixing
- Reed Diffuser Funnel Kit
- Label Stickers for Bottles
- Cleaning Cloths for Spills
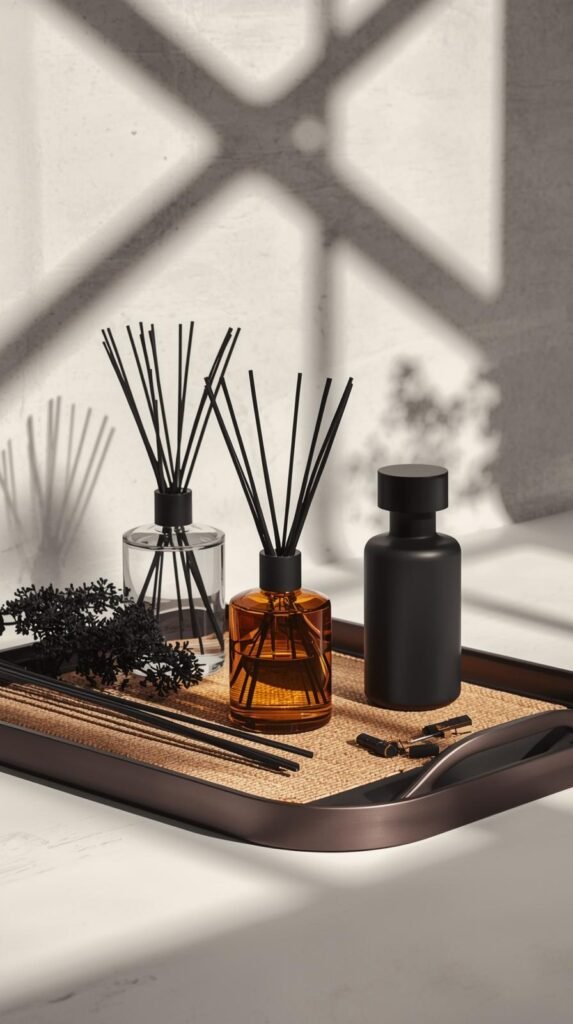
Add the Reeds and Style Your Diffuser
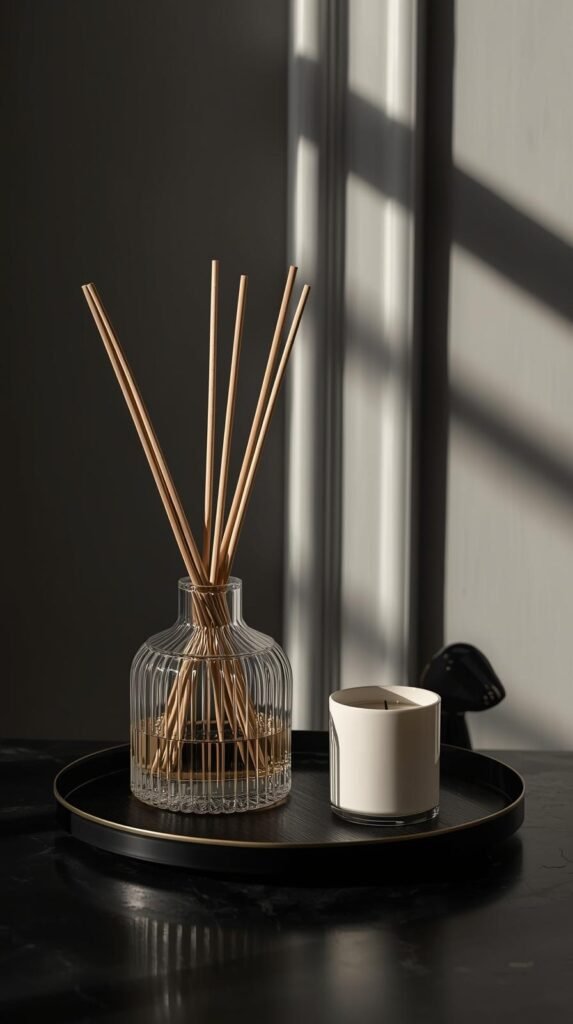
Once the reed diffuser liquid is mixed and poured, the final step is adding the reeds and giving the setup a polished, modern look. The reeds absorb the liquid from the bottom and release fragrance from the top, so the first soak is what sets the tone for how your diffuser performs. Placing your diffuser intentionally — on a tray, beside a candle, or styled with a few bold accessories — transforms it from a simple scent tool into a modern home accent.
Step-by-Step
- Insert your reeds into the bottle and let them soak for several hours without flipping.
- After the initial soak, flip the reeds once to boost the scent.
- Position your diffuser somewhere visible but safe, like a shelf, dresser, or bathroom counter.
- Style it using modern accessories: a black or brass tray, a minimal candle, or a ceramic match striker.
Pro Tips
- Avoid placing your diffuser near direct sunlight or air vents — both will cause the liquid to evaporate faster.
- Use a tray to protect your surfaces and add a clean, intentional design moment.
Shop the Look
How to Refresh, Refill, and Fix Weak Scent

Reed diffusers are low maintenance, but they still need small touch-ups to keep the scent strong and consistent. Over time, reeds become saturated, the liquid level drops, and the fragrance may soften — all completely normal. Maintaining your diffuser is simple: fresh reeds, an occasional flip, and a clean refill mix will keep your bold, modern scent performing the way you want. This is also where you can switch scents for new seasons or create entirely new blends.
Step-by-Step
- Flip your reeds once a week for a scent boost, especially in larger rooms.
- Replace reeds every 1–2 months, or whenever they look overly saturated or dusty.
- Mix a fresh batch of diffuser liquid when the level drops or the scent weakens.
- If the scent feels too light, add a splash of alcohol to help diffusion.
- If the scent feels too strong, remove a few reeds to soften the throw.
Pro Tips
- Reeds lose effectiveness over time, so replacing them is key to maintaining strong fragrance.
- For a cleaner look, refill the bottle before it’s completely empty to avoid dried residue.
Shop the Look
- Replacement Reed Diffuser Sticks
- Reed Diffuser Refill Oil
- Small Glass Bottle Set
- Disposable Gloves For Refills
Make Your Home Smell Intentional, Not Accidental
Creating your own reed diffuser is one of the easiest ways to control the scent and style of your home. Once you understand the basics — choosing the right bottle, crafting a custom blend, mixing the liquid, and maintaining the reeds — the whole process becomes something you can redo anytime you want to refresh your space. And because you’re creating everything yourself, each diffuser feels personal, modern, and perfectly aligned with the mood of your home.
Whether you want something bold and woody for the living room or something clean and airy for the bathroom, this DIY approach gives you complete freedom. Swap out scents seasonally, refill bottles before they run low, and experiment with new blends until you find the signature fragrance that feels like you.
Want your home to feel even more polished? Read 12 Coastal Bedroom Decor Ideas That Still Work in Winter for clean, refreshed styling ideas.

