This post contains affiliate links. If you purchase through my links, I may earn a small commission at no extra cost to you. Thank you for supporting Room Revival Studio!
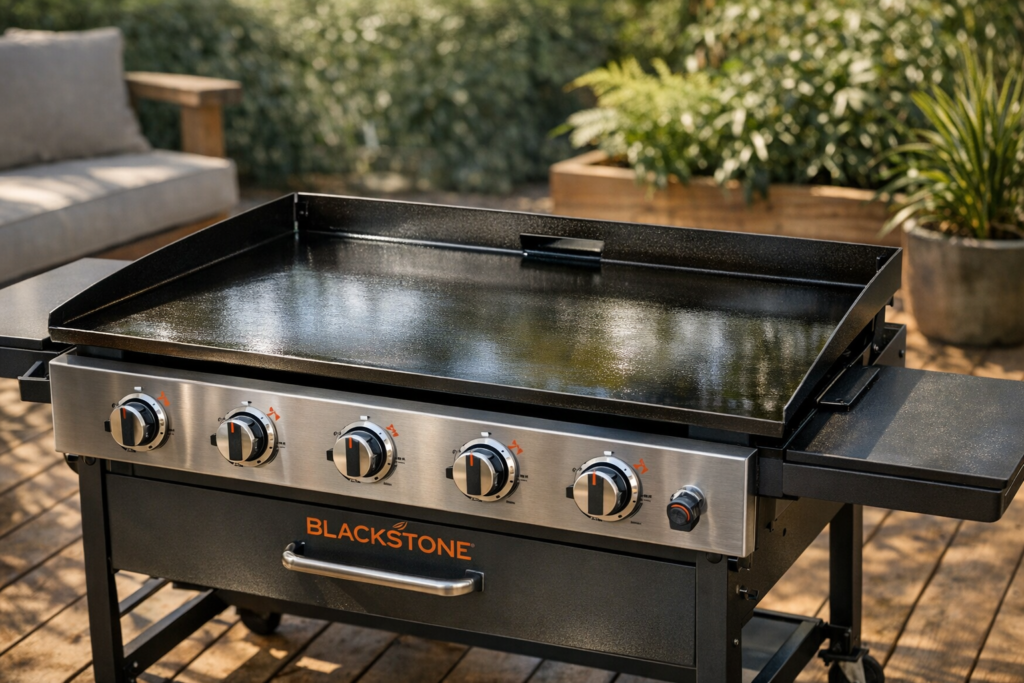
Your Blackstone griddle is doing the heavy lifting every single cookout, and it is absolutely showing. Burnt-on grease, mystery residue, and sticky patches have taken over the flat top you paid good money for. The good news is that a clean griddle is not a weekend project. Want eggs that slide right off without sticking? A surface that does not rust out by next summer? A flat top that stays seasoned and cooks evenly every single time? You are already there. Ten to fifteen minutes after each cook is all this takes.
Below is the exact routine I use to keep my Blackstone in top shape, season after season. These steps work whether you are cleaning up after last night’s smash burgers or tackling months of neglected buildup. No harsh chemicals, no mystery products, no guessing. Beginner-friendly from start to finish.
What You Will Need Before You Start
Difficulty: Easy. Time: 10 to 20 minutes depending on how much buildup you are working with.
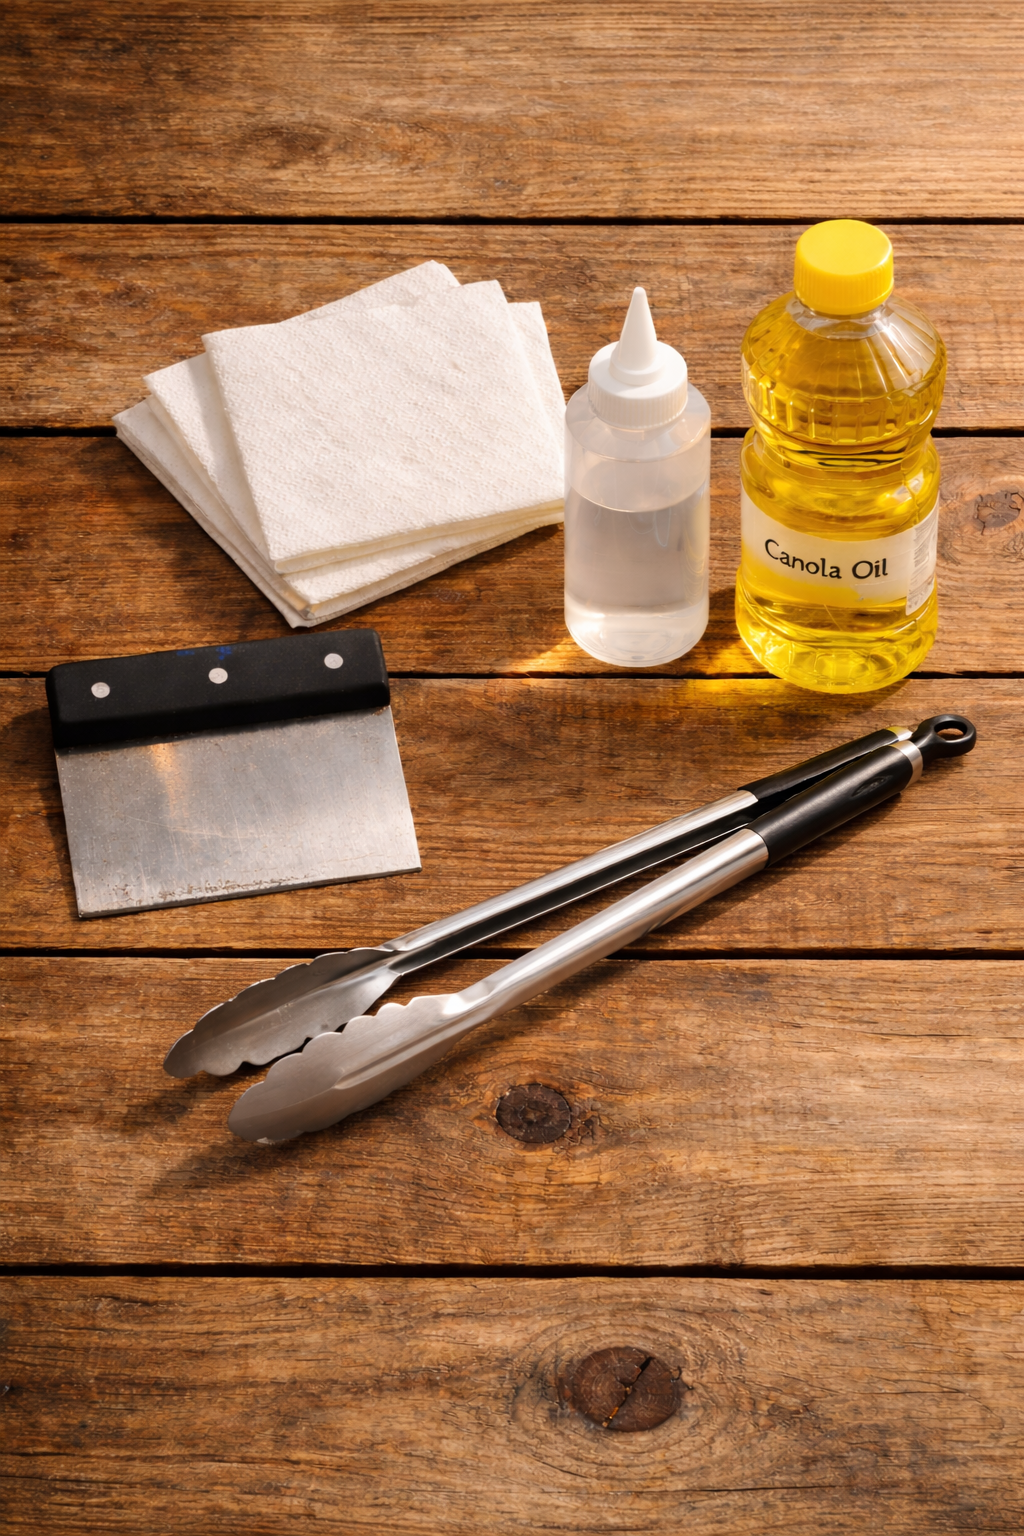
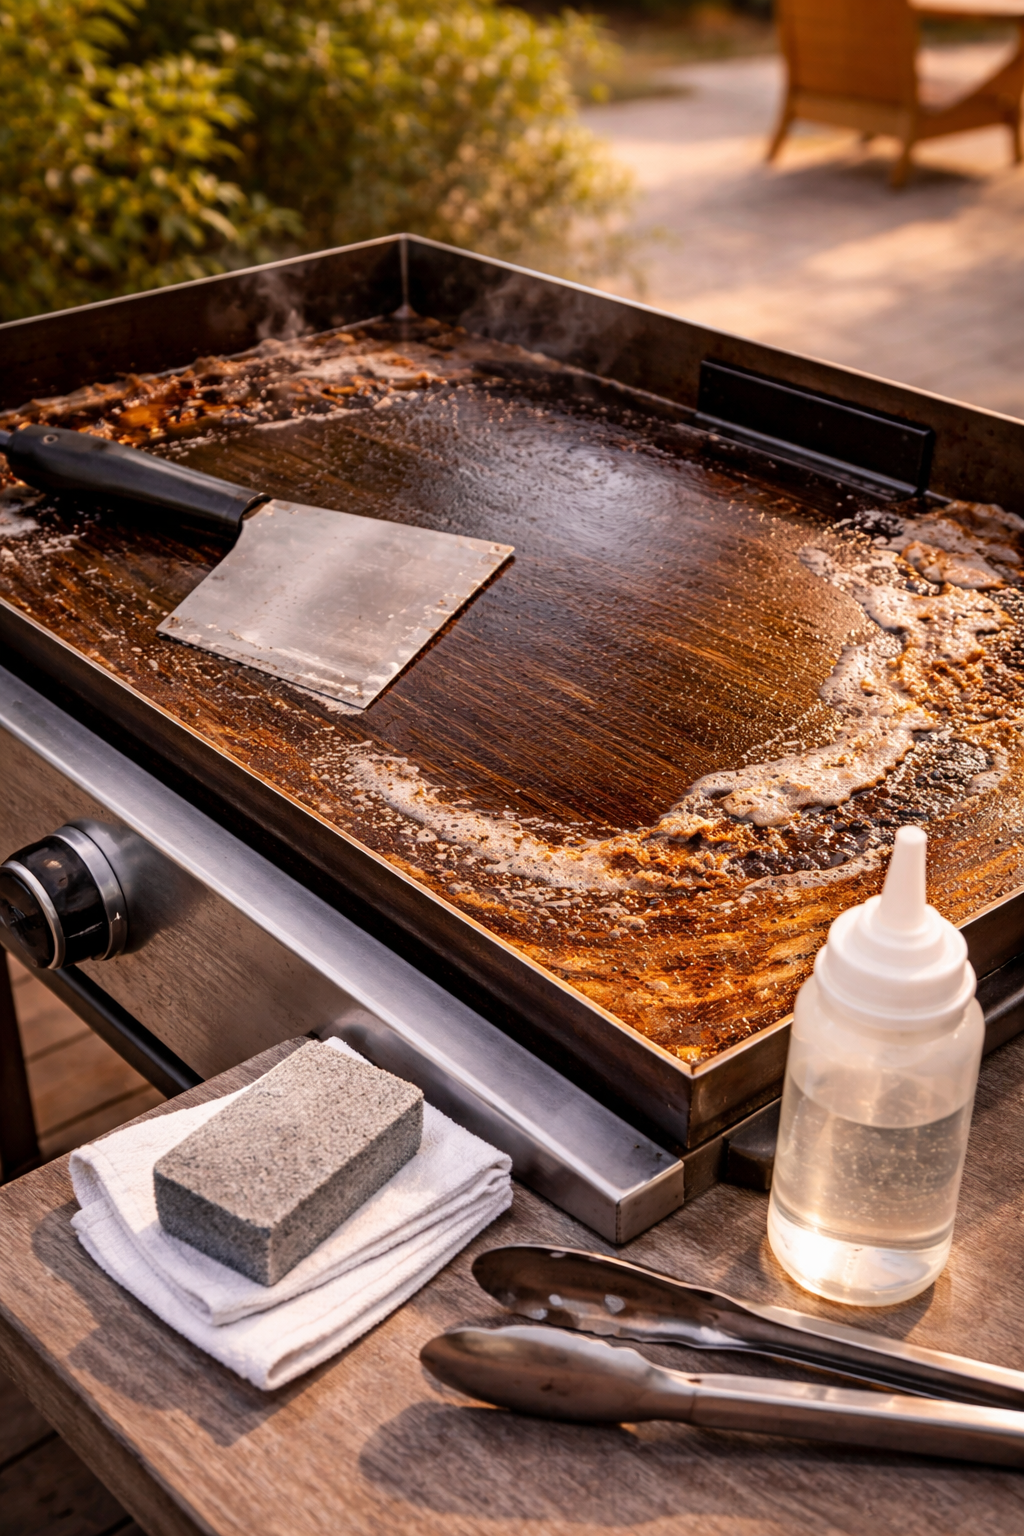
Before you get started, pull together your supplies so everything is within arm’s reach. You do not want to be running back inside mid-clean with grease still sitting on a hot griddle. The right tools make this process faster, safer, and way less frustrating. A good metal scraper is non-negotiable. Everything else on this list is inexpensive and easy to find online or at your local hardware store.
- Metal griddle scraper or chopper
- Heat-resistant griddle cleaning cloths or paper towels
- Griddle-safe oil (flaxseed, canola, or Blackstone Seasoning Oil)
- Warm water in a squeeze bottle
- Grill stone or chainmail scrubber (for deep cleaning or rust)
- Long-handled tongs
Shop the Look
- Blackstone Metal Griddle Scraper
- Blackstone Griddle Seasoning and Cast Iron Conditioner
- Flat Top Grill Cleaning Kit
- Heat-Resistant Grill Tongs
Step 1: Scrape the Griddle While It Is Still Warm

Timing is everything with Blackstone griddle cleaning, and warm is the sweet spot. Right after you pull your last piece of food off the surface, grab your metal scraper and start pushing all the food debris toward the grease trap. The heat is still working for you at this point, keeping the grease loose and moveable. Work in long, even strokes from the back of the griddle to the front, moving everything toward the drain. Do not wait until it cools completely down, because cooled grease stiffens up and takes a lot more effort to shift. You want the griddle warm to the touch but not screaming hot when you start wiping. This one step handles most of the mess before it even becomes a problem.
Pro Tip: Keep your scraper at a 30 to 45 degree angle against the flat top surface. Too steep and you risk scratching the steel. Too flat and you are only pushing grease around instead of lifting it.
Shop the Look
Step 2: Add Water and Steam the Surface Clean
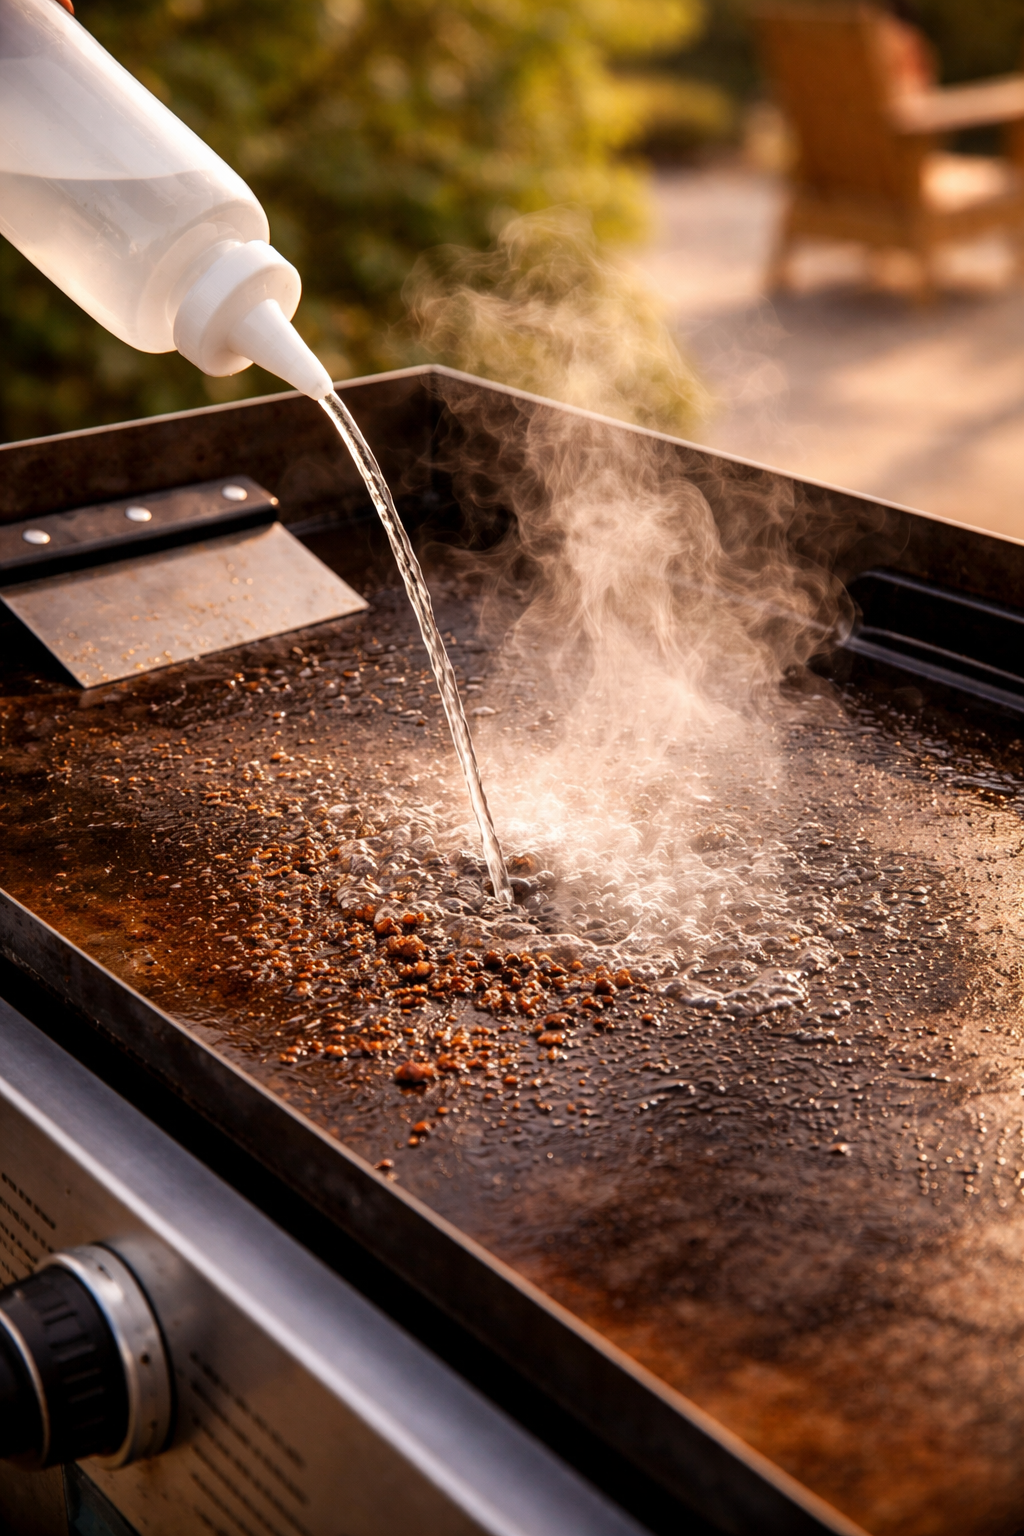
Once you have scraped the bulk of the debris away, pour a small amount of warm water directly onto the griddle surface while it is still warm. You will hear that satisfying sizzle, and what follows is a mini steam clean happening right on your flat top. Use your scraper to work the water around, loosening anything the first pass missed. The steam lifts residue from the steel surface in a way that dry scraping alone never fully gets. Add water in small amounts rather than one big pour so it does not splash or create a burn hazard. Keep scraping and pushing the dirty water toward the grease trap or the edges of the griddle. Repeat this rinse and scrape sequence one or two times until the water you are pushing off runs mostly clear.
Shop the Look
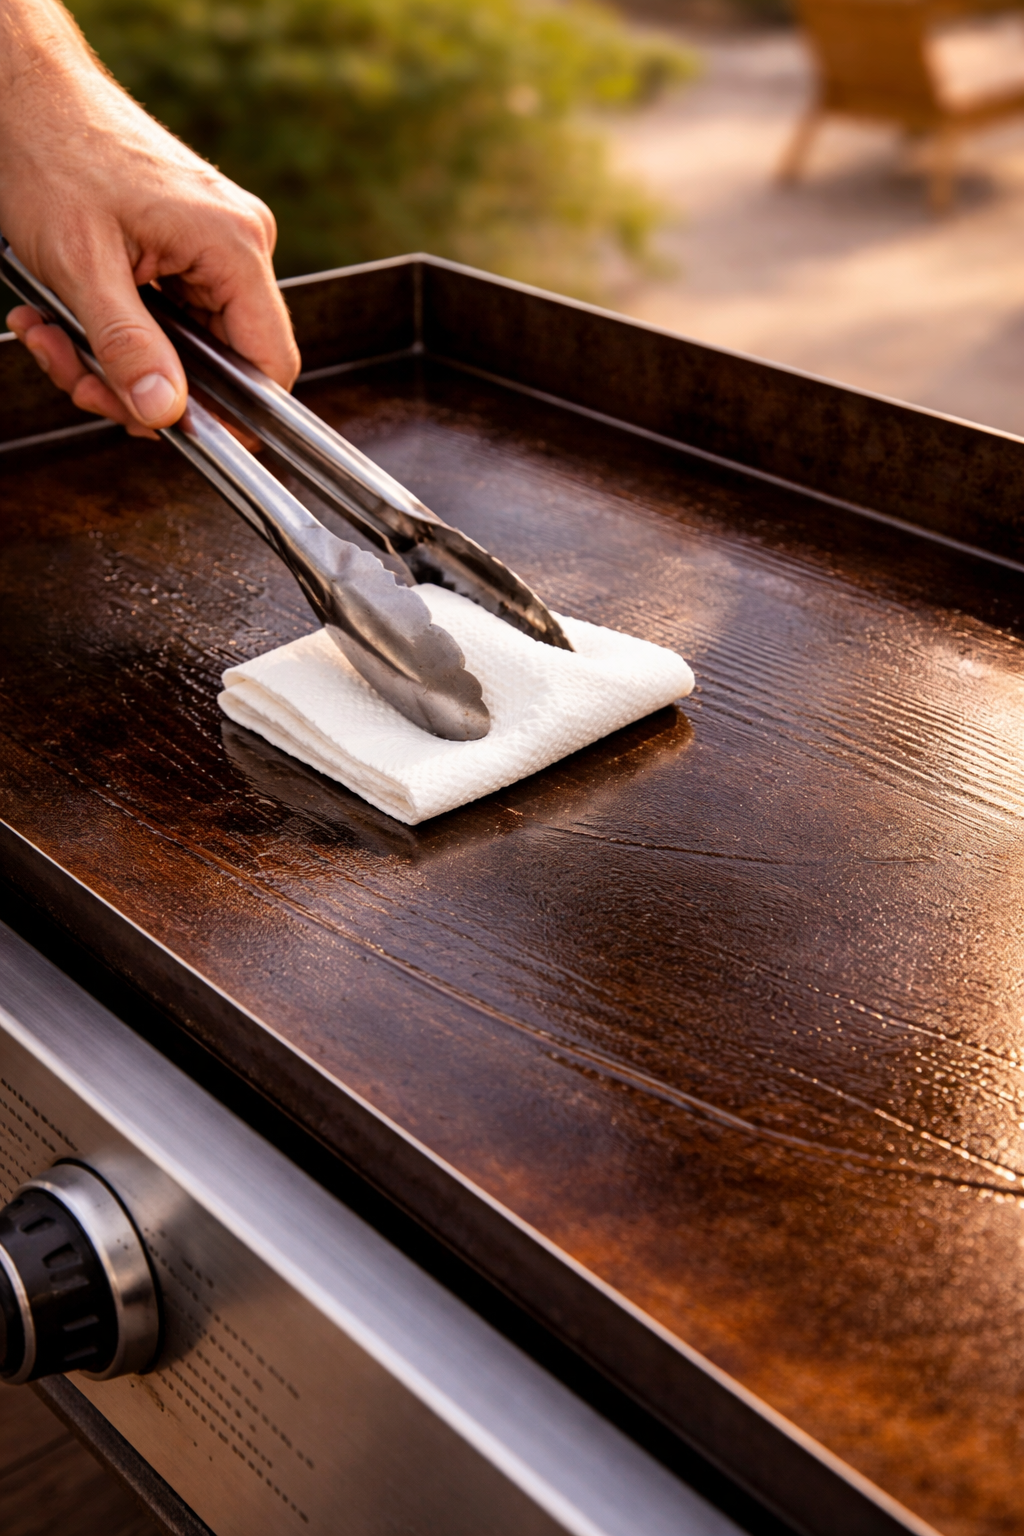
Step 3: Wipe It Down Until the Surface Is Clean and Dry
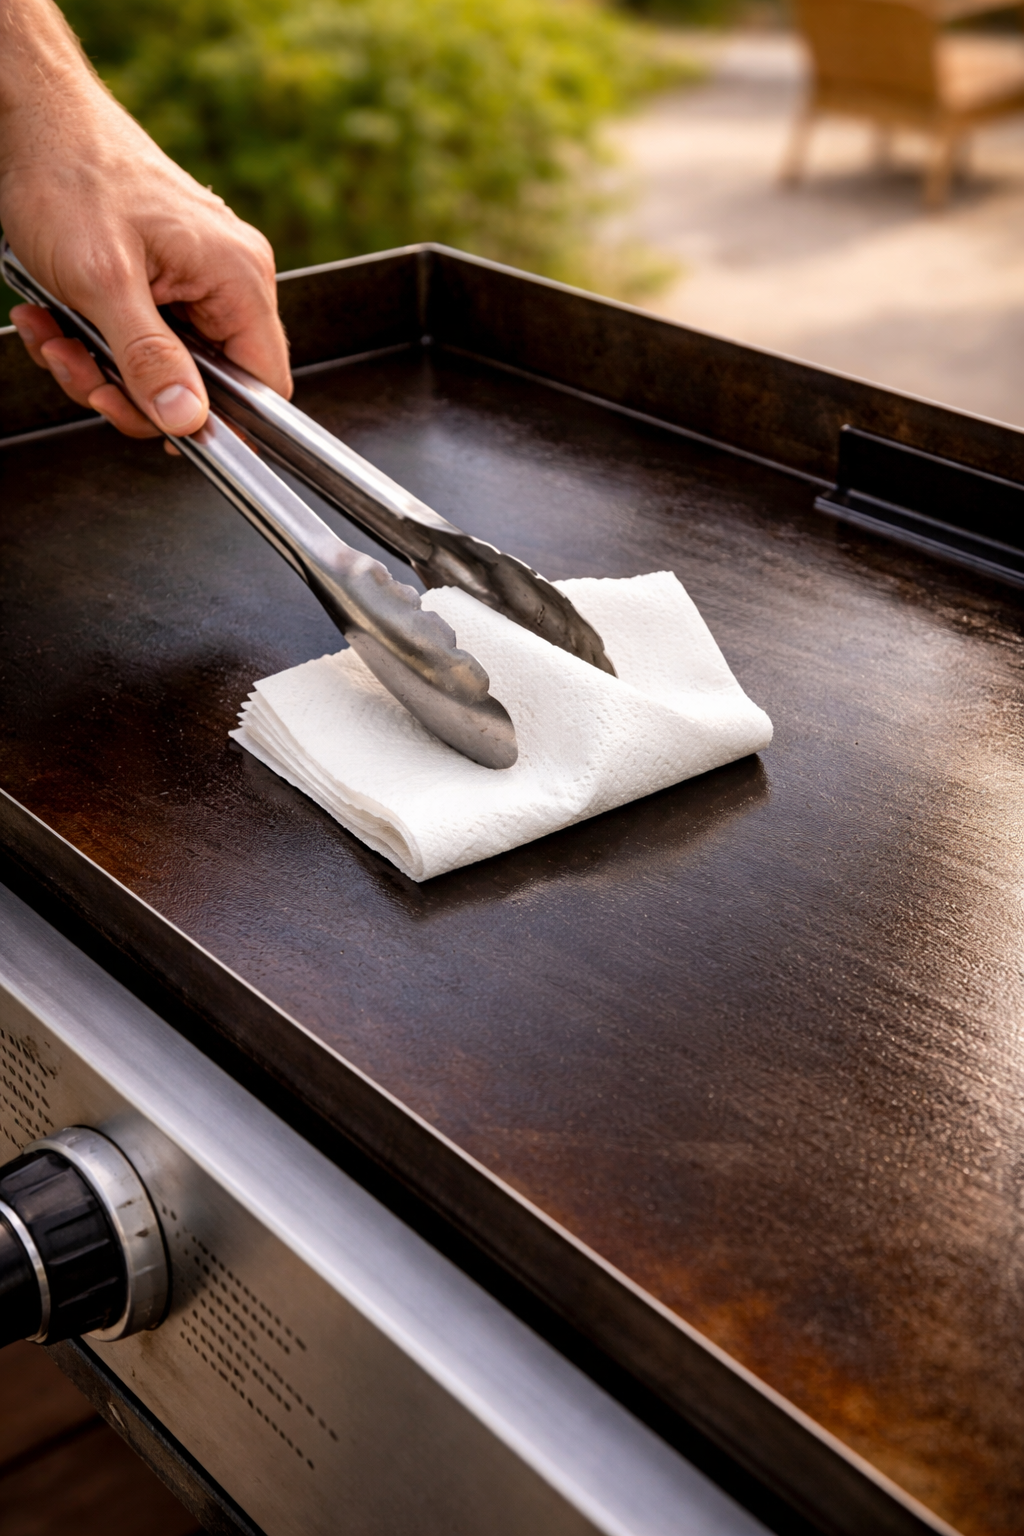
After your final rinse, grab a stack of paper towels or griddle cleaning cloths and wipe down the entire surface in smooth, overlapping passes. You are looking for a clean, streak-free result with no remaining grease or debris. Fold your paper towels as they get dirty so you are always wiping with a fresh side. Use tongs to hold the towels if the surface is still too warm to touch comfortably. Keep going until your paper towels come away clean with no brown or black residue transferring onto them. A fully dry, clean surface at this stage means your oil application in the next step will go on evenly and create a proper protective coating. Rushing this step leaves moisture trapped under the oil layer, and that is what leads to rust.
Pro Tip: Use white paper towels rather than colored ones so you see exactly when the surface is clean. When the towel comes off white, you are good to move on.
Shop the Look
Step 4: Season the Griddle Surface with a Thin Layer of Oil
This step is what separates a well-maintained Blackstone from one that rusts out or sticks constantly. With the surface clean and dry, turn your burners to medium and let the griddle reheat for a couple of minutes. Once it is warm, squeeze or pour a small amount of oil onto the surface. Flaxseed oil, canola oil, and Blackstone’s own seasoning conditioner are all solid choices. Use a folded paper towel held with tongs to spread the oil in an ultra-thin, even layer across the entire cooking surface. Thin is key here. Too much oil and it pools, gets gummy, and creates sticky spots rather than a smooth seasoned finish. You want the surface to look shiny but not wet. Let it heat and bond to the steel for a few minutes, then wipe off any excess. Your Blackstone griddle cleaning routine is now done for the day.
Shop the Look
- Blackstone Griddle Seasoning and Cast Iron Conditioner
- Flaxseed Oil for Cast Iron and Griddle Seasoning
- Canola Oil Cooking Spray
Step 5: How to Remove Rust from a Blackstone Griddle
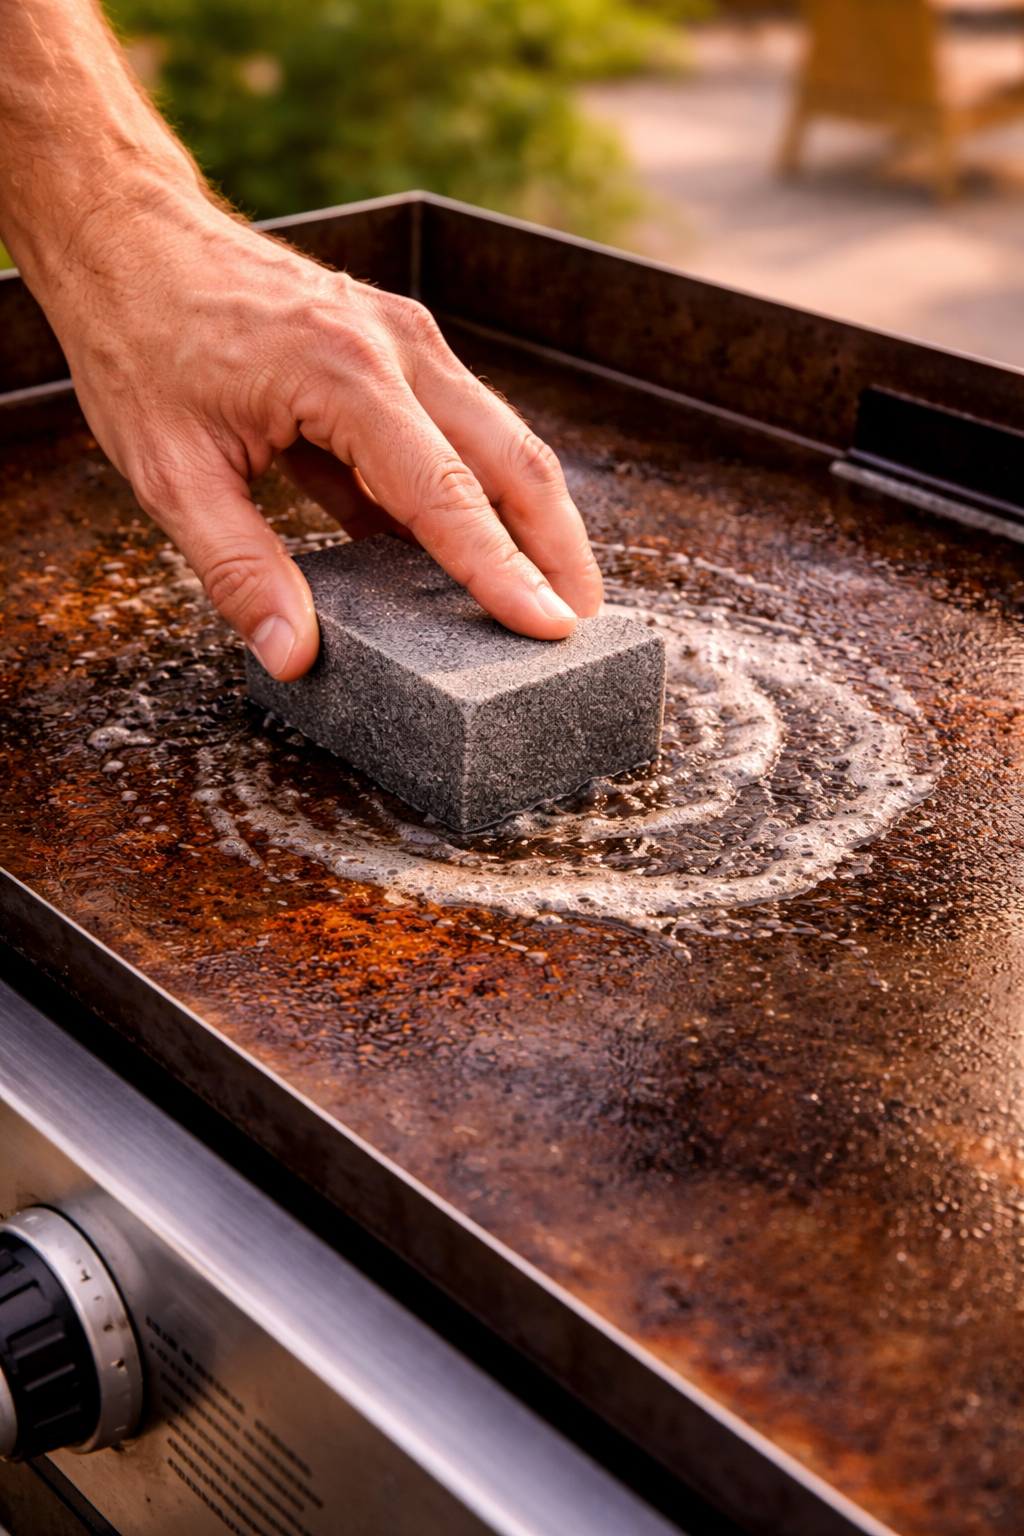
Rust on a Blackstone griddle is not a death sentence for your flat top. It is a surface issue, full stop, and one you fix with a bit of elbow grease and the right abrasive. Heat your griddle on high for about 10 minutes to open up the steel pores, then cut the heat and let it drop to medium-warm. Pour a small amount of water on the rusty area and use a grill stone or a chainmail scrubber to scrub directly on the rust in circular motions. The abrasive material and the warm steel work together to lift the rust off the surface without damaging the steel underneath. Scrape away the residue, add more water if needed, and keep scrubbing until the rust is gone. Once the surface looks clean, follow the full Blackstone griddle maintenance routine above, including a thorough dry-off and at least two rounds of oil seasoning. The extra seasoning layers help prevent rust from coming back. Flat top grill rust removal is part of the flat top grill maintenance routine for any griddle that lives outside.
Pro Tip: After removing rust, apply oil in two to three thin layers instead of one. Let each layer smoke off before adding the next. This builds a stronger protective coating on the freshly cleaned steel.
Shop the Look
- Grill Cleaning Stone for Rust and Buildup
- Chainmail Scrubber for Cast Iron and Griddles
- Blackstone Griddle Restoration Kit
Step 6: Deep Clean Your Blackstone Once a Season
Your regular after-cook routine keeps the surface clean and seasoned, but once a season you want to do a fuller reset to tackle any buildup that has accumulated over weeks of cooking. Heat the griddle on high for 10 to 15 minutes to carbonize any stuck-on grease, making it brittle and easier to scrape off. While it is hot, use your metal scraper to work the surface hard from every direction, breaking up the carbonized layer and pushing it to the edges. Pour water in small amounts to steam and lift residue, scraping between each pour. Once you have gotten everything off, wipe down the surface completely, let it dry, and apply two to three fresh layers of oil as part of a full re-seasoning. This griddle deep clean process resets your surface and gives you the best non-stick performance going into a new season of cooking. Think of it as a reset button for your entire Blackstone griddle cleaning routine.
Shop the Look
- Blackstone Complete Griddle Cleaning Kit
- Flat Top Grill Spatula and Scraper Set
- Blackstone Griddle Cover for Outdoor Storage
What You Will End Up With
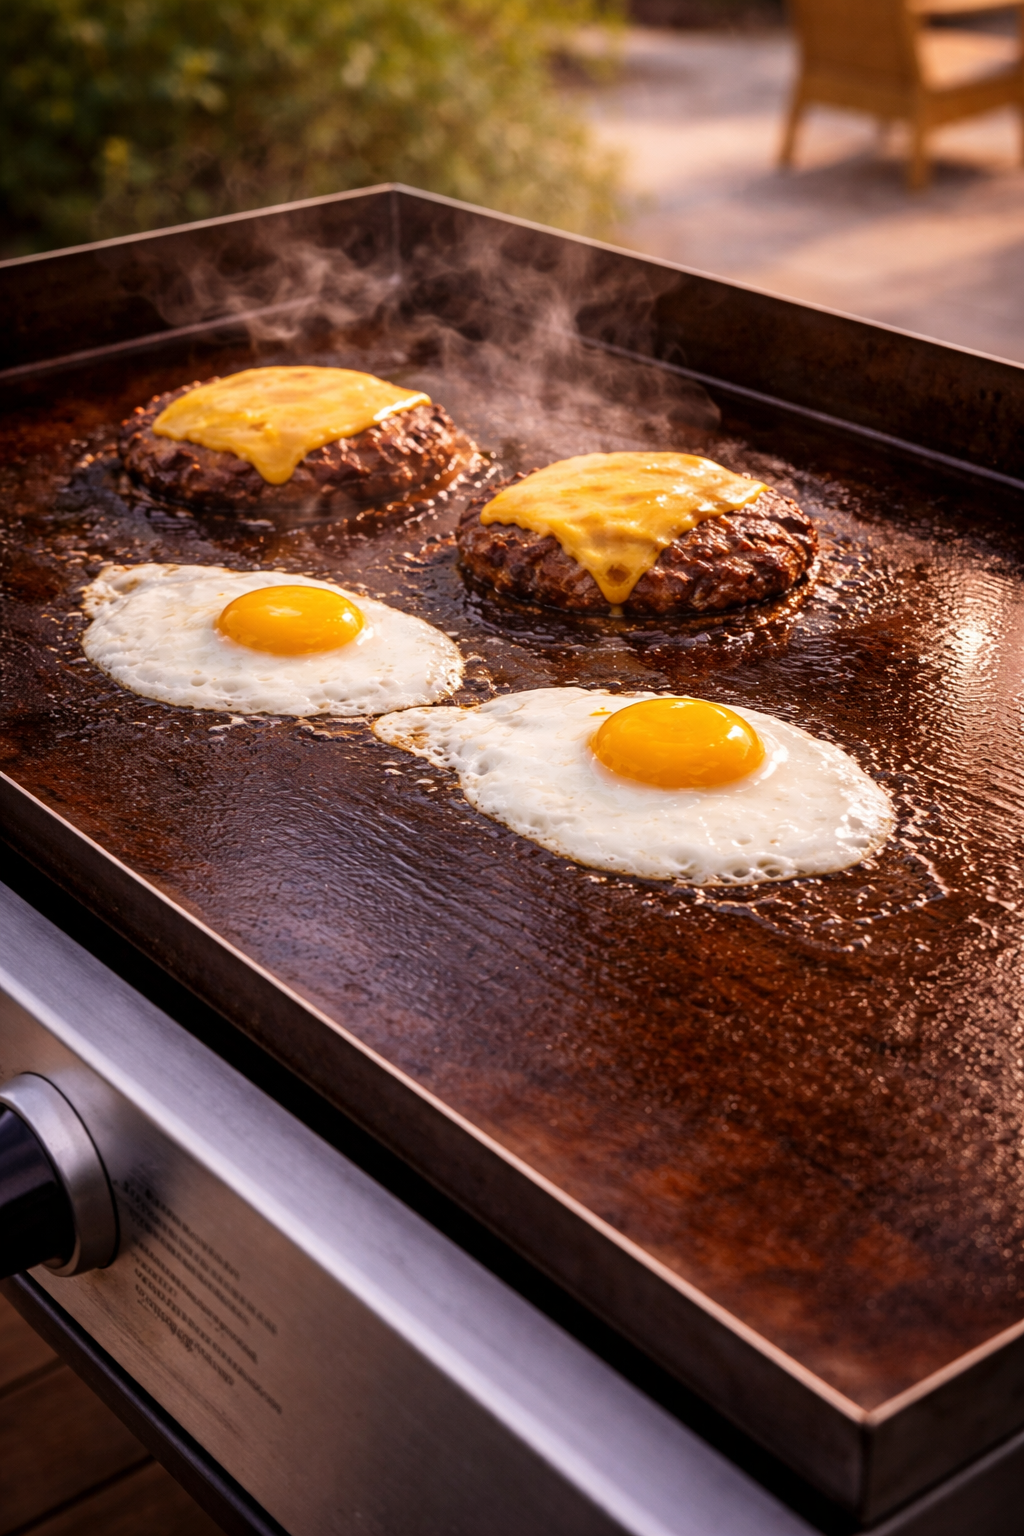
Follow this Blackstone griddle cleaning routine consistently and you end up with a flat top that performs better every single cook. The seasoning builds up over time into a naturally non-stick surface that releases food cleanly, takes on heat evenly, and gives you the beautiful sear that makes smash burgers and breakfast hash worth every bit of the effort. Your griddle will stop rusting, stop sticking, and stop requiring that panicked scrubbing session before guests arrive. A well-maintained Blackstone also extends the life of the griddle itself, protecting the steel and the burners from the kind of damage that comes from months of neglect. The ten minutes you put in after each cook are what make every future cook easier, faster, and better. This is a habit worth building.
Shop the Look
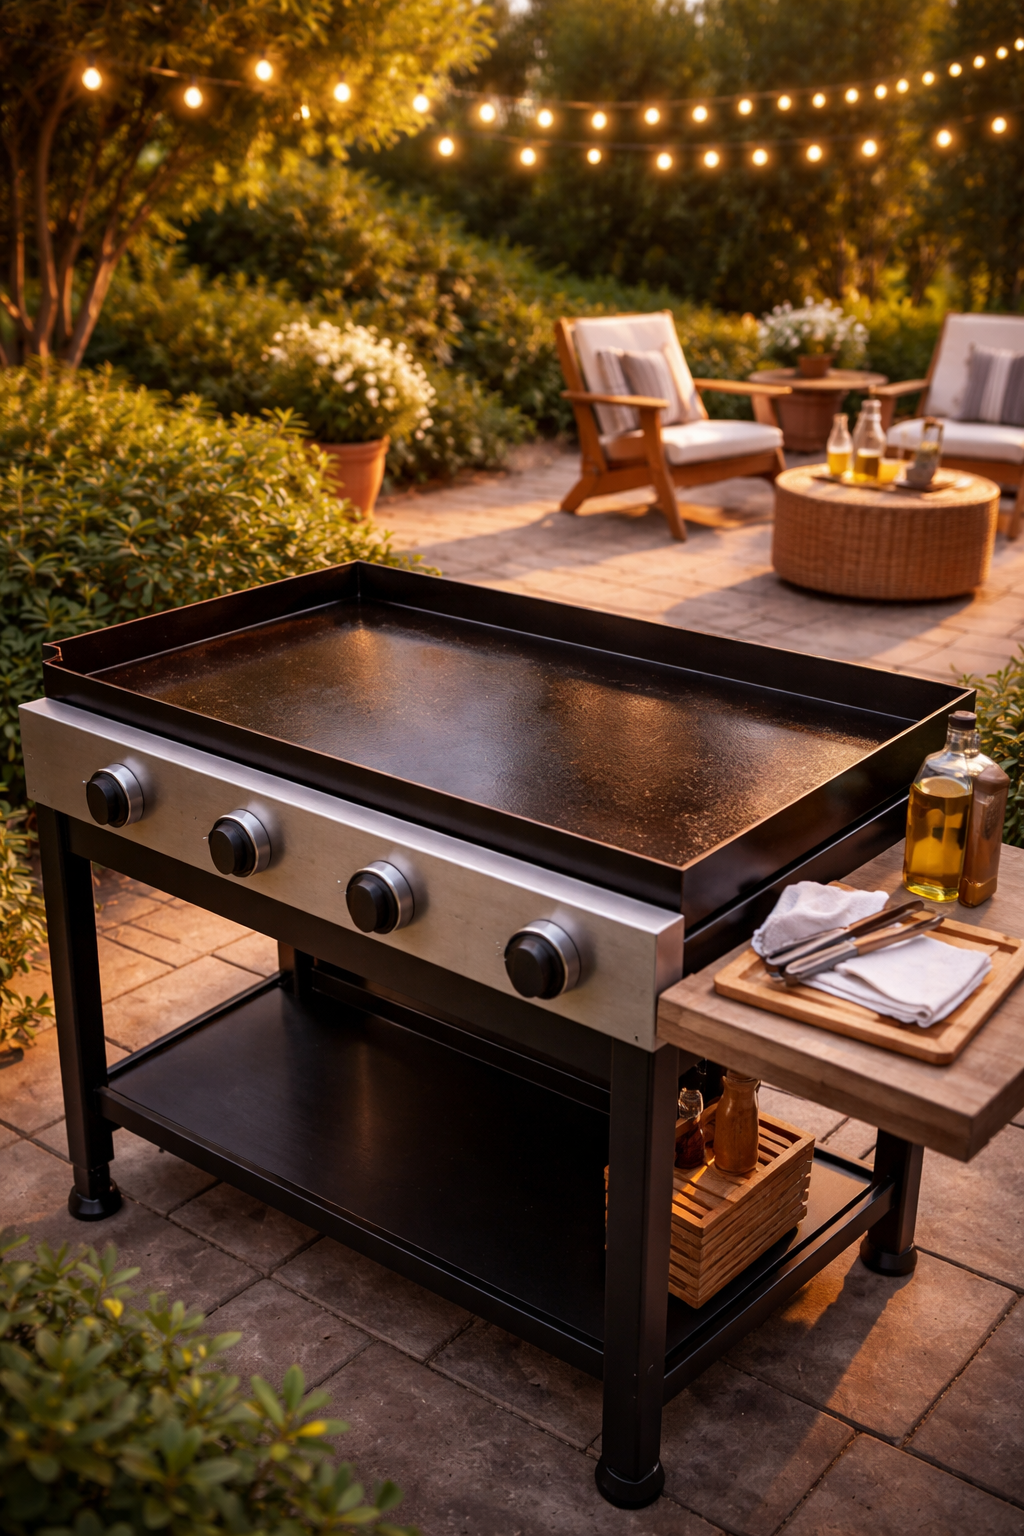
- Blackstone 36-Inch Outdoor Flat Top Griddle
- Blackstone 22-Inch Portable Griddle
- Blackstone Griddle Accessories Kit
Your Griddle Is Ready to Cook
A clean Blackstone griddle is not something you earn once. It is a five-to-ten minute habit that pays you back every single time you fire it up. Pick a step to focus on first if you are starting fresh, even if it starts with the scrape and oil routine after your next cook. Your flat top will start building that smooth, dark seasoned surface that makes everything taste better. For more outdoor cooking and entertaining setup ideas, check out our guide on backyard patio decor that actually works for real life.