Blank walls can make even the coziest home feel unfinished. But here’s the good news — you don’t need a designer or a huge budget to fix that. A well-styled gallery wall can completely transform your space using what you already have, plus a few smart additions. Whether your style leans vintage, modern, or somewhere delightfully eclectic, these gallery wall ideas on a budget will help you curate a space that feels intentional, personal, and effortlessly stylish.
You’ll learn how to mix frame styles, use printable art, and create balance without spending hundreds at the frame shop. Ready to turn that blank wall into your favorite corner? Let’s start with your vision.
1. Start with a Vision (and a Theme You’ll Actually Love)
The best gallery wall ideas on a budget start with a clear vision. Don’t rush into hanging frames just because you found a stack at HomeGoods. Step back and define what you want this wall to say about your space — or about you. Do you want it to feel like a curated art gallery, a cozy Family Photo Wall, or an Eclectic Gallery Wall full of thrifted charm?
Here’s how to set the tone before you hammer a single nail:
Choose your color palette. Stick to 2–3 dominant tones (think black, oak, and cream or brass, white, and walnut).
Define your mood. “Cozy storytelling,” “minimal chic,” or “collected traveler” help shape the style.
Map out proportions. Mix large statement pieces with smaller accents for rhythm.
Add personality. Blend sentimental photos, line art, and one unexpected object — like a woven fan or vintage key.
Texture Tip: Use a mix of matte and glossy frames. Linen or fabric mats can elevate inexpensive prints, giving them a custom look without the custom price tag.
Shop the Look:
Do’s and Don’ts:
- Do test layouts on the floor before committing.
- Don’t overcrowd your wall — leave breathing space.
2. Mix and Match Frames — Without Losing Balance
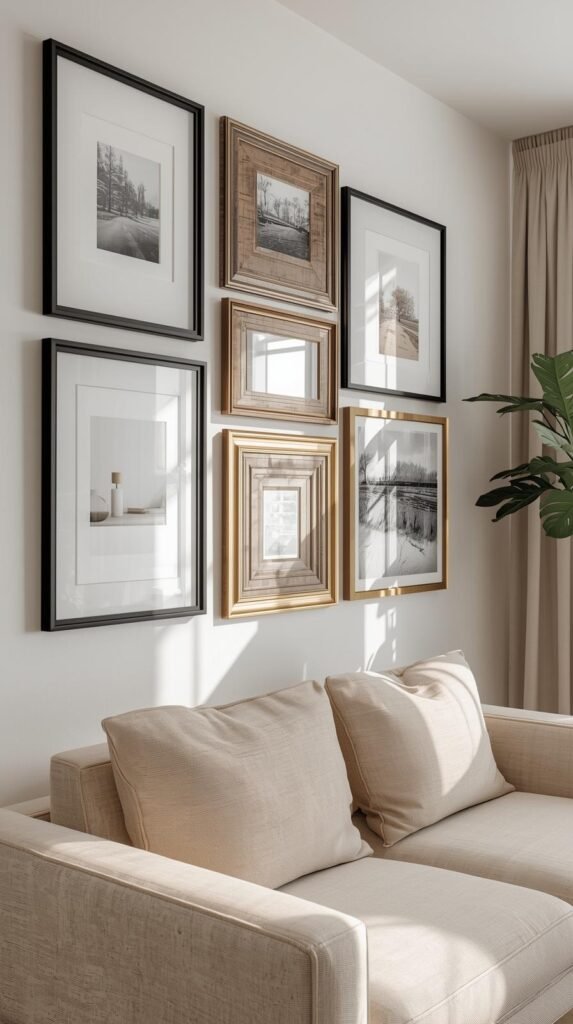
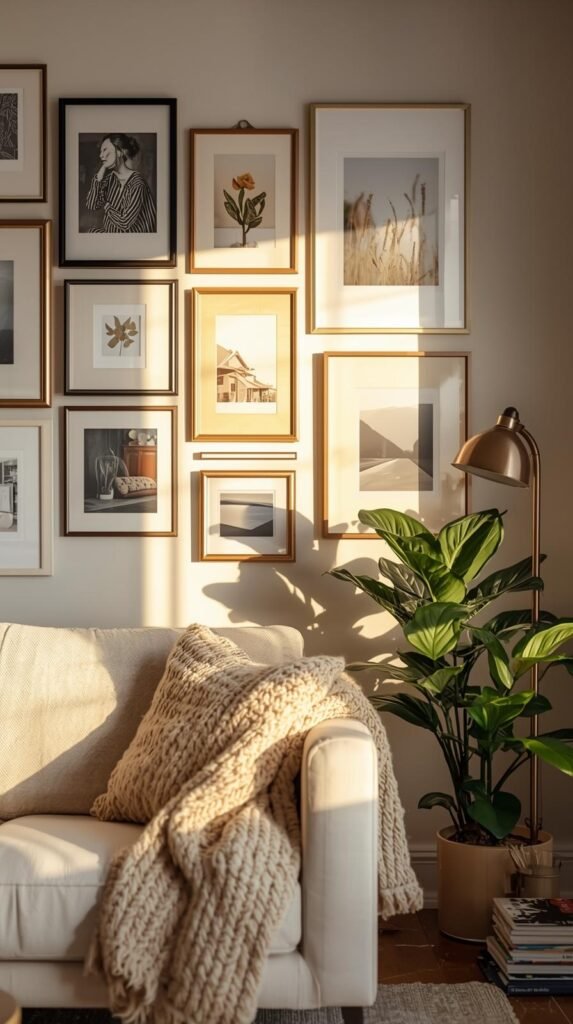
Mixing frame styles is where most people panic — but this is where the magic happens. A curated mix of textures and tones creates that “collected over time” look that feels layered, not chaotic. The key is balance: too uniform, and it looks sterile; too random, and it looks messy.
Start by choosing one anchor color (like black, gold, or natural wood) and let the rest complement it. For example, pair black metal with thin brass borders for a modern gallery wall, or combine oak with distressed white wood for a Vintage Gallery Wall that feels cozy and nostalgic. The mix works best when you repeat each finish at least twice — it creates visual rhythm without strict symmetry.
Proportion Tip: Combine one or two oversized frames with medium and small ones to keep the layout grounded. Use a mix of textures — distressed wood, matte metal, or linen mats — to make inexpensive pieces look intentional.
Shop the Look:
- Mixed Frame Set in Wood & Metal
- Brass Picture Frames
- Distressed Wood Frames
- Gallery Wall Decor Accessories
Do’s and Don’ts:
- Do vary thickness — thin, medium, and chunky frames add depth.
- Don’t mix too many bold colors; pick two metals max.
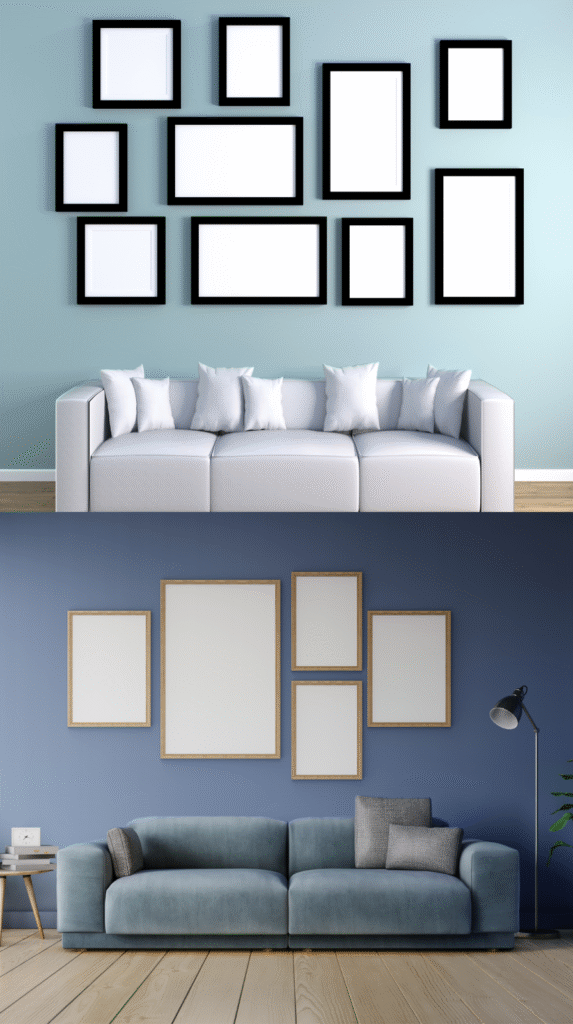
3. Layout Templates That Never Fail
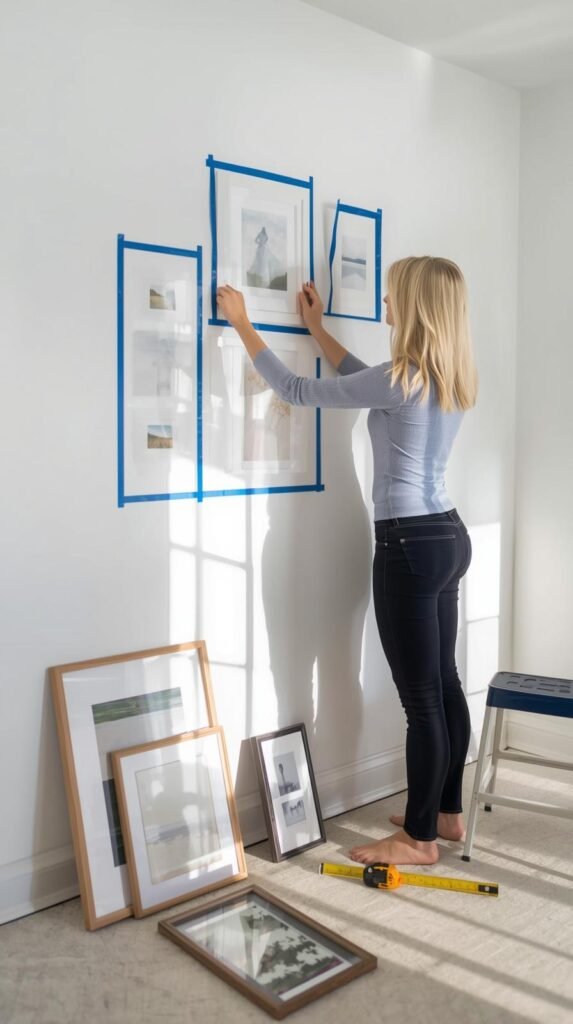
The secret to a professional-looking gallery wall isn’t expensive art — it’s layout. You can have the most beautiful mix of frames and still end up with chaos if your spacing is off. That’s where layout planning comes in. A Gallery Wall Template with Sizes Layout helps you visualize balance, scale, and flow before a single frame hits the wall.
Start by laying everything out on the floor first. Treat it like a puzzle — swap, shift, and rotate until it feels right. Then snap a quick photo to reference once you start hanging. Use painter’s tape to outline your design directly on the wall. Keep 1½ to 3 inches between frames for that clean, intentional look.
Here are foolproof layout ideas that work every time:
Grid Layout: Perfect for symmetrical lovers. Best for identical frames or family photo walls.
Salon Style: Eclectic and bold. Mix frame shapes and art types for a curated museum vibe.
Linear Layout: Clean and modern — align tops or bottoms across a straight axis.
Anchor Piece Layout: Build around one large art print, mirror, or canvas to guide the eye.
Pro Tip: If you’re working in a small space, keep the outer edges of your layout within the width of your sofa or console table — it visually ties the collection to your furniture.
Shop the Look:
Do’s and Don’ts:
- Do plan on the floor first — it saves time and patching later.
- Don’t hang frames too high — eye level is ideal (about 57–60 inches from floor).
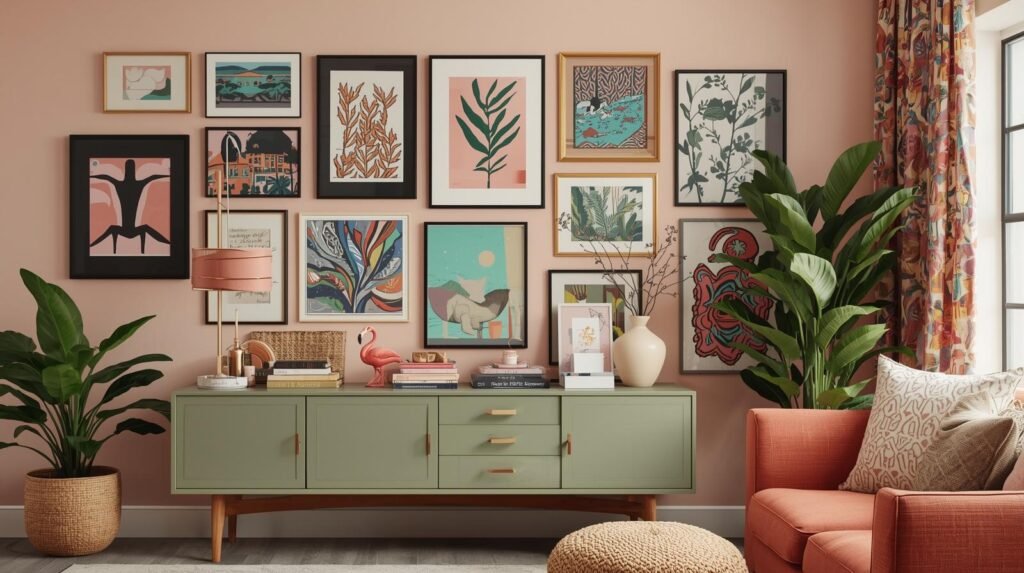
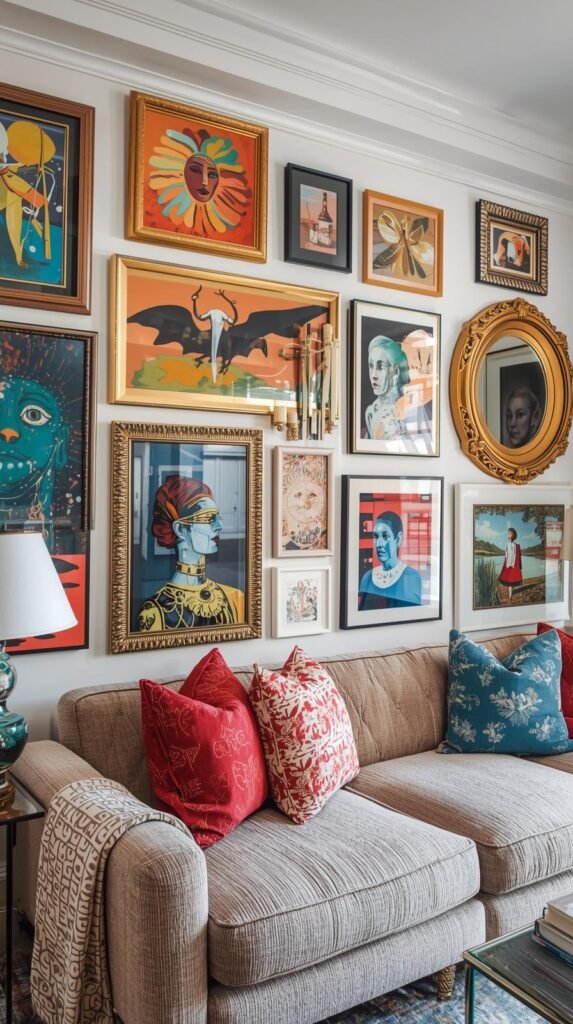
4. Include Art, Photos, and Unexpected Finds
The most captivating gallery walls mix personal touches with artistic flair. Forget the rule that every piece needs to be “art.” A great Eclectic Gallery Wall might include a framed fabric swatch, a vintage postcard, or your kid’s abstract painting right beside a moody landscape print. The balance between curated and collected gives your wall soul.
Start by choosing a core theme — travel, family, nature, or abstract. Then mix in contrast through size and medium. Pair glossy photo prints with textured canvas art or watercolor paper. Include a mix of photo wall ideas: candid black-and-whites, digital downloads, or thrift-store finds reframed in modern styles.
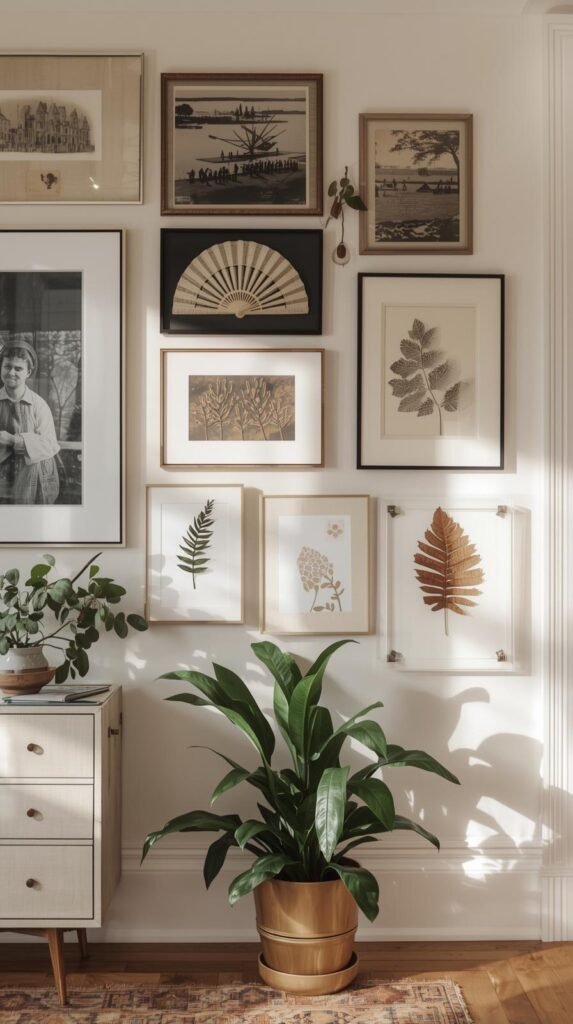
If your style leans vintage, layer sepia-toned photos with pressed botanicals for a Vintage Gallery Wall look. For something more modern, try minimal line drawings and geometric shapes on thick matte paper. It’s about variety — but within boundaries.
Texture Tip: Use linen mats, canvas wraps, and even fabric backdrops to make inexpensive prints feel elevated. A touch of tactile texture can make a $5 print look like a $200 piece.
Shop the Look:
Do’s and Don’ts:
- Do mix mediums (photo, art, objects) for depth and character.
- Don’t stick to one subject matter; mix eras and textures.
5. Use Free or Affordable Art Sources

You don’t need to spend hundreds to fill your frames. The internet is full of beautiful, high-quality art you can legally download for free or just a few dollars. Public domain archives, printable Etsy shops, and even museum collections make it easy to build a wall that looks curated, not copied.
Start by browsing sites like Unsplash, Pexels, or The Met’s Open Access Collection for free digital downloads. You can print them on heavyweight paper or matte photo paper for better texture. If you want something unique, try printable vintage art bundles or digital botanical collections — they’re affordable, cohesive, and easy to resize.
Another trick? DIY your own “art.” Try coffee-dyeing paper for a rustic look, framing old book pages, or printing abstract brushstrokes on canvas paper. A few of these easy gallery wall decor projects mixed with purchased prints create that effortless blend of old and new.
Pro Tip: Keep prints within the same tone family — all warm neutrals or all cool grays — to avoid clashing when viewed together.
Shop the Look:
Do’s and Don’ts:
- Do mix free printables with one or two purchased pieces for balance.
- Don’t skip resizing — consistent scale keeps your wall cohesive.
6. Hang Like a Pro — No Nails Required

If you’re renting or just don’t want to commit to holes in the wall, you can still create a gallery wall that looks perfectly polished. The trick is using lightweight materials and renter-friendly hanging tools that hold strong without damage.
Start with Command strips or adhesive hooks — they come in weight-rated sizes and peel off clean. For larger frames, use a mix of two strips per side to prevent tilting. Lighter pieces like prints or postcards can hang from washi tape or miniature clips for a casual, creative setup.
When hanging, measure twice and level once. Begin with your anchor piece (usually the largest frame) and build outward. Keep the spacing consistent — 2 to 3 inches apart is ideal. Step back after each addition and adjust before committing.
If your layout still feels off, use paper cutouts of your frame sizes to plan the spacing. Tape them to the wall and tweak until it feels balanced. It’s foolproof and saves you from filling in 15 nail holes later.
Shop the Look:
- Command Picture Hanging Strips
- Adhesive Wall Hooks
- Mini Metal Clips for Photos
- Picture Hanging Level Tool
Do’s and Don’ts:
- Do test Command strips on your wall texture first.
- Don’t overload adhesive hooks — check the weight rating.
7. Add Dimension with 3D Decor
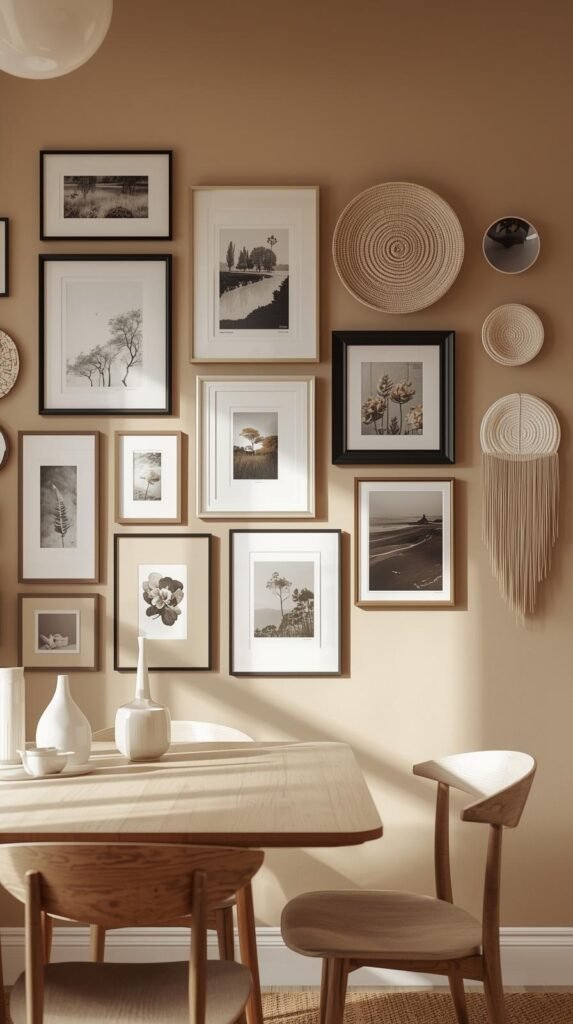
Flat walls are fine, but dimensional ones stop people in their tracks. The secret to a dynamic gallery wall on a budget is layering — not just frames, but texture and shape. Adding 3D elements like mirrors, woven baskets, or sculptural wall hooks gives your gallery wall depth and character.
Think of it like curating a mini art installation. Start with a base of framed art, then break the plane with one or two objects that pop off the wall. A small round mirror adds reflection and light, a woven tray introduces texture, or a ceramic sconce brings sculptural balance.
If your look is boho, lean into organic textures — rattan, wicker, dried palms. For something more polished, use metallic accents like brass wall disks or gold-framed mirrors. Even small shelf ledges work beautifully, giving your wall a spot for candles, mini plants, or framed quotes that can easily swap seasonally.
Proportion Tip: Don’t overwhelm the space — 3D pieces should make up no more than 20–25% of your layout. They’re meant to punctuate, not dominate.
Shop the Look:
Do’s and Don’ts:
- Do mix flat art with 3D objects for interest.
- Don’t forget safety — anchor heavier items securely.
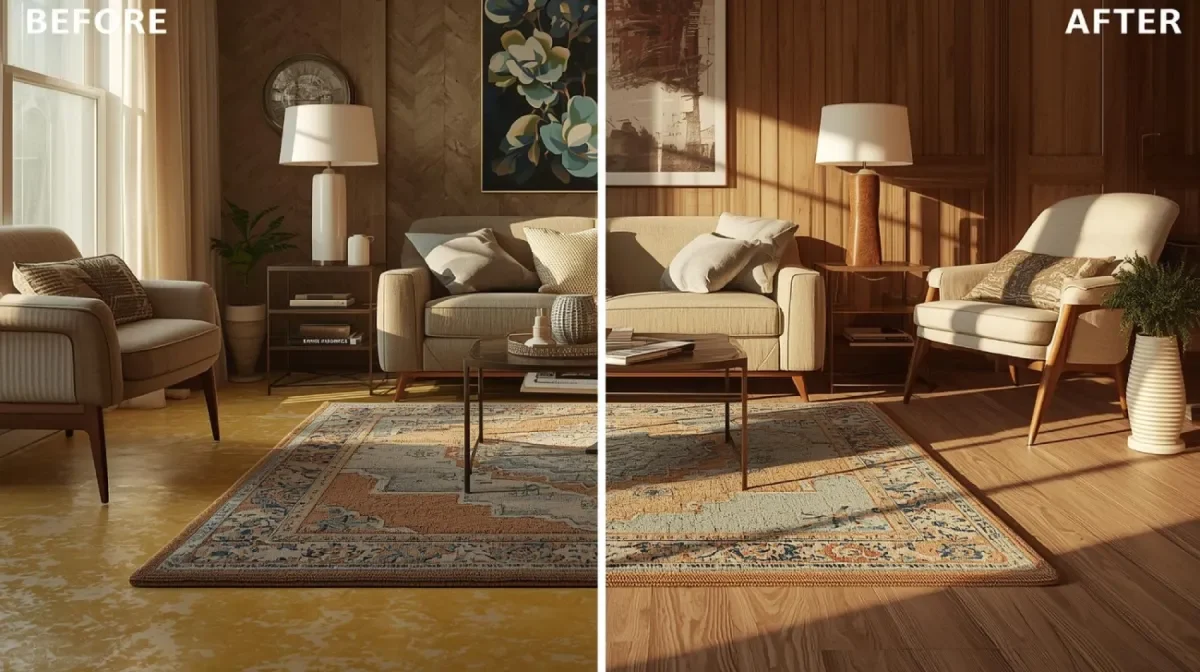
8. Style by Room
Every room tells a different story — your gallery wall should, too. The key is tailoring your layout, art style, and frame scale to fit the mood and function of each space. Here’s how to adapt these gallery wall ideas on a budget for every corner of your home.
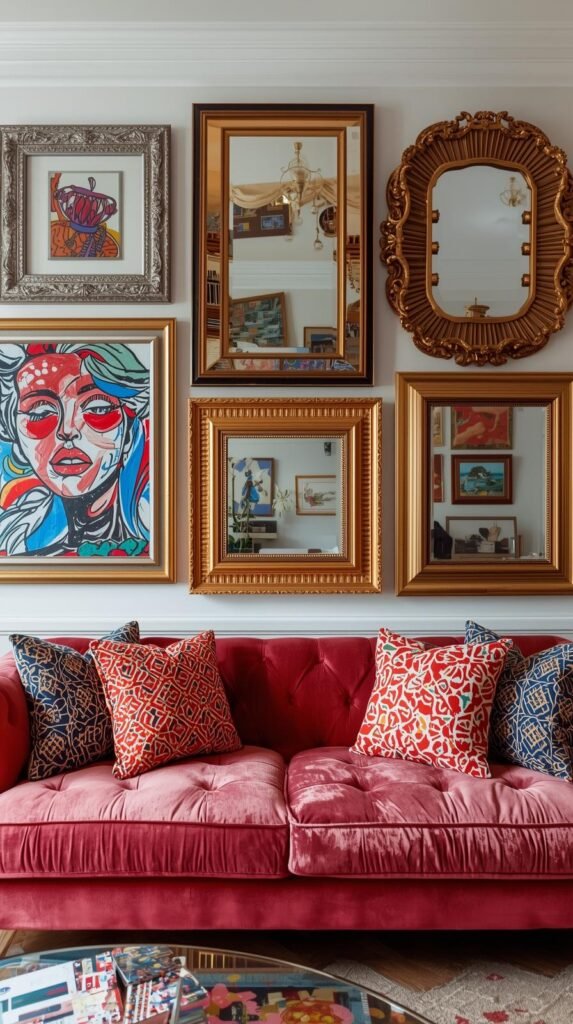
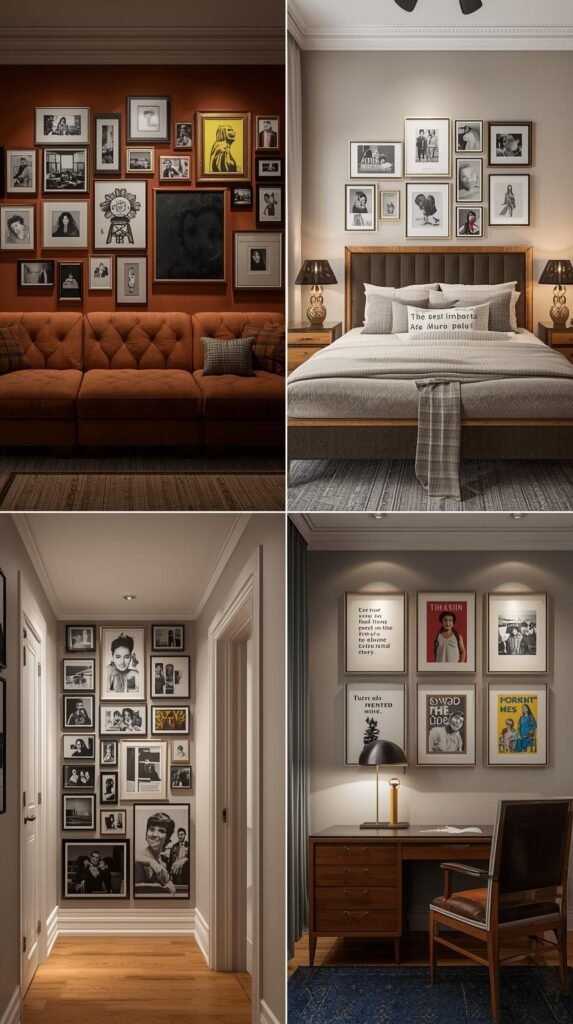
Living Room: This is your statement wall. Go bold with an Eclectic Gallery Wall full of mixed mediums — abstract art, photography, and maybe a mirror or two. Anchor the design above your sofa, keeping the outer width aligned with the sofa’s arms for balance.
Bedroom: Go softer and more intimate. Think line art, calming landscapes, or minimalist Gallery Wall Decor in warm neutrals. Float your layout above the headboard or dresser, using wood and linen textures for warmth.
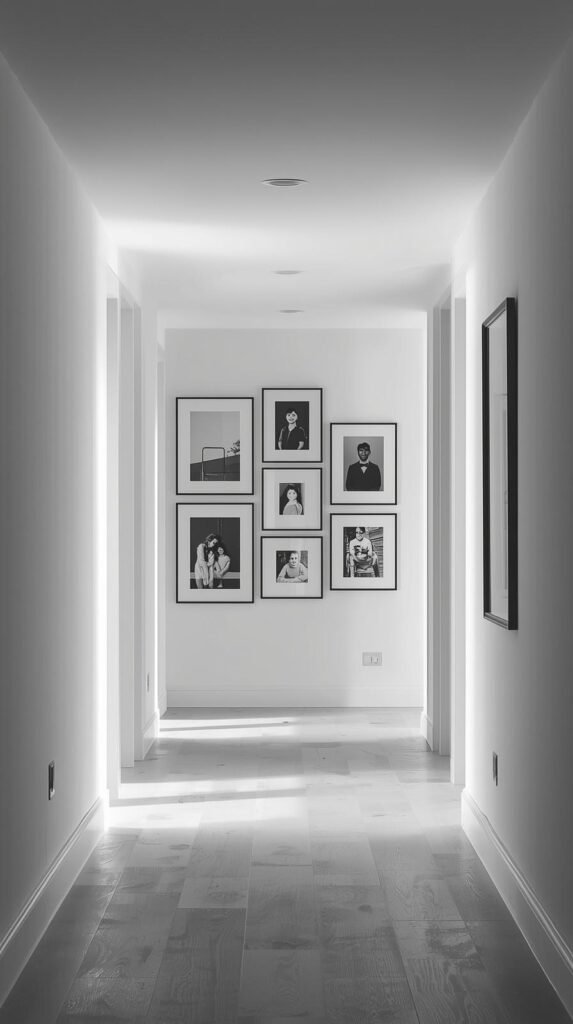
Hallway: Perfect for a Family Photo Wall. Use symmetrical grid layouts and consistent frames for a clean look that feels intentional. Keep photos printed in black-and-white to maintain cohesion.
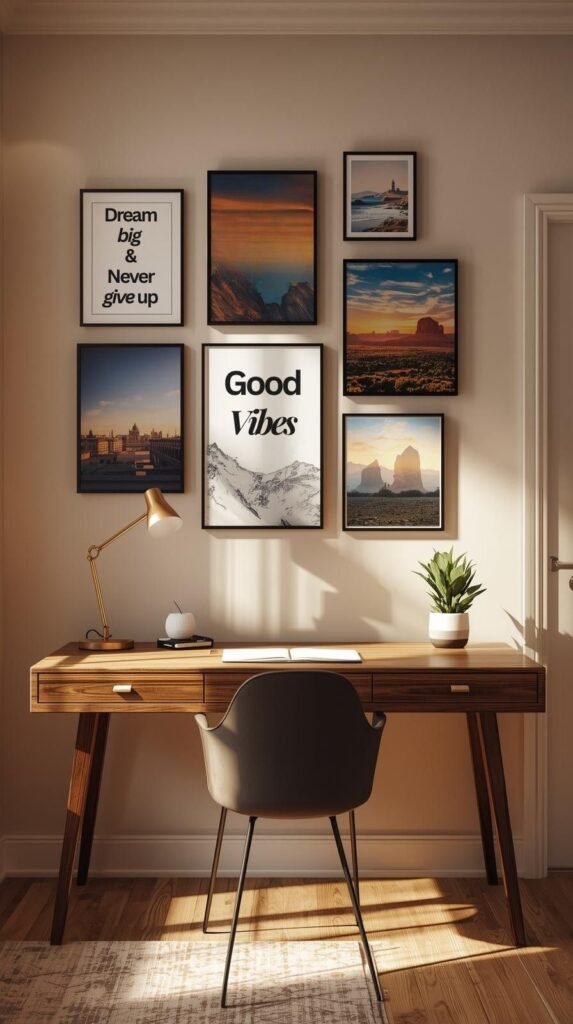
Home Office: Inspire productivity with Photo Wall Ideas that mix motivational quotes, architectural prints, and your favorite travel shots. Keep spacing tight and centered around your desk area.
Style Tip: Use lighting to highlight your collection — small picture lights or LED strips make even thrifted art look high-end.
Shop the Look:
Do’s and Don’ts:
- Do scale art to your furniture — it should feel connected, not floating.
- Don’t ignore lighting — shadows kill good design.
Build a Wall That Tells Your Story
A gallery wall isn’t just decor — it’s a reflection of your story, your travels, your creativity. And the best part? You don’t need a huge budget to pull it off. With a little planning, layering, and personality, you can design something that feels both curated and deeply personal.
The key to success is balance — between old and new, flat and dimensional, art and memory. Use these gallery wall ideas on a budget to experiment, adjust, and evolve your layout over time. The beauty of a DIY gallery wall is that it grows with you.
So grab those frames, print out your favorite art, and start arranging. By the end of the day, you’ll have a wall that looks like a designer installed it — only you’ll know it cost next to nothing.
Shop the Look (Starter Essentials):
Looking for Your Next DIY Project?
If you loved this project, you’ll want to check out How to Paint Old Furniture for a Fresh Look (Thrift Flip Tutorial) — a step-by-step guide to giving secondhand pieces new life with simple tools and affordable paint.