

Affiliate Disclosure – This post contains affiliate links. As an Amazon Associate, I earn from qualifying purchases at no extra cost to you.
If you have kids who love getting creative, dollar store crafts are about to become your new best friend. Everything is affordable, colorful, and surprisingly perfect for keeping little hands busy. My favorite part is how simple these projects are. You don’t need fancy supplies or a craft room. Just grab a few basics and you can turn an ordinary afternoon into a fun creative moment. These 20 ideas are easy, budget friendly, and guaranteed to spark excitement for kids of all ages.
1. Pom Pom Bookmark Creatures
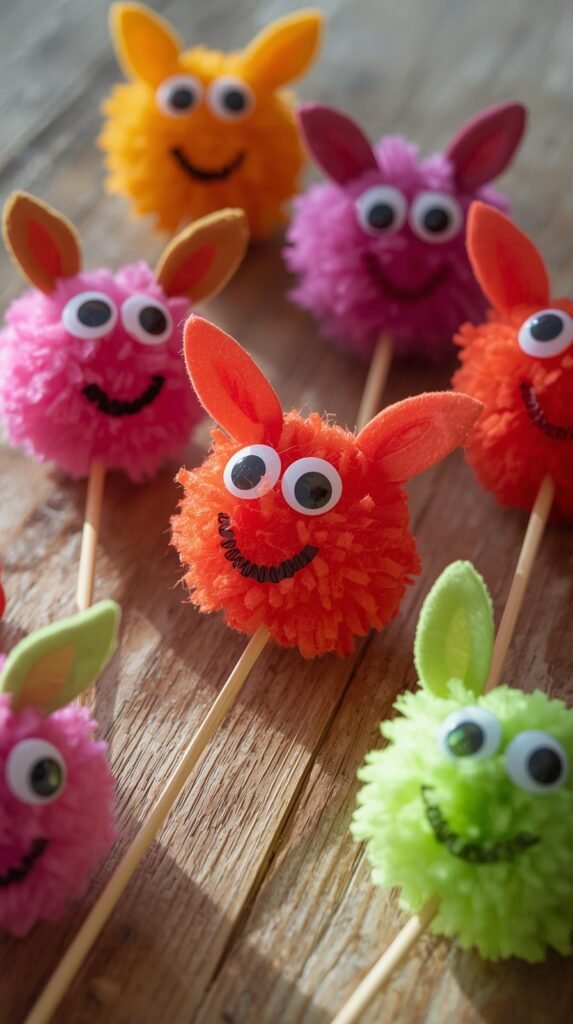
Kids love this one because it is cute, colorful, and super simple. They turn dollar store pom poms and craft sticks into funny little monsters or animal characters that peek out of their books. It is an easy project for preschoolers, early readers, and older kids who want to personalize their creatures with fun colors and silly faces.
How to Make It
- Glue 1 to 3 pom poms at the top of a craft stick to create the creature’s head and body.
- Add googly eyes. Kids can choose one, two, or a whole cluster if they want a monster style look.
- Cut small shapes from foam sheets to make ears, horns, wings, or hair. Glue them behind the pom poms.
- Let the bookmark dry completely so the pieces stay secure.
- Place the finished bookmark in a book so the creature peeks over the top.
Shop the Look
2. Paper Plate Animals
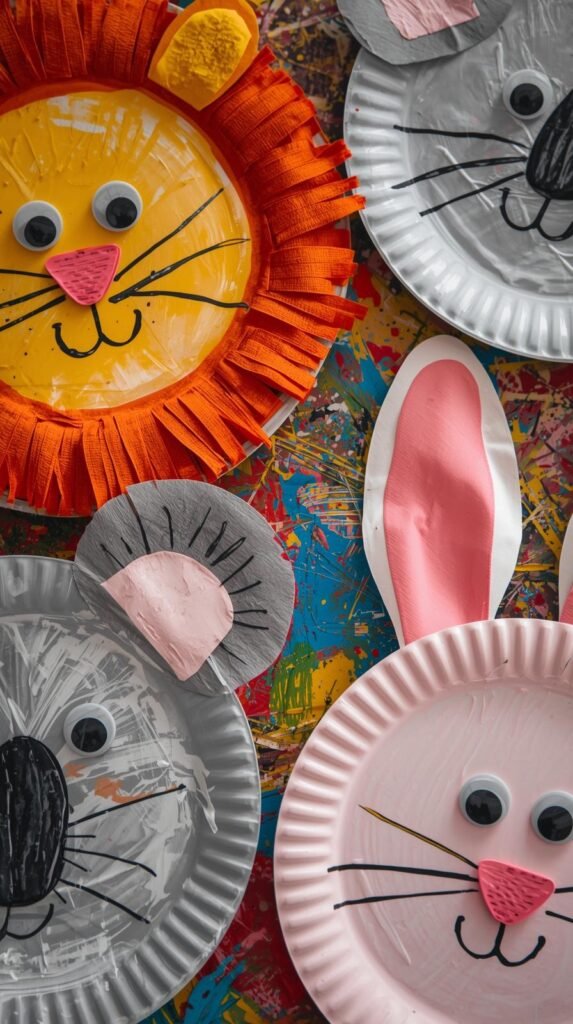
This is a classic dollar store craft that kids never get tired of. Paper plates turn into lions, koalas, puppies, bunnies, or any animal they can imagine. It is simple enough for preschoolers and still fun for older kids who like adding more detail with textures, colors, and layered shapes. The best part is how inexpensive it is to set up since most supplies come in multipacks.
How to Make It
- Start with a plain paper plate as the face of the animal.
- Let kids paint or color the plate with markers, crayons, or washable paint.
- Cut out ears, noses, or whiskers from foam sheets or construction paper.
- Glue the pieces onto the plate to create the animal’s features.
- Add googly eyes or draw eyes directly onto the plate.
- Let everything dry before hanging it on the wall or using it for pretend play.
Shop the Look
3. DIY Bead Bracelets
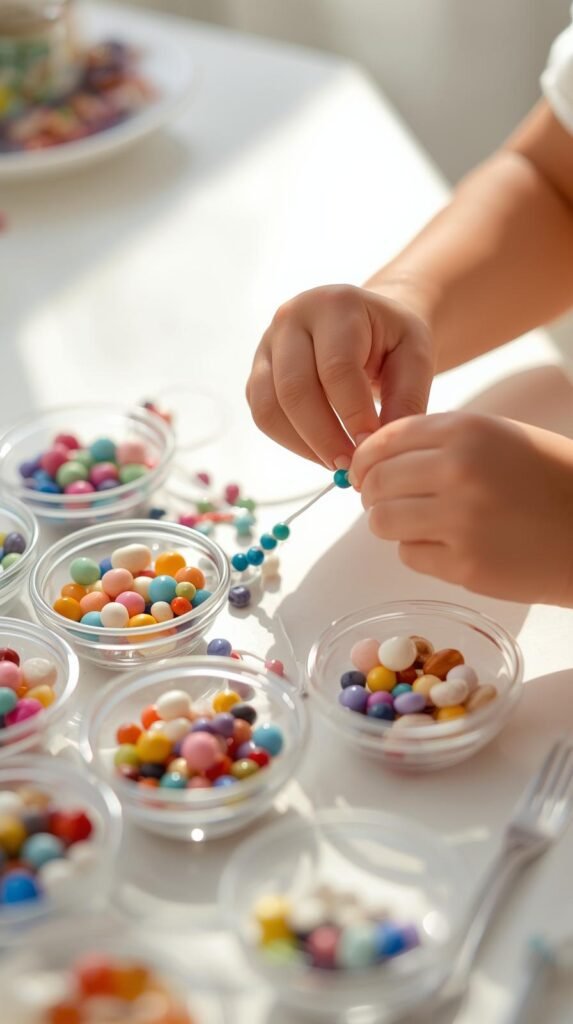
Kids love making something they can actually wear, and these bead bracelets are always a hit. Dollar store beads come in every color and shape, so kids can create patterns, spell their names, or make matching sets with friends. It is an easy activity that helps with fine motor skills while still feeling fun and creative.
How to Make It
- Cut a piece of elastic cord long enough to fit comfortably around a child’s wrist.
- Tie a temporary knot at one end so the beads do not slide off.
- Let kids choose their bead colors and start threading them onto the cord.
- Once full, tie both ends of the cord into a tight double knot.
- Trim the extra cord and rotate the knot so it hides between the beads.
Shop the Look
4. Popsicle Stick Picture Frame

This is one of those dollar store crafts that feels extra special because kids can pair it with a favorite photo or drawing. Popsicle sticks make a simple frame, and kids can decorate it with paint, gems, stickers, or pom poms. It is an easy keepsake craft that also makes a sweet gift for parents or grandparents.
How to Make It
- Lay four craft sticks in a square shape to form a frame.
- Glue the sticks together at the corners and let them dry.
- Decorate the frame using paint, stickers, pom poms, or foam shapes.
- Once dry, tape a photo or drawing to the back of the frame.
- If you want to display it on the fridge, stick a magnet strip to the back.
Shop the Look
5. Dollar Store Sensory Bottle
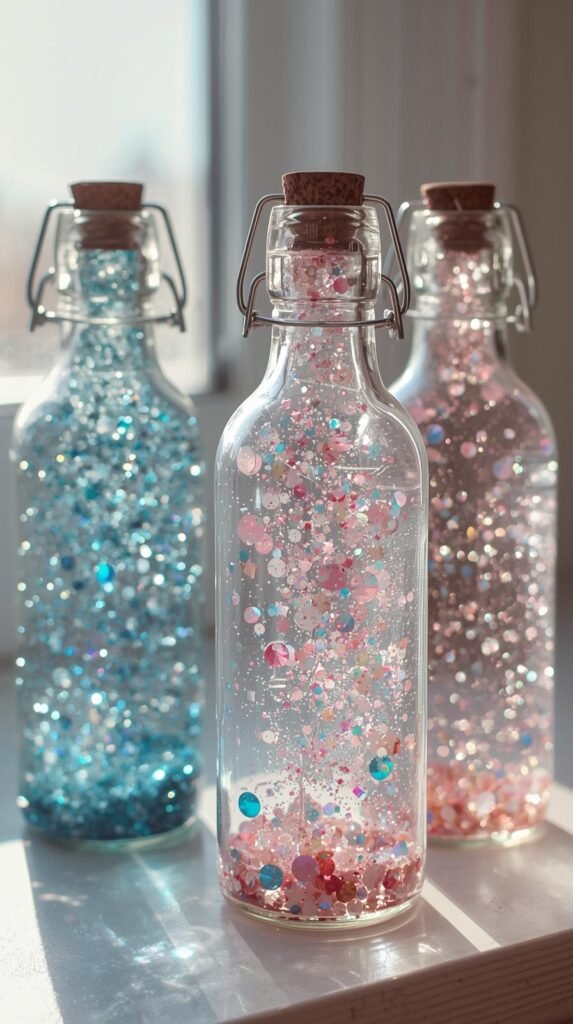
This calming craft is perfect for little kids who love anything sparkly or swirly. A sensory bottle gives them a relaxing visual to shake, flip, and watch as glitter and sequins float slowly through the liquid. It is inexpensive, mess free once sealed, and great for quiet time activities.
How to Make It
- Fill a clear plastic bottle about two thirds full with warm water.
- Add a squeeze of glitter glue and stir or shake until it dissolves.
- Drop in sequins, beads, or small craft gems.
- Top off the bottle with more water or a little baby oil to slow the movement.
- Seal the lid tightly and add a layer of glue around the rim for extra security.
Shop the Look
6. Foam Sheet Crowns
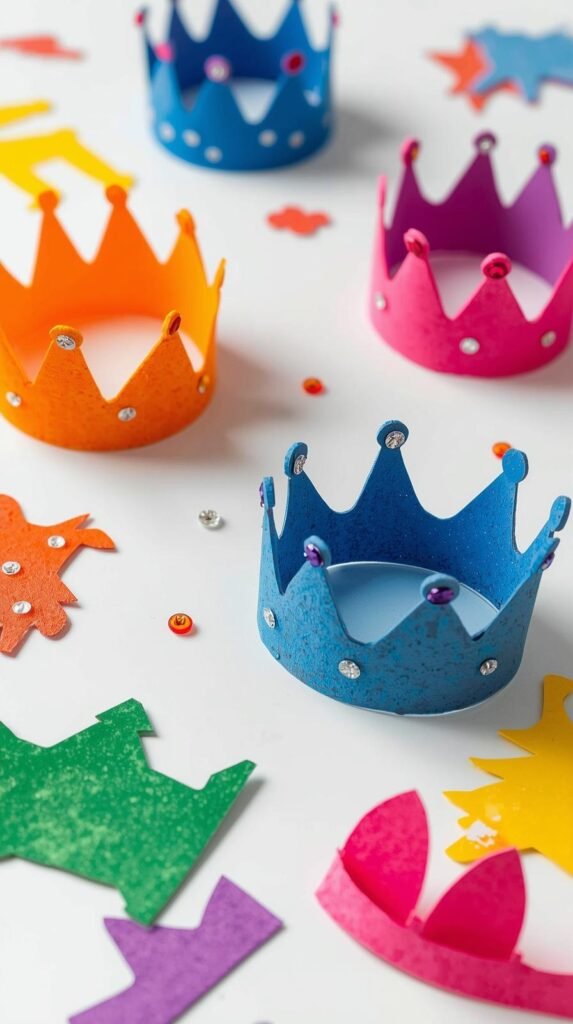
Kids love anything they can wear, and these foam crowns are easy to make and even easier to customize. Foam sheets are soft, colorful, and simple to cut into crown shapes. Kids can decorate them with gems, stickers, markers, or glitter to create their own fun dress up accessories.
How to Make It
- Cut a long crown shape from a foam sheet wide enough to wrap around a child’s head.
- Trim the top into points, curves, or any crown style they like.
- Let kids decorate the foam with adhesive gems, stickers, or marker designs.
- Attach the ends together with Velcro dots or staple them if you want a fixed size.
- Try it on and adjust the fit if needed.
Shop the Look
7. Pipe Cleaner Animal Sculptures
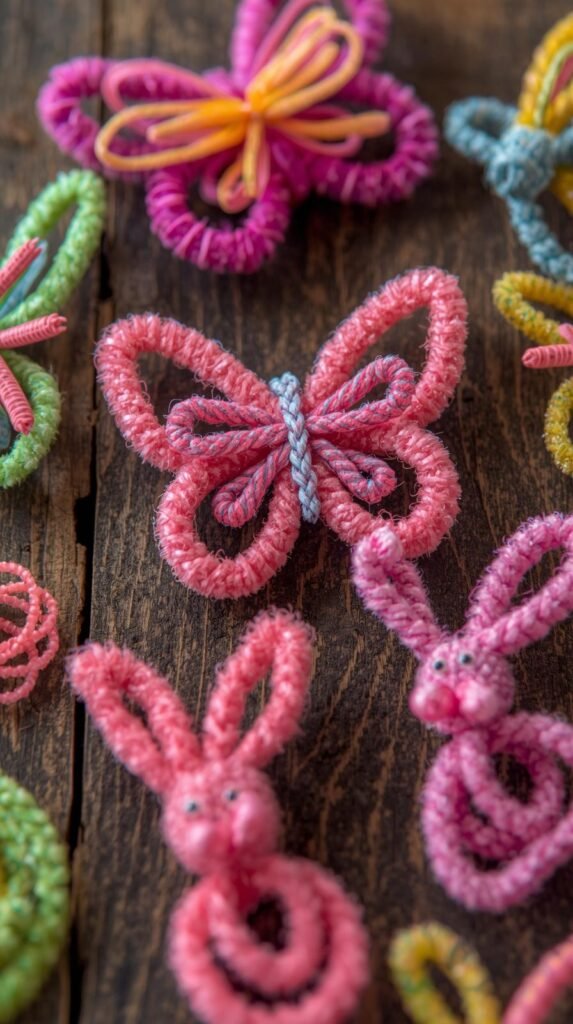
Kids love how bendy and colorful pipe cleaners are, making them perfect for simple animal creations. They can twist and shape them into butterflies, bunnies, dogs, or even imaginary creatures. This is a great dollar store craft for building creativity and fine motor skills while keeping setup super easy.
How to Make It
- Choose two or three pipe cleaners in fun colors.
- Bend one pipe cleaner into a circle or oval for the animal’s body.
- Shape another pipe cleaner into ears, wings, legs, or a tail and attach by twisting the ends together.
- Add beads to create eyes or decorate the body.
- Adjust the shape until the animal stands or hangs the way the child wants.
Shop the Look
8. Tissue Paper Suncatchers
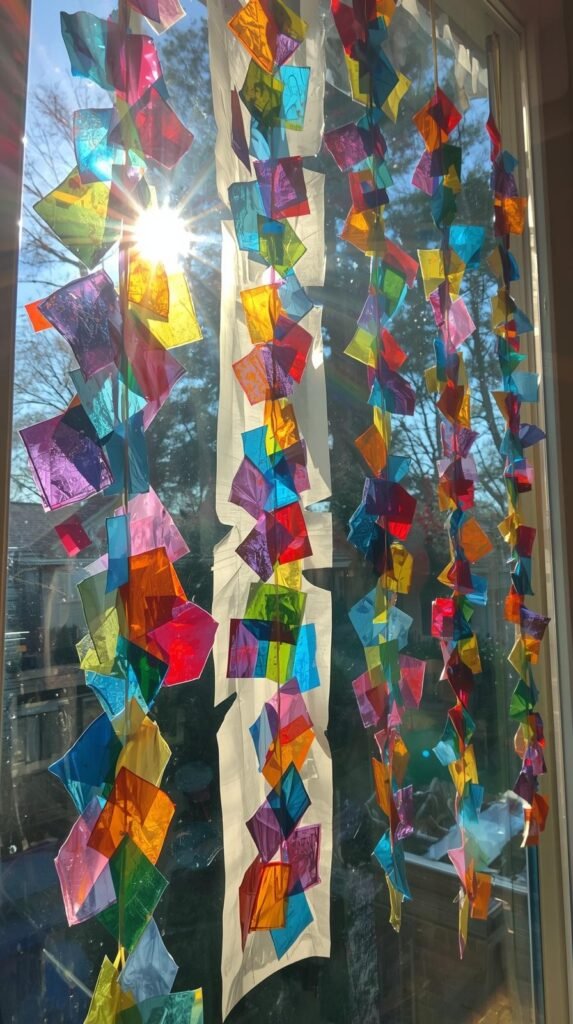
These bright, colorful suncatchers look beautiful hanging in a window and are surprisingly easy for kids to make. Tissue paper pieces catch the sunlight and create a stained glass effect that feels magical for little ones. It is a great dollar store craft for creativity, color play, and sensory fun.
How to Make It
- Cut a sheet of contact paper into the shape you want, like a heart or circle.
- Peel off the backing and lay it sticky side up.
- Let kids place small squares of tissue paper all over the sticky surface.
- When the design is full, place a second sheet of contact paper on top to seal it.
- Trim the edges and add a construction paper border if you want a finished look.
- Tape it to a sunny window so the colors glow.
Shop the Look
9. DIY Paper Bag Puppets
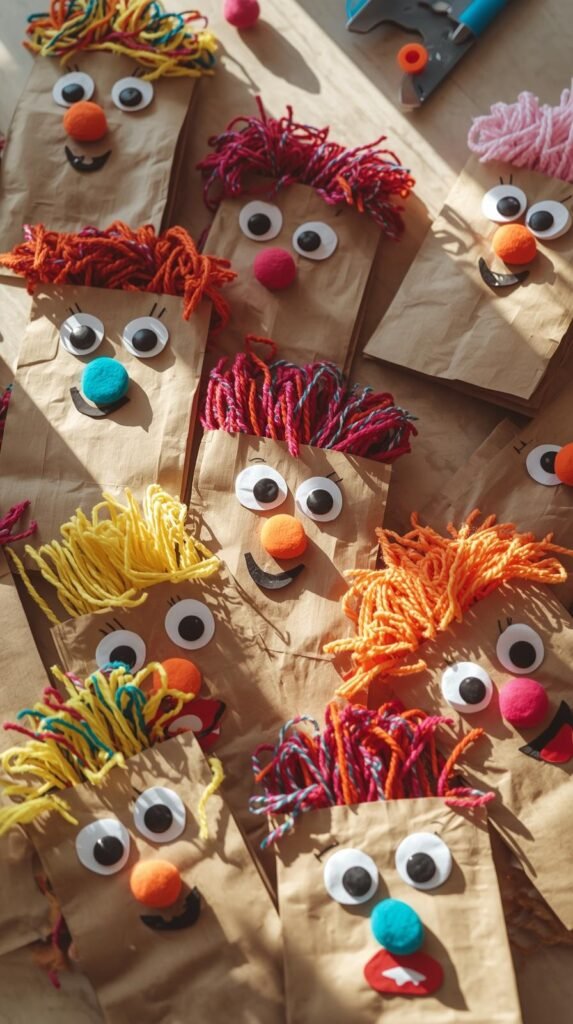
Kids love turning simple paper bags into characters they can bring to life. With a few basic craft supplies, they can make people, animals, or silly monsters. This dollar store craft encourages storytelling, creativity, and hours of pretend play once the puppets are finished.
How to Make It
- Lay a paper lunch bag flat with the folded flap facing up.
- Add googly eyes, foam shapes, or drawn features to create a face on the flap.
- Glue yarn pieces on top for hair or a mane.
- Cut out clothing or accessories from construction paper and glue them to the bag.
- Let everything dry, then slide your hand inside the bag to use it as a puppet.
- Create a whole puppet family or cast to put on a mini show.
Shop the Look
10. Cotton Ball Snow Scenes
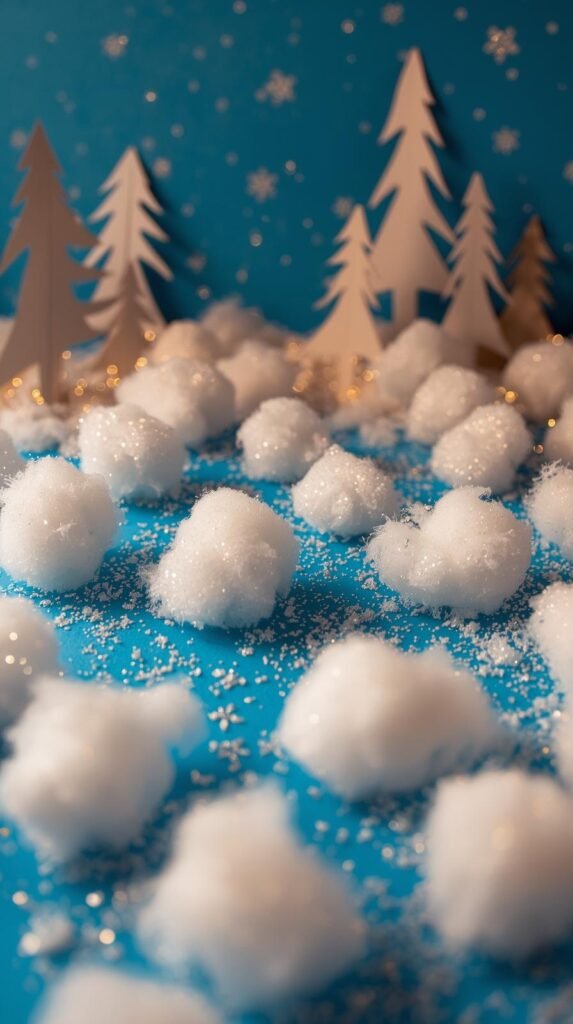
This winter themed craft is perfect for kids who love anything soft, fluffy, and sparkly. Cotton balls create instant snow, and kids can build little winter landscapes with trees, snowmen, animals, or houses. It is a great sensory craft and works well for holiday projects or quiet indoor days.
How to Make It
- Start with a sheet of construction paper as the background.
- Pull apart some cotton balls to create a mix of fluffy and stretched textures.
- Glue the cotton onto the paper to form snowy hills, clouds, or falling snow.
- Add trees, snowmen, or other shapes cut from colored paper.
- Sprinkle a little glitter over the scene while the glue is still wet.
- Let the project dry completely so the snow stays in place.
Shop the Look
11. DIY Clay Magnets
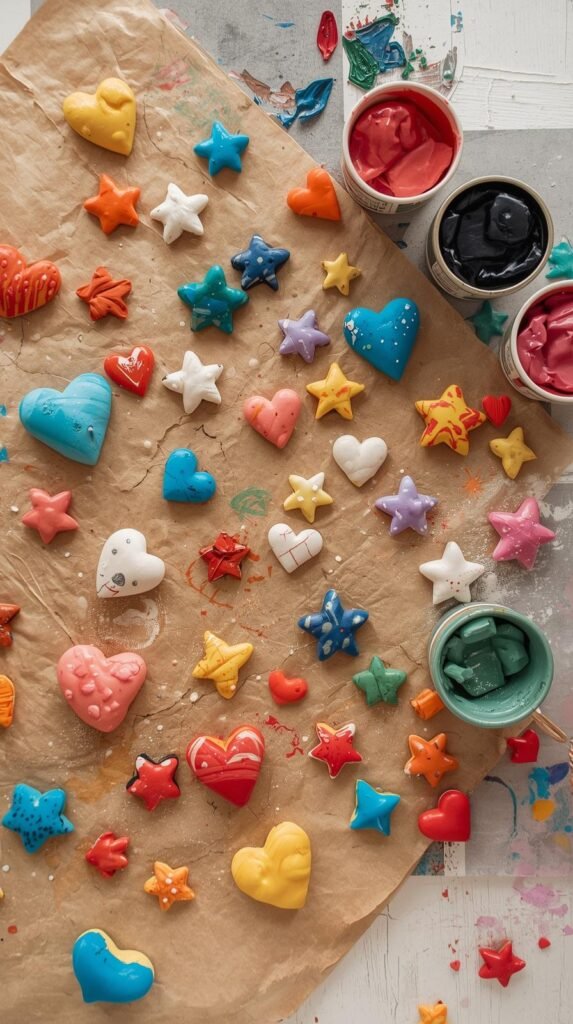
Kids love this craft because they get to mold, paint, and see their art displayed on the fridge. Air dry clay is easy to work with, and kids can shape it into stars, hearts, animals, or initials. Once painted, these little magnets become colorful keepsakes that feel special and handmade.
How to Make It
- Break off a small piece of air dry clay and shape it into a flat design about one quarter inch thick.
- Use cookie cutters or fingers to create shapes like hearts, circles, or animals.
- Let the clay pieces dry completely according to the package directions.
- Paint the shapes using acrylic or washable paint.
- After the paint dries, glue a small magnet to the back of each piece.
- Stick them on the fridge or create a colorful magnet collection.
Shop the Look
12. DIY Sticker Collage Canvas
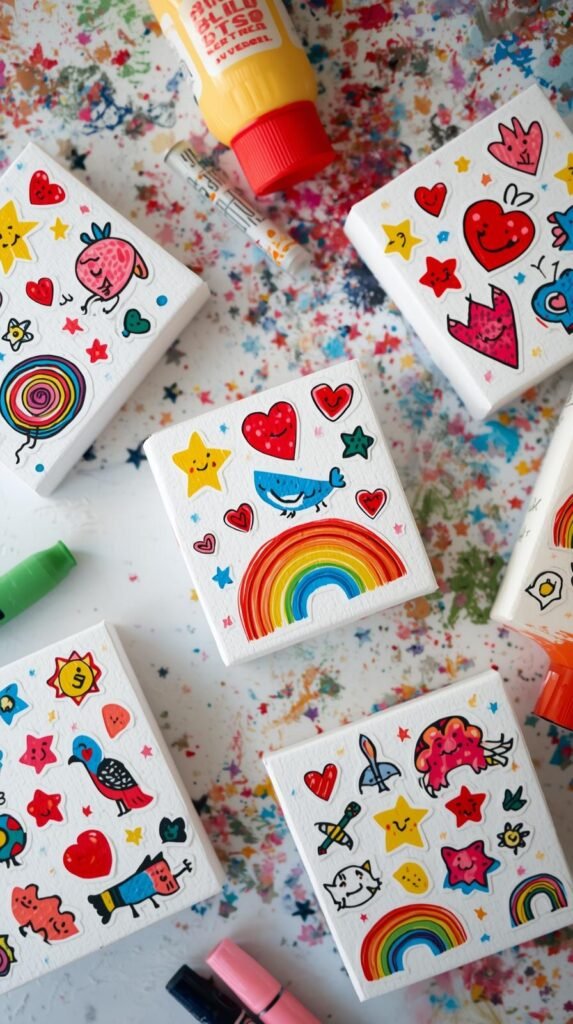
This is the easiest dollar store craft on the list and perfect for younger kids. All you need is a blank canvas and a pack of fun stickers. Kids can layer shapes, build scenes, or create abstract art with patterns and textures. The finished piece looks surprisingly cute on a wall or shelf.
How to Make It
- Give each child a small canvas or canvas board.
- Let them choose stickers from different sheets or themes.
- Start placing stickers across the canvas, filling in spaces or creating a picture.
- Add more layers to build depth, contrast, or patterns.
- Outline areas with paint pens if they want added detail.
- Display the finished artwork on a wall or shelf.
Shop the Look
13. Pool Noodle Stampers
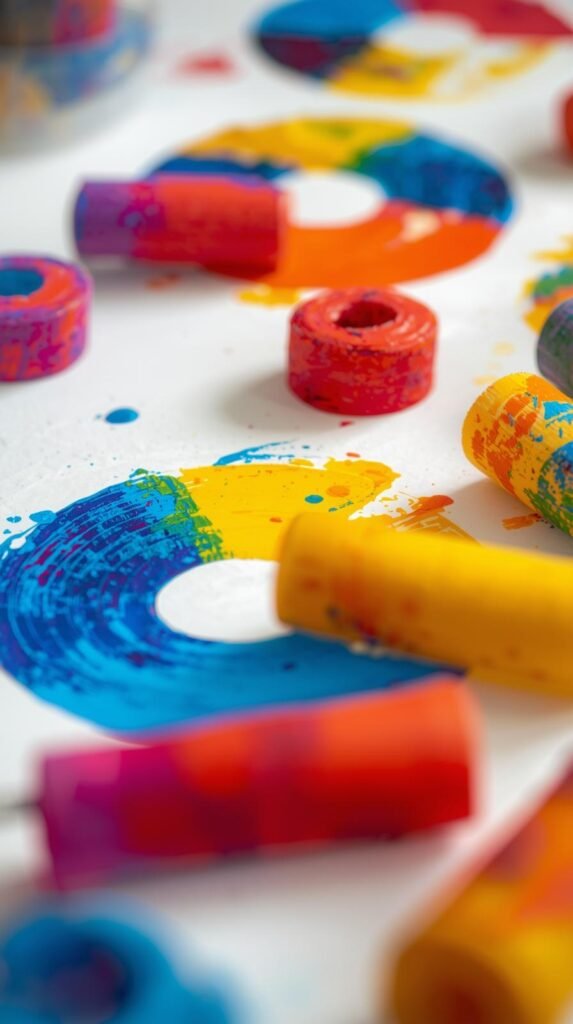
This craft is fun, colorful, and perfect for kids who love hands on painting activities. Cutting a pool noodle into small pieces instantly turns it into chunky paint stampers that make perfect circles. Kids can stamp patterns, create bubble art, or make modern looking murals using bright colors.
How to Make It
- Cut a pool noodle into two to three inch sections using scissors or a craft knife.
- Pour washable paint into shallow trays or paper plates.
- Dip the flat end of a pool noodle piece into the paint.
- Stamp it onto paper to create circles, patterns, or overlapping designs.
- Try mixing colors to get fun layered effects.
- Let the artwork dry before hanging it up.
Shop the Look
14. Button Art Animals

This craft is bright, colorful, and perfect for kids who love animals. By gluing buttons onto simple outlines, kids can create textured designs that pop off the page. It works well for preschoolers and older kids because they can fill the shapes however they want, from rainbow patterns to solid color designs.
How to Make It
- Print or draw a simple animal outline on cardstock or construction paper.
- Sort buttons by size and color to make them easier for kids to choose from.
- Add glue inside the outline and start placing buttons to fill the shape.
- Use larger buttons around the edges and smaller ones for detail areas.
- Let the artwork dry flat so the buttons stay secure.
- Hang the finished piece or frame it for a cute display.
Shop the Look
15. Yarn-Wrapped Letters
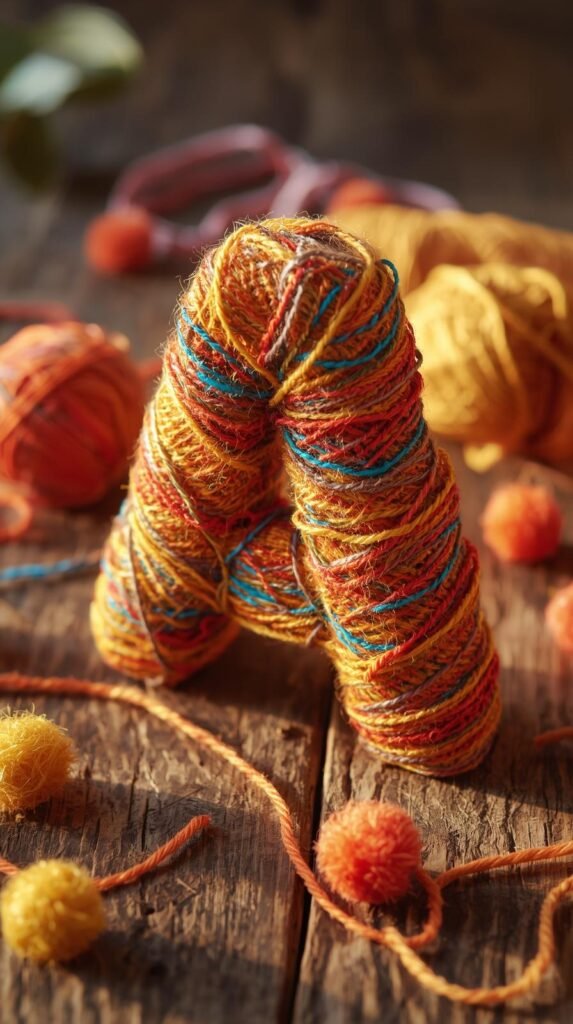
Kids love this project because it feels crafty but also creates something they can keep and display. Yarn wrapping is simple, relaxing, and great for building fine motor skills. They can make their first initial, spell a word, or create fun shapes while mixing colors and textures.
How to Make It
- Cut a letter or shape from cardboard, or use a pre-cut cardboard letter.
- Choose yarn colors and tie one end to the letter to secure it.
- Wrap the yarn tightly around the shape, covering all the edges and gaps.
- Switch colors as desired by tying a new strand to the old one.
- Tuck or glue the final end of the yarn on the back.
- Display the finished letter on a shelf or bedroom door.
Shop the Look
16. DIY Dreamcatchers
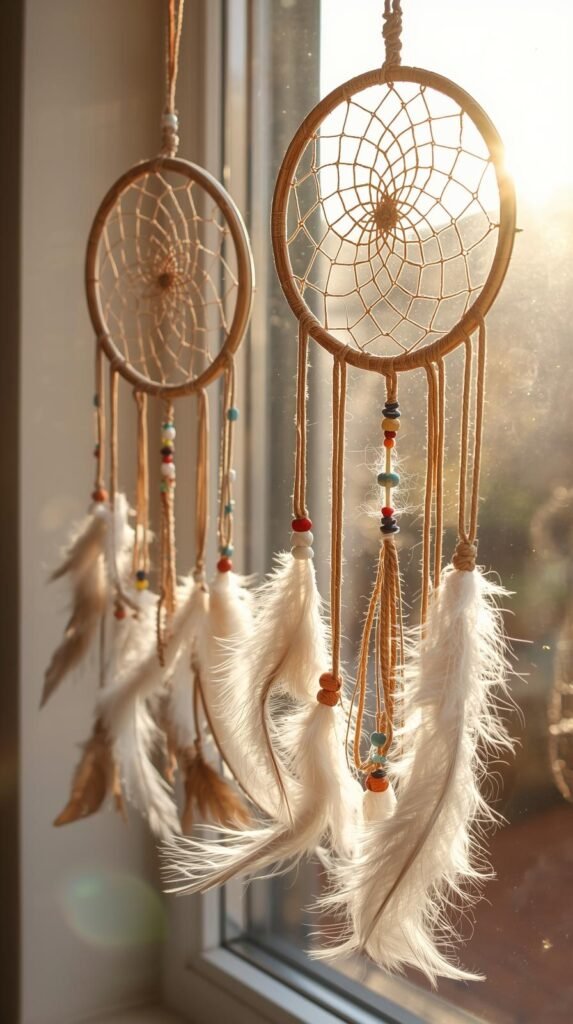
Kids love dreamcatchers because they feel magical, colorful, and full of movement. This dollar store craft lets them combine yarn, beads, feathers, and ribbons to create something pretty enough to hang in their room. It is a fun mix of weaving, threading, and decorating that keeps kids engaged.
How to Make It
- Start with a small embroidery hoop as the frame.
- Tie one end of yarn to the hoop and begin wrapping it across the opening to create a web pattern.
- Add beads onto the yarn as you weave if you want extra detail.
- Once the web is done, cut pieces of ribbon, yarn, or string and tie them to the bottom of the hoop.
- Glue or tie feathers to the ribbon ends for added movement.
- Hang the finished dreamcatcher in a window or above a bed.
Shop the Look
17. Nature Collage Boards
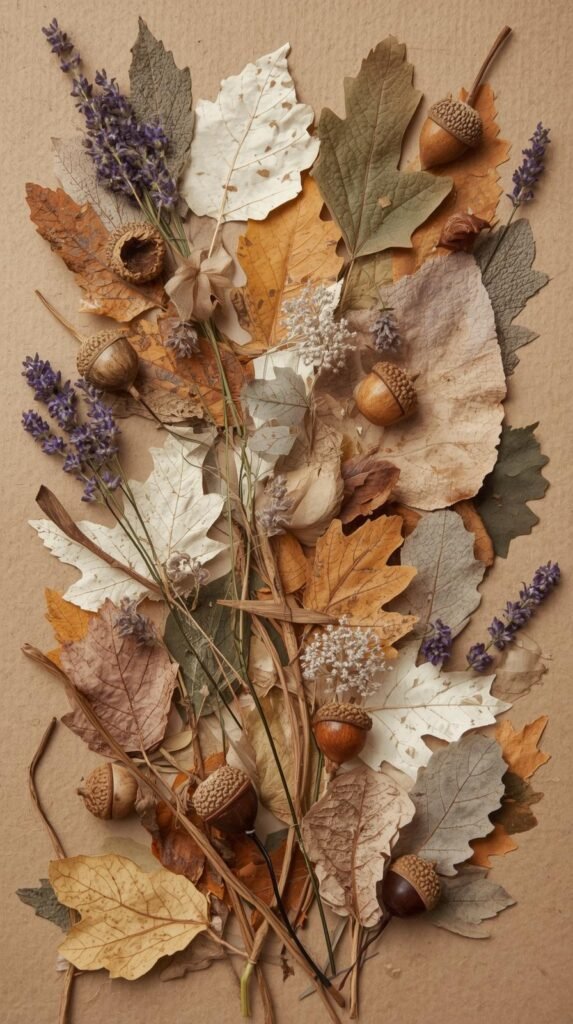
This craft is perfect for kids who love exploring outdoors. A nature collage lets them collect leaves, sticks, flowers, and acorns, then turn their little finds into artwork. It is simple, calming, and a great way to mix outdoor play with creative time. Each collage turns out completely unique.
How to Make It
- Start with a piece of cardboard or a thick paper board as the base.
- Take a short walk with kids and gather leaves, petals, small sticks, or acorns.
- Arrange the pieces on the board to create patterns, scenes, or abstract designs.
- Glue each item down one at a time so the layout stays in place.
- Let the collage dry fully before picking it up.
- Optional: Spray it with a clear sealer to help preserve the natural pieces.
Shop the Look
18. DIY Scratch Art
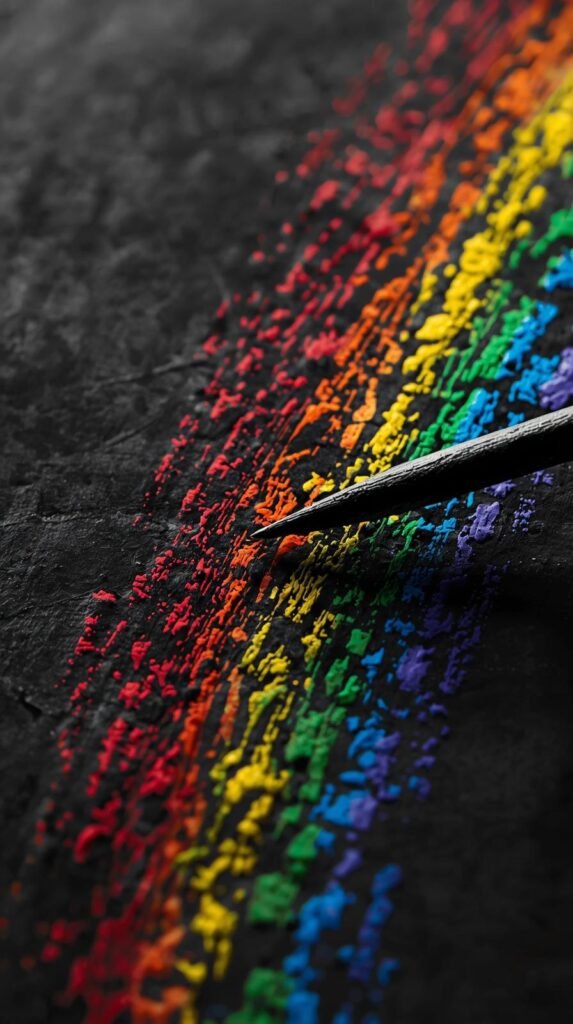
Kids love scratch art because it feels like magic. They color a page with bright crayons, cover it in black, and then scratch designs that reveal the rainbow underneath. It is a fun sensory craft that lets kids draw patterns, shapes, or full scenes with surprising pops of color.
How to Make It
- Color an entire sheet of paper using bright crayons.
- Press firmly so the colors are bold.
- Cover the whole page with black crayon until none of the colors show.
- Use a toothpick or craft stick to scratch lines, shapes, or pictures into the black layer.
- The colorful base will show through wherever they scratch.
- Hang the artwork to display the bright rainbow designs.
Shop the Look
19. DIY Marble Painted Ornaments
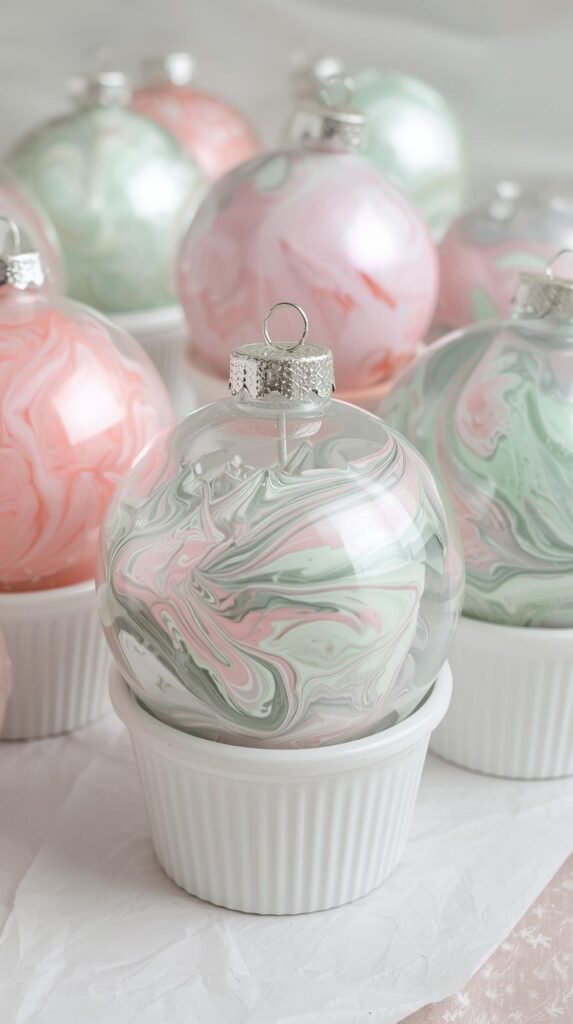
This craft feels extra special because kids get to create a glossy, swirling design inside clear ornaments. The paint moves around in unexpected ways, giving each ornament a unique marbled look. It is quick, low mess, and perfect for gifting or decorating during the holiday season.
How to Make It
- Remove the top of a clear plastic ornament.
- Pour a small amount of acrylic paint inside, using two or three colors.
- Rotate and tilt the ornament so the paint swirls around and coats the inside.
- Turn the ornament upside down in a cup to let the excess paint drip out.
- Let it dry completely before replacing the ornament top.
- Hang the finished ornament or add ribbon for a decorative touch.
Shop the Look
20. DIY Foam Sheet Masks
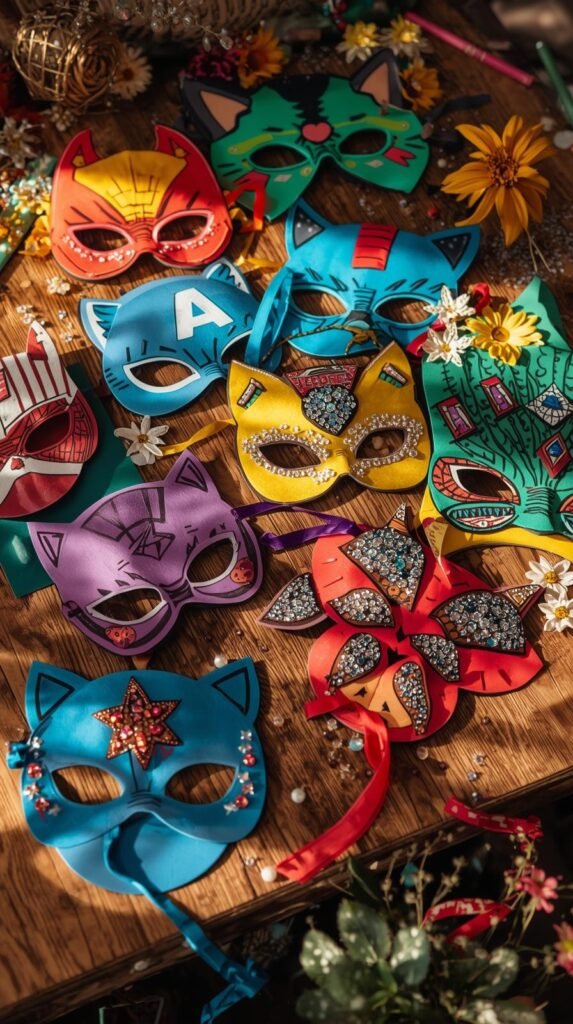
Kids love dress up crafts, and these foam masks are easy to make and even easier to customize. Foam sheets are soft, flexible, and perfect for cutting into superhero masks, animal faces, or silly character designs. This craft encourages imagination and gives kids something they can actually wear during playtime.
How to Make It
- Draw or trace a mask shape onto a foam sheet and cut it out.
- Cut eye holes large enough for the child to see comfortably.
- Decorate the mask with glitter pens, gems, stickers, or markers.
- Punch a small hole on each side of the mask.
- Thread elastic cord through the holes and tie knots to secure it.
- Try the mask on and adjust the fit if needed.
Shop the Look
Dollar store crafts are the easiest way to keep kids busy without spending a lot of money or needing complicated supplies. Every project on this list uses simple materials that spark creativity, build fine motor skills, and give kids something they can proudly show off or play with. Whether you want a quiet afternoon activity, a classroom project, or a fun weekend craft, these ideas are kid friendly and budget friendly.
If you are looking for even more fun craft ideas, check out my post: 15 Easy Christmas Crafts Kids Will Love Making

