

Affiliate Disclosure – This post contains affiliate links. As an Amazon Associate, I earn from qualifying purchases at no additional cost to you.
If you’ve got kids bouncing off the walls counting down to Christmas, this list is your new holiday lifesaver. These easy Christmas crafts are fun, quick to set up, and use supplies you probably already have lying around. From homemade ornaments to handmade gifts for grandparents, every idea adds a little sparkle to your season without leaving your kitchen table covered in glitter for weeks. Grab some cocoa, crank up the carols, and let’s get crafting.
1. Pinecone Reindeer Ornaments

A walk in the park just turned into craft hour. These pinecone reindeer ornaments are cute, rustic, and perfect for little hands to help with. Plus, they bring a natural, woodland charm to your Christmas tree that beats anything store-bought.
How to Make It:
- Collect a few small pinecones (you can buy them pre-cleaned if you prefer).
- Glue on googly eyes and a tiny red pom-pom for Rudolph’s nose.
- Twist a brown pipe cleaner into antlers and tuck or glue it into the top of the pinecone.
- Tie a string or ribbon loop to hang it on the tree.
Pro Tip: If you’re feeling extra festive, add a touch of gold glitter to the tips of the pinecone for a subtle shimmer.
Shop the Look:
2. Salt Dough Handprint Ornaments
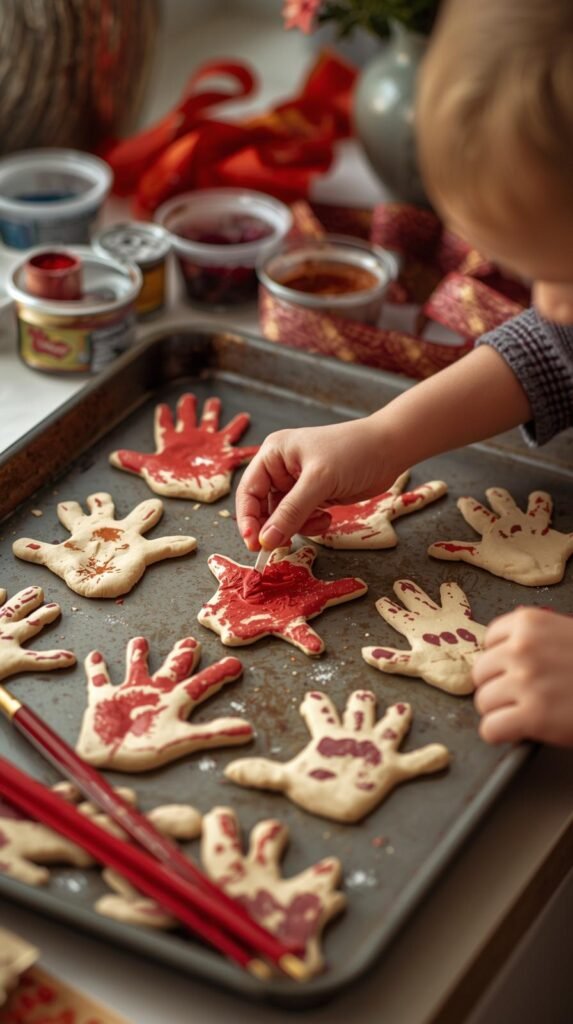
Few things melt hearts faster than a tiny handprint turned into a keepsake. These salt dough ornaments are budget-friendly, durable, and make adorable gifts for grandparents or teachers. Plus, kids love playing with the dough so it’s a win-win for craft time and sensory fun.
How to Make It:
- Mix 1 cup of flour, ½ cup of salt, and ½ cup of water until it forms a smooth dough.
- Roll it out about ½ inch thick on parchment paper.
- Press your child’s hand firmly into the dough to leave an imprint.
- Cut around the handprint with a butter knife or round cutter, and poke a small hole for hanging.
- Bake at 200°F for 2–3 hours, or until hard. Let cool completely before painting.
- Paint and seal with Mod Podge or clear acrylic spray for shine and durability.
Pro Tip: Personalize each one by writing your child’s name and the year on the back before baking it’ll make next year’s tree that much sweeter.
Shop the Look:
3. Paper Plate Christmas Trees
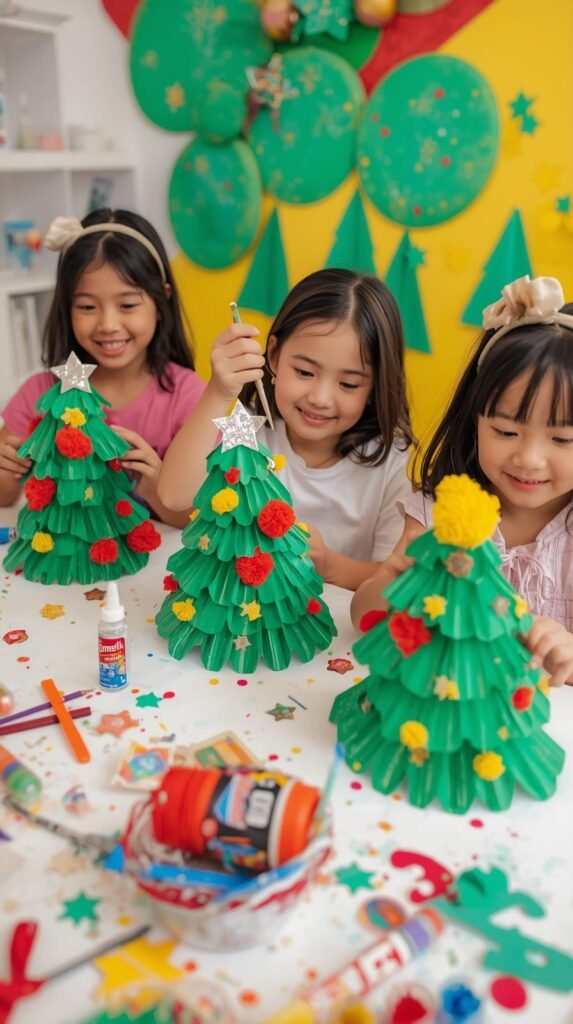
This is one of those classic crafts that never gets old. Paper plate Christmas trees are quick, inexpensive, and endlessly customizable. Kids can go wild decorating them with pom-poms, stickers, buttons, or glitter basically anything that sticks. It’s the perfect rainy-day project that doubles as cheerful holiday décor.
How to Make It:
- Cut a paper plate into thirds, forming three triangle “tree” sections.
- Paint each piece green and let dry.
- Stack the triangles to form a layered tree, gluing them at the edges.
- Decorate with mini pom-poms, sequins, and stickers.
- Add a yellow star to the top and a popsicle stick or cardboard rectangle for the trunk.
Pro Tip: If you want to display them upright, tape a small cardboard stand to the back for support.
Shop the Look:
4. Mason Jar Snow Globes
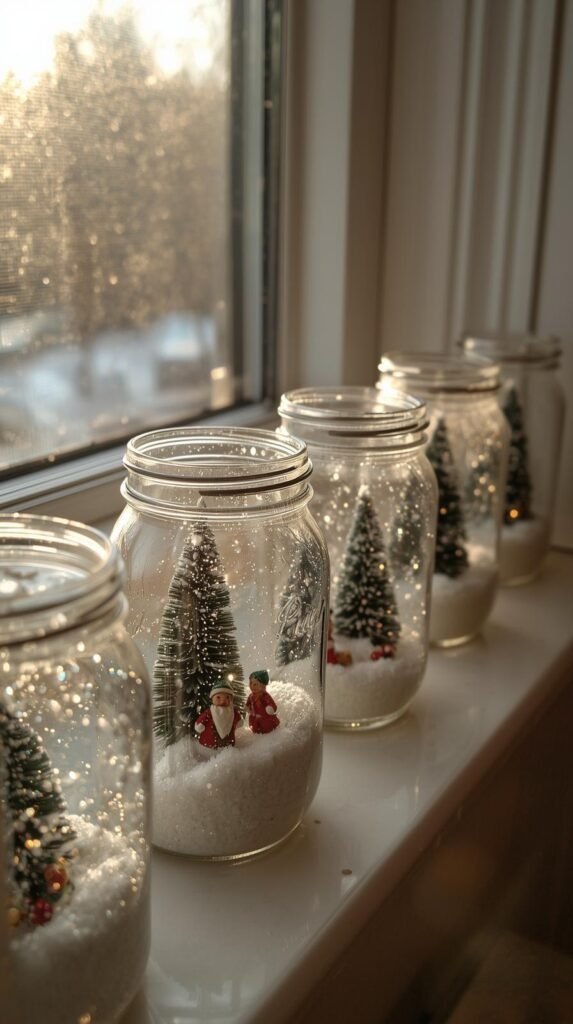
There’s something magical about shaking a snow globe and watching the “snow” swirl. These DIY mason jar snow globes let kids capture that same wonder without the breakable glass or expensive price tag. They make great gifts and look gorgeous lined up on a windowsill or mantel.
How to Make It:
- Gather small mason jars and remove the lids.
- Glue a small plastic figurine, Christmas tree, or ornament piece to the inside of each lid.
- Fill the jar almost to the top with water, then add a teaspoon of glycerin (to slow the snow) and a spoonful of glitter.
- Screw the lid back on tightly (use hot glue for extra seal).
- Shake gently and enjoy the sparkle!
Pro Tip: For younger kids, skip the water and glitter just fill the jars with fake snow for a no-mess, dry version that’s equally cute.
Shop the Look:
5. Popsicle Stick Snowflakes
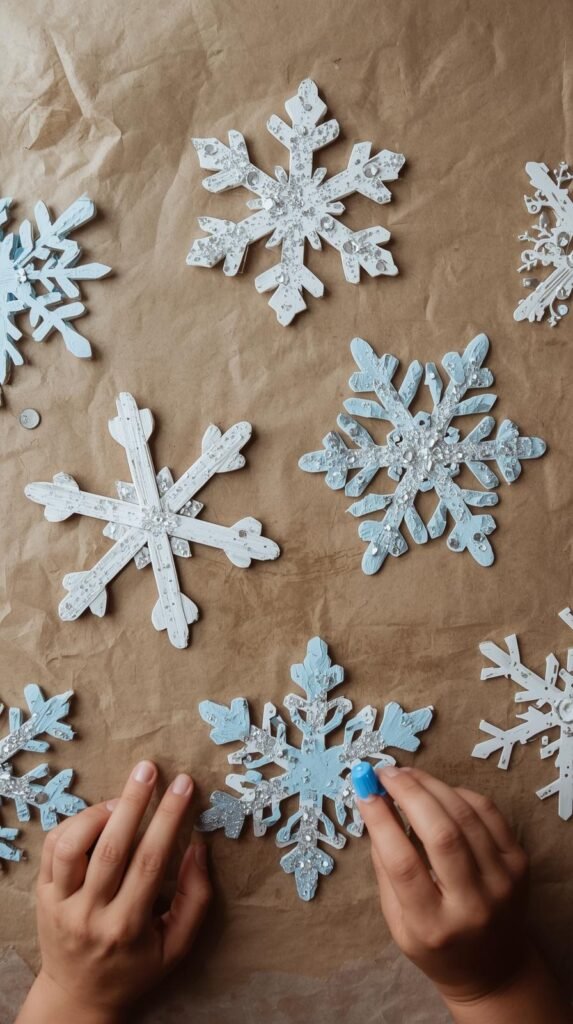
If you want a craft that’s equal parts easy and impressive, this one’s a keeper. Popsicle stick snowflakes are sturdy, sparkly, and simple enough for toddlers but still fun for older kids. Hang them in the window, on the tree, or string them into a garland for instant winter magic.
How to Make It:
- Lay three popsicle sticks in a crisscross pattern to form a snowflake shape.
- Glue them together at the center and let dry.
- Paint them white, silver, or icy blue and sprinkle with glitter before the paint dries.
- Add gems, sequins, or beads for extra sparkle.
- Tie a loop of string or ribbon to hang.
Pro Tip: Mix up sizes by using both regular and mini popsicle sticks layering them creates dimension and a snowflake that looks store-bought.
Shop the Look:
6. DIY Christmas Cards for Family
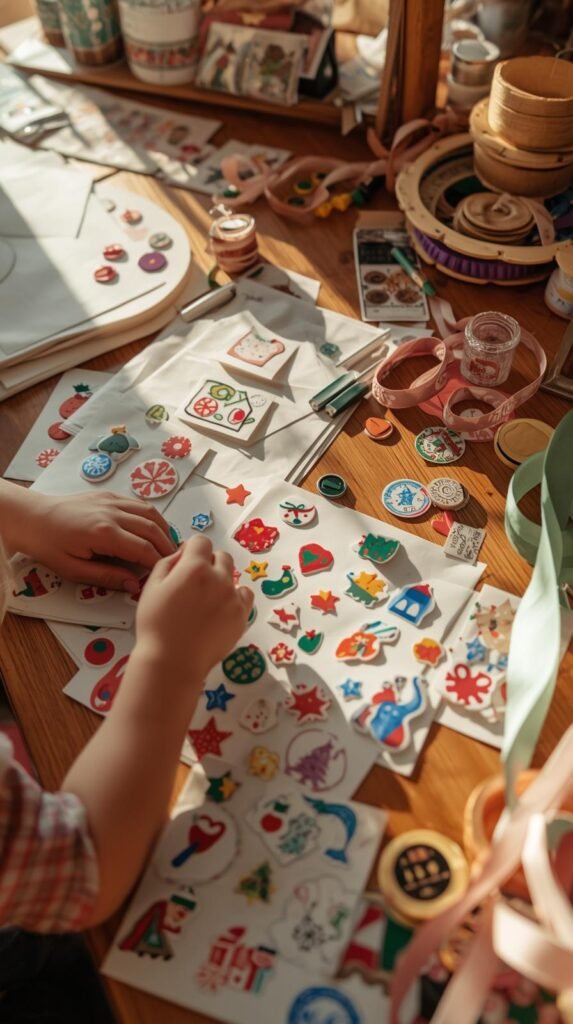
There’s something extra special about receiving a handmade card especially when it’s covered in crayon doodles, fingerprints, and love. DIY Christmas cards are a fun, low-mess project that teaches kids thoughtfulness and creativity all at once. Each card becomes a mini masterpiece that family and friends will actually want to keep.
How to Make It:
- Fold cardstock or construction paper in half to form a card.
- Let kids decorate the front with stamps, stickers, paint, or markers.
- Add personal touches like handprints, thumbprint reindeer, or glued-on buttons.
- Write a short, heartfelt message inside (you can help with the spelling).
- Seal with a little glitter glue or washi tape for a polished finish.
Pro Tip: Use cookie cutters as stencils just trace around them for quick, cute Christmas shapes like stars, trees, or snowmen.
Shop the Look:
7. Cinnamon Stick Reindeer

These little reindeer smell as good as they look. Cinnamon stick reindeer are simple, charming, and make your whole house smell like Christmas. Plus, they double as ornaments or gift toppers, so you get decor and thoughtful touches in one easy craft.
How to Make It:
- Gather three cinnamon sticks and glue them together into a triangle shape (two for the sides and one across the bottom).
- Glue a red pom-pom at the bottom corner for the nose and googly eyes above it.
- Twist a small piece of twine or ribbon to create a loop for hanging.
- Add a small bow tie or tiny bell if you want extra detail.
Pro Tip: For classroom crafts or group projects, buy cinnamon sticks in bulk they’re inexpensive, smell amazing, and easy to work with.
Shop the Look:
8. Button Wreath Ornaments
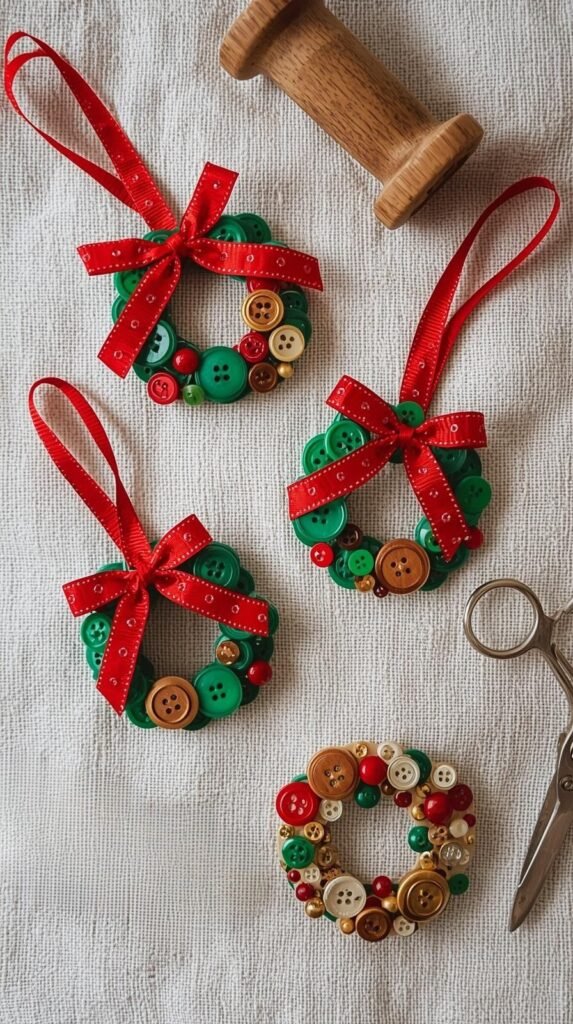
A handful of buttons and some ribbon are all it takes to make these adorable button wreath ornaments. They’re bright, tactile, and perfect for strengthening little hands’ fine motor skills. Plus, they look surprisingly elegant for something made from leftover craft supplies.
How to Make It:
- Thread green buttons onto a piece of craft wire or pipe cleaner, alternating sizes for texture.
- Curve the wire into a circle to form a wreath and twist the ends together to secure it.
- Tie a small red ribbon bow at the top for that classic Christmas look.
- Add a string or hook for hanging.
Pro Tip: Mix in a few gold or red buttons for contrast, or spell out initials with alphabet beads for a personalized version.
Shop the Look:
9. Pom-Pom Garland
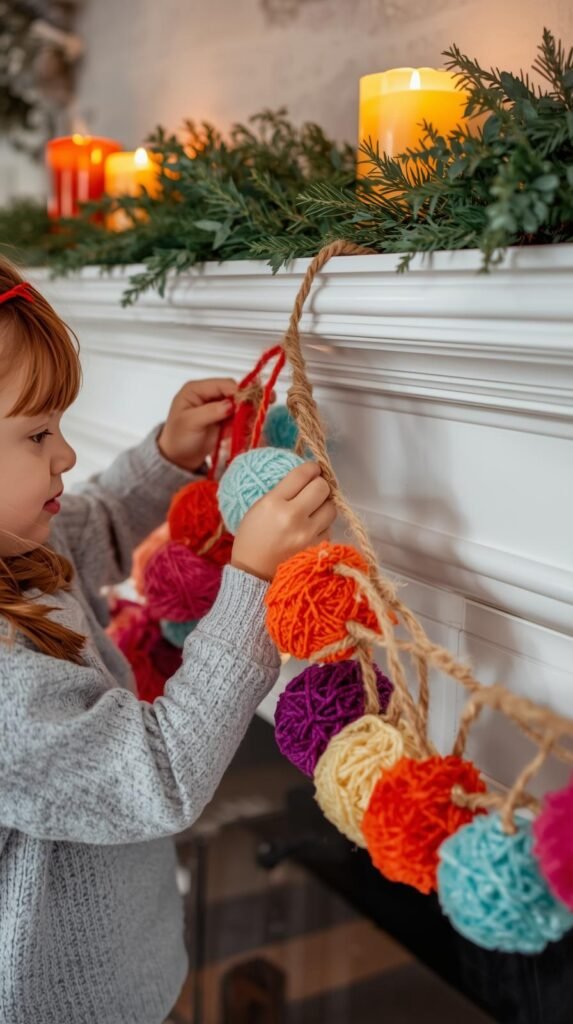
If you’ve got yarn, you’ve got a party. This colorful pom-pom garland adds instant cheer to mantels, doorways, or stair railings. It’s soft, fun, and surprisingly therapeutic for kids to make. You’ll end up with something festive enough to leave up all winter.
How to Make It:
- Wrap yarn around your fingers about 50 times (depending on how fluffy you want each pom-pom).
- Slide the yarn off and tie a small piece around the center tightly.
- Cut through the loops on both sides, then fluff and trim into a round shape.
- Repeat with different colors until you have enough pom-poms for your garland.
- Thread a long piece of twine or yarn through each pom-pom using a large needle.
Pro Tip: Alternate colors like red, white, and green or mix in natural tones for a cozy, Scandinavian vibe.
Shop the Look:
10. Natural Orange Slice Ornaments
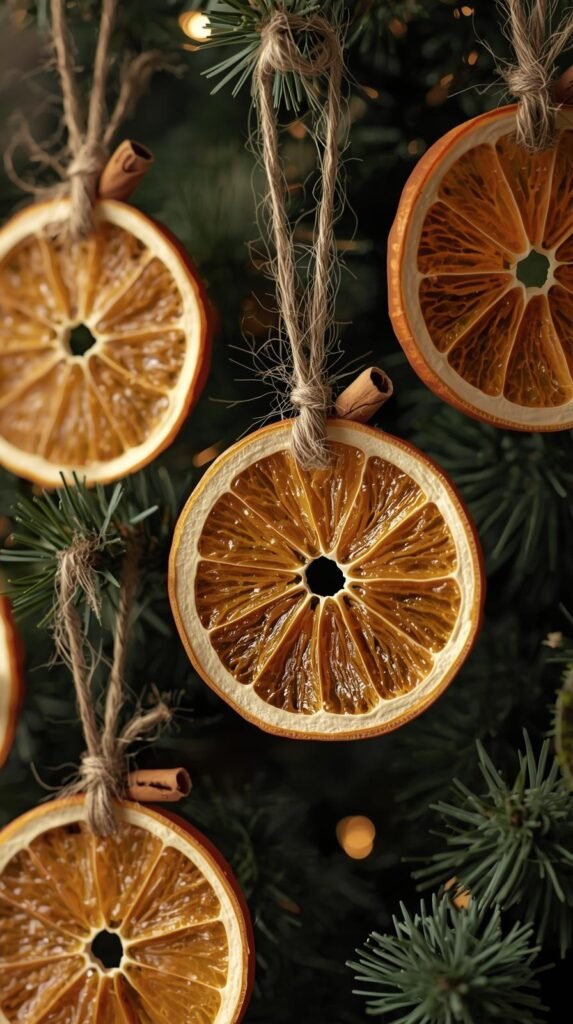
These are the crafts that make your house smell like Christmas. Natural orange slice ornaments add a cozy, handmade charm to your tree while keeping things eco-friendly and elegant. Kids love watching the transformation from juicy fruit to dried décor, and you’ll love how timeless they look.
How to Make It:
- Slice oranges thinly (about ¼ inch thick).
- Place them on a parchment-lined baking sheet and bake at 200°F for 2–3 hours, flipping halfway through, until dried.
- Let cool completely before threading a piece of twine through each slice.
- Optional: Add cinnamon sticks or wooden beads for extra detail.
Pro Tip: Try using a mix of oranges, lemons, and blood oranges for a colorful, fragrant twist that looks stunning in natural light.
Shop the Look:
11. Santa Handmade Card

This is the kind of craft that becomes a yearly favorite. Santa handprint keepsakes are equal parts adorable and sentimental perfect for framing, gifting, or hanging on the tree. It’s quick, fun, and captures your child’s tiny hand in a way no store-bought ornament ever could.
How to Make It:
- Paint your child’s palm and fingers white, leaving the thumb unpainted.
- Press their hand onto a piece of red cardstock or canvas to form Santa’s beard.
- Once dry, use a black marker to draw Santa’s eyes and a red pom-pom for his nose.
- Add a small red hat cut from construction paper and glue it on top.
- Optional: sprinkle some glitter on the beard for a frosty finish.
Pro Tip: Write the year on the back before sealing with Mod Podge it’s the perfect way to look back on how small those little hands once were.
Shop the Look:
12. Toilet Paper Roll Elves
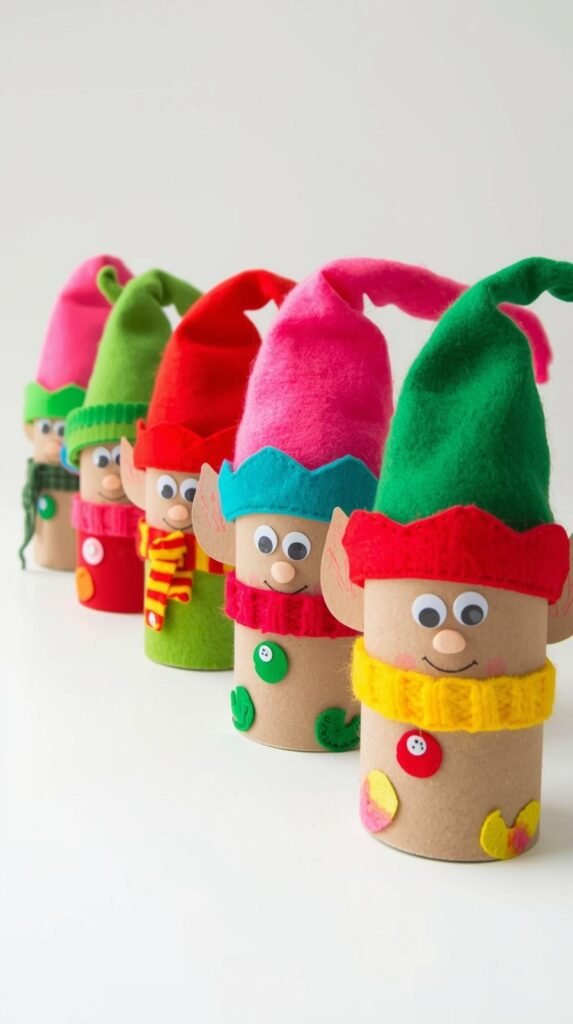
Turn your recycling bin into a craft station with these adorable toilet paper roll elves. They’re colorful, silly, and perfect for bringing a little North Pole energy into your living room. Kids can personalize each elf with their own faces, names, or funny accessories it’s creative chaos at its finest.
How to Make It:
- Paint toilet paper rolls green or red and let dry.
- Cut felt triangles for hats and small strips for scarves.
- Glue on googly eyes, a pom-pom nose, and draw a smile.
- Wrap a small piece of twine or ribbon around the “waist” for extra detail.
- Optional: add paper arms and legs so your elves can “sit” on shelves.
Pro Tip: Turn it into a family tradition each year, add new elves to your holiday crew and watch your collection grow.
Shop the Look:
13. DIY Snowman Jars (Giftable Treats)
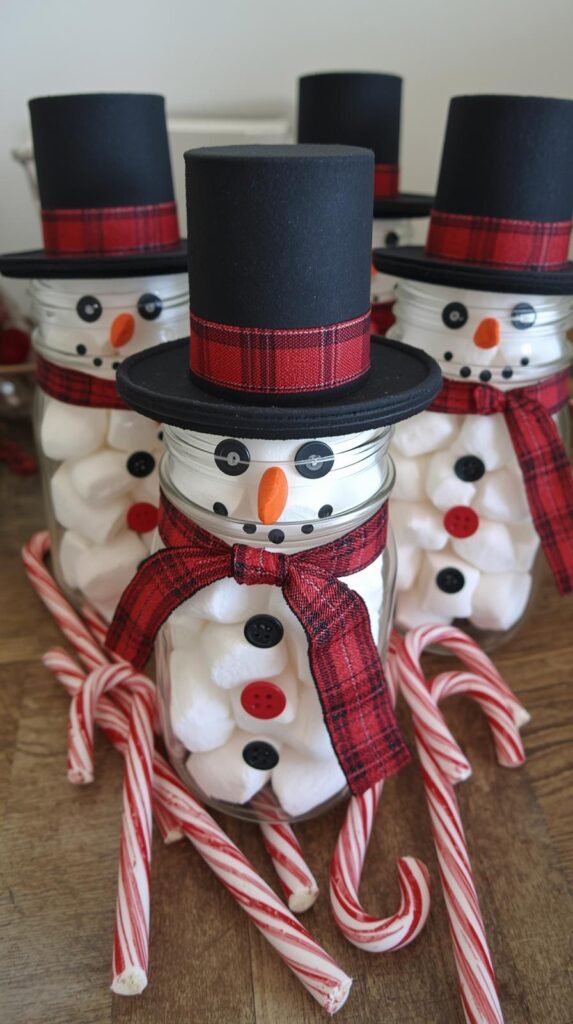
These snowman jars are part craft, part gift and 100% adorable. Kids can fill them with candy, cocoa mix, or mini marshmallows for teachers, neighbors, or friends. It’s a quick and easy way to spread a little handmade holiday cheer (and sneak in a sweet treat or two).
How to Make It:
- Start with clean, empty mason jars.
- Fill each jar with white candy (like marshmallows, mints, or yogurt-covered pretzels).
- Cut a small strip of plaid fabric or ribbon for a scarf and tie it around the jar’s neck.
- Glue on buttons down the front and a black paper hat to the lid.
- Add a tag with the giver’s name for a personal touch.
Pro Tip: For an extra pop, paint the lid with chalkboard paint so you can write festive messages or doodles.
Shop the Look:
14. Mini Yarn-Wrapped Christmas Trees
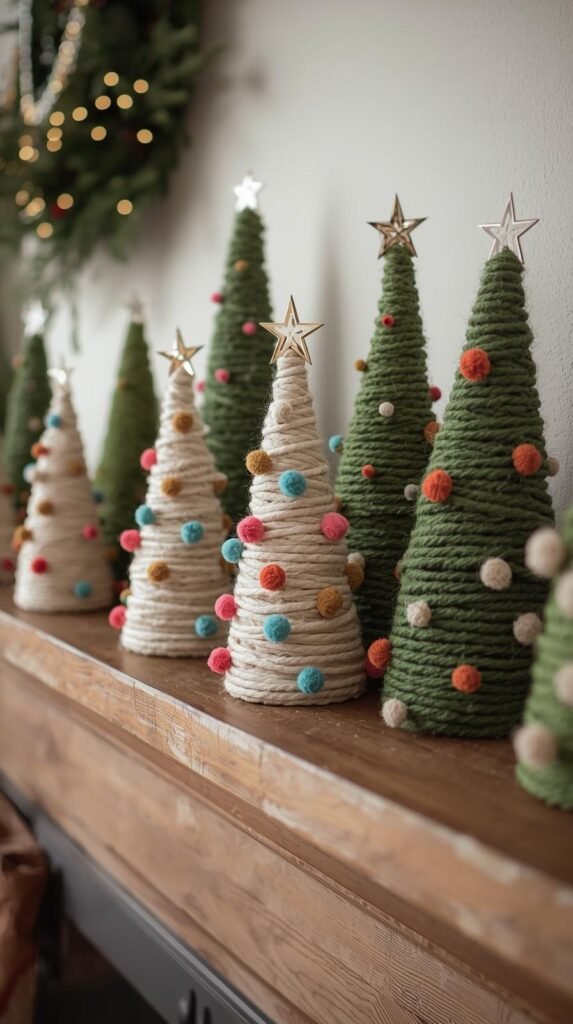
These mini yarn trees are as cute as they are calming to make. Perfect for quiet afternoons, they’re a mess-free craft that doubles as cozy décor for mantels, shelves, or kids’ rooms. You can make a whole forest in under an hour, and each one turns out a little different.
How to Make It:
- Cut a piece of cardstock or craft foam into a cone shape and tape it closed.
- Starting at the bottom, wrap green yarn tightly around the cone, working your way up.
- Secure the end with a dot of glue at the top.
- Add mini pom-poms, buttons, or sequins as ornaments.
- Optional: glue a star on top for the final festive touch.
Pro Tip: Try using neutral yarn for a minimalist look or mix in metallic threads for extra holiday shimmer.
Shop the Look:
15. Cookie Cutter Ornaments

Cookie cutters aren’t just for baking they make perfect templates for kid-friendly ornaments. This project is super simple, sparkly, and totally customizable. Whether you use old cookie cutters or pick up a fresh set, the results look polished enough to give as gifts.
How to Make It:
- Lay out metal or plastic cookie cutters on parchment paper.
- Trace them onto cardboard or sturdy craft foam, then cut out the shapes.
- Decorate each shape with paint, glitter, or patterned paper.
- Glue ribbon to the top for hanging.
- Optional: fill the inside of metal cookie cutters with hot glue and glitter for a more durable version.
Pro Tip: Mix different shapes stars, trees, snowflakes to create a themed set of ornaments your kids can be proud of.
Shop the Look:
Craft the Magic Together
The best Christmas memories aren’t made in shopping lines they’re made around the table with glue sticks, giggles, and a little holiday chaos. Each of these kid-friendly Christmas crafts turns a quiet afternoon into something your family will actually remember. Whether you’re decorating the tree, making homemade gifts, or just keeping little hands busy during winter break, these projects bring joy to every age.
So grab your supplies, pour some cocoa, and start creating your own holiday magic. Looking for more holiday inspiration? Check out my post on Dollar Store Christmas Crafts That Look Designer all the charm, none of the splurge.


Pingback: Cricut Projects That Sell Fast (Beginner Friendly)
Pingback: 20 Dollar Store Crafts Kids Will Love Making