

Affiliate Disclosure – This post may contain affiliate links. If you make a purchase through one of these links, Room Revival Studio may earn a small commission at no extra cost to you.
Designer vases are one of the biggest decor scams out there. You’ll see the same shapes, the same finishes, and the same price tags over and over again, all for something that can be recreated at home for a fraction of the cost. If you’ve ever thrifted a vase and thought, “This has potential, but it’s not quite there,” this list is for you.
These DIY vase makeovers focus on finish, texture, and restraint, the exact things that make high-end decor look expensive. From sculptural plaster looks to modern matte finishes, these ideas are easy, budget-friendly, and genuinely designer-inspired. Pick one, try it this weekend, and watch how much more elevated your space feels.
1. Chalk Paint Stoneware Vase

This makeover turns glossy, outdated vases into soft, matte stoneware pieces that look straight out of a boutique home store. Chalk paint removes shine instantly and adds that velvety, ceramic-like finish designers love. It works especially well on thrifted ceramic or glass vases that feel dated or too shiny. The end result is neutral, modern, and intentionally imperfect in the best way.
Step-by-Step Instructions
- Wash the vase thoroughly with soap and water and let it dry completely.
- Dip a dry or lightly loaded brush into chalk paint.
- Apply paint using soft, uneven strokes to build texture rather than smooth coverage.
- Allow the first coat to dry, then add a second coat if needed.
- Once fully dry, seal with a matte sealer to protect the finish.
Shopping List
2. Baking Soda Texture Vase
This makeover creates that soft, plaster-like texture you see on high-end sculptural vases, but using items you probably already have at home. Baking soda adds dimension and grit to flat paint, instantly making a smooth glass or ceramic vase feel artisanal. The texture catches light beautifully and gives neutral colors more depth. This style works especially well if you love organic, modern, or minimalist decor.
Step-by-Step Instructions
- In a disposable container, mix acrylic paint with baking soda until it forms a thick, slightly gritty paste.
- Use a paintbrush or sponge brush to apply the mixture to the vase.
- Dab the surface instead of brushing smoothly to create texture.
- Continue layering until the vase is fully covered.
- Let the vase air dry completely before styling or sealing.
Shopping List
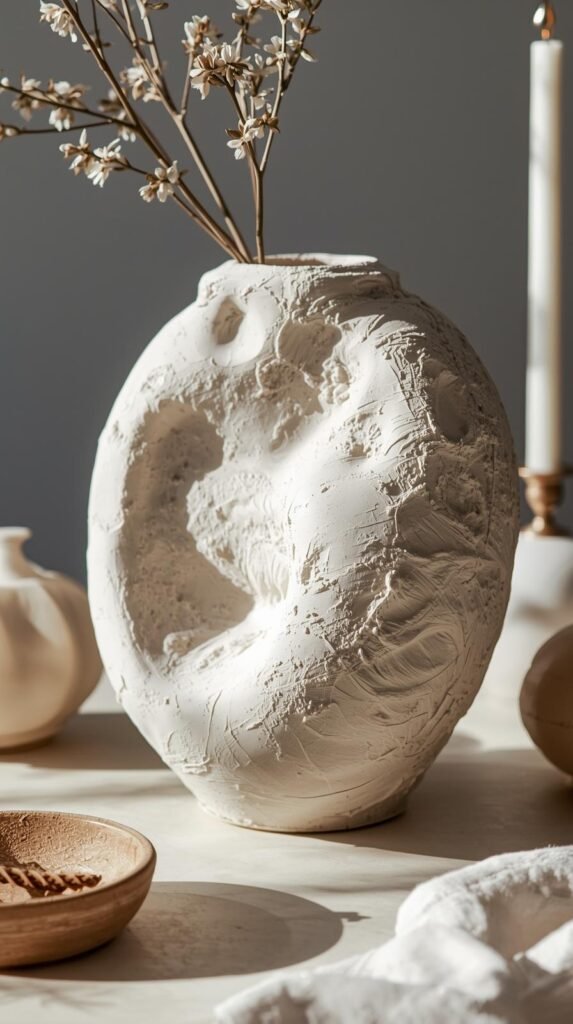
3. Faux Plaster Sculptural Vase
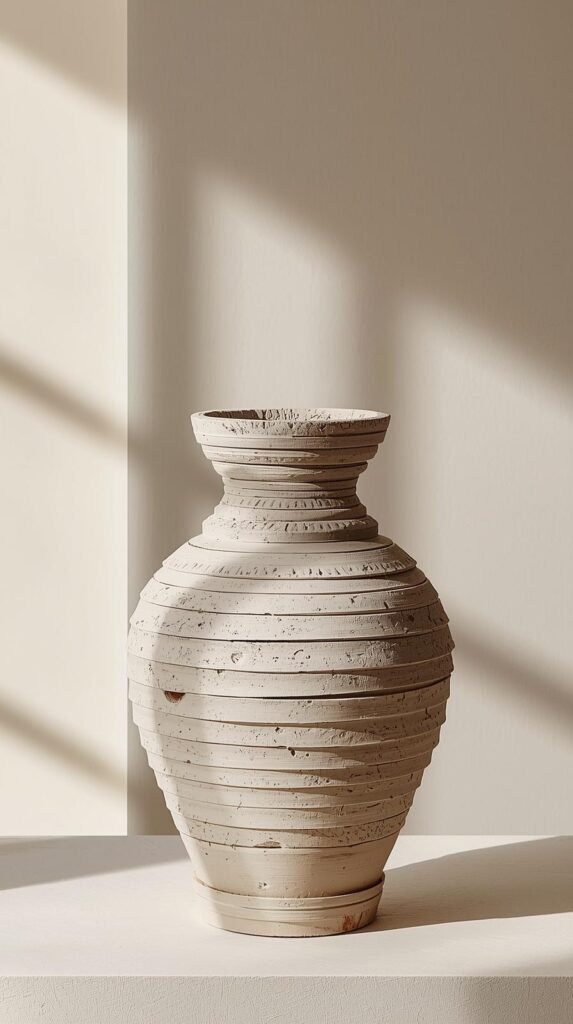
This makeover turns a plain vase into a sculptural decor piece that feels handmade and collected. Faux plaster finishes are everywhere in designer interiors because they add movement and visual interest without relying on color. The uneven texture makes even the simplest vase shape feel intentional and high-end. This style works beautifully on shelves, coffee tables, or styled in groups.
Step-by-Step Instructions
- Place the vase on a protected surface and make sure it is clean and dry.
- Use a putty knife or spatula to apply joint compound or plaster directly onto the vase.
- Spread the material unevenly, allowing ridges and texture to form naturally.
- Let the plaster dry completely according to the product instructions.
- Lightly sand any sharp edges, then paint the vase in a neutral tone if desired.
Shopping List
4. Hand-Painted Abstract Vase
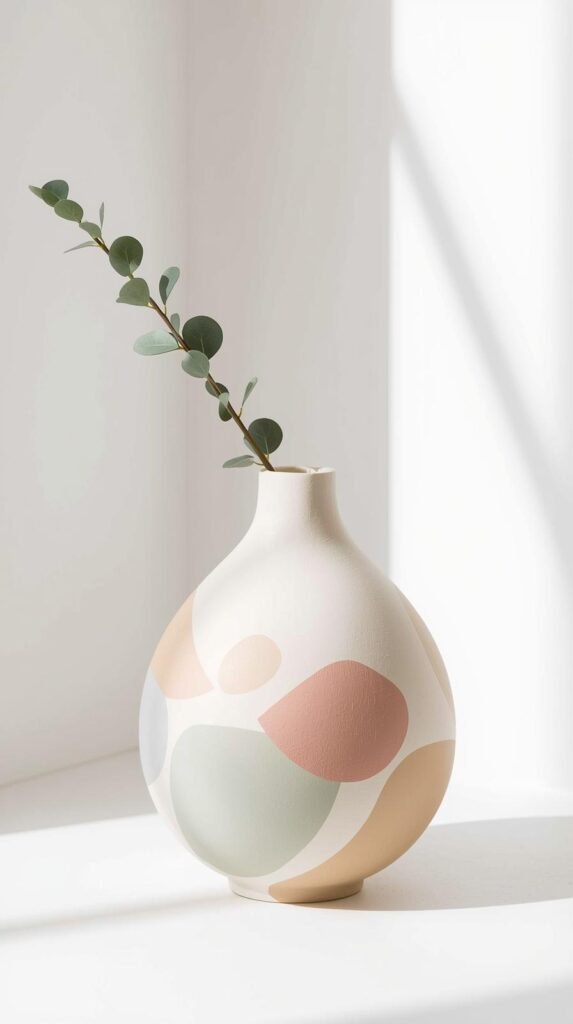
This style turns a basic vase into functional art without feeling overly crafty. Abstract designs feel modern and elevated when the shapes are loose and the color palette is restrained. The key is letting negative space do some of the work so the design feels intentional instead of busy. This type of vase looks especially good styled alone or paired with simple greenery.
Step-by-Step Instructions
- Clean the vase and apply a solid base coat using acrylic paint.
- Let the base coat dry completely before adding any design.
- Lightly sketch abstract shapes using a pencil or freehand with paint.
- Fill in the shapes with a small brush or paint pen, keeping lines organic.
- Allow the paint to dry fully, then seal with a matte clear coat.
Shopping List
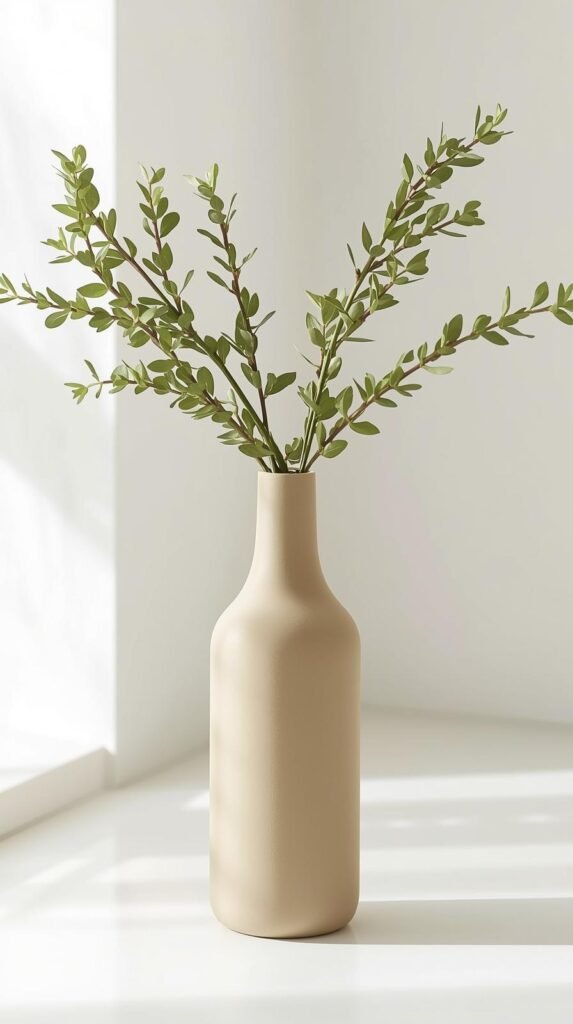
5. Matte Black Modern Vase
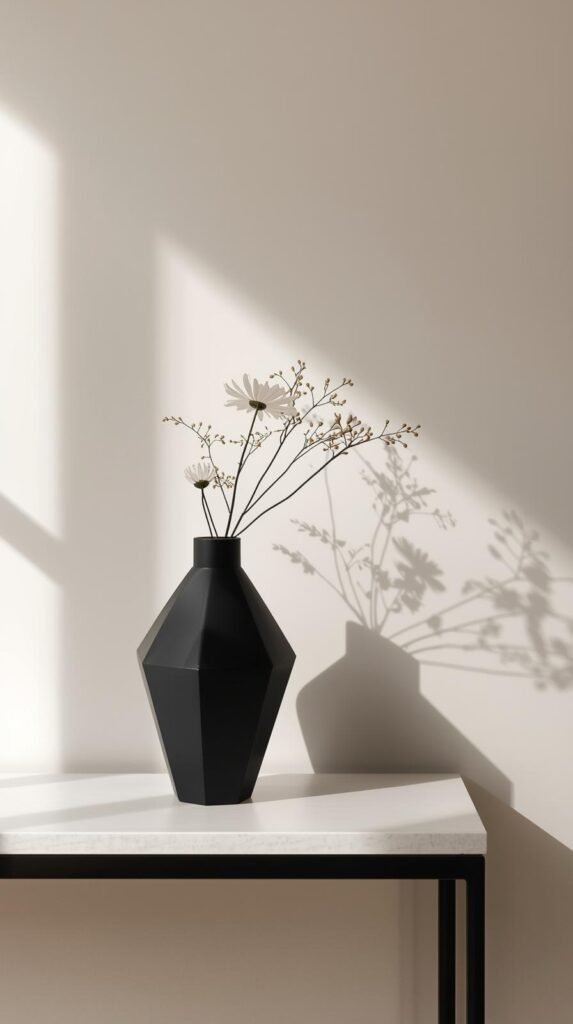
A matte black vase instantly adds contrast and structure to a space, making even simple floral arrangements feel intentional. This makeover is bold without being loud and works across modern, industrial, and moody interiors. Removing shine is what makes this look feel expensive, not the color itself. It’s an easy way to ground shelves, consoles, or coffee tables.
Step-by-Step Instructions
- Wash the vase thoroughly and let it dry completely.
- Apply a spray primer if the surface is glossy or glass.
- Shake the matte black spray paint well before use.
- Spray light, even coats, allowing each coat to dry in between.
- Let the vase cure fully before handling or styling.
Shopping List
6. Rub-On Transfer Vintage Vase
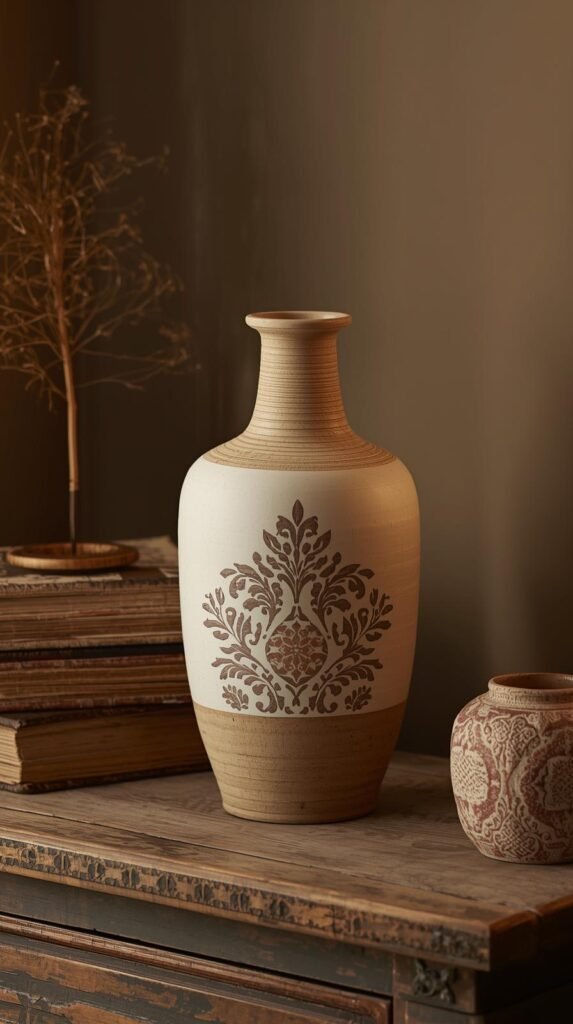
This makeover gives a vase that collected, old-world look without feeling overly decorative. Rub-on transfers add delicate detail that mimics antique ceramics and European pottery. When paired with a neutral base, the finished vase feels timeless and curated rather than crafty. It works beautifully in traditional, cottage, or transitional spaces.
Step-by-Step Instructions
- Paint the vase a neutral base color and let it dry completely.
- Cut the rub-on transfer to size and position it on the vase.
- Use a transfer tool or craft stick to rub the design onto the surface.
- Slowly peel back the transfer backing to reveal the design.
- Seal gently with a clear matte spray to protect the surface.
Shopping List
7. Decoupage Floral Vase
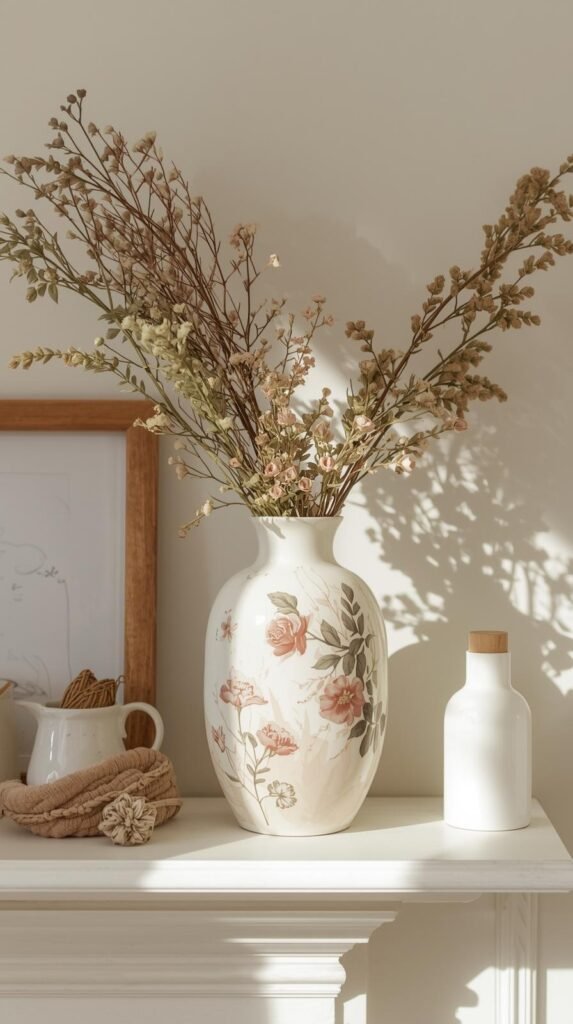
This makeover brings in pattern and softness while still feeling elevated. Decoupage works best when the florals are muted and the base color is neutral, allowing the design to blend seamlessly into the surface. The finished vase feels romantic and collected rather than busy. It’s perfect for adding subtle interest to shelves or side tables.
Step-by-Step Instructions
- Paint the vase with a light, neutral base color and let it dry completely.
- Cut or tear floral napkins or paper into manageable sections.
- Apply decoupage glue to the vase and gently place the paper on top.
- Smooth lightly with a brush to remove air bubbles.
- Seal the entire vase once dry with a matte finish.
Shopping List
8. Glass Etched Minimal Vase
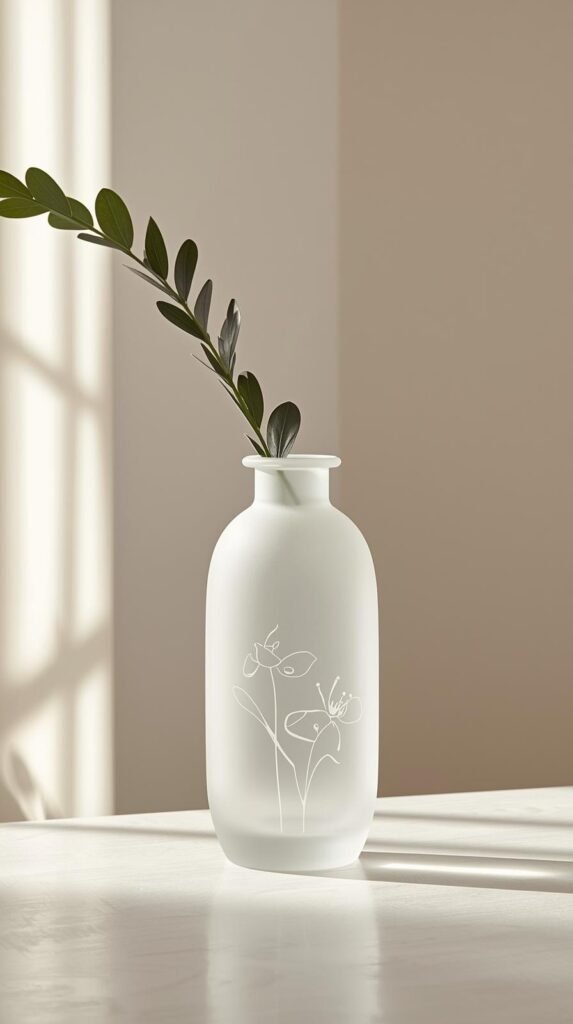
This makeover gives plain glass vases that soft, frosted look you usually see in high-end decor stores. Etched glass feels clean, modern, and understated, which makes it easy to style in almost any space. The subtle finish catches light without adding visual clutter. It’s a great option if you love minimalist or contemporary interiors.
Step-by-Step Instructions
- Clean the glass vase thoroughly and dry it completely.
- Apply a stencil or tape design if desired.
- Wearing gloves, spread glass etching cream evenly over the exposed areas.
- Let the cream sit according to the product instructions.
- Rinse thoroughly with water and remove the stencil once finished.
Shopping List
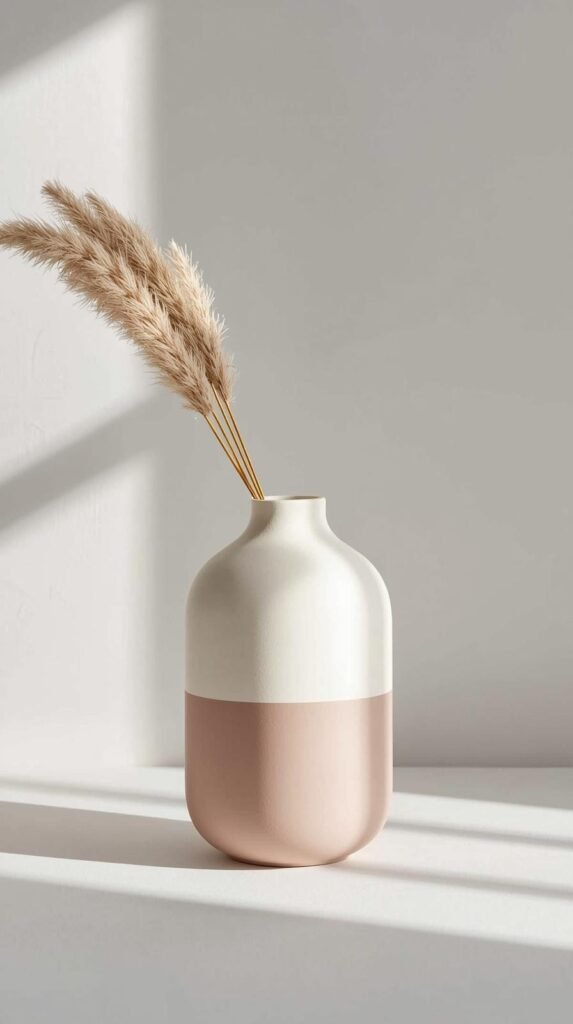
9. Two-Tone Color Block Vase
Step-by-Step Instructions
- Paint the entire vase in a base color and allow it to dry completely.
- Use painter’s tape to mark off the section for the second color.
- Apply the second paint color carefully within the taped area.
- Remove the tape while the paint is still slightly wet for crisp lines.
- Let the vase dry fully, then seal with a matte finish.
Shopping List
10. Distressed Antique Finish Vase
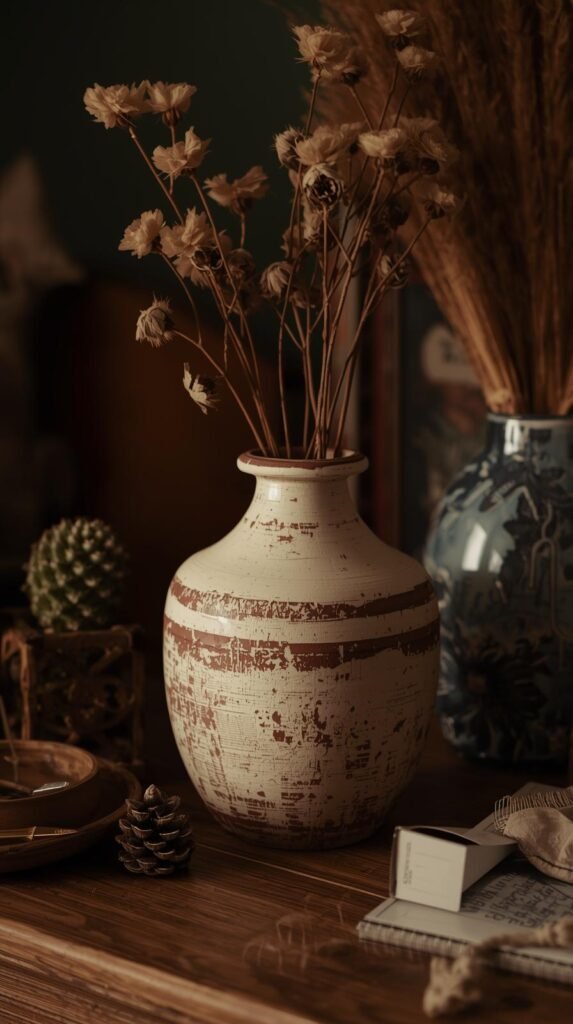
This makeover gives a vase the look of an old-world ceramic piece that feels collected over time. Layered paint and light distressing create depth and visual history, which is what makes antique decor feel special. The finish works beautifully in traditional, rustic, or vintage-inspired interiors. It adds warmth without feeling heavy.
Step-by-Step Instructions
- Paint the vase with a dark base color and let it dry completely.
- Apply a lighter paint color over the base once dry.
- Use sandpaper to gently distress edges and raised areas.
- Continue distressing until the darker layer subtly shows through.
- Seal the vase with a matte or satin finish.
Shopping List
11. Textured Rope-Wrapped Vase
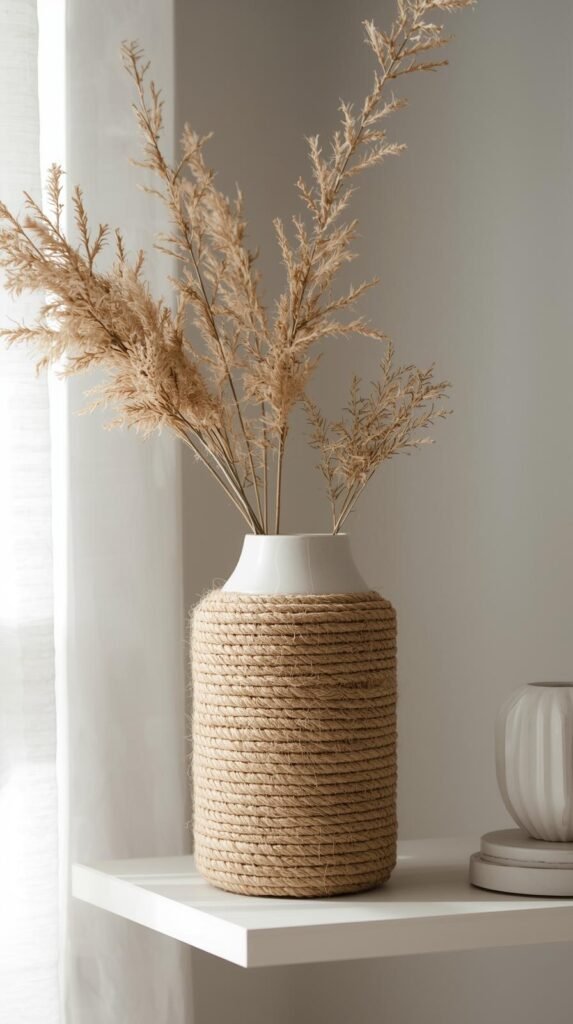
This makeover adds warmth and texture without relying on paint or color. Rope wrapping instantly gives a vase a handcrafted, coastal-meets-modern feel that works in relaxed but elevated spaces. Keeping the wrap partial instead of fully covered helps the vase feel intentional and styled. It’s an easy way to add texture to shelves and consoles.
Step-by-Step Instructions
- Clean the vase and let it dry completely.
- Apply a thin line of craft glue where you want the rope to start.
- Press the rope into the glue, wrapping tightly around the vase.
- Continue wrapping until you reach the desired height.
- Cut the rope and secure the end with additional glue.
Shopping List
12. Metallic Accent Detail Vase
This makeover adds just enough shine to make a vase feel elevated without tipping into glam overload. Metallic accents work best when they’re subtle and intentional, acting as a design detail rather than the main event. This style mimics designer pieces that use brass or gold sparingly to add contrast. It’s perfect for modern, transitional, or eclectic spaces.
Step-by-Step Instructions
- Paint the vase a neutral base color and allow it to dry completely.
- Use painter’s tape to mark off the area for metallic accents.
- Apply metallic paint with a small brush, keeping the design minimal.
- Remove tape carefully once the paint sets.
- Let dry fully, then seal with a clear matte or satin finish.
Shopping List
13. Minimalist Line Art Vase
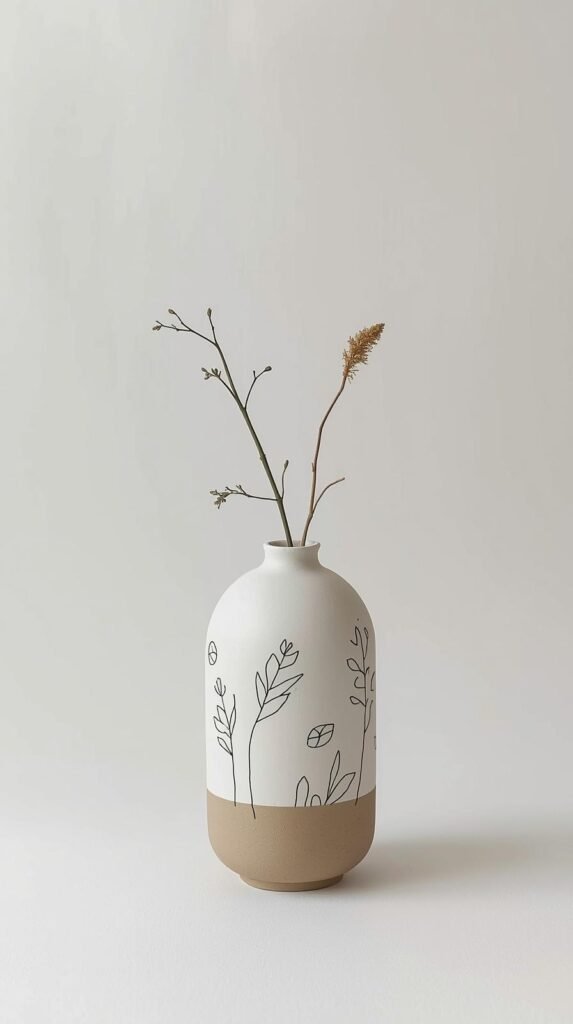
This makeover turns a simple vase into a graphic, modern accent that feels curated instead of decorative. Line art designs add interest without overwhelming the shape of the vase, which is what keeps this look elevated. The simplicity makes it easy to style with or without florals. It works especially well in modern, Scandinavian, or minimalist spaces.
Step-by-Step Instructions
- Paint the vase a solid neutral color and let it dry completely.
- Lightly sketch your line art design with a pencil, or go freehand.
- Trace the design using a fine brush or paint pen.
- Allow the design to dry fully.
- Seal the vase with a matte clear coat.
Shopping List
14. Recycled Bottle Vase Makeover
This makeover turns everyday bottles into decor that feels intentional and styled, not recycled. With the right finish, glass bottles can pass for designer vases and add height and variation to shelves or tables. This is one of the easiest ways to upcycle while still keeping your decor elevated. The result feels clean, modern, and sustainable.
Step-by-Step Instructions
- Remove any labels from the bottle and clean it thoroughly.
- Apply a primer if painting directly onto glass.
- Paint the bottle using spray paint or acrylic paint in light, even coats.
- Allow the paint to dry fully between layers.
- Seal the bottle with a matte finish once completely dry.
Shopping List
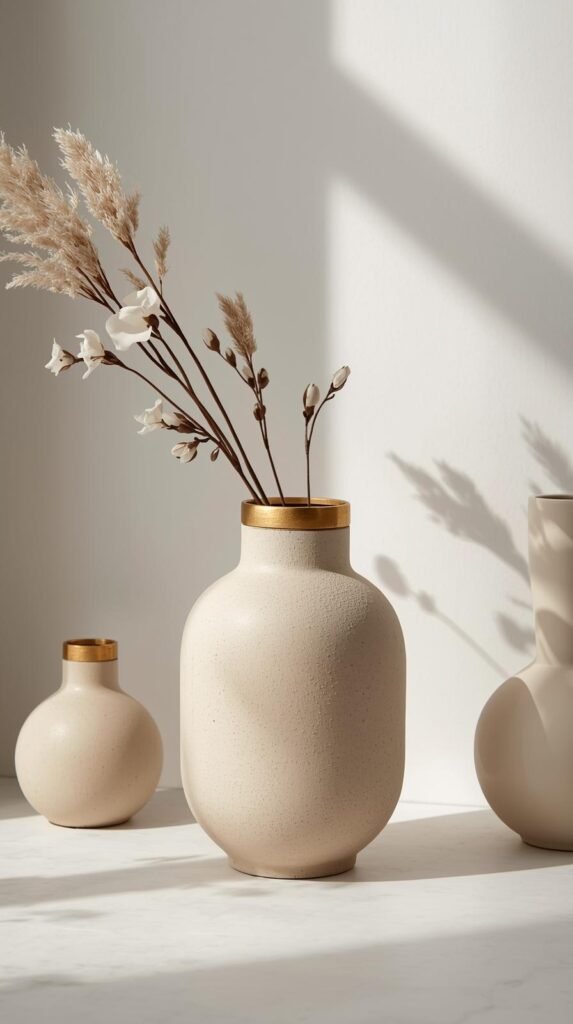
15. Thrifted Vase Set Styling Hack
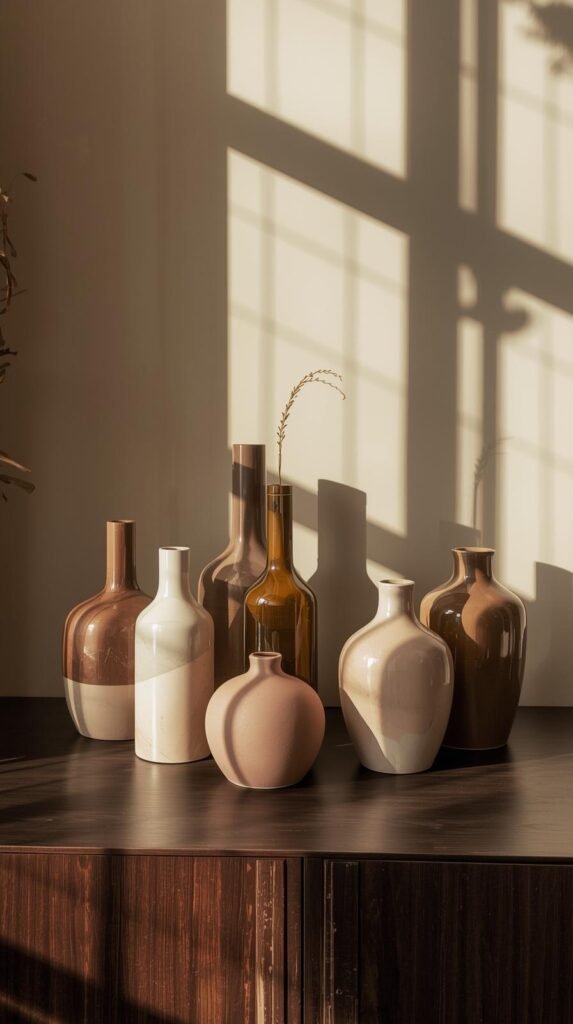
Sometimes the makeover isn’t about changing the vase at all, it’s about how you style it. Grouping thrifted vases together in a cohesive way instantly makes them look designer and intentional. When the shapes vary but the finishes feel connected, the display reads curated instead of random. This is one of the easiest ways to elevate shelves, consoles, or dining tables without extra DIY steps.
Step-by-Step Instructions
- Gather three to five vases in different shapes and heights.
- Choose a common element such as color, finish, or material to unify them.
- Arrange the vases in a loose cluster, placing the tallest toward the back.
- Adjust spacing until the group feels balanced but not symmetrical.
- Style with simple stems or leave a few vases empty for a sculptural look.
Shopping List
Designer decor isn’t about buying the most expensive piece on the shelf, it’s about finishes, texture, and restraint. These DIY vase makeovers prove that with a little creativity, thrifted and basic vases can look just as elevated as high-end decor store finds. Whether you love sculptural plaster looks, modern matte finishes, or simple styling hacks, there’s an option here that fits your space and your budget.
If you’re loving budget-friendly decor ideas like these, you’ll also want to check out How to Hide Ugly Flooring Without Breaking Your Lease (or Your Wallet) on Room Revival Studio. It’s another favorite for making your home look high-end without spending designer money.

